Are you struggling with stubborn car fasteners that just won’t budge? Removing them can be frustrating and time-consuming, especially if you don’t have the right know-how.
But don’t worry—this guide will show you simple, effective methods to get those fasteners out quickly and safely. Whether you’re fixing a panel, changing a part, or doing routine maintenance, mastering this skill will save you time and prevent damage to your car.
Keep reading, and you’ll learn exactly how to remove car fasteners like a pro.
Types Of Car Fasteners
Car fasteners hold many parts of your vehicle together. They come in different shapes and sizes. Knowing the types helps you remove them safely. Some fasteners need special tools. Others can be popped out by hand. Understanding these types makes car repair easier.
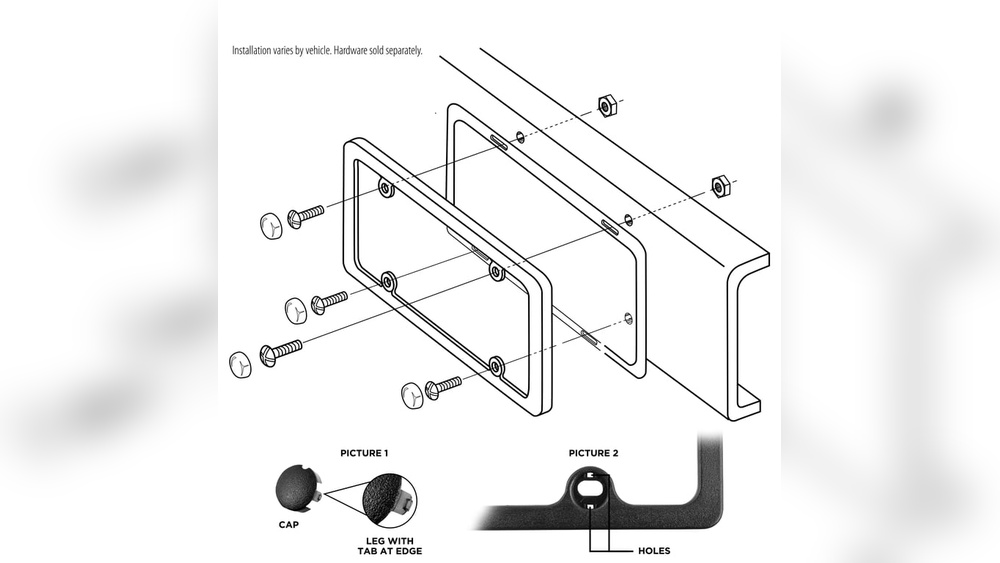
Plastic Clips
Plastic clips are common in car interiors. They hold panels and trims firmly. These clips snap into place. Use a flat tool to pry them gently. Avoid breaking the clip or the panel.
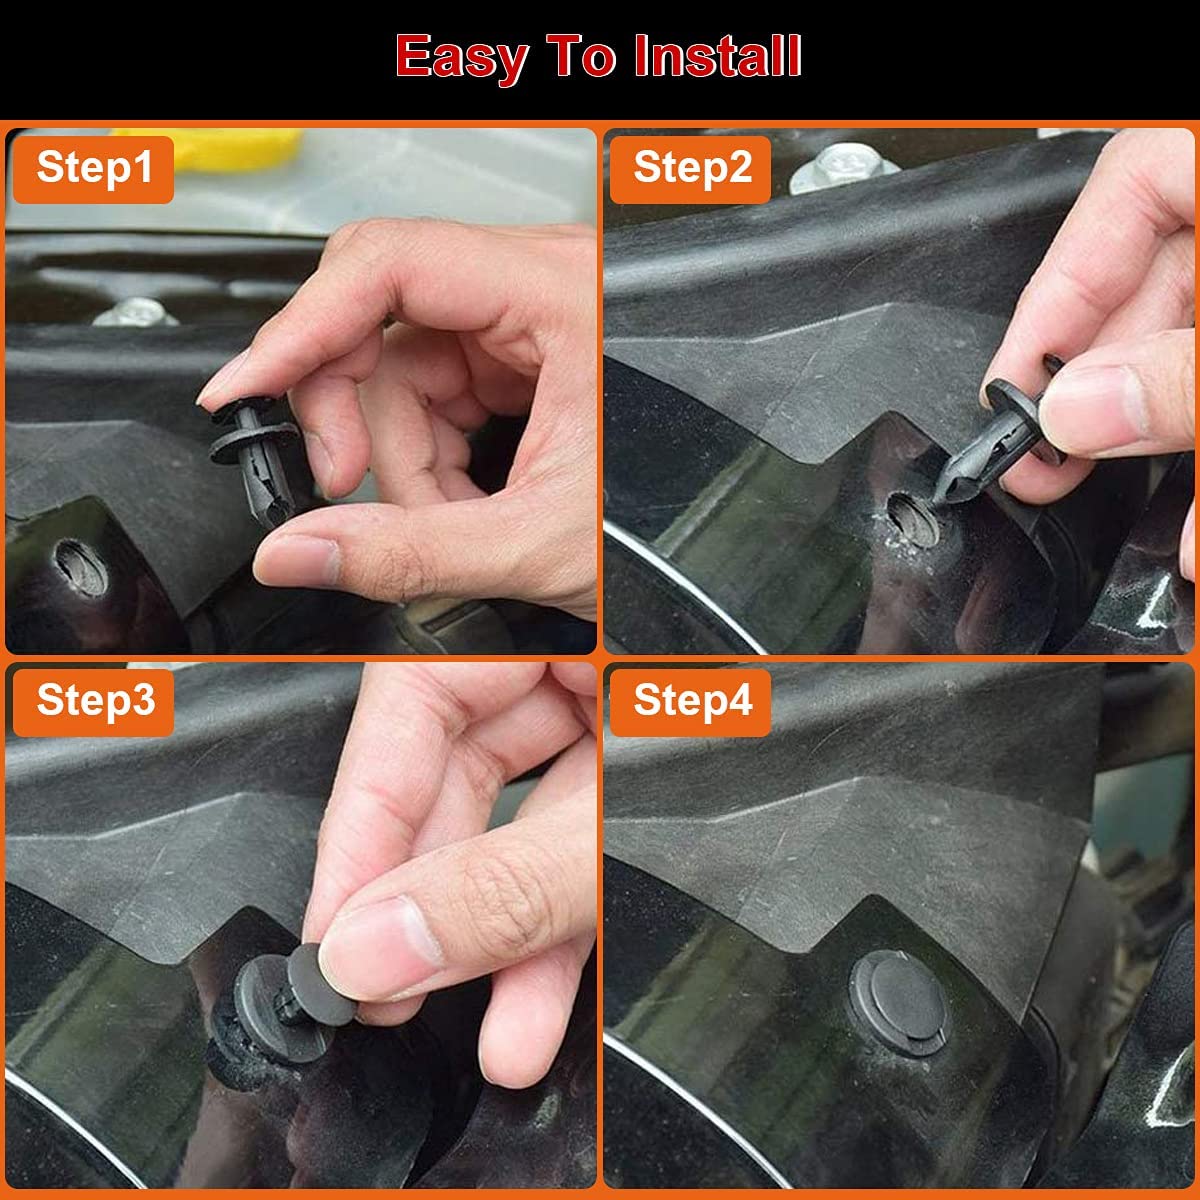
Push Pins
Push pins secure lightweight parts. They have a center pin that expands the fastener. Pull the center pin out to release the pin. Use pliers or a trim removal tool for this task.
Screws And Bolts
Screws and bolts hold heavy parts tightly. Use the right screwdriver or wrench to remove them. Turn counterclockwise to loosen. Keep the screws safe for reinstallation.
Rivets
Rivets join parts permanently. They need drilling out to remove. Use a drill bit slightly smaller than the rivet head. Drill carefully to avoid damaging the parts.
Tools Needed
Removing car fasteners requires the right tools. Using proper tools makes the job easier and prevents damage. Some fasteners need special tools, while others can be handled with common household items. Prepare these tools before starting your project. This saves time and avoids frustration.
Trim Removal Tools
Trim removal tools help pry off plastic clips and panels safely. They have flat, thin edges to slide under fasteners. These tools reduce the risk of scratching or breaking trim pieces. Using plastic or nylon tools is better than metal ones. They are gentle on car surfaces and easy to control.
Screwdrivers
Screwdrivers are essential for removing screws holding fasteners. A set with both flathead and Phillips heads covers most screws. Choose the right size to avoid stripping screw heads. Magnetic tips help hold screws during removal. Screwdrivers with comfortable handles improve grip and reduce hand strain.
Pliers
Pliers grip and pull stubborn fasteners. Needle-nose pliers work well for small clips in tight spaces. Slip-joint pliers offer a stronger grip on larger fasteners. Use pliers carefully to avoid damaging the fastener or surrounding parts. Clean pliers ensure better control and reduce slipping.
Socket Wrench
A socket wrench removes bolts and nuts securing fasteners. Use the correct socket size for a snug fit. Ratcheting socket wrenches speed up the removal process. Extensions help reach fasteners in tight or deep areas. A socket wrench provides better leverage than a regular wrench.
Preparing For Removal
Preparing for the removal of car fasteners is an important first step. It helps avoid damage and makes the process easier. Good preparation saves time and effort during the removal. Follow simple steps to get ready before you start pulling fasteners out.
Locating Fasteners
Find all the fasteners you need to remove. Check around the panel or part carefully. Fasteners may hide under trims, stickers, or dirt. Use a flashlight if light is low. Knowing where each fastener is helps avoid surprises later.
Cleaning The Area
Clean the fastener area before removal. Dirt and grime can block tools or scratch paint. Use a soft brush or cloth to clear dust. A gentle cleaner helps remove grease and buildup. Clean surfaces make fastener removal smoother and safer.
Protecting Surrounding Parts
Protect nearby parts to prevent scratches or dents. Cover paint or plastic with tape or cloth. Place a barrier between tools and sensitive areas. This keeps your car looking good while you work. Small precautions reduce repair costs later.
Removing Plastic Clips
Removing plastic clips from a car can be tricky without the right method. These clips hold parts like door panels and trim pieces firmly in place. Using the wrong tools or techniques can break the clips or damage the car. This section explains how to remove plastic clips safely and easily.
Understanding the type of clip helps you choose the best approach. Using proper trim tools makes removal smoother and protects your car’s surfaces. Avoiding damage is important to keep your car looking good and save money on repairs.
Identifying Clip Type
Plastic clips come in many shapes and sizes. Some have a push pin center, while others use a locking tab. Look closely at the clip to see how it holds parts together. This helps you know if you need to pull, pry, or twist the clip out.
Some clips have a visible center pin that you push to release. Others snap in and require a gentle pry from the edges. Knowing the clip type prevents unnecessary force that can break the clip or panel.
Using Trim Tools
Trim tools are designed for removing clips without damage. They usually have thin, flat ends to slide under clips easily. Use plastic tools to avoid scratching paint or plastic surfaces.
Insert the trim tool under the clip base and gently twist or pry upwards. Work slowly and carefully around the clip to loosen it evenly. Avoid using metal tools that can leave marks or dents.
Avoiding Damage
Removing plastic clips needs patience. Pulling too hard or using wrong tools can crack clips or break panels. Always apply steady and even pressure.
If a clip feels stuck, try moving the trim tool slightly to find a better angle. Do not rush or force it. Replace any damaged clips with new ones to keep parts secure.
Removing Push Pins
Removing push pins is a common task in car repairs. These fasteners hold panels and parts securely. Knowing how to remove them without damage saves time and effort. Push pins come in different shapes, so identifying the type helps.
Pin Head Types
Push pins have various head designs. Some have round heads with a center pin. Others feature flat or square heads. The center pin often pops up to lock the fastener. Recognizing the head type guides the removal method.
Prying Techniques
Use a flat tool like a trim remover or flat screwdriver. Gently slide the tool under the pin head. Pry upward slowly to avoid breaking the pin. Work around the edges if the pin has a wide head. Small movements help loosen the pin safely.
Handling Stubborn Pins
Stubborn pins may stick due to dirt or rust. Spray a little lubricant to loosen them. Let it sit for a few minutes. Wiggle the pin slightly while prying. Avoid forcing the pin to prevent damage. If needed, use pliers for a better grip.
Credit: www.autoevolution.com
Removing Screws And Bolts
Removing screws and bolts is a common task in car maintenance. It helps you access parts that need fixing or replacement. Doing it right saves time and prevents damage to your car. The key is using the correct tools and techniques. This section explains how to remove screws and bolts safely and easily.
Choosing The Right Screwdriver
Select a screwdriver that matches the screw head type. Common types include flathead, Phillips, and Torx. Using the wrong type can strip the screw head. Check the size of the screwdriver tip too. It should fit snugly into the screw slot. A good fit makes turning easier and safer.
Proper Turning Direction
Turn screws and bolts counterclockwise to loosen them. Turn clockwise to tighten. This rule applies to most screws and bolts. Turning the wrong way can tighten the fastener more. Apply steady pressure while turning. Avoid quick, jerky movements to prevent slipping.
Dealing With Rusted Fasteners
Rust makes screws and bolts hard to remove. Spray rust remover or penetrating oil on the fastener. Let it sit for 10 to 15 minutes. Use a wrench or screwdriver with a firm grip. Tap gently with a hammer to loosen rust if needed. Avoid forcing the fastener to prevent breaking it.
Removing Rivets
Removing rivets from a car requires care and the right tools. Rivets hold parts firmly, so removing them needs patience. This section explains easy ways to take out rivets safely. Each method helps keep the car’s parts in good shape.
Drilling Out Rivets
Drilling is the most common way to remove rivets. Use a drill bit slightly smaller than the rivet head. Place the drill carefully on the rivet center. Drill slowly to avoid damaging the surrounding metal. Once the head is removed, the rivet shaft can be pushed out easily.
Using Rivet Removal Tools
Special tools make rivet removal simpler. A rivet removal tool grips and pulls the rivet out. These tools reduce the risk of damage. They are easy to use and save time. Choose a tool that fits the rivet size for best results.
Replacing Rivets
After removing old rivets, new ones must be installed. Use rivets made for cars to ensure strength. Align the parts before placing the new rivet. Use a rivet gun to secure it tightly. Proper replacement keeps the car safe and strong.

Credit: www.youtube.com
Tips For Quick Removal
Removing car fasteners can be tricky without the right approach. Quick removal saves time and avoids damage. Follow these simple tips for a smoother process.
Applying Lubricants
Use a spray lubricant to loosen stuck fasteners. It reduces friction and makes removal easier. Apply it gently around the fastener’s edges. Let it sit for a few minutes. This softens rust or dirt holding the fastener tight.
Working In Good Lighting
Bright light helps you see fasteners clearly. Use a flashlight or work near a window. Good lighting prevents mistakes and speeds up the job. You can spot hidden clips or screws easily. This reduces frustration and keeps you safe.
Organizing Removed Fasteners
Keep fasteners organized as you remove them. Use small containers or magnetic trays. Label each container for easy reassembly. This prevents loss and confusion later. Organized fasteners save time during repairs or replacements.
Common Mistakes To Avoid
Removing car fasteners may seem easy, but many people make mistakes. These errors can cause damage or make the job harder. Avoiding common pitfalls helps save time and protects your car parts.
Forcing Fasteners
Do not force fasteners to come out. Pushing too hard can break them or damage the panel. Use gentle pressure and wiggle the fastener slowly. Patience prevents costly repairs.
Using Incorrect Tools
Using the wrong tool can strip or break fasteners. Use a tool designed for the specific fastener type. A proper pry tool or screwdriver works best. This saves effort and protects the fastener.
Neglecting Safety
Always wear gloves and eye protection. Fasteners can snap or fly off suddenly. Safety gear prevents injuries. Keep your work area clean to avoid slips or falls.

Credit: www.reddit.com
Frequently Asked Questions
What Tools Are Needed To Remove Car Fasteners?
You need a flathead screwdriver, panel removal tool, and pliers. These tools help loosen and pry out fasteners safely. Using the right tools prevents damage to your car’s panels and ensures efficient removal.
How Do I Remove Plastic Car Fasteners Without Breaking Them?
Gently pry around the edges with a panel removal tool or flathead screwdriver. Apply steady, even pressure to avoid snapping the fastener. Work slowly and carefully for best results.
Can I Reuse Car Fasteners After Removal?
Yes, most car fasteners can be reused if undamaged. Inspect each fastener for cracks or wear before reinstalling. Reusing helps save money and maintains proper panel fitment.
Why Are Car Fasteners Difficult To Remove Sometimes?
Fasteners may be stuck due to dirt, rust, or tight clips. Applying penetrating oil or gentle heat can ease removal. Using proper tools also reduces the chance of damage.
Conclusion
Removing car fasteners is simple with the right tools and care. Take your time and follow the steps carefully. Avoid using too much force to prevent damage. Keep track of the fasteners you remove for easy reassembly. Practice makes the process faster and less stressful.
This skill helps with many car repairs and maintenance tasks. Stay patient and confident during your work. Soon, removing car fasteners will feel like a routine task.