Are you struggling with those stubborn trunk fasteners that just won’t budge? Removing trunk fasteners can feel tricky if you don’t know the right steps.
But don’t worry—you’re about to learn simple, effective techniques that will save you time and frustration. Whether you’re fixing a loose panel or upgrading your car’s interior, this guide will make the process clear and easy. Keep reading, and you’ll soon handle trunk fasteners like a pro, without any hassle or damage.

Credit: www.corollaforum.com
Types Of Trunk Fasteners
Trunk fasteners hold the trunk lining and parts in place. They come in different types based on design and function. Knowing each type helps remove them safely without damage. Understanding these fasteners makes trunk repairs easier and quicker.
Plastic Clips
Plastic clips are common in many cars. They snap into holes and hold panels firmly. These clips can break if pulled too hard. Use a flat tool to pry them gently. They often have a center pin that pushes in or out.
Screws And Bolts
Screws and bolts secure heavier parts of the trunk. They require a screwdriver or wrench to remove. Screws have threads and turn out easily. Bolts may need a socket set for loosening. Keep track of these fasteners to avoid losing them.
Push Pins And Rivets
Push pins and rivets fasten lightweight parts. Push pins expand when pushed into holes. Rivets hold parts tightly but need drilling to remove. These fasteners are simple but strong. Use care to avoid tearing the trunk lining.
Tools Needed For Removal
Removing trunk fasteners needs the right tools to avoid damage. Using the proper tools makes the job easier and faster. Below are the main tools required for removal.
Screwdrivers And Pliers
Screwdrivers help loosen screws holding the fasteners. Use flathead or Phillips screwdrivers based on the screw type. Pliers grip and pull out stubborn fasteners. Needle-nose pliers work well for tight spaces.
Panel Removal Tools
Panel removal tools prevent damage to the car’s surface. These tools are plastic and thin to slide under fasteners. They help pry up clips and trim without scratching paint. Always use these instead of metal tools.
Lubricants And Cleaners
Lubricants make fasteners easier to remove. Spray a small amount on stuck clips or screws. Cleaners remove dirt and grime around fasteners. Keeping the area clean helps tools work better.
Preparing The Trunk Area
Preparing the trunk area is the first step to remove trunk fasteners safely and quickly. A clean and organized space helps you work better. It also prevents damage to parts and tools. This preparation makes the whole process smoother. Follow these steps before starting the removal.
Clearing The Workspace
Remove all items from the trunk. Empty any loose objects or bags. Clear the floor around the trunk too. This gives you room to move and place tools. A tidy workspace reduces the risk of losing small fasteners. It also keeps the area safe and easy to clean.
Identifying Fastener Locations
Look closely at the trunk lining and panels. Find all clips, screws, and plastic fasteners. Some fasteners hide under trim or carpet edges. Use a flashlight if needed. Mark each fastener spot with a small piece of tape. This helps track what needs removal. Knowing their locations speeds up the process and avoids missing any fasteners.

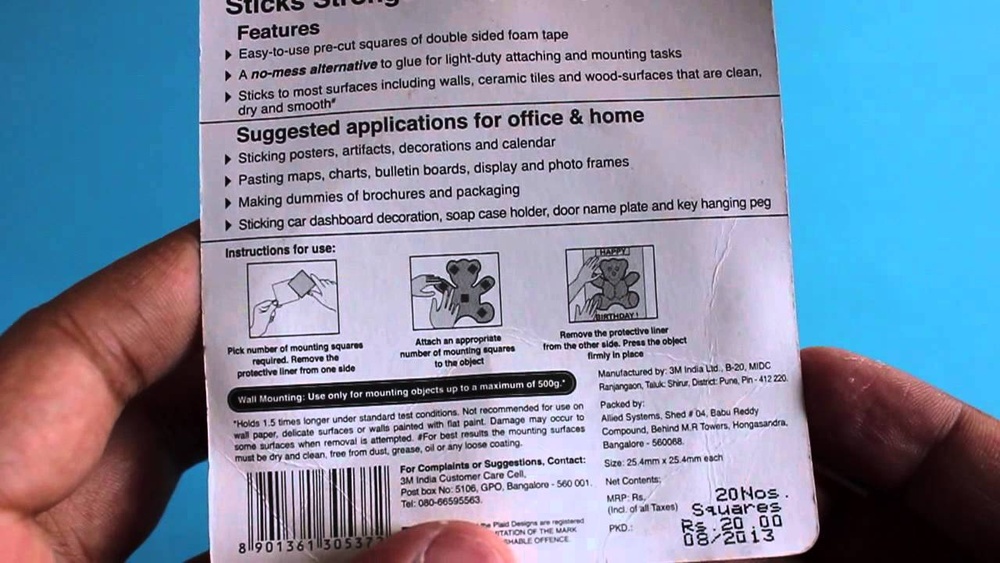
Credit: www.reddit.com
Removing Plastic Clips
Removing plastic clips from your car’s trunk can be tricky. These clips hold panels and liners in place. They are delicate and can break easily. Using the right tools and methods helps keep them intact. This section guides you through removing plastic clips safely and quickly.
Using A Trim Removal Tool
A trim removal tool is perfect for plastic clips. It fits under the clip head and lifts it gently. This tool reduces the risk of scratching your car’s surface. Place the tool carefully and pry slowly. Work around the clip evenly to loosen it. Avoid using screwdrivers as they can damage the clip or panel.
Avoiding Damage
Plastic clips are fragile and can snap if forced. Pulling too hard can break the clip or the panel. Use steady pressure and let the tool do the work. Keep clips clean and free from dirt before removal. Stuck clips may need a little spray of lubricant. Always handle clips gently to save time and money on replacements.
Unscrewing Screws And Bolts
Removing trunk fasteners often means unscrewing screws and bolts. This step needs care and the right tools. Doing it the right way saves time and prevents damage. The process is simple with the right approach.
Choosing The Right Screwdriver
Select a screwdriver that fits the screw head perfectly. Too small or too large tools can strip the screw. Check if the screws have a flathead, Phillips, or another type. Use a screwdriver that matches the type and size exactly. This helps to turn screws smoothly without slipping.
Applying Proper Force
Use steady, even pressure when turning screws or bolts. Press down firmly but do not force it. Forcing can damage the screw or fastener. Turn slowly to avoid stripping the head. If a screw is stuck, try a little extra force or use penetrating oil. Let the tool do the work, not just your strength.
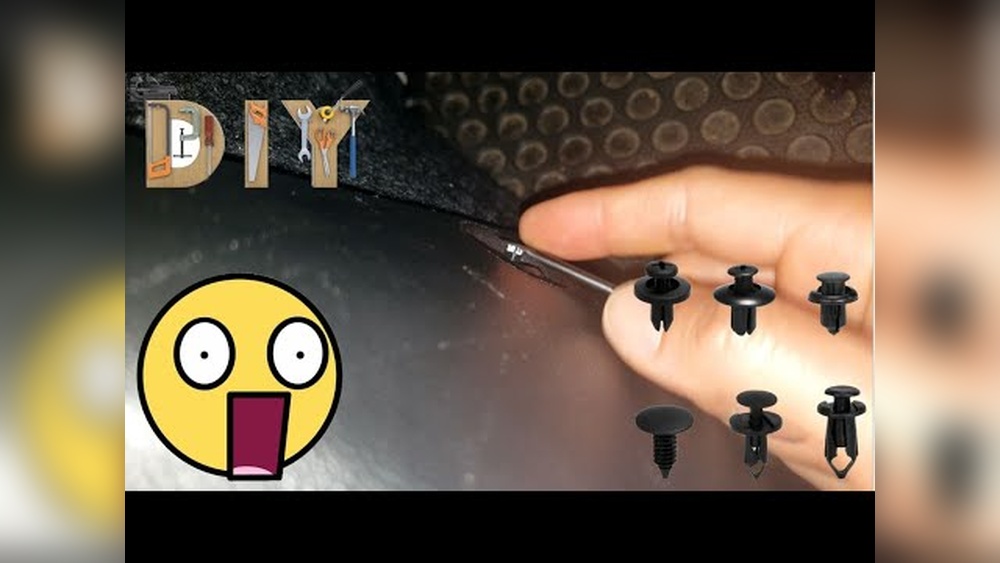
Credit: www.youtube.com
Handling Push Pins And Rivets
Handling push pins and rivets in a car trunk requires care and the right tools. These fasteners hold trim panels and liners tightly. Removing them without damage keeps your trunk neat and safe. Using proper methods saves time and effort.
Prying Techniques
Use a flat pry tool or a plastic trim remover. Gently slide it under the push pin head. Lift slowly to pop the pin out. Avoid using metal tools that can scratch or damage surfaces. For rivets, find the center pin. Pull it out first. Then remove the outer part carefully.
Replacing Damaged Fasteners
Check pins and rivets for cracks or breaks. Replace any damaged fasteners with new ones. Match the size and type to the original parts. New fasteners hold panels firmly again. Secure replacements prevent rattles and loose trims. Keep extra fasteners handy for future repairs.
Tips For Quick And Safe Removal
Removing trunk fasteners can be tricky without the right approach. Quick and safe removal helps avoid damage to your car and saves time. Follow simple tips to make the process smooth and stress-free.
Work Methodically
Start by examining each fastener carefully. Use the correct tools to avoid slipping or breaking them. Remove fasteners one by one in order. Avoid rushing through the job. Take your time to prevent damage to the trunk or fasteners. Keep the area clean to see what you are doing clearly. A steady pace is better than speed.
Keep Fasteners Organized
Place removed fasteners in a container or on a tray. Separate them by type or location for easy reinstallation. Label small parts if needed. This prevents losing any pieces. Organizing fasteners helps during reassembly. It saves time and avoids frustration. Always check the fasteners before putting them away.
Frequently Asked Questions
How Do I Safely Remove Trunk Fasteners?
Use a trim removal tool or flathead screwdriver. Pry gently to avoid damaging clips or surrounding surfaces. Work slowly to prevent breakage or scratches.
What Tools Are Needed For Trunk Fastener Removal?
Common tools include a trim removal tool, flathead screwdriver, and needle-nose pliers. These help pry, twist, and pull fasteners without damage.
Can I Reuse Trunk Fasteners After Removal?
Yes, most trunk fasteners can be reused if undamaged. Inspect clips for cracks or wear before reinstalling to ensure a secure fit.
Why Are Trunk Fasteners Difficult To Remove?
Fasteners are designed to hold firmly and resist vibrations. They may be tight or brittle due to age, requiring careful technique and proper tools.
Conclusion
Removing trunk fasteners does not have to be hard or confusing. Use the right tools and follow clear steps. Take your time and work carefully to avoid damage. Each fastener type may need a different approach. Practice makes the task easier and faster.
Keep safety in mind and wear gloves if needed. Now, you can confidently remove trunk fasteners for repairs or upgrades. Simple steps lead to good results every time.