When you’re working on a tongue-and-groove project or tackling finish work, choosing the right nail can make all the difference. You want your pieces to fit snugly and stay put without splitting the wood or leaving ugly marks.
But with so many nail options out there, how do you know which one is best for your job? This guide will help you pick the perfect nail to ensure your work looks clean, holds strong, and lasts for years.
Keep reading to discover the simple choice that can take your project from good to great.

Credit: www.woodcraft.com
Types Of Nails For Tongue-and-groove
Choosing the right nail is important for fastening tongue-and-groove boards. Different nails serve different purposes. Some hold strong, while others stay hidden and neat. Knowing the types of nails helps you pick the best one for your project.
Each type has unique features. These features affect how well the boards stay together and how the finished work looks. The main types used are common nails, finishing nails, and brad nails.
Common Nails
Common nails are thick and strong. They hold heavy boards firmly. These nails work well for rough framing and large tongue-and-groove panels. Their large heads make them easy to hit with a hammer. But they may leave visible marks on the wood surface.
Finishing Nails
Finishing nails have smaller heads than common nails. They sink into the wood easily. This makes them less visible after installation. These nails are good for finish work on tongue-and-groove boards. They provide a clean look without large holes or marks.
Brad Nails
Brad nails are very thin and have tiny heads. They create nearly invisible holes. These nails are perfect for delicate trim and fine tongue-and-groove work. Brad nails hold boards gently without splitting the wood. They require a nail gun for best use.

Credit: www.mataverdedecking.com
Choosing The Right Nail Size
Choosing the right nail size is key for fast and strong fastening. Nails that are too short will not hold the wood well. Nails that are too long can split the wood or stick out. The right size keeps tongue-and-groove and finish work neat and secure. Two main factors help pick the best nail size: length and gauge. Understanding these helps achieve a clean, lasting finish.
Length Considerations
The nail length depends on the thickness of the wood pieces. Nails should be long enough to go through the top board and into the base securely. A good rule is to use nails that are about twice the thickness of the material. For tongue-and-groove boards, nails usually range from 1 to 1.5 inches. Using the correct length avoids wood damage and ensures a strong hold.
Gauge Importance
Gauge means the thickness of the nail. Thicker nails hold better but can split thin wood. Thinner nails reduce splitting but may not hold as well. For finish work, thinner nails around 15 to 16 gauge work best. They leave smaller holes and look cleaner. Choosing the right gauge balances strength and appearance for a perfect finish.
Material And Coating Options
Nails used for fastening tongue-and-groove and finish work come in different materials and coatings. These options affect the nail’s strength, rust resistance, and appearance. Choosing the right nail material helps ensure a strong hold and a neat finish.
Materials and coatings protect nails from moisture and wear. They also prevent rust and corrosion. The best choice depends on the project type and environment. Below are common options for these nails.
Galvanized Nails
Galvanized nails have a zinc coating. This layer prevents rust and corrosion. They work well in damp or outdoor places. Galvanized nails last longer than plain nails. They are a good choice for tongue-and-groove wood in humid areas.
Stainless Steel Nails
Stainless steel nails resist rust completely. They do not corrode even in wet conditions. These nails are ideal for exterior finish work. Stainless steel nails cost more but offer the best durability. They keep your wood looking good for years.
Bright Nails
Bright nails have no coating. They are plain steel nails. These nails are best used indoors where moisture is low. Bright nails are cheaper but can rust fast. Use them only in dry, protected areas for finish work.
Nail Placement Techniques
Nail placement is key for strong and neat tongue-and-groove and finish work. Proper nailing keeps wood pieces tight and prevents damage. It also hides nails for a clean look. Different techniques suit different tasks and wood types. Choosing the right method improves durability and appearance.
Hidden Nailing
Hidden nailing hides nails inside the wood joint. Nails go through the tongue at an angle. This keeps nails out of sight. It creates a smooth surface without nail heads showing. Use this for tongue-and-groove boards and trim. It stops wood from splitting and holds pieces firmly.
Face Nailing
Face nailing drives nails straight into the board face. Nails are visible on the surface. This method is quick and easy. Use it where nail heads are not a problem. It works well for rough work or areas to cover later. Use finishing nails for less visible holes.
Angle Nailing
Angle nailing means driving nails at a slant. Nails enter the wood at a 45-degree angle. This technique pulls boards together tightly. It increases holding strength without splitting wood. Angle nailing suits finish work and hardwood flooring. It hides nails better than face nailing but is easier than hidden nailing.
Tools For Installing Nails
Nailing is a key step in installing tongue-and-groove and finish work. Choosing the right tools makes the job easier and more precise. Tools for installing nails vary from basic hammers to advanced nail guns. Each tool suits different needs and skill levels. Understanding these options helps achieve strong, clean results.
Hammer Types
Hammers remain the classic choice for nailing. A claw hammer is common for finish work. It offers control and the ability to remove nails easily. A finishing hammer has a smaller head and a smooth face. This design helps avoid marks on delicate wood surfaces. A lightweight hammer reduces fatigue during long projects. Using the right hammer ensures nails go in straight and flush.
Nail Guns
Nail guns speed up the process of fastening nails. They deliver nails quickly and with consistent force. Pneumatic nail guns use air pressure to shoot nails. Cordless nail guns run on batteries for easy movement. These tools reduce hand strain and increase productivity. Nail guns provide precise placement in tight spaces. Safety is important when using nail guns to prevent accidents.
Manual Vs. Power Tools
Manual tools give more control and feel during nailing. They work well for small or detailed projects. Power tools save time and effort on larger jobs. Nail guns reduce the risk of bent or misplaced nails. Beginners may find manual tools easier to handle. Experienced users often prefer power tools for speed. Choosing depends on project size, skill level, and budget.
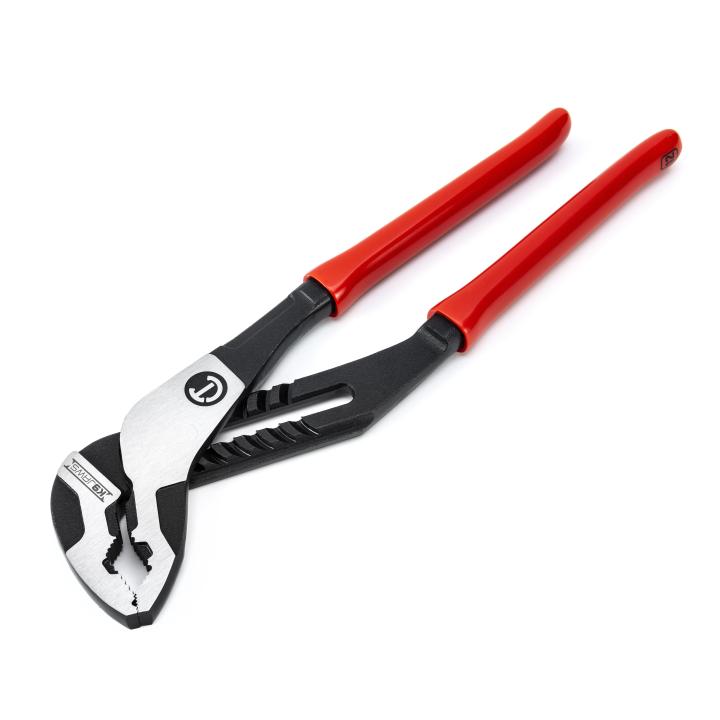
Credit: www.crescenttool.com
Common Mistakes To Avoid
Fastening tongue-and-groove and finish work requires care and attention. Mistakes during nailing can damage wood or weaken joints. Avoiding common errors helps achieve a clean and strong finish. Here are some frequent mistakes to watch out for.
Overdriving Nails
Driving nails too deep can ruin the wood surface. It leaves holes and dents that are hard to fix. Nails should sit flush or just below the surface. Use a nail set to gently tap nails below the wood. Avoid pounding nails too hard or fast.
Using Wrong Nail Types
Not all nails work well with tongue-and-groove or finish work. Thin or short nails may not hold pieces together. Thick nails can split the wood. Choose nails designed for trim work with the right length and thickness. Bright or galvanized nails suit different wood types and conditions.
Incorrect Spacing
Nails placed too close can crack the wood. Nails too far apart weaken the joint. Follow recommended spacing guidelines for strong, even fastening. Usually, nails should be 12 to 16 inches apart. Keep consistent spacing to avoid uneven surfaces or gaps.
Tips For Durable Finish Work
Durable finish work requires careful steps for a strong, lasting hold. The right nails help, but technique matters most. Small details can protect your wood and keep it looking great for years. Follow these tips to improve your finish work quality.
Pre-drilling
Pre-drilling holes prevents the wood from splitting. Use a drill bit smaller than the nail size. This makes nailing easier and keeps the wood smooth. Pre-drilling is especially important for hardwood and thin boards.
Nail Hole Filling
Fill nail holes to hide imperfections. Use wood filler that matches your wood color. Apply with a putty knife and smooth it out. Sand lightly after drying to blend the surface. This step gives a clean, polished look.
Proper Sealing
Seal your finish work to protect from moisture and dirt. Use a clear wood sealer or varnish. Apply thin, even coats and let each dry well. Proper sealing keeps the wood strong and looking fresh.
Frequently Asked Questions
What Nail Is Best For Fastening Tongue-and-groove?
The best nail for fastening tongue-and-groove is a finishing nail or a brad nail. These nails hold the boards securely without splitting the wood. They also leave a small, easy-to-fill hole for a smooth finish.
Why Use Finishing Nails For Finish Work?
Finishing nails are ideal for finish work because they are thin and have small heads. This makes them less visible and easier to conceal. They provide strong holding power while maintaining a clean, professional look on trim and moldings.
Can Brad Nails Be Used For Tongue-and-groove?
Yes, brad nails are often used for tongue-and-groove installation. They are thinner than finishing nails and reduce the risk of splitting the wood. Brad nails work well with delicate or narrow trim pieces.
What Size Nail Suits Tongue-and-groove Boards?
A 1 to 1. 5-inch finishing or brad nail is best for tongue-and-groove boards. This size provides enough holding strength without damaging the wood. It also keeps the nail head small for easy finishing.
Conclusion
Choosing the right nail makes a big difference in your project. Finish nails work best for tongue-and-groove and finish work. They hold pieces tightly without splitting the wood. Using the correct nail saves time and effort. It also gives your work a clean look.
Remember, small details like nail choice improve the final result. Keep your tools and materials in check for the best outcome. Simple steps lead to strong and neat finishes every time.