Are you tired of spending hours searching for the right fasteners in SolidWorks? Imagine a tool that can speed up your design process and make your assemblies more accurate.
Using Smart Fasteners in SolidWorks can do just that. This feature helps you add bolts, screws, and nuts automatically, saving you time and reducing errors. You’ll discover how to use Smart Fasteners step-by-step and unlock a smoother workflow. Ready to make your designs faster and smarter?
Let’s dive in.

Credit: www.youtube.com
Benefits Of Smart Fasteners
Smart fasteners in SolidWorks offer many benefits for designers and engineers. They help speed up the assembly process and ensure parts fit together correctly. Using smart fasteners means fewer mistakes and better final designs. These advantages improve workflow and save valuable time during projects.
Saving Time In Assembly
Smart fasteners automatically select the right screws and bolts for your design. They fit perfectly without extra adjustments. This cuts down the time spent placing each fastener by hand. Assemblies come together faster, letting you focus on other tasks.
Reducing Manual Errors
Manual fastener placement can cause mistakes like wrong sizes or missing parts. Smart fasteners reduce these errors by choosing the correct components based on your model. This lowers the chance of assembly problems and rework later.
Improving Design Accuracy
Smart fasteners maintain precise alignment and fit in your design. They adjust automatically to changes in parts or holes. This keeps your assembly accurate and ready for manufacturing without constant checks.
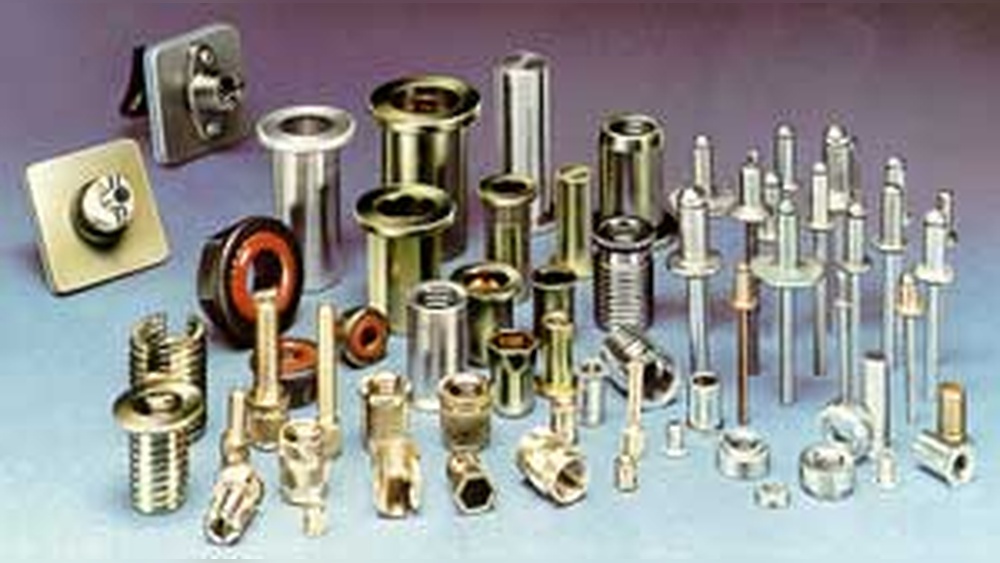
Credit: hawkridgesys.com
Accessing Smart Fasteners In Solidworks
Accessing Smart Fasteners in SolidWorks is simple and quick. These tools help add bolts, screws, and nuts to your design automatically. Using Smart Fasteners saves time and ensures accurate assembly models. This section shows how to find and set up Smart Fasteners in SolidWorks.
Locating The Toolbox
The Toolbox holds all the fasteners and hardware parts in SolidWorks. To find it, open the Task Pane on the right side of the screen. Click the “Design Library” tab. Inside the library, you will see the “Toolbox” folder. Click the folder to open it. You can browse different fastener types here. Each category has many sizes and styles. This is the main place to access Smart Fasteners.
Setting Up Design Library
For easy access, set up the Design Library on your computer. Open the SolidWorks options menu. Go to the “System Options” tab. Choose “File Locations” from the list. Select “Design Library” from the dropdown menu. Add the folder path where your Toolbox files are stored. This setup lets SolidWorks find the Toolbox quickly. It also helps share fasteners across projects. Keep your library organized for faster work.
Customizing Fastener Options
Smart Fasteners can be customized to fit your needs. Inside the Toolbox, click “Options” or “Configure.” You can select preferred fastener sizes and standards. Choose between metric or imperial units. Set default lengths and thread types. You can also add custom fasteners if needed. These settings save time when placing parts. Customization helps match your project’s requirements exactly.
Inserting Smart Fasteners
Inserting smart fasteners in SolidWorks saves time and improves design accuracy. This feature helps place fasteners quickly into holes. It ensures the right fastener fits perfectly with your model. Follow simple steps to use smart fasteners effectively.
Selecting Hole Types
Start by identifying the hole type in your design. SolidWorks recognizes standard hole types like countersunk, counterbore, and through holes. Select the correct hole type to match your design needs. This ensures the fastener fits and functions properly. Check your model for consistent hole dimensions before inserting fasteners.
Choosing Appropriate Fasteners
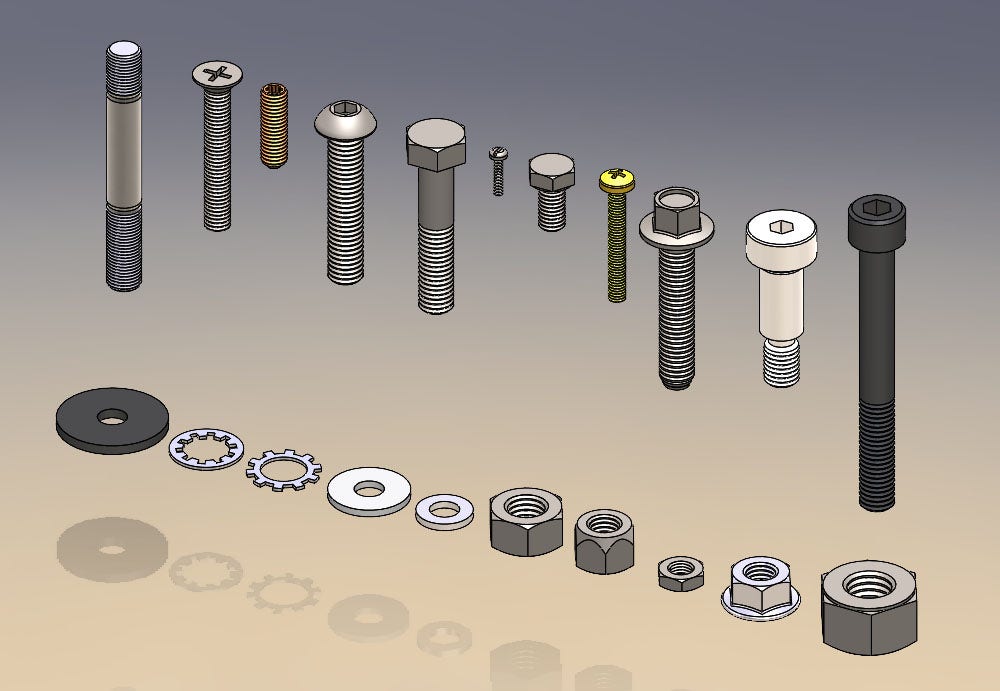
Pick fasteners that match the hole size and purpose. SolidWorks has a library of screws, bolts, nuts, and washers. Choose fasteners based on material and thread type. Select the right length and diameter for a secure fit. Proper fastener choice prevents assembly issues and improves strength.
Automating Fastener Placement
Use the smart fastener tool to automate placement. The software detects holes and inserts matching fasteners automatically. This reduces manual work and speeds up assembly creation. Review the placement to confirm all fasteners fit correctly. Adjust settings if needed to suit custom designs.
Modifying Fastener Properties
Modifying fastener properties in SolidWorks helps tailor your design to exact needs. Adjustments improve fit, strength, and appearance of assemblies. Understanding how to change these properties ensures better control over your projects.
Adjusting Dimensions
Start by selecting the fastener in your assembly. Use the property manager to change length, diameter, or thread size. Adjusting dimensions ensures the fastener fits perfectly in your design. Small changes can affect the overall assembly function.
Changing Material And Finish
Choose a material that suits your project needs. Change the finish to reflect the desired look or corrosion resistance. SolidWorks allows quick swaps between steel, aluminum, or plastic materials. Proper material selection improves strength and durability.
Updating Assembly Configurations
Modify fastener properties across different assembly configurations. This helps maintain consistency in varied design versions. Use configuration-specific settings to save time and avoid errors. Updating configurations keeps your model organized and flexible.
Tips For Maximizing Efficiency
Smart fasteners in SolidWorks save time and reduce errors. Using them efficiently makes your designs smoother. Follow these tips to get the most from smart fasteners and work faster.
Using Templates And Favorites
Create templates for common fasteners you use often. This way, you avoid searching for parts every time. Save your favorite fasteners to access them quickly. Templates and favorites keep your workflow simple and fast.
Leveraging Configurations
Use configurations to manage different sizes or types of fasteners in one file. Change fastener size or type without creating new parts. This helps you test and adjust designs quickly. Configurations keep your models organized and flexible.
Integrating With Boms
Link smart fasteners with your Bill of Materials (BOM). This connection updates BOMs automatically when you add or change fasteners. It reduces manual work and avoids mistakes. Integration with BOMs ensures accurate parts lists and faster project completion.

Credit: www.youtube.com
Troubleshooting Common Issues
Troubleshooting common issues with Smart Fasteners in SolidWorks can save time and reduce frustration. Problems often arise during design, but most have simple fixes. Understanding these quick solutions keeps your projects running smoothly.
Fixing Fastener Misalignment
Misaligned fasteners can cause assembly errors and weak connections. Check the mating surfaces carefully. Adjust the position of the fastener using the move tool. Ensure the fastener’s axis aligns with the hole axis. Use the “Align” option for precise placement. Small tweaks can fix most misalignment problems.
Resolving Compatibility Problems
Compatibility issues occur when fasteners do not fit or behave as expected. Confirm that the fastener size matches the hole dimensions. Check material compatibility to prevent design conflicts. Update your SolidWorks version to avoid bugs. Use standard fastener sizes to improve compatibility. Custom fasteners may require extra adjustments.
Updating Toolbox Libraries
Outdated Toolbox libraries cause missing or incorrect fasteners. Open the Toolbox settings to check the library version. Download and install the latest Toolbox updates. Sync your library with the SolidWorks version installed. Regular updates add new fasteners and fix errors. This keeps your designs accurate and efficient.
Frequently Asked Questions
What Are Smart Fasteners In Solidworks?
Smart fasteners automatically add bolts and screws in assemblies. They save time by detecting holes and applying appropriate fasteners. This feature ensures accurate and consistent hardware placement in your SolidWorks designs.
How Do I Enable Smart Fasteners In Solidworks?
To enable smart fasteners, open the assembly and go to the “Insert Components” tab. Click on “Smart Fasteners” and select the holes or faces. SolidWorks then inserts matching fasteners based on the selected geometry.
Can Smart Fasteners Be Customized In Solidworks?
Yes, smart fasteners can be customized. You can change fastener size, type, and properties. This allows for tailored assembly designs that meet specific project requirements.
Do Smart Fasteners Update Automatically With Assembly Changes?
Smart fasteners update when you add or remove holes in assemblies. SolidWorks automatically adjusts the fastener count and positioning. This keeps your design consistent and accurate throughout revisions.
Conclusion
Smart fasteners in SolidWorks save time and improve design accuracy. They fit easily into your projects without extra work. Using them helps keep your models organized and consistent. This simple tool makes assembly faster and reduces errors. Try adding smart fasteners to your next design.
You will see how much smoother your workflow can be. SolidWorks users benefit from this practical feature every day. Give it a go and simplify your design process.