Are you ready to install new cabinet hardware but unsure which drill bit size to use? Choosing the right drill bit is crucial—it ensures a perfect fit and prevents damage to your cabinets.
Using the wrong size can lead to loose handles or even cracked wood, turning a simple upgrade into a frustrating task. You’ll discover exactly what size drill bit you need to make your hardware installation smooth and successful. Keep reading to save time, avoid mistakes, and get professional-looking results every time.

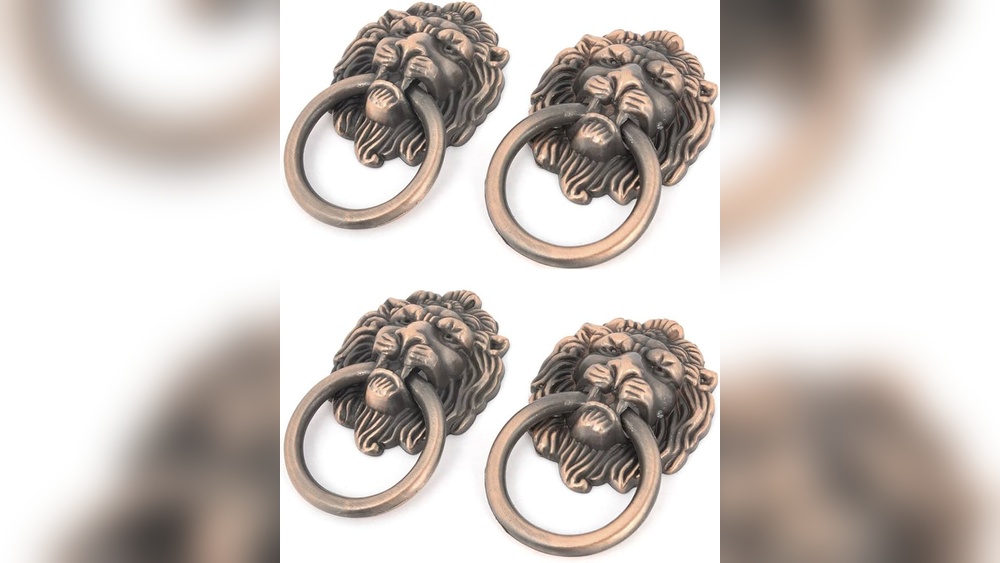
Credit: www.homedepot.com
Choosing The Right Drill Bit
Choosing the right drill bit is key for installing cabinet hardware. The right bit makes drilling easy and prevents damage. It also ensures the hardware fits well and stays secure. Picking the correct drill bit depends on the type of hardware, the material of the cabinet, and the hole size needed.
Types Of Drill Bits For Cabinet Hardware
Twist drill bits are common for wood and soft materials. They create clean, straight holes. Brad point bits are better for wood because they reduce splintering. Spade bits and hole saws cut larger holes for knobs or pulls. Use high-speed steel bits for metal parts of the hardware.
Material Considerations
Wood cabinets need bits designed for wood to avoid splintering. Hardwoods require sharper bits or brad point bits. Metal cabinets or hardware need metal drill bits made of cobalt or titanium. Always match the bit to the cabinet material for smooth drilling and no damage.
Matching Drill Bit Size To Hardware
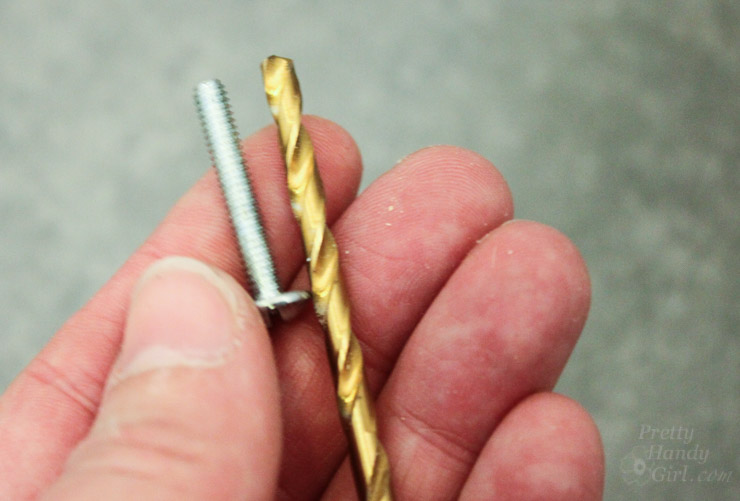
Check the screw or bolt size of your hardware first. The drill bit should be slightly smaller than the screw’s diameter. This helps the screw grip the wood firmly. Use a drill bit gauge or measure the hardware’s diameter for accuracy. Drilling the right hole size prevents loose or tight hardware fitting.
Measuring Drill Bit Size
Choosing the right drill bit size is key for installing cabinet hardware. The hole must fit the screw perfectly. Too small, and the screw won’t go in. Too big, and the hardware will be loose. Measuring the drill bit size carefully saves time and avoids mistakes. Use simple tools and techniques to get it right.
Understanding the size helps to match the drill bit with your screws. This step ensures a secure and neat installation. Below are some ways to measure the drill bit size accurately.
Using A Caliper For Accuracy
A caliper measures drill bit diameter precisely. It shows exact width in millimeters or inches. Place the drill bit between the caliper jaws. Read the number on the scale for the size. This tool helps avoid guesswork. It is useful for matching drill bits to screws or hardware holes.
Standard Vs Metric Sizes
Drill bits come in two main size systems: standard and metric. Standard sizes use inches, common in the US. Metric sizes use millimeters, popular worldwide. Knowing which system your hardware uses prevents errors. Some projects need converting sizes between systems. Measuring carefully helps pick the right drill bit for your cabinet hardware.
Common Sizes For Cabinet Screws
Cabinet screws often match drill bits from 3/32 inch to 3/16 inch. Metric sizes like 2.5mm to 5mm also fit well. Smaller screws need smaller bits for pilot holes. Larger screws require bigger drill bits for clearance. Check the screw size before drilling. This ensures a tight and safe fit for your cabinet hardware.
Preparing For Installation
Preparing for installation is the first step to install cabinet hardware correctly. It helps you avoid mistakes and ensures a neat finish. Taking time to prepare saves effort and keeps your cabinets looking great.
Marking Drill Points
Mark the exact spots where you will drill holes. Use a pencil or a fine-tip marker for clear marks. Measure twice to keep the holes straight and even. Consistent marks make installation easier and faster.
Drilling Pilot Holes
Use a drill bit smaller than the screw size to make pilot holes. These holes guide the screws and prevent wood from splitting. Drill straight and slow to keep control. Pilot holes help screws go in smoothly without damage.
Avoiding Wood Splitting
Wood splits when screws are forced without pilot holes. Choose a drill bit slightly smaller than the screw’s diameter. Drill gently and stop before the drill exits the wood. Use masking tape over the spot to reduce splintering. These steps keep your cabinet wood strong and clean.
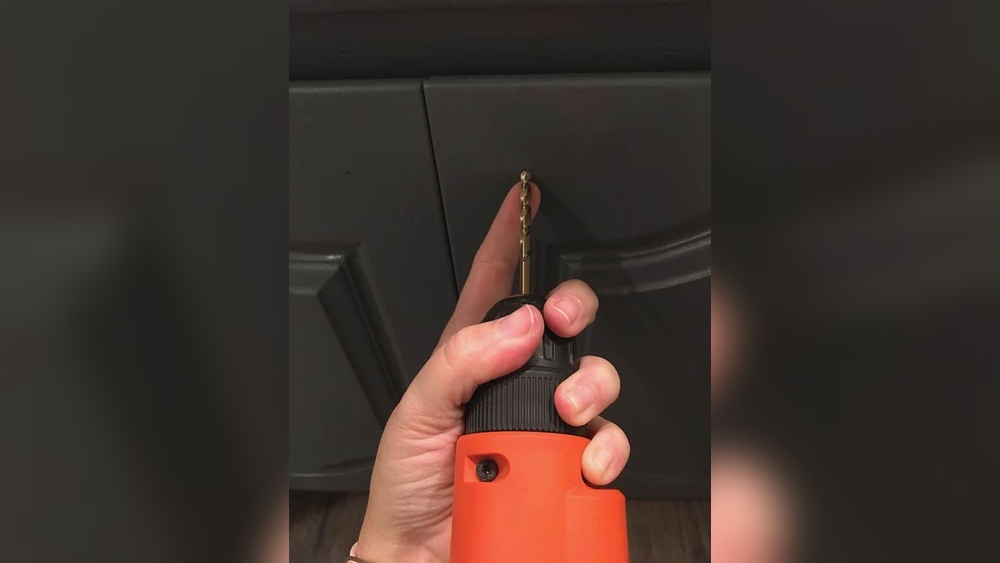
Credit: prettyhandygirl.com
Tips For Drilling Cabinet Hardware
Drilling cabinet hardware requires care and precision. Small mistakes can cause damage or misaligned holes. Follow these tips to drill clean, accurate holes. This helps your hardware fit well and look neat.
Using Drill Guides And Jigs
Drill guides and jigs keep your drill steady. They help you drill straight holes every time. Using these tools prevents slipping and uneven holes. They are especially useful for multiple holes. Save time and avoid errors by using guides.
Controlling Drill Speed
Use a slow drill speed for better control. Slow speed stops the bit from overheating. It also helps prevent wood splintering around the hole. Faster speeds work for soft materials but may cause damage. Adjust speed based on the material hardness.
Safety Precautions
Wear safety glasses to protect your eyes from dust and debris. Keep your hands away from the drill bit. Clamp the cabinet door or drawer to keep it stable. Check drill bits for damage before use. Follow these steps to stay safe and avoid accidents.
Troubleshooting Drilling Issues
Drilling holes for cabinet hardware can sometimes cause problems. These issues slow down the work and affect the final look. Knowing how to fix common drilling problems saves time and effort. It also helps keep your cabinets looking neat and professional.
Dealing With Oversized Holes
Oversized holes happen when the drill bit is too large or slips. The hardware may not fit tightly and can wobble. To fix this, use wood filler or toothpicks dipped in glue. Fill the hole and let it dry before drilling again. This creates a solid base and keeps the hardware secure.
Fixing Misaligned Holes
Misaligned holes can spoil the cabinet’s look and function. Cover the wrong hole with wood filler or a matching putty. Let it dry and sand it smooth. Mark the correct spot carefully using a measuring tape and level. Drill slowly and check alignment often to avoid mistakes.
Handling Hard Materials
Hard materials like hardwood or laminate need extra care. Use a sharp, high-quality drill bit designed for tough surfaces. Drill slowly and apply steady pressure. Start with a small pilot hole to guide the larger bit. This prevents cracks and keeps the hole clean and precise.
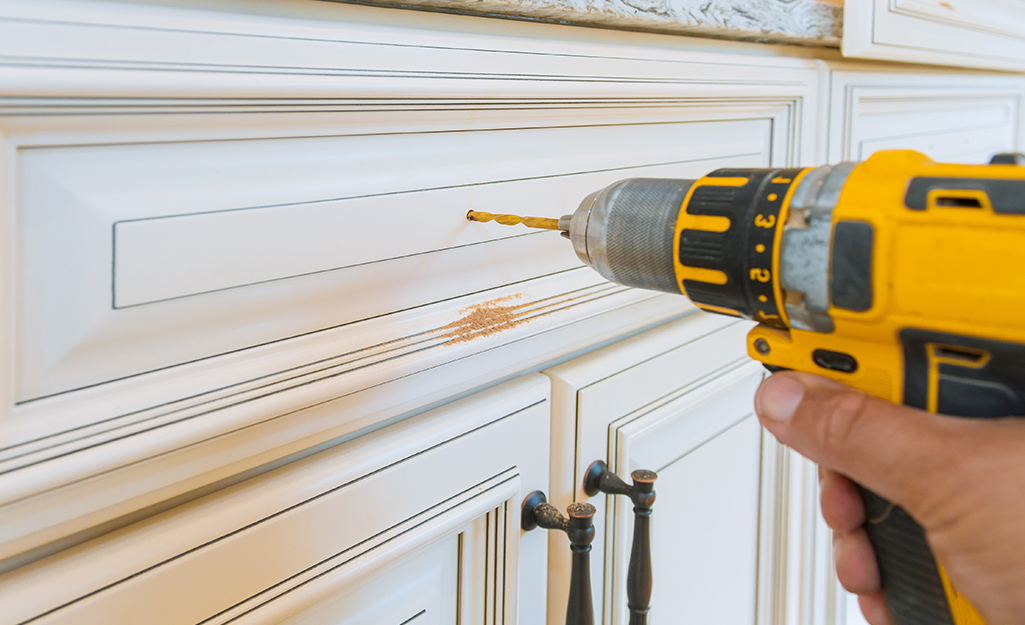
Credit: www.homedepot.com
Frequently Asked Questions
What Drill Bit Size Fits Most Cabinet Hardware?
A 3/16 inch drill bit is commonly used for most cabinet hardware installations. It fits standard screws and prevents wood splitting, ensuring a secure fit.
How To Choose Drill Bit Size For Cabinet Handles?
Match the drill bit diameter to the screw size provided with the handles. Check the hardware packaging or measure screws for accurate drilling.
Can I Use A Larger Drill Bit For Cabinet Knobs?
Using a larger bit can cause loose fittings. Always use the recommended size for a snug, stable installation.
What Drill Bit Size Is Needed For Cabinet Drawer Pulls?
Most drawer pulls require a 3/16 inch drill bit. This size accommodates typical mounting screws and ensures proper alignment.
Conclusion
Choosing the right drill bit size makes installing cabinet hardware easier. Measure the screw diameter before drilling any holes. Use a drill bit slightly smaller than the screw for a tight fit. This prevents hardware from loosening over time. Always test on scrap wood to avoid mistakes.
Proper tools save time and keep cabinets secure. Simple steps lead to better results and a neat finish. Now, your cabinet hardware will stay strong and look great.