Are your cabinet handles and knobs looking grimy and worn out? Dirty cabinet hardware can make your entire kitchen or bathroom feel less inviting, even if everything else is spotless.
But you don’t have to live with dull, sticky, or tarnished pulls and hinges. Imagine restoring them to their original shine with simple steps you can do yourself. You’ll discover easy and effective ways to clean your cabinet hardware, saving you time and money while giving your space an instant refresh.
Ready to bring back that sparkle? Let’s get started.
Tools And Materials Needed
Cleaning cabinet hardware is easier with the right tools and materials. Having everything ready saves time and effort. It also helps protect your hardware from damage.
Some supplies work for most cleaning jobs. Others target specific types of hardware or stains. Knowing what to use makes the process smooth and effective.
Common Cleaning Supplies
Start with soft cloths or microfiber towels. They clean without scratching surfaces. Use mild dish soap mixed with warm water for gentle cleaning. A small bowl or bucket holds the solution.
Old toothbrushes or soft-bristle brushes reach tight spots. They remove dirt and grime easily. Paper towels help dry the hardware after cleaning.
Specialized Hardware Cleaners
Certain metals need special cleaners. Brass, bronze, and copper respond well to metal polish. Use polish sparingly to avoid buildup.
For stainless steel or chrome, choose cleaners made for those finishes. Avoid harsh chemicals that can dull or damage hardware. Always test cleaners on a small area first.
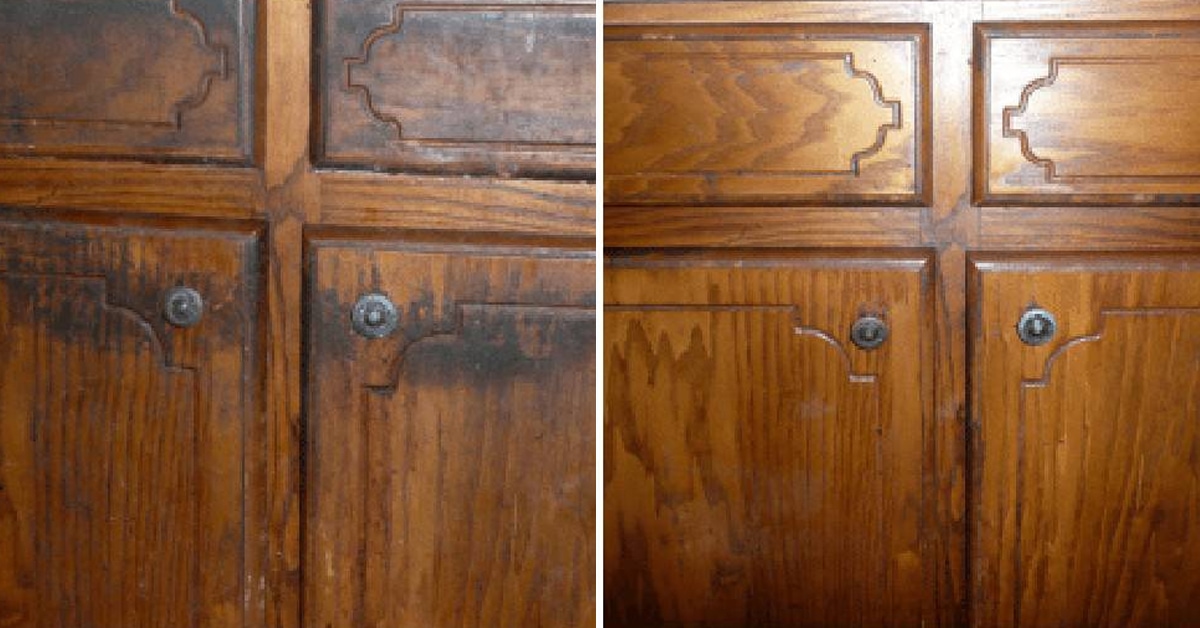
Credit: www.decoranddecor.com
Preparing The Workspace
Preparing the workspace is an important step before cleaning dirty cabinet hardware. A clean and organized area helps make the process smooth and safe. It also protects your cabinets and surrounding surfaces from damage. Taking time to set up your workspace saves effort later.
Removing Hardware Safely
Start by clearing the area around the cabinet. Use a screwdriver to remove handles and knobs carefully. Keep all screws and small parts in a container to avoid losing them. Avoid forcing hardware off, as this can cause scratches or dents. Work slowly and gently to protect both hardware and cabinets.
Protecting Surfaces
Lay down a soft cloth or towel under the cabinet doors. This prevents scratches and catches dirt or drips during cleaning. Cover nearby countertops with newspaper or plastic sheets. Avoid harsh cleaners on wood or painted surfaces to keep them intact. Protecting surfaces ensures a clean, damage-free workspace.
Cleaning Techniques
Cleaning cabinet hardware is simple with the right techniques. Dirt and grime build up over time. Regular cleaning keeps them looking fresh and new.
Try different methods depending on the material and dirt level. Some tools and ingredients are easy to find at home. Use gentle actions to avoid damage.
Soaking And Scrubbing
Remove hardware from cabinets first. Soak pieces in warm, soapy water for 10 to 15 minutes. This loosens dirt and grease.
Use a soft brush or toothbrush to scrub gently. Focus on crevices and detailed areas. Rinse with clean water and dry with a soft cloth.
Using Baking Soda And Vinegar
Make a paste with baking soda and water. Apply the paste to hardware surfaces. Let it sit for 10 minutes to break down grime.
Spray or pour a little vinegar over the paste. It will bubble and help lift dirt. Scrub gently with a brush, rinse well, and dry.
Polishing With Toothpaste
Use plain white toothpaste, not gel types. Apply a small amount to a soft cloth or toothbrush. Rub the hardware gently in circles.
Toothpaste cleans and polishes metal surfaces. Wipe off residue with a damp cloth. Buff with a dry cloth to restore shine.
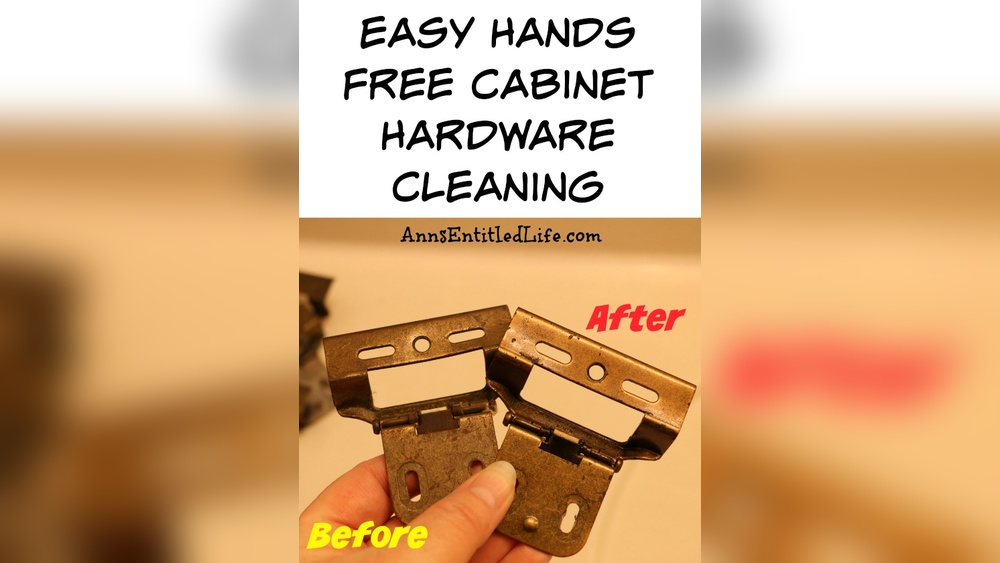
Credit: www.everydaycheapskate.com
Tackling Stubborn Stains
Cabinet hardware often faces tough stains that simple cleaning can’t fix. Dirt, rust, and tarnish build up over time. These stains need special care to restore shine and function. Tackling stubborn stains requires patience and the right methods. This section guides you through easy steps to remove rust and tarnish safely.
Rust Removal Tips
Rust forms when metal meets water and air. Use white vinegar to soak small hardware parts. Let them sit for 30 minutes. Scrub gently with a soft brush to remove rust. For larger pieces, apply a paste of baking soda and water. Leave it for 15 minutes before scrubbing. Always dry hardware completely to stop rust from returning.
Handling Tarnish
Tarnish dulls metal finishes, especially on brass or silver. Mix lemon juice with a pinch of salt. Rub this mix on tarnished spots using a soft cloth. Rinse with warm water and dry well. Another option is a commercial metal polish. Follow the instructions carefully for best results. Regular cleaning prevents tarnish from building up again.
Drying And Reinstalling Hardware
After cleaning your cabinet hardware, drying and reinstalling are key steps. Proper drying prevents rust and water damage. Secure reattachment ensures the hardware stays in place and functions well. Take time with these steps for best results.
Proper Drying Methods
Use a soft cloth to dry each piece carefully. Avoid air drying, as moisture can cause rust. Pat the hardware gently to remove all water drops. Let it sit on a dry towel for a few minutes. Make sure no water hides in small crevices.
Secure Reattachment
Line up each piece with its original spot on the cabinet. Use a screwdriver to tighten screws firmly but not too tight. Check that handles or knobs do not wiggle. Tighten loose screws again if needed. Test the hardware by opening and closing the cabinet doors.
Maintaining Sparkling Hardware
Keeping your cabinet hardware shining adds beauty to your entire kitchen or bathroom. Bright handles and knobs make the space look clean and fresh. Dirt and grime build up fast, so regular care is key. A little effort keeps hardware sparkling longer and saves time on deep cleaning later.
Regular Cleaning Schedule
Set a weekly or bi-weekly cleaning routine. Use a soft cloth and mild soap to wipe each piece. Avoid harsh cleaners that can damage finishes. Dry hardware completely after cleaning to stop water spots. Frequent gentle cleaning stops buildup and keeps hardware bright.
Protective Coatings
Apply a thin layer of clear wax or a special metal polish. These coatings shield hardware from dirt and moisture. They make future cleaning easier and protect against tarnish. Reapply protective coatings every few months for best results. This simple step extends the life of your cabinet hardware.
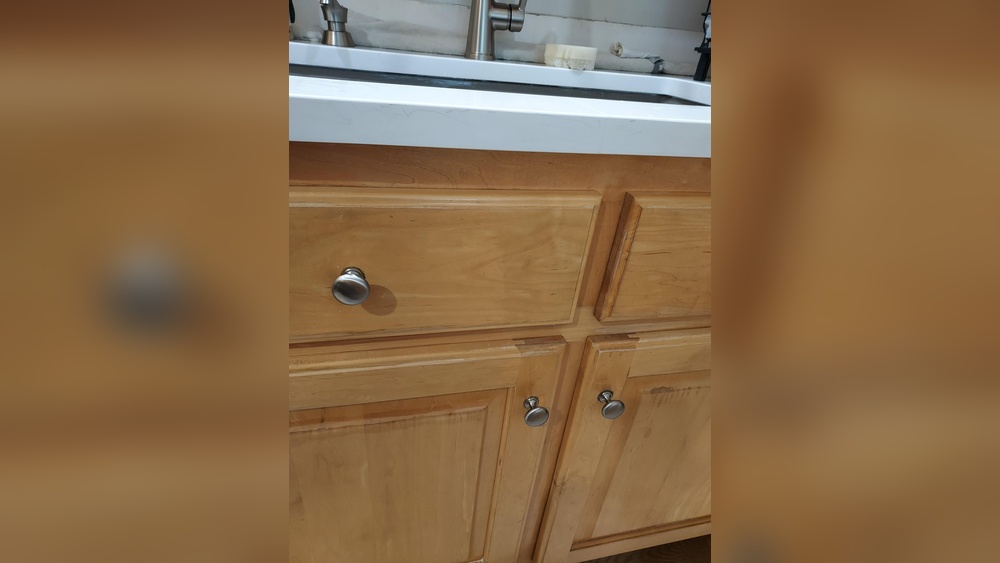
:max_bytes(150000):strip_icc()/debi-traub-kitchen-renovation-sink-window-1117_vert-ocms-2000-a7676236c9c548e3bbcc90e7b28b06ca.jpg)
Credit: www.marthastewart.com
Frequently Asked Questions
How Do I Remove Grease From Cabinet Hardware?
To remove grease, use warm soapy water and a soft cloth. For tough grease, apply a mixture of baking soda and water. Gently scrub, then rinse and dry thoroughly to avoid residue and damage.
What Household Items Clean Cabinet Hardware Effectively?
Common household items like vinegar, baking soda, and lemon juice work well. These natural cleaners cut through grime safely. Use a soft cloth or toothbrush for detailed cleaning and rinse with water afterward.
Can I Clean Cabinet Hardware Without Removing It?
Yes, you can clean hardware in place using a soft cloth and mild cleaner. Avoid soaking to prevent damage. For detailed cleaning, use a toothbrush to reach crevices without removal.
How Often Should I Clean Cabinet Hardware?
Clean cabinet hardware every 1-2 months to maintain shine and hygiene. Frequent cleaning prevents buildup of dirt and grease, keeping your kitchen looking fresh and well-maintained.
Conclusion
Cleaning cabinet hardware does not have to be hard. Use simple tools and gentle cleaners for best results. Regular cleaning keeps your cabinets looking fresh and new. Small efforts make a big difference over time. Keep your hardware shiny and free from dirt.
Enjoy a cleaner, brighter kitchen or bathroom space. Try these easy steps for quick results. Your cabinets will thank you.