Are you tired of dealing with messy wires every time you want to control your lights? Imagine turning your lights on and off with just a tap—no complicated wiring, no hassle.
Connecting a wireless light switch is easier than you think, and it can instantly upgrade the convenience of your home. In this guide, you’ll discover simple steps to set up your wireless light switch quickly and safely. Keep reading, and by the end, you’ll have the power to control your lighting with ease—giving your space a smart, modern touch.
Benefits Of Wireless Light Switches
Wireless light switches offer many benefits for homes and offices. They make controlling lights easier without the need for wires. These switches improve comfort and save energy. They also work well with smart home devices. Understanding their advantages helps decide if they suit your needs.
Convenience And Flexibility
Wireless light switches allow control from anywhere in the room. No need to walk to the switch. You can place the switch wherever it is easiest to reach. Moving or adding switches is simple. No rewiring or drilling is necessary. This flexibility fits changing room layouts and personal preferences.
Energy Efficiency
These switches help reduce electricity use. You can turn off lights quickly from any spot. Some models include timers or motion sensors. Lights only stay on when needed. Saving energy lowers electric bills. It also benefits the environment by reducing waste.
Smart Home Integration
Wireless light switches often connect with smart home systems. Control lights using apps or voice commands. They work with assistants like Alexa or Google Home. You can set schedules and scenes easily. This integration adds comfort and modern convenience to your space.

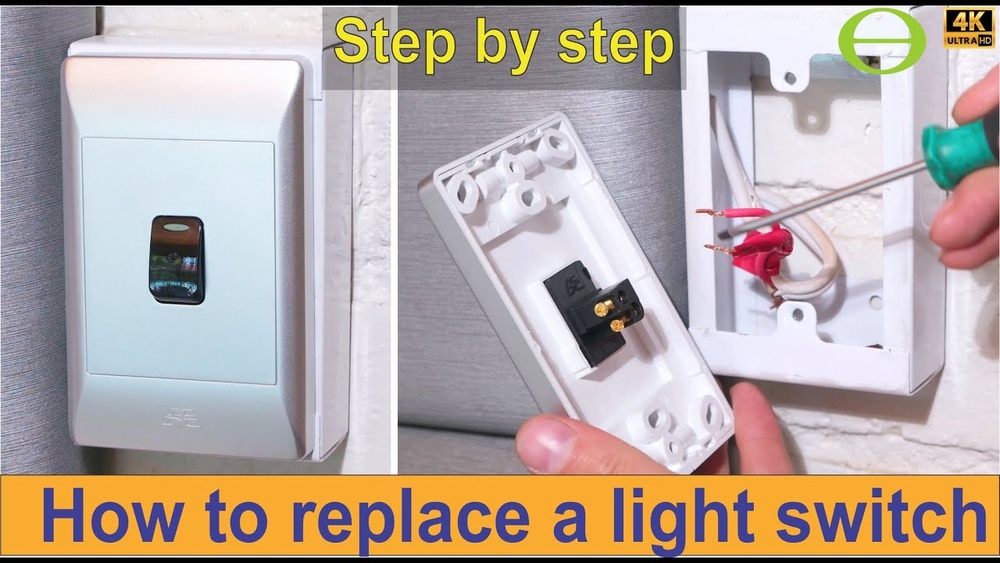
Credit: www.youtube.com
Types Of Wireless Light Switches
Wireless light switches offer different ways to control your lights without wires. Each type has unique features to match various needs and setups. Understanding these types helps you choose the best one for your home or office.
Battery-powered Switches
Battery-powered switches work without any wiring. They use small batteries to send signals to the light fixture. These switches are easy to install and move around. Perfect for places where wiring is difficult or not possible. Batteries usually last a long time before needing replacement.
Wired With Wireless Control
This type connects to your home’s wiring but also offers wireless control. It combines the reliability of wired power with the freedom of wireless operation. You can control the lights using a remote or wall switch. Ideal for upgrading old switches without full rewiring.
Smart Switches With App Control
Smart switches connect to your Wi-Fi network. You control them through a smartphone app. These switches often work with voice assistants too. They allow scheduling, dimming, and remote access from anywhere. Great for tech lovers who want full control over their lighting.
Tools And Materials Needed
Before starting the installation of a wireless light switch, gather all necessary tools and materials. Being prepared helps the process go smoothly and saves time. This section lists the key items needed for a safe and successful setup.
Basic Tools
A few simple tools are essential for this task. You will need a screwdriver to remove and attach switch covers. A wire stripper helps prepare the wires for connection. A voltage tester ensures no electricity flows while working. Pliers assist in bending or twisting wires if needed. Finally, a drill may be useful to mount the receiver or switch if required.
Safety Equipment
Safety must come first when working with electrical parts. Use insulated gloves to protect your hands from shocks. Safety glasses shield your eyes from dust or wire debris. Wear shoes with rubber soles to avoid grounding yourself. Always turn off the main power before starting any electrical work. Keep a flashlight handy in case of poor lighting.
Compatible Switches And Receivers
Choose wireless switches and receivers that match your lighting system. Check the voltage rating to fit your home’s electrical setup. Select switches that communicate well with the receiver for reliable control. Some models come with dimming functions if you want to adjust light levels. Confirm the range suits the distance between the switch and receiver.
Preparing For Installation
Preparing for the installation of a wireless light switch is a key step. It ensures safety and smooth setup. Taking time to prepare helps avoid mistakes and saves time later. Follow these simple steps before you start the installation.
Turn Off Power Supply
Always switch off the power at the circuit breaker. This prevents electric shocks during work. Use a voltage tester to confirm the power is off. Safety first.
Remove Existing Switch
Take off the wall plate covering the old switch. Unscrew the switch from the electrical box carefully. Gently pull the switch out to expose the wires. Keep track of where each wire connects.
Check Wiring Compatibility
Compare the wires of the old switch and the new wireless switch. Most wireless switches need a neutral wire. Check if your home wiring includes a neutral wire. Proper compatibility avoids problems later.
Step-by-step Installation Guide
Installing a wireless light switch is simpler than you might think. Follow each step carefully to ensure proper setup. This guide breaks down the process into clear, easy stages. You will learn how to mount the receiver, connect the switch, and pair the devices. Let’s begin.
Mounting The Receiver
First, find a good spot near your light fixture. The receiver needs power to work properly. Turn off the main power to avoid electric shock. Attach the receiver box inside the light fixture or the ceiling box. Use screws or mounting tape as provided. Make sure the wires are not loose or touching each other.
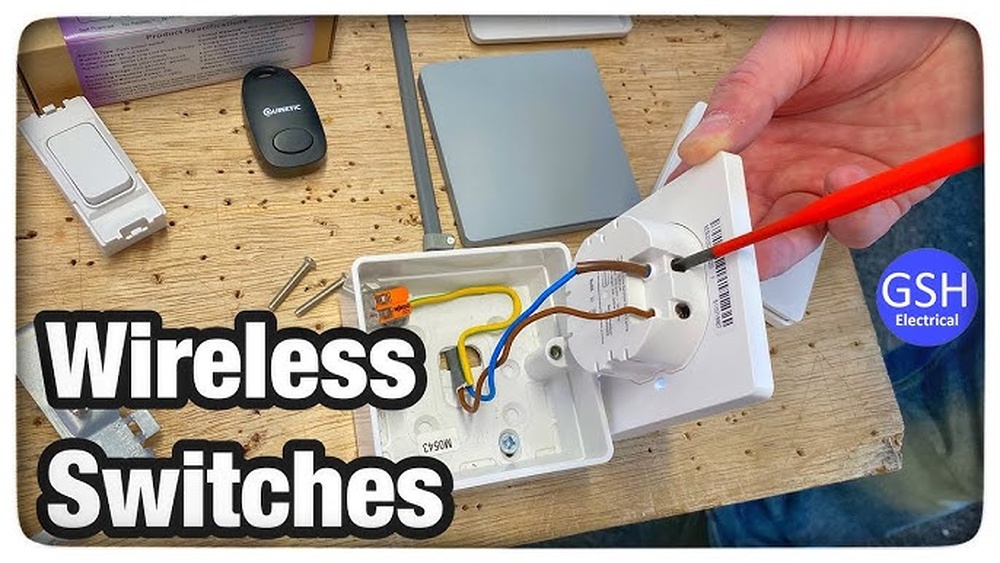
Connecting The Switch
Next, connect the wireless switch to its power source. Remove the old switch if there is one. Attach the new switch wires to the wall wires. Usually, this means connecting live, neutral, and ground wires. Secure all wire connections with wire nuts. Place the switch into the wall box and fix it with screws. Restore power to test the connections later.
Pairing The Devices
Now, pair the switch with the receiver. Press the pairing button on the receiver. Then, press the switch button within 30 seconds. The light should blink or turn on to confirm pairing. Test the switch by turning the light on and off. Repeat the process if pairing fails. This step ensures the switch controls the light wirelessly.

Credit: www.homedepot.com
Testing The Wireless Switch
Testing the wireless light switch is an important step to ensure it works correctly. This step confirms the switch communicates with the light fixture. It also helps to catch any problems early. Testing is simple and quick.
Power On And Initial Test
Start by turning on the power to the switch. Press the wireless switch button. The connected light should turn on or off. Listen for any sounds from the switch. This means it is sending signals. Check if the light responds every time you press the switch.
Troubleshooting Common Issues
If the light does not respond, check the battery in the switch. Replace it if it is low or dead. Make sure the switch and receiver are paired correctly. Keep the switch close to the receiver during testing. Walls and distance can block signals. Reset the switch and try pairing again if needed.
Tips For Maintaining Wireless Switches
Maintaining wireless light switches helps them work longer and better. Small steps keep your switches reliable and responsive. Routine care stops problems before they start. Follow these simple tips to keep your wireless switches in top shape.
Battery Replacement
Check the battery life regularly. Weak batteries cause switches to fail or lag. Replace batteries as soon as the switch shows signs of low power. Use the type recommended by the manufacturer. Always keep spare batteries nearby for quick replacement.
Firmware Updates
Wireless switches often have firmware that controls their functions. Update the firmware to fix bugs and add features. Check for updates on the manufacturer’s app or website. Install updates promptly for smooth and secure operation.
Optimizing Signal Range
Place switches within the recommended distance from the receiver. Walls and furniture can block signals. Move the receiver or switch if the connection is weak. Avoid interference from other wireless devices for better range. Clear line of sight helps maintain a strong signal.

Credit: www.electricaltechnology.org
Frequently Asked Questions
How Do I Pair A Wireless Light Switch?
To pair a wireless light switch, press the pairing button on the switch. Then, activate the receiver or smart hub. Wait for a confirmation light or signal that pairing is successful. Refer to your device’s manual for specific steps.
Can I Install A Wireless Light Switch Myself?
Yes, installing a wireless light switch is usually simple. Most models are battery-powered and require no wiring. Just mount the switch and sync it with your light fixture. Always follow the manufacturer’s instructions for safety.
What Are The Benefits Of Wireless Light Switches?
Wireless light switches offer easy installation and flexible placement. They reduce wiring costs and allow remote control. These switches enhance convenience and can integrate with smart home systems for automation.
Are Wireless Light Switches Compatible With All Lights?
Most wireless light switches work with standard bulbs, LEDs, and fixtures. However, compatibility depends on the switch type and receiver. Always check product specifications to ensure it matches your lighting setup.
Conclusion
Connecting a wireless light switch is simple and practical. Just follow the steps carefully to avoid mistakes. Wireless switches offer convenience without messy wires. You can control lights from anywhere in the room. Many models work with smart home systems too.
Take your time to read the instructions well. Double-check connections before powering on the device. Enjoy the freedom of wireless lighting control today. It makes your home safer and more comfortable. Small effort, big difference.