Is your bathroom light pull switch not working properly? You’re not alone, and the good news is you don’t have to call an electrician right away.
Fixing a bathroom light pull switch can be simple if you know the right steps. You’ll discover easy, clear instructions to get your light working again quickly and safely. Keep reading, because by the end, you’ll feel confident handling this common problem on your own.
Your bathroom light is just a few fixes away from shining bright again!

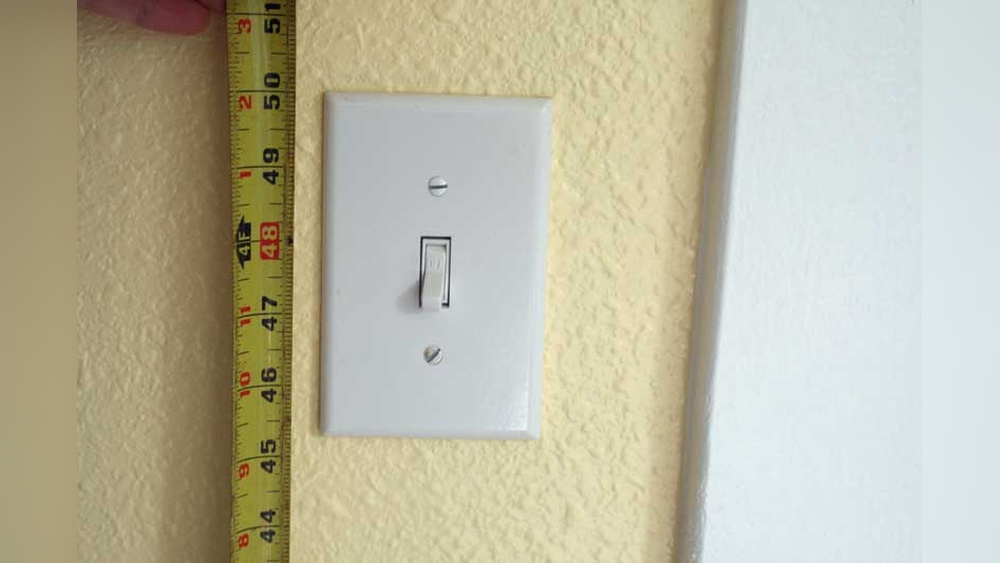
Credit: www.reddit.com
Tools And Materials Needed
Fixing a bathroom light pull switch is simple with the right tools. Having the correct materials ready makes the job faster and safer. This section lists all tools and materials needed for this repair.
Basic Tools
A flathead screwdriver is essential to open the switch cover. A Phillips screwdriver helps remove screws inside the switch. Needle-nose pliers are useful for handling small wires. Wire strippers prepare wires for new connections.
Safety Equipment
Use insulated gloves to protect from electric shocks. Safety goggles shield your eyes from dust or debris. A voltage tester ensures the power is off before starting work.
Replacement Parts
Get a new pull switch that matches your bathroom light. Electrical tape helps secure wire connections. Wire connectors join wires safely and prevent shorts.
Additional Materials
A small flashlight helps see inside dark spaces. A ladder or step stool gives easy access to the switch. A clean cloth wipes dust from the area before repair.
Safety Precautions
Working with electrical switches can be risky. Safety must be your top priority. Taking the right precautions protects you from shocks and injuries. Follow these simple steps before fixing your bathroom light pull switch.
Turn Off The Power
Always switch off the power at the main circuit breaker. Do not rely on the wall switch alone. Use a voltage tester to ensure no electricity is flowing. Safety first.
Use Proper Tools
Use insulated tools designed for electrical work. Avoid metal tools without insulation. This reduces the risk of electric shock. Keep your tools organized and within reach.
Wear Safety Gear
Wear rubber-soled shoes to avoid grounding. Use safety glasses to protect your eyes. Gloves with electrical insulation add extra safety. Take no chances with bare hands.
Check For Water And Moisture
Make sure the area around the switch is dry. Water and electricity do not mix. Wipe the switch and your hands before starting. Avoid working in wet conditions.
Work In A Well-lit Area
Good lighting helps you see wires clearly. Use a portable lamp if needed. A well-lit space reduces mistakes. Focus on each step carefully.
Identifying The Problem
Before fixing a bathroom light pull switch, find the exact problem. This step saves time and avoids unnecessary work. Check different parts of the light system carefully. Understanding the issue helps choose the right fix.
Check The Light Bulb
Start with the light bulb. A burnt-out bulb is a simple cause of no light. Remove the bulb and look for a broken filament or dark spots inside. Replace it with a new bulb to see if the light works again. This quick check often solves the problem.
Inspect The Pull Switch Mechanism
Next, look at the pull switch itself. Pull the chain to see if it feels loose or stuck. A broken or worn switch may not complete the circuit. Watch for any parts that seem damaged or disconnected. Sometimes, the switch needs tightening or replacement.
Examine The Wiring
Check the wiring connected to the switch. Turn off the power before touching wires. Look for loose, frayed, or damaged wires. Poor connections can stop the light from working. Tighten or replace wires if needed. Proper wiring ensures safe and reliable operation.
Turning Off Power
Turning off the power is the first and most important step before fixing a bathroom light pull switch. It keeps you safe from electric shocks. Never touch wires or switches without cutting the electricity first.
Always make sure the power is off to avoid accidents. Safety matters the most when working with electrical parts.
Locate The Correct Circuit Breaker
Find your home’s main electrical panel. Look for the breaker that controls the bathroom lights. It may be labeled, but if not, test each switch carefully.
Switch Off The Circuit Breaker
Flip the breaker to the off position. This stops electricity from reaching the bathroom light switch. Double-check by trying the light pull switch to see if it works.
Use A Voltage Tester
Use a voltage tester to confirm no electricity flows to the switch. Touch the tester probes to the switch terminals. No light or sound means it is safe to work.
Removing The Old Pull Switch
Removing the old pull switch is the first step to fixing your bathroom light. This process is simple but needs care. Safety is very important when working with electrical parts.
Before starting, turn off the power at the breaker. This stops any risk of electric shock. Use a voltage tester to make sure the power is off. Now, you are ready to remove the old switch.
Gather Your Tools
Prepare a screwdriver, voltage tester, and a small container. The container will hold screws and small parts. Having tools ready makes the job easier and faster.
Remove The Switch Cover
Unscrew the switch cover carefully. Put the screws in the container. Gently pull the cover away from the wall. This exposes the pull switch and wiring.
Disconnect The Wiring
Use the voltage tester to check the wires again. Unscrew the wire connectors or loosen the screws holding wires. Remember which wire connects where. Take a photo if needed. Remove the wires from the old switch.
Take Out The Old Pull Switch
Unscrew the pull switch from the wall box. Pull the switch out slowly. Keep the wires clear to avoid damage. The old switch is now ready to be replaced.
Installing The New Pull Switch
Installing the new pull switch is a key step in fixing your bathroom light. This process requires careful handling of electrical parts. Follow the steps closely to ensure safety and proper function.
Connect The Wiring
First, identify the wires coming from the wall. Usually, there are two wires to connect to the switch terminals. Match the wires to the correct terminals on the new pull switch. Tighten the screws to hold the wires firmly. Make sure no bare wire is exposed outside the terminal. Loose wires can cause shorts or poor connection. Double-check the wiring before moving to the next step.
Secure The Switch In Place
Push the connected switch back into the wall box. Align it properly with the mounting holes. Use screws to fasten the switch securely to the wall. Avoid overtightening the screws to prevent damage. Attach the switch cover plate over the switch. This protects the wiring and gives a finished look. Test the switch by pulling the cord to confirm it works well.
Testing The Repair
Testing the repair is the final step to ensure the bathroom light pull switch works properly. It confirms that the switch connects and disconnects power safely. This step prevents future electrical problems and ensures your light turns on and off smoothly.
Prepare The Area For Testing
Clear the area around the switch to avoid accidents. Make sure hands are dry before touching the switch. Check that all wires are secure and no tools are left inside the switch box. Safety first.
Turn The Power Back On
Switch on the circuit breaker or fuse that powers the bathroom light. Do this slowly to avoid sudden electrical surges. Watch for any sparks or unusual sounds near the switch as power returns.
Operate The Pull Switch
Gently pull the switch cord to turn the light on. Hold the cord briefly, then pull again to turn the light off. Repeat this several times to check the switch’s reliability and smooth operation.
Look For Any Issues
Listen for buzzing or crackling sounds. Notice if the light flickers or stays off. If the switch feels loose or stiff, the repair might need adjustment. Fix these problems before using the switch daily.
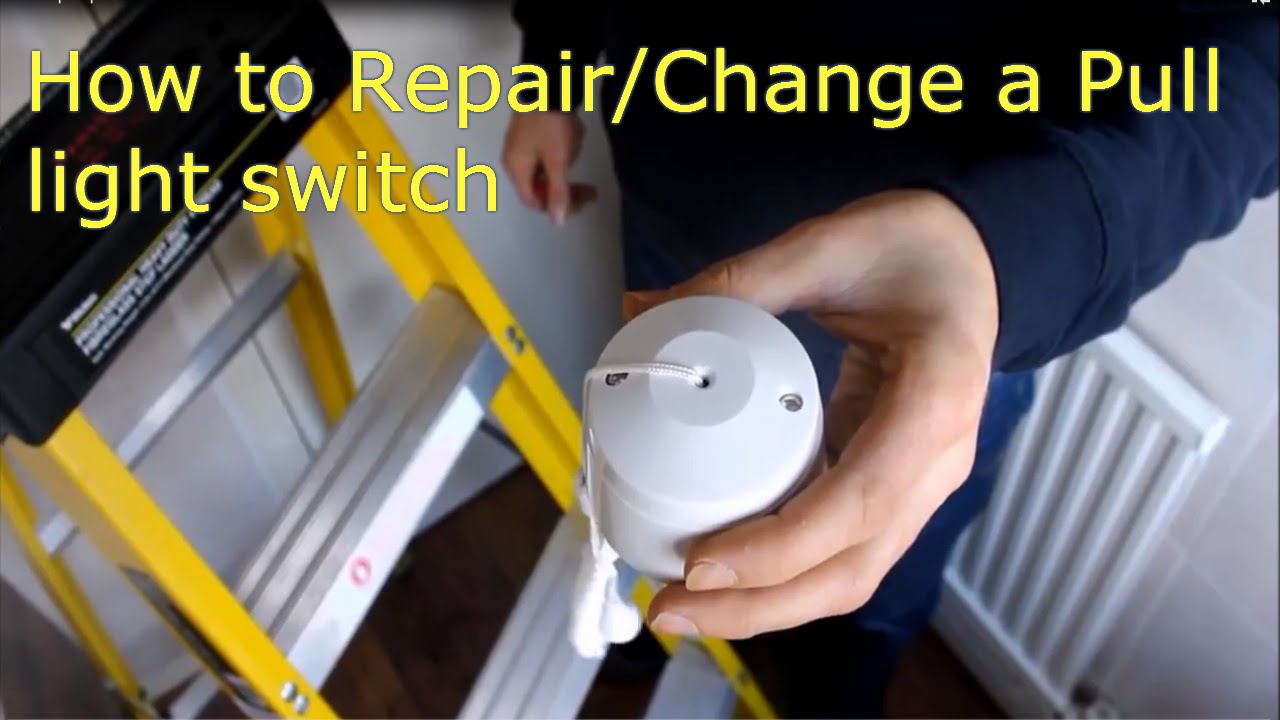
Credit: www.youtube.com
Troubleshooting Common Issues
Troubleshooting common issues with a bathroom light pull switch helps save time and effort. Many problems have easy fixes. Checking each part carefully avoids replacing the entire switch. Small faults can cause big annoyances.
Start by examining the switch and wiring. Look for loose connections or damaged parts. A steady approach finds the root of the problem. This section covers typical issues and how to handle them safely.
Switch Still Not Working
Check if the switch is properly connected to the power source. Loose wires can stop the switch from working. Turn off the power before touching any wires. Tighten any loose connections with a screwdriver. Use a voltage tester to see if power reaches the switch.
Sometimes, the switch itself is faulty. Replacing it with a new one can fix the issue. Make sure the new switch matches the old one in size and type. If unsure, consult an electrician for help. Avoid forcing the switch or wires during inspection.
Light Flickers Or Intermittent Function
Flickering lights often mean a poor connection. Check the wiring inside the switch and the light fixture. Loose or damaged wires cause unstable power flow. Secure all wire connections firmly. Replace any frayed or broken wires immediately.
Another cause is a worn-out switch mechanism. Over time, parts inside the switch wear down. A smooth pull may become difficult or inconsistent. Replacing the switch usually stops flickering and restores normal function. Remember to always cut off electricity before repairs.
Maintenance Tips
Maintaining your bathroom light pull switch keeps it working smoothly and safely. Regular care helps avoid common problems and extends the switch’s life. Small checks can prevent bigger repairs later.
Clean The Switch Regularly
Dust and dirt can build up on the pull switch. Use a dry cloth to wipe the surface every few weeks. Avoid water or cleaning liquids to stop electrical damage.
Check For Loose Connections
Loose wires cause the switch to fail or spark. Turn off the power and inspect the wiring inside the switch box. Tighten any loose screws carefully for a solid connection.
Test The Pull Cord
Pull cords wear out or break over time. Pull the switch gently to see if it moves smoothly. Replace the cord if it feels stiff or frayed to prevent it snapping.
Replace Old Or Damaged Switches
Switches older than 10 years may become unreliable. If the switch flickers or does not work well, buy a new one. Installing a fresh switch improves safety and function.
Keep The Switch Dry
Moisture causes corrosion and electrical problems. Avoid splashing water on the switch area. If the bathroom is very humid, use a fan or open a window to reduce moisture.

Credit: www.snapperrockssurfridersclub.com
Frequently Asked Questions
How Do I Safely Fix A Bathroom Light Pull Switch?
Turn off the power at the circuit breaker before starting. Use a voltage tester to confirm no current. Replace or repair the switch carefully, following manufacturer instructions. Always prioritize safety when handling electrical components.
What Tools Do I Need To Repair A Pull Switch?
You’ll need a screwdriver, voltage tester, wire stripper, and replacement switch. Having electrical tape and pliers helps with wire connections. These tools ensure a safe and efficient repair process.
Why Does My Bathroom Light Pull Switch Keep Failing?
Frequent use, moisture, and poor wiring cause switch failure. Water exposure can corrode components, leading to malfunction. Using a high-quality, moisture-resistant switch helps prevent repeated issues.
Can I Replace A Bathroom Pull Switch Myself?
Yes, if you have basic electrical knowledge and safety skills. Always switch off the power before working. If unsure, consult a professional electrician to avoid hazards.
Conclusion
Fixing a bathroom light pull switch is simple and quick. You just need basic tools and safety steps. Double-check all connections to avoid problems later. Testing the switch after repair ensures it works well. Taking your time helps prevent mistakes and keeps you safe.
Now, your bathroom light will turn on and off easily again. This small fix improves your comfort and saves money. Try it yourself with confidence and care.