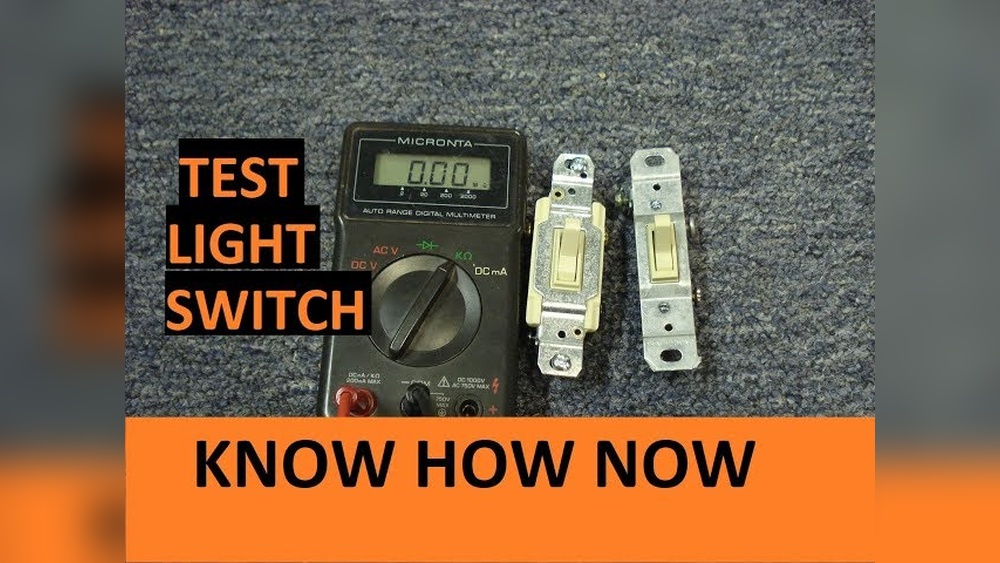
Have you ever wondered if your light switch is really working or if it’s just a wiring problem? Checking a light switch might seem tricky, but with the right tool, you can do it yourself quickly and safely.
A digital multimeter is perfect for this job, and you don’t need to be an expert to use one. In this guide, you’ll learn step-by-step how to test your light switch and find out exactly what’s going on behind the wall.
Keep reading, and you’ll save time, avoid costly repairs, and gain confidence in handling your home’s electrical issues.
Tools Needed
To check a light switch with a digital multimeter, gather the right tools first. Using proper tools makes the task safe and easy. It helps you find problems quickly and accurately.
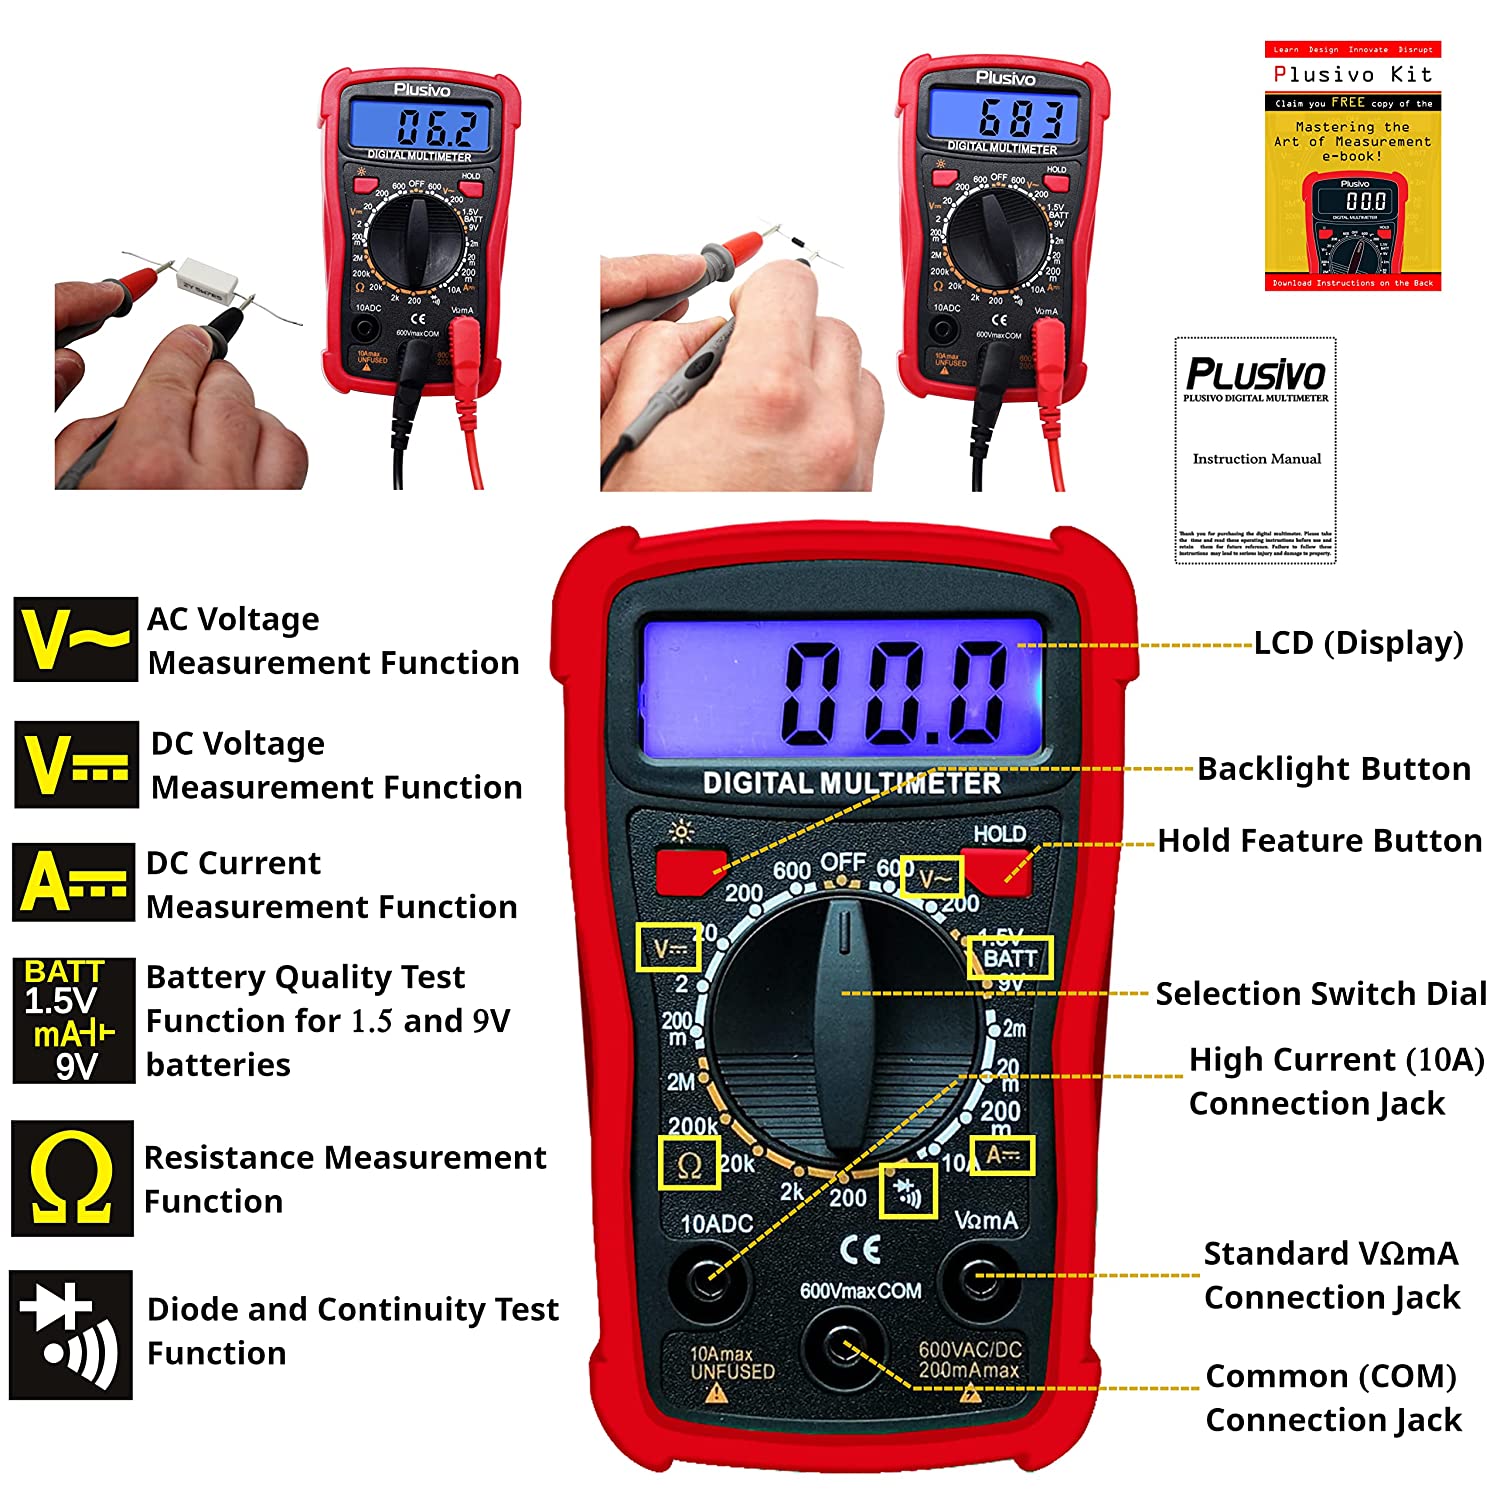
Digital Multimeter
The digital multimeter measures voltage, current, and resistance. Choose one with a clear display and easy controls. It is the main tool for testing the switch.
Insulated Screwdriver
An insulated screwdriver helps remove the switch cover safely. It protects you from electric shock. Use it to access the switch terminals without risk.
Voltage Tester
A voltage tester checks if power is live at the switch. It confirms the circuit is off before testing. This tool adds an extra layer of safety.
Protective Gloves
Wear protective gloves to avoid electric shock. They help you handle wires and tools safely. Gloves also keep your hands clean during work.
Flashlight
A flashlight provides extra light in dark spaces. It helps you see wires and switch parts clearly. Good lighting reduces mistakes during testing.

Credit: www.reddit.com
Safety Precautions
Safety is the top priority before testing a light switch with a digital multimeter. Electrical work can be dangerous without proper care. Taking the right precautions protects you from shocks and injuries.
Read all instructions for your multimeter carefully. Know the device’s limits and how to use it safely. Always prepare your workspace to avoid accidents.
Turn Off The Power
Switch off the circuit breaker for the area you will test. Double-check the light switch is not live. This step avoids any electric shock while handling wires.
Use Insulated Tools
Work only with tools that have insulated handles. These tools reduce the risk of electric shock. Keep your hands dry and wear rubber-soled shoes.
Check Multimeter Settings
Set your multimeter to the correct mode before testing. Use the voltage or continuity setting as needed. Incorrect settings can damage the device or cause harm.
Avoid Touching Metal Parts
Hold the multimeter probes by their insulated handles only. Avoid contact with metal tips during testing. This prevents electric current from passing through your body.
Work In A Well-lit Area
Good lighting helps you see wires and switches clearly. It reduces the chance of mistakes. Use a flashlight if the area is dark or cramped.
Wear Safety Gear
Consider wearing safety glasses to protect your eyes. Gloves can add a layer of protection but must be rated for electrical work. Always keep safety gear clean and intact.
Preparing The Multimeter
Preparing the multimeter is the first step to check a light switch safely and accurately. This process ensures the tool works correctly before you start testing. It helps avoid wrong readings and keeps you safe from electrical shocks. Follow these simple steps to get your multimeter ready.
Setting The Multimeter To Continuity
Turn the dial on your multimeter to the continuity setting. This setting usually looks like a sound wave or a diode symbol. Continuity mode tests if electricity can flow through the switch. When the switch is on, the multimeter will beep or show a low number. This means the circuit is complete.
Testing The Multimeter Functionality
Before using the multimeter on the switch, test if it works well. Touch the two test probes together. The multimeter should beep or show zero. This confirms the tool is ready to check the switch. If it does not beep or show a reading, replace the batteries or check the probes.
Accessing The Light Switch
Accessing the light switch is the first step in testing it with a digital multimeter. This step ensures safety and clear access to the switch’s wiring. Follow these simple actions carefully to prepare the switch for testing.
Turning Off Power
Locate the circuit breaker panel in your home. Find the switch that controls the power to the light switch. Flip the breaker to the off position to cut power. Use a tester to confirm no electricity flows to the switch. This step prevents electric shock and protects your tools.
Removing The Switch Cover
Use a screwdriver to remove the screws holding the switch cover. Gently pull off the cover plate to expose the switch. Handle the cover carefully to avoid cracking it. Keep the screws safe for reassembly. Now, the switch and wires are visible and ready for testing.
Testing The Light Switch
Testing the light switch with a digital multimeter helps find electrical problems. It shows if the switch works properly or has a fault. This step is important before replacing parts or calling an electrician.
Use the multimeter to check continuity, which means if electricity can flow through the switch. The test changes depending on whether the switch is on or off. Follow these simple steps for clear results.
Checking For Continuity When Switch Is Off
First, turn the light switch off. Set the multimeter to the continuity setting, usually marked with a sound wave or diode symbol. Touch the multimeter probes to the switch terminals. No sound or reading means no continuity. This is normal for a switch in the off position. It means the switch breaks the electrical connection as it should.
Checking For Continuity When Switch Is On
Next, turn the light switch on. Keep the multimeter on the continuity setting. Touch the probes to the same terminals. This time, the multimeter should beep or show a reading. It means the switch allows electricity to pass through. If there is no beep or reading, the switch might be faulty and need replacement.

Credit: www.youtube.com
Interpreting The Results
Interpreting the results of your digital multimeter test is key to understanding the light switch’s condition. The readings tell you if the switch works or if it needs replacement. Let’s explore what different results mean.
Understanding Continuity Test Results
Continuity tests check if electricity flows through the switch. A beep or low number means good continuity. No sound or a very high number means no continuity. No continuity means the switch is off or broken.
Reading Resistance Measurements
Resistance shows how hard electricity passes through the switch. A very low resistance means the switch is closed and works. High or infinite resistance means the switch is open or faulty. This test helps find broken connections inside the switch.
Checking Voltage Readings
Voltage tests show if power reaches the switch. A steady voltage close to your supply voltage means power is present. No voltage or fluctuating voltage means a wiring problem or no power. This test confirms if the switch receives electricity properly.
Common Issues And Fixes
Checking a light switch with a digital multimeter can reveal several common issues. These problems often cause lights to flicker or not turn on at all. Understanding these issues helps you fix the problem quickly and safely.
Loose Connections
Loose connections are a frequent cause of switch problems. Wires may become loose inside the switch or at the terminal screws. This can stop electricity from flowing properly.
To fix loose connections, first turn off the power at the breaker. Then, use a screwdriver to tighten all terminal screws. Make sure wires are secure and not damaged. After tightening, test the switch again with your multimeter.
Faulty Switch Replacement
A faulty switch can cause the light to fail even with good wiring. Switches wear out over time or can break inside.
To replace a faulty switch, switch off the power. Remove the switch cover and disconnect the wires. Attach the wires to the new switch in the same order. Secure the switch back in place and turn the power on. Test with the multimeter to confirm the fix.
Credit: www.florida-sunseeker.com
Frequently Asked Questions
How Do I Test A Light Switch With A Multimeter?
Set the multimeter to continuity mode. Disconnect power and wires. Touch probes to switch terminals. A beep indicates a good switch.
What Multimeter Setting Is Best For Light Switches?
Use the continuity or resistance setting. Continuity checks if current flows through the switch. Resistance shows if the switch is open or closed.
Can A Digital Multimeter Detect Switch Faults?
Yes, it identifies open or closed circuits. Faulty switches show no continuity or infinite resistance. This helps diagnose electrical problems accurately.
Is It Safe To Test A Light Switch With A Multimeter?
Always turn off power before testing. Use insulated probes and avoid metal contact. Safety ensures no electrical shock or damage.
Conclusion
Checking a light switch with a digital multimeter is simple and safe. Always turn off the power before starting. Use the multimeter to test for continuity or voltage. This helps find problems quickly. Knowing how to test switches saves time and money.
Practice these steps carefully to feel confident. A working switch means better home lighting. Keep your tools ready for future use. Testing switches yourself avoids unnecessary calls to electricians. Stay safe and take your time. You can do this!