Have you ever noticed your reverse lights not turning on when you shift into reverse? It can be frustrating and even unsafe.
Knowing how to check your reverse light switch yourself can save you time and money. You’ll discover simple steps to diagnose the problem quickly. By the end, you’ll feel confident handling this common car issue and keep your vehicle running smoothly.
Let’s get started and make sure your reverse lights work perfectly every time you back up.
Signs Of A Faulty Reverse Light Switch
Knowing the signs of a faulty reverse light switch helps keep your vehicle safe. The reverse light switch activates the reverse lights when you shift gears. Problems with this switch can cause your reverse lights to stop working. This can lead to confusion and accidents. Spotting issues early helps avoid bigger troubles.
Common Symptoms
One clear symptom is reverse lights not turning on. The lights might stay off even in reverse gear. Sometimes, reverse lights stay on all the time. Flickering or dim lights also show a problem. You might notice difficulty shifting gears. These signs suggest the switch needs a check.
Safety Concerns
Reverse lights warn others when you back up. Faulty reverse lights increase accident risks. Pedestrians and drivers may not see your car moving backward. This can cause collisions in parking lots or driveways. A broken switch can also fail to alert other drivers. Fixing the switch is important for safety on the road.
Credit: www.youtube.com
Tools Needed For Testing
Testing a reverse light switch requires a few important tools. These tools help you check if the switch works properly. Having the right equipment makes the job easier and safer.
Basic Tools
You need some simple tools for the initial steps. A screwdriver helps remove panels or covers. Pliers are useful for gripping and adjusting small parts. A flashlight lets you see clearly in dark spaces around the switch. Gloves protect your hands from dirt and sharp edges. These basic tools are easy to find and use.
Electrical Testing Equipment
To test the switch’s electrical function, you need special tools. A multimeter measures voltage, current, and resistance. It shows if the switch sends the right signal. A test light checks if power reaches the switch. These tools help find electrical problems fast. Always use insulated handles for safety when working with electricity.
Locating The Reverse Light Switch
Finding the reverse light switch is the first step to check its condition. This switch activates the reverse lights when you shift your car into reverse gear. Knowing where it sits helps you inspect or replace it easily. The location varies between car models and makes. Sometimes, it’s easy to spot. Other times, it takes a bit of searching under the hood or near the transmission.
Understanding typical switch spots can save time and effort. Also, the vehicle manual is a helpful guide. Together, these tips make locating the reverse light switch straightforward.
Typical Switch Locations
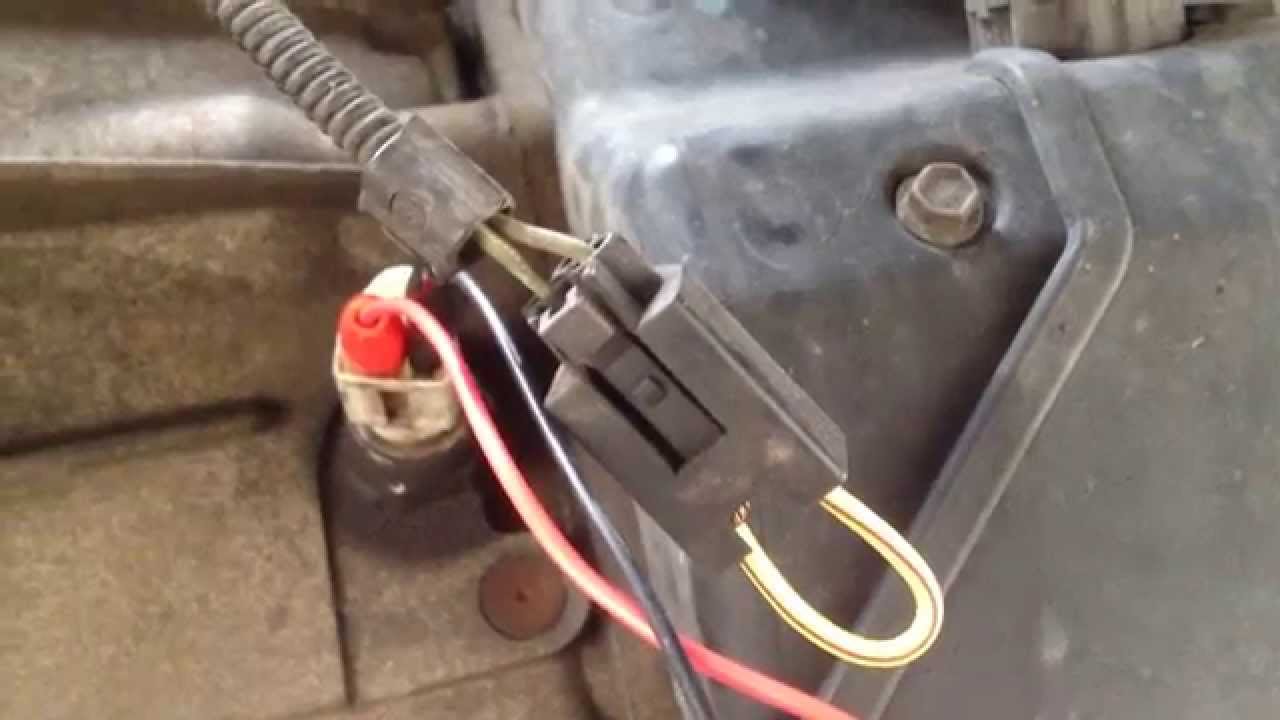
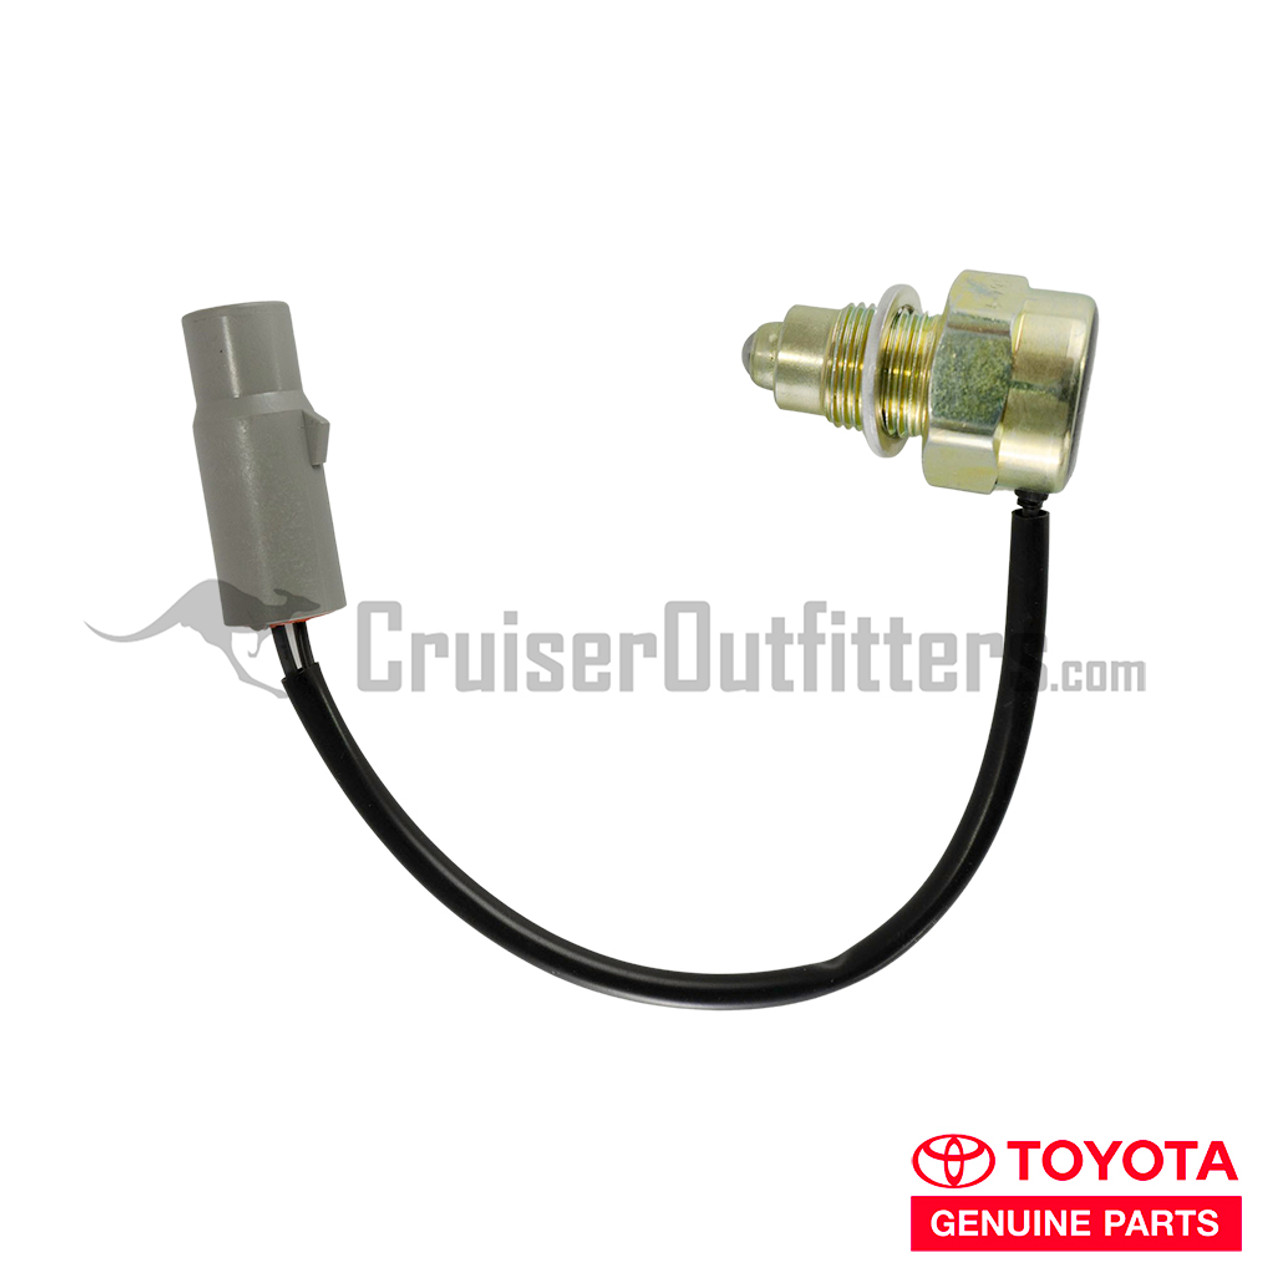
The reverse light switch usually mounts near the transmission. It senses when the gear lever moves to reverse. In many cars, it is on the transmission housing or gearbox. Some models place it close to the gear selector lever inside the car. Older vehicles may have the switch on the clutch pedal assembly. In automatic cars, check around the gear shift console. Look for a small electrical connector attached to a threaded switch.
Consulting Vehicle Manual
The vehicle manual often has a diagram showing the switch location. It lists the exact part name and position. Manuals provide step-by-step instructions for access. They may include safety tips to avoid damage. If the manual is missing, online versions often exist. Search by car make, model, and year for the right guide. Manuals ensure you find the correct switch without guesswork.
Credit: cruiserteq.com
Step-by-step Testing Process
Testing a reverse light switch is simple with clear steps. Follow this process to check if the switch works. You need some basic tools and safety measures. This guide explains each step clearly. It helps you fix or replace the switch if needed.
Preparing Your Vehicle
Park your vehicle on a flat surface. Turn off the engine and remove the keys. Put the car in park or neutral. Use the parking brake for safety. Make sure the car will not move during testing.
Performing A Visual Inspection
Locate the reverse light switch near the transmission. Check the wiring for any damage or loose connections. Look for dirt, rust, or corrosion on the switch. Clean the area if needed. Replace the switch if it looks broken or worn out.
Testing With A Multimeter
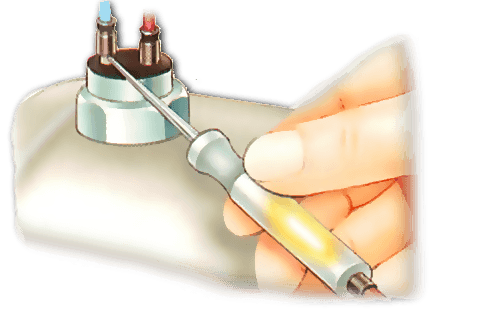
Set your multimeter to measure continuity or resistance. Disconnect the reverse light switch wiring. Connect the multimeter leads to the switch terminals. Shift the car into reverse gear. Watch the multimeter for a change in reading. A change means the switch is working. No change means the switch might be faulty.
Using A Test Light
Connect the test light clip to a good ground point. Probe the reverse light switch connector terminals with the test light. Have a helper shift the car into reverse gear. The test light should glow if the switch works. If it does not light up, the switch or wiring needs attention.
Interpreting Test Results
After testing the reverse light switch, understanding the results is key. This step helps you know if the switch works well or needs fixing. Clear signs in the test data guide your next move. Pay close attention to what the results show.
Normal Function Indicators
A working reverse light switch shows a simple pattern. When the car is in reverse, the switch completes the circuit. This lets electricity flow to the reverse lights. A multimeter will show low resistance or continuity in this state.
With the car in any gear but reverse, the switch should break the circuit. This means no flow of electricity. The multimeter will show high resistance or no continuity. This pattern confirms the switch operates correctly.
Signs Of Malfunction
A faulty switch shows inconsistent or no change in readings. If the multimeter always shows continuity, the switch might be stuck closed. This causes the reverse lights to stay on constantly. If it never shows continuity, the switch may be stuck open.
Intermittent or erratic readings also signal problems. This might cause the reverse lights to flicker or not turn on at all. Such results suggest the switch needs cleaning, adjustment, or replacement.
Credit: www.howacarworks.com
Replacing The Reverse Light Switch
Replacing the reverse light switch can fix your car’s backup lights. A faulty switch means the lights may not turn on. Changing it is a straightforward job. Basic tools and a new switch are all you need. Follow the steps carefully to avoid damage.
Choosing The Right Replacement
Choose a switch that fits your car model exactly. Check your vehicle manual for part numbers. Use original parts or high-quality aftermarket options. Avoid cheap switches that fail quickly. A proper fit ensures the lights work correctly and last longer.
Removal And Installation Tips
Start by disconnecting the car battery to avoid shocks. Locate the switch near the transmission or gearbox. Use a wrench to loosen and remove the old switch. Clean the area before installing the new one. Screw in the new switch firmly but do not over-tighten. Reconnect the wiring carefully to avoid loose contacts. Test the reverse lights before driving to ensure the switch works well.
Preventive Maintenance Tips
Preventive maintenance helps keep your reverse light switch working well. It stops problems before they start. Regular care can save time and money. It also ensures safety when driving in reverse. Simple steps can make a big difference.
Regular Checks
Check the reverse light switch often. Look for dirt or damage on the switch. Test the lights by shifting to reverse gear. Make sure the reverse lights turn on every time. Clean the switch gently with a dry cloth. Replace the switch if it does not work properly.
Avoiding Common Issues
Keep the wiring connected to the switch clean and tight. Avoid water or moisture near the switch area. Watch for corrosion on the switch terminals. Use electrical spray if corrosion appears. Do not force the gear lever, it can damage the switch. Fix any car electrical issues quickly to protect the switch.
Frequently Asked Questions
What Is A Reverse Light Switch?
A reverse light switch activates your car’s reverse lights when you shift into reverse gear. It ensures safety by signaling other drivers and pedestrians.
How Do I Locate The Reverse Light Switch?
The reverse light switch is usually near the transmission or gear lever. Consult your vehicle’s manual for the exact position.
How To Test A Reverse Light Switch?
Use a multimeter to check continuity. Shift to reverse and test the switch terminals for electrical flow.
What Causes A Reverse Light Switch To Fail?
Common causes include wear, corrosion, or wiring issues. Faulty switches can prevent reverse lights from illuminating properly.
Conclusion
Checking the reverse light switch keeps your car safe and working well. A simple test can tell if the switch needs fixing. Use a multimeter or observe the lights when shifting gears. Stay alert for any signs of trouble with your reverse lights.
Regular checks help avoid accidents and car issues. Keep this quick step part of your car care routine. It saves time and money in the long run. Remember, clear reverse lights mean safer driving for everyone.