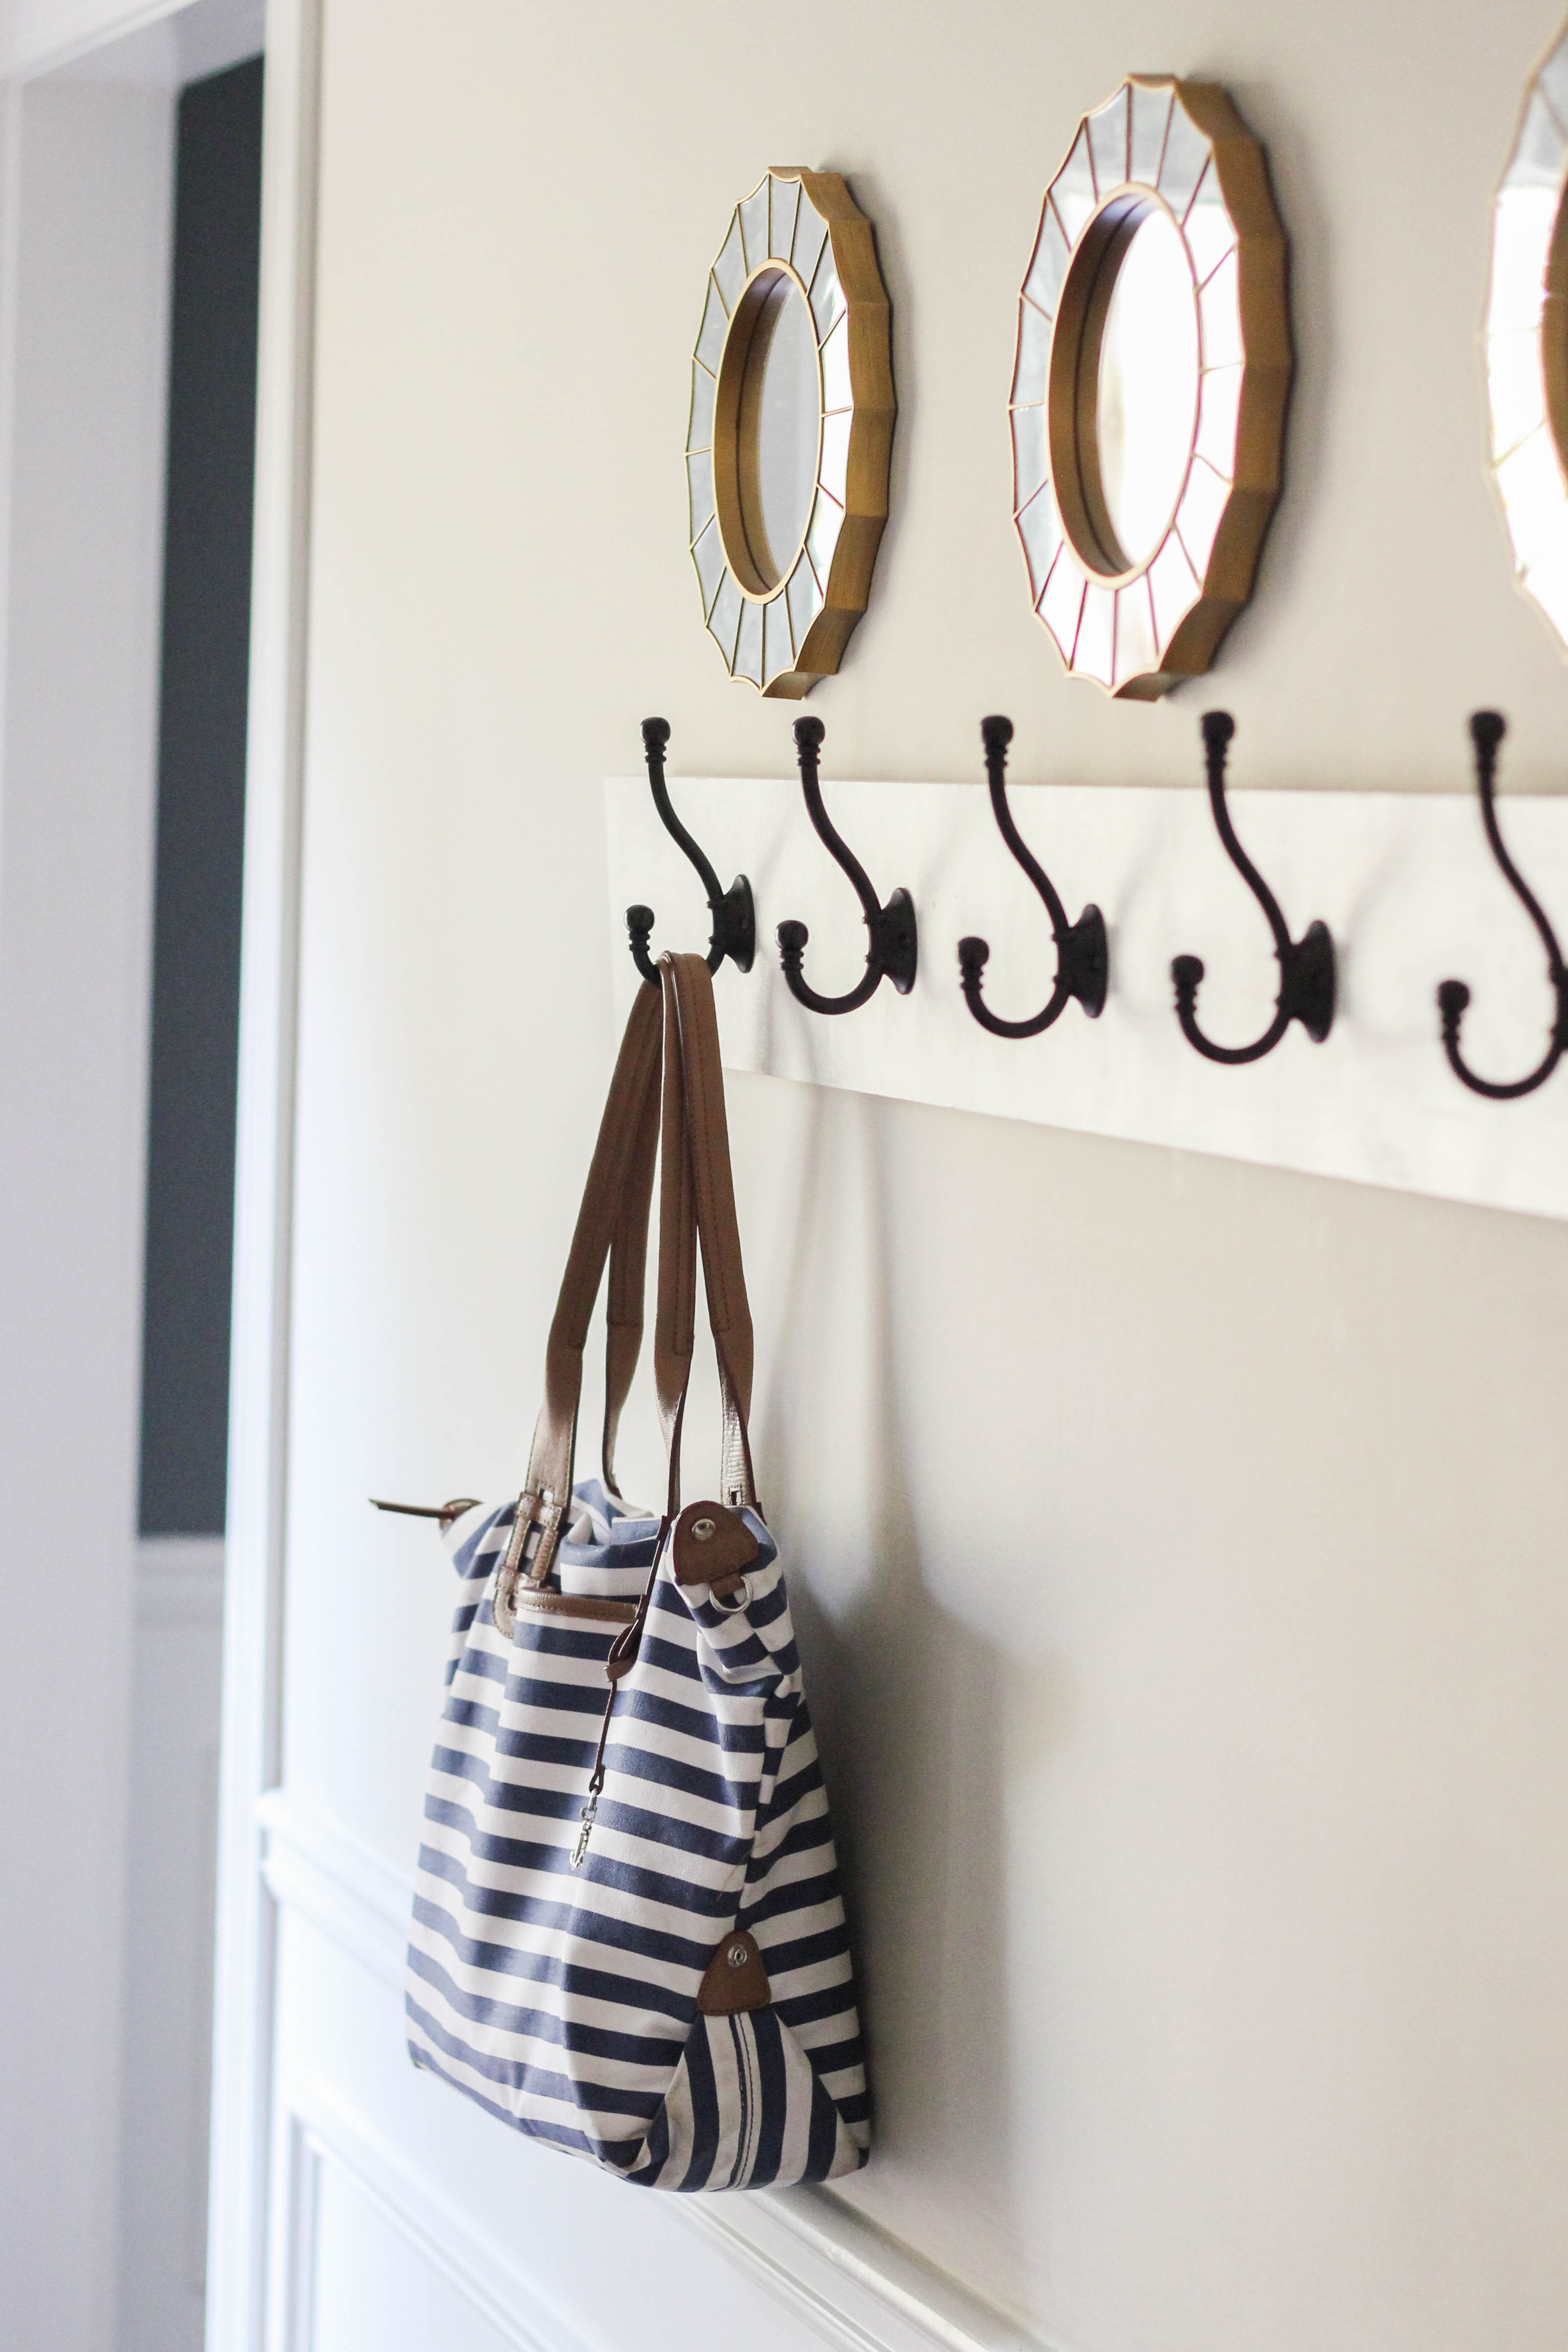
Looking for a simple way to add style and function to your walls? Making wall hooks with moulding is a clever DIY project that anyone can do.
You don’t need fancy tools or special skills—just a bit of creativity and some basic materials. Imagine turning plain moulding into beautiful, sturdy hooks that hold your keys, bags, or coats while giving your space a fresh, personalized touch. Ready to transform your walls and organize your home effortlessly?
Keep reading, and you’ll discover easy steps to make wall hooks that suit your style perfectly.

Credit: www.walmart.com
Choosing Materials
Choosing the right materials is key to making sturdy and attractive wall hooks with moulding. The materials affect the look and strength of your hooks. Pick items that suit your space and style. Quality materials ensure your project lasts long and works well.
Selecting Moulding Types
Choose moulding that fits your room’s design. Wood moulding is popular for its warmth and strength. MDF moulding is smooth and easy to paint. Avoid very thin moulding; it may not hold weight well. Look for moulding with some thickness for better support.
Picking The Right Hooks
Select hooks that match your moulding style. Metal hooks offer durability and a classic look. Wooden hooks blend nicely with wood moulding. Choose hooks with strong screws to hold heavy items. Simple designs often work best for everyday use.
Tools You’ll Need
Gather basic tools before starting your project. A saw helps cut moulding to the right size. Use a drill to make holes for screws. Sandpaper smooths rough edges on the moulding. A screwdriver secures hooks firmly in place. Having these tools ready makes the process smoother.
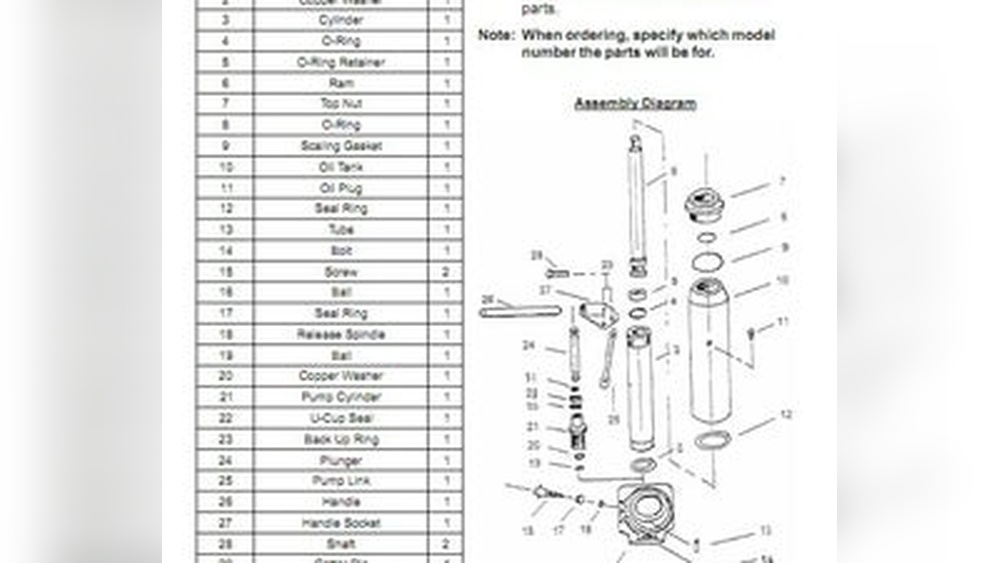
Credit: www.pwmachineservices.com
Preparing The Moulding
Preparing the moulding is the first step in making wall hooks. It helps create a clean, strong base for your hooks. Taking time here ensures the final product looks neat and lasts long. Follow these steps carefully for the best results.
Measuring And Cutting
Measure the length needed for your wall hooks. Use a tape measure for accuracy. Mark the moulding with a pencil where you want to cut. Use a saw to cut along the marks. Cut slowly to avoid splintering the wood. Always wear safety glasses during cutting.
Sanding And Smoothing Edges
Sand the cut edges with fine-grit sandpaper. This removes rough spots and splinters. Smooth edges prevent injury and give a polished look. Sand all sides of the moulding piece evenly. Wipe the dust away with a clean cloth after sanding.
Assembling Wall Hooks
Assembling wall hooks with moulding is a simple step that brings your project to life. This stage combines the practical with the creative. It lets you customize hooks to fit your space and style.
Focus on attaching the hooks firmly. They should hold weight without slipping. Use the right tools and materials to secure them properly. This ensures durability and safety.
Attaching Hooks To Moulding
Start by placing the hooks on the moulding at your chosen spots. Mark the holes where screws will go. Use a drill to make small pilot holes. This prevents the wood from splitting.
Align the hooks with the drilled holes carefully. Fasten each hook using screws or nails. Check that each hook is straight and tight. This makes sure they can hold items securely.
Securing With Adhesives And Screws
For extra strength, use a strong adhesive along with screws. Apply glue to the back of the hook before screwing it in place. This adds a solid bond between hook and moulding.
Press the hook firmly against the moulding after gluing. Hold it for a few seconds to set. Let the adhesive dry fully before hanging any items. This prevents the hooks from loosening over time.
Credit: thetidydad.com
Finishing Touches
Finishing touches make your wall hooks stand out. They add style and protect the wood. This step is key to a polished look. Choose the right colors and details to match your space. Small changes can give your hooks a unique charm.
Painting And Staining Options
Paint or stain your moulding for a fresh look. Use paint for bright or soft colors. Stain shows the wood grain and gives warmth. Test colors on a small piece first. Let each coat dry well before adding another. A clear sealant protects your finish and keeps it lasting.
Adding Decorative Elements
Add simple details to make your hooks special. Small knobs or vintage handles work well. Use stencils or stickers for patterns. Try adding metal accents for a rustic feel. Glue or small nails hold decorations safely. These extras give your hooks personality and style.
Mounting On The Wall
Mounting your wall hooks made from moulding is an important step. It keeps them steady and safe. Proper mounting stops the hooks from falling or damaging your wall. This section guides you on how to place and fix your hooks securely.
Finding The Right Placement
Start by choosing where to mount your hooks. Pick spots that are easy to reach and useful. Measure the height to fit your needs. Use a pencil to mark the exact points. Check the wall for studs or solid areas. Hooks hold better on sturdy spots.
Using Anchors And Fasteners
Use wall anchors for extra support, especially on drywall. Drill holes slightly smaller than the anchors. Push the anchors into the holes until flush with the wall. Screw the fasteners into the anchors carefully. Attach your moulding hooks to these screws. This method ensures hooks stay firmly in place.
Maintenance Tips
Maintaining your wall hooks made with moulding is key for long-lasting use. Proper care keeps them looking fresh and working well. Simple steps can protect your hooks from damage and dirt.
Cleaning Your Wall Hooks
Dust your wall hooks regularly using a soft cloth. Avoid harsh cleaners that can damage the finish. A damp cloth with mild soap works best for stains. Dry the hooks completely after cleaning to stop water damage. Check for dirt in small crevices and clean gently.
Ensuring Durability Over Time
Check the hooks for any loose screws or parts often. Tighten screws to keep hooks stable and safe. Avoid hanging very heavy items that could stress the moulding. Consider adding a clear protective coat to prevent scratches. Keep hooks away from direct sunlight to stop fading. Repair chips or cracks early to avoid bigger problems.
Frequently Asked Questions
What Materials Are Needed To Make Wall Hooks With Moulding?
You need wood moulding, hooks, screws, a drill, a saw, sandpaper, and paint or stain. These basic materials help create sturdy and stylish wall hooks.
How Do You Attach Hooks To Wood Moulding?
Drill pilot holes in the moulding where hooks will go. Then, screw the hooks securely into these holes to ensure strong attachment.
Can I Customize The Size Of Moulding Wall Hooks?
Yes, you can cut moulding to any desired length and choose hook sizes. This customization fits your space and style perfectly.
What Type Of Hooks Work Best With Moulding?
Metal or sturdy plastic hooks work best. Choose hooks with screw holes that fit well into moulding for durability and style.
Conclusion
Making wall hooks with moulding is simple and fun. You only need a few tools and materials. This project adds style and function to any room. It also saves money compared to store-bought hooks. You can choose shapes and colors to match your decor.
Try this easy craft to organize your space neatly. Enjoy the satisfaction of creating something useful yourself. Give your walls a fresh, creative touch today.