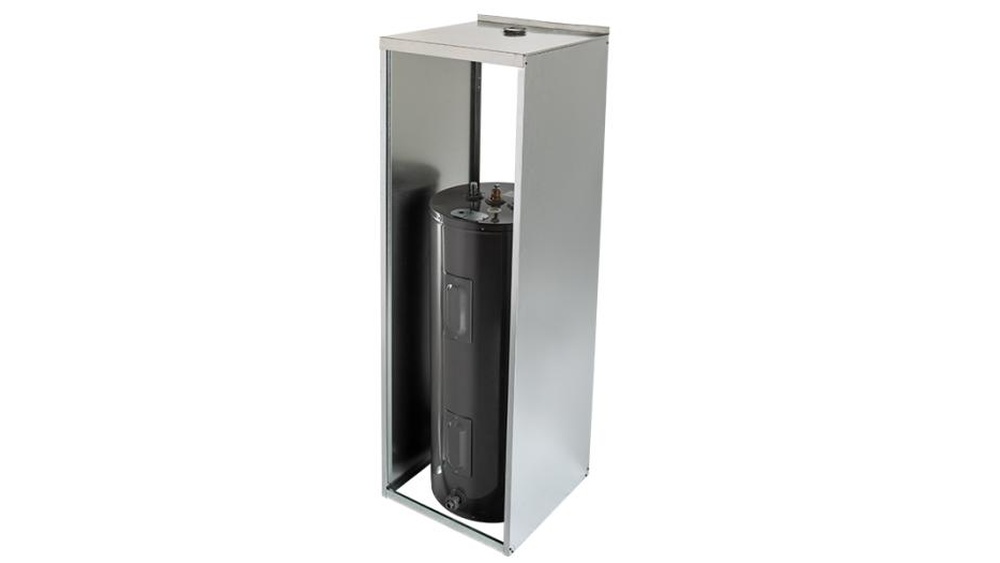
Are you looking to securely anchor your Wall-Holdrite water heater enclosure to the wall but unsure where to start? Getting this step right is crucial for safety and durability.
In this guide, you’ll discover simple, clear instructions that make the process easy—even if you’re not a pro. By following these tips, you’ll ensure your water heater stays firmly in place, giving you peace of mind and a neat, professional finish.
Keep reading to learn exactly how to anchor your Wall-Holdrite enclosure the right way.
Choosing The Right Tools
Choosing the right tools is key to securely anchoring your Holdrite water heater enclosure. The right equipment makes the job easier and safer. It helps you work faster and avoid mistakes. This section highlights the essential tools and safety gear needed for wall anchoring.
Essential Tools For Wall Anchoring
Start with a drill that fits the wall anchors. A cordless drill gives good control and freedom of movement. Use drill bits sized for the anchor plugs. A stud finder helps locate the wall studs for strong support. A level ensures the enclosure stays straight and even. A tape measure gives precise distances and anchor points. Screwdrivers help tighten screws securely without slipping. Hammer might be needed to tap anchors into the wall. Having these tools ready saves time and frustration.
Safety Gear To Consider
Safety gear protects you during the anchoring process. Wear safety glasses to shield your eyes from dust and debris. Use gloves to avoid splinters and sharp edges. Ear protection reduces noise from power tools. A dust mask prevents inhaling fine particles from drilling. Choose comfortable shoes with good grip to avoid slipping. Proper safety gear lowers the risk of injury and keeps the worksite safe.

Credit: www.homedepot.com
Preparing The Wall Surface
Preparing the wall surface is the first step to anchor the Holdrite water heater enclosure securely. A clean and well-marked wall ensures strong support and easy installation. This process helps avoid mistakes and saves time during mounting.
Cleaning And Marking Anchor Points
Start by cleaning the wall area where you will install the enclosure. Remove dust, dirt, and grease with a damp cloth. Clean surfaces help anchors stick better and prevent slippage.
Next, mark the exact points where you will place the anchors. Use a pencil and a level to make sure the marks are straight. Accurate marks keep the enclosure balanced and stable.
Checking Wall Material And Studs
Identify the wall type before drilling. Common walls include drywall, plaster, or concrete. Each type needs different anchors for a firm hold.
Locate studs behind the wall surface. Studs offer the strongest support for heavy items like water heater enclosures. Use a stud finder or tap the wall to find solid spots.
Anchoring into studs reduces the risk of the enclosure falling or loosening over time. Always choose anchors that match the wall material and stud positions.
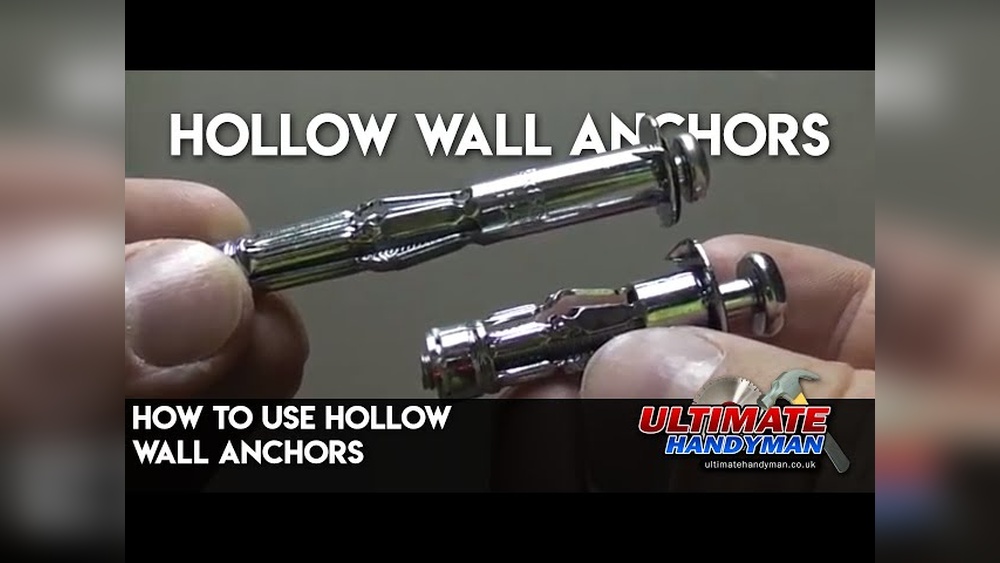
Selecting Wall Anchors
Selecting the right wall anchors is key for a secure installation of your Holdrite water heater enclosure. Anchors hold the enclosure firmly to the wall, preventing movement or damage. Choosing the wrong type can cause the enclosure to loosen or fall. This guide helps you pick the best anchors for your wall and enclosure type.
Types Of Anchors Suitable For Enclosures
Plastic expansion anchors work well for light loads and drywall. They expand as the screw tightens, holding the anchor in place. Metal toggle bolts offer strong support for heavier enclosures. They spread behind the wall, creating a wide grip. Sleeve anchors suit masonry walls like brick or concrete. They expand inside the hole for a solid hold. Each anchor type fits a specific use. Choose based on weight and wall material.
Matching Anchors To Wall Type
Drywall needs anchors that spread or expand behind it. Plastic anchors fit small loads, toggle bolts handle more weight. Wood walls allow screws to go directly in studs. Use wood screws for a firm grip. Concrete or brick require anchors like sleeve or wedge types. Drill holes first for these anchors. Select anchors that match your wall type for a steady installation. This ensures safety and durability of your water heater enclosure.
Credit: www.holdrite.com
Drilling And Installing Anchors
Drilling and installing anchors is a key step in securing your Holdrite water heater enclosure to the wall. Proper anchoring ensures the enclosure stays stable and safe. This process requires the right tools and careful work. Follow the steps below to drill and install anchors correctly. This will help you avoid damage and ensure a strong hold.
Drill Bit Selection And Techniques
Choose a drill bit that matches the anchor size exactly. Use a masonry bit for concrete or brick walls. For drywall, a standard bit works well. Mark the drill spot clearly before starting. Drill straight into the wall at a slow, steady speed. Avoid pushing too hard to prevent cracking. Clean the hole of dust and debris after drilling. This helps the anchor fit tightly and hold better.
Proper Anchor Installation Steps
Insert the anchor gently into the drilled hole. Tap it lightly with a hammer if needed. Make sure the anchor sits flush with the wall surface. Align the water heater enclosure with the anchor holes. Use screws that fit the anchors perfectly. Tighten screws carefully, checking for solid grip. Do not over-tighten, as it can damage the anchor or wall. Test the enclosure’s stability by gently shaking it. Firm anchoring keeps your water heater safe and secure.
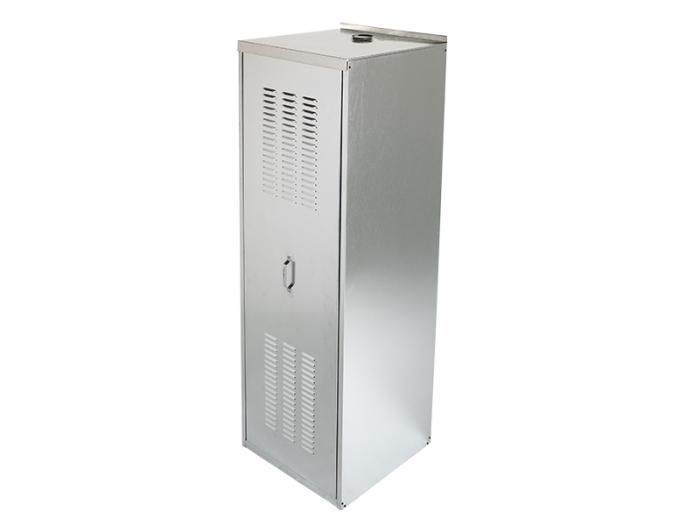
Securing The Water Heater Enclosure
Securing the water heater enclosure to the wall ensures safety and stability. Proper anchoring prevents movement and damage. It also keeps the heater protected and functioning well. Follow clear steps to secure the enclosure firmly and correctly.
Aligning The Enclosure Correctly
Start by placing the enclosure near the wall. Check that it sits flat and straight. Use a level tool to confirm alignment. The enclosure should be even from top to bottom. Mark the anchor points on the wall. These marks guide where to drill holes. Proper alignment makes the enclosure safer and easier to secure.
Tightening Anchors Without Damage
Insert anchors into the drilled holes carefully. Use a screwdriver or drill to tighten screws. Tighten slowly to avoid cracking the enclosure. Stop once the enclosure feels firm and secure. Over-tightening can cause damage or bending. Check all anchors to ensure even pressure. This keeps the enclosure strong and intact.

Credit: www.homedepot.com
Testing Stability And Safety
Testing the stability and safety of your Holdrite water heater enclosure is essential. This step ensures the enclosure stays secure over time. It prevents accidents and protects your water heater from damage. Follow these simple checks to confirm your installation is solid and safe.
Checking For Firmness
Press gently on the enclosure from different sides. It should not move or wobble. If it shifts, tighten the anchors or screws. Use a level to check if the enclosure is straight. A firm enclosure means better protection for your water heater.
Ensuring Long-term Support
Inspect the wall and anchor points for cracks or weakness. Choose anchors that match your wall type for strong support. Avoid using nails alone; screws or bolts work best. Regularly recheck the enclosure after a few months. This keeps the water heater safe and secure for years.
Common Mistakes To Avoid
Anchoring a Holdrite water heater enclosure to the wall seems simple. But many make mistakes that cause problems later. These errors can weaken the hold and damage the wall. Avoiding these common mistakes saves time and keeps the installation safe.
Incorrect Anchor Selection
Choosing the wrong anchor is a common error. Not all anchors work for every wall type. Drywall needs different anchors than concrete or brick. Using an anchor that is too weak can cause the enclosure to fall. Pick anchors that match your wall material and the enclosure’s weight.
Over-tightening And Wall Damage
Tightening anchors too much can harm the wall. It may crack or break the surface. Over-tightening also strips the anchor, making it loose. Tighten just enough to hold the enclosure firmly. Use a drill with a clutch to control the torque. This prevents damage and keeps the anchor secure.
Frequently Asked Questions
How Do I Anchor A Holdrite Water Heater Enclosure?
To anchor a Holdrite water heater enclosure, locate wall studs first. Use appropriate anchors or screws to secure the enclosure firmly to the studs. Ensure the enclosure is level before tightening all fasteners for a stable installation.
What Tools Are Needed To Anchor Holdrite Enclosures?
You need a drill, level, stud finder, screwdriver, and appropriate wall anchors or screws. These tools help locate studs, create pilot holes, and secure the enclosure safely to the wall.
Can I Anchor Holdrite Enclosures On Drywall Alone?
Anchoring directly on drywall is not recommended. Drywall lacks strength to hold heavy enclosures securely. Always anchor into wall studs or use heavy-duty anchors designed for drywall support.
Why Is Anchoring Holdrite Enclosures Important?
Proper anchoring prevents the water heater enclosure from shifting or falling. It ensures safety, protects plumbing, and maintains the integrity of the installation over time.
Conclusion
Anchoring the Holdrite water heater enclosure to the wall is simple and safe. Follow the steps carefully and use the right tools. Make sure the enclosure fits tightly and does not move. Check your work twice to avoid any mistakes.
A well-anchored enclosure protects your water heater and keeps your space neat. Taking time to do it right saves you trouble later. Keep this guide handy for future reference. You can handle this task with confidence and ease.