Have you ever tried to remove picture hooks from your wall and ended up with scratches, holes, or stubborn hooks that just won’t budge? You’re not alone.
Taking picture hooks out might seem simple, but without the right approach, it can quickly turn into a frustrating task. In this guide, you’ll discover easy, effective methods to remove hooks cleanly and protect your walls. Keep reading to learn how you can get your walls looking flawless again—without extra damage or hassle.

Credit: www.picturehangsolutions.com
Tools Needed
Preparing the area before removing picture hooks is important. It makes the task safer and easier. Taking a few simple steps helps protect your wall and keeps the space clean. Start by clearing the area around the picture and then protect the wall surface. These steps reduce damage and mess.
Clear Surrounding Space
Remove any objects near the picture. Move furniture, plants, or decorations away from the wall. This clears space to work comfortably. It also prevents items from falling or breaking. Give yourself room to stand and use tools safely. A clear area helps you focus on the task.
Protecting The Wall Surface
Place a soft cloth or towel under the hook area. This catches dust and small debris. Use painter’s tape around the hook to protect paint. The tape stops the wall from scratching. Take care not to press too hard on the tape. These small steps keep the wall looking good after removal.
Preparing The Area
Removing picture hooks from walls requires different methods based on the hook type. Each type sticks or attaches differently. Using the wrong removal method may damage your wall. Understanding how to remove each hook type helps keep your walls smooth and clean.
Plastic Adhesive Hooks
Plastic adhesive hooks stick to the wall with glue. Pull the hook gently from one side. Avoid yanking it off quickly. Use a hairdryer to warm the glue. This softens the adhesive, making removal easier. Slowly peel the hook away from the wall. Clean leftover glue with rubbing alcohol and a cloth.
Nail And Screw Hooks
Nail and screw hooks are fixed into the wall with metal. Use a screwdriver or hammer for removal. Turn screws counterclockwise until loose. Pull out nails carefully with a claw hammer. Push the wall hole edges gently to reduce damage. Fill holes with spackle or wall filler for a smooth finish.
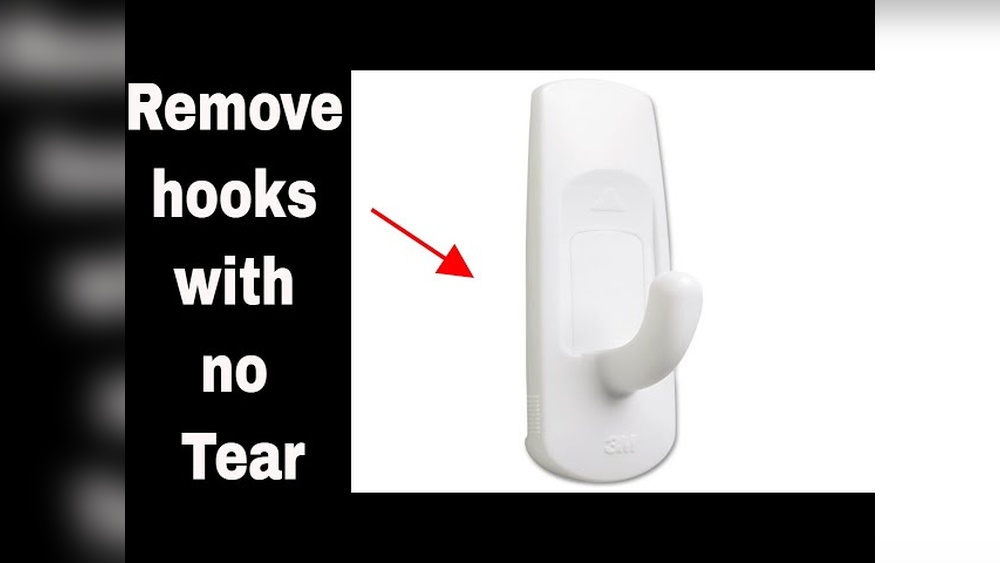
Command Strips And Similar
Command strips have a special pull tab for easy removal. Hold the hook and pull the tab straight down. Keep pulling slowly until the strip releases from the wall. Avoid pulling the strip outward or at an angle. This prevents wall damage. Wipe the wall gently to remove any residue left behind.
Removing Different Types Of Hooks
Removing picture hooks can leave marks or damage on your wall. Preventing wall damage saves time and keeps your space neat. Using careful methods helps protect paint and drywall. Small steps make a big difference in wall care.
Gentle Removal Techniques
Start by loosening the hook slowly. Use your fingers or a pair of pliers. Pull the hook straight out to avoid tearing the wall. Avoid twisting or yanking the hook quickly. Use a thin card to slide behind the hook base. This can help separate it from the wall gently.
Using Heat Or Solvents
Heat softens adhesives or paint around the hook. Use a hairdryer on low heat near the hook area. Warm the spot for a few minutes before removing the hook. Solvents break down sticky residue on the wall. Dab a small amount of rubbing alcohol on a cloth. Gently rub around the hook base to ease removal. Test solvents on a small spot first to avoid paint damage.

Credit: www.reddit.com
Preventing Wall Damage
Placing hooks correctly helps protect your walls and keeps pictures secure. Careful planning prevents damage and makes hanging easier next time. Use smart tips for better hook placement and cleaner walls.
Choosing Damage-free Hooks
Pick hooks made for easy removal and no wall damage. Adhesive hooks work well on smooth surfaces. They hold lightweight frames without leaving marks. Avoid nails or screws for delicate walls. Try hooks with removable sticky pads. These reduce holes and paint peeling.
Proper Installation Methods
Clean the wall surface before applying hooks. Dry the area well to help glue stick better. Press hooks firmly and hold for 30 seconds. Follow weight limits shown on the package. Use a level tool to keep frames straight. Avoid placing hooks near wall edges or cracks. These spots may cause paint to chip or peel.

Credit: www.reddit.com
Frequently Asked Questions
How Do I Safely Remove Picture Hooks From Walls?
To safely remove picture hooks, gently twist or pull the hook using pliers. Avoid force to prevent wall damage. Use a putty knife to loosen stuck hooks carefully. After removal, fill holes with spackle for a smooth finish.
What Tools Are Needed To Remove Picture Hooks?
You need pliers, a putty knife, and spackle. Pliers help grip and pull the hook. A putty knife assists in loosening the hook. Spackle fills any holes left behind. These tools ensure a clean and damage-free removal.
Can I Remove Picture Hooks Without Damaging Paint?
Yes, by pulling hooks gently and using a putty knife to loosen them. Avoid yanking or forceful removal to protect paint. Touch up any minor paint damage with matching paint for a flawless wall.
How To Fix Holes After Removing Picture Hooks?
Fill holes with spackle or wall filler using a putty knife. Let it dry completely, then sand smooth. Finally, repaint the area to match the wall color for a seamless look.
Conclusion
Removing picture hooks from walls is simple with the right steps. Take your time and work carefully to avoid damage. Use gentle tools and apply steady pressure. Small holes can be fixed with putty or paint. Clean the wall surface after removal for a neat look.
This process helps keep your walls smooth and ready for new decor. Following these tips makes wall care easy and stress-free. Your space will look fresh and well-maintained in no time.