Have you ever wondered how to connect a light switch to a lamp all by yourself? Imagine flipping a switch and instantly brightening up your room without fumbling for cords or searching for the right button.
You don’t need to be an expert or call a professional to make this simple upgrade. You’ll discover easy steps that anyone can follow to connect your light switch to a lamp safely and quickly. Ready to take control of your lighting and add convenience to your space?
Keep reading, because this guide is made just for you.
Credit: www.diymontreal.com
Tools And Materials Needed
Before starting to connect a light switch to a lamp, gather all necessary tools and materials. This step helps you work smoothly and safely. Having everything ready saves time and avoids mistakes. Below is a list of what you need for this project.
Essential Tools
- Screwdriver (flathead and Phillips)
- Wire stripper or cutter
- Voltage tester
- Needle-nose pliers
- Electrical tape
- Drill (optional, for mounting switch)
Required Materials
- Light switch (single-pole or dimmer)
- Electrical wire (14 or 12 gauge)
- Wire connectors (wire nuts)
- Wall plate for switch
- Light fixture or lamp
- Electrical box (if installing in wall)
Safety Gear
- Insulated gloves
- Safety goggles
- Non-conductive footwear
- Flashlight or work light

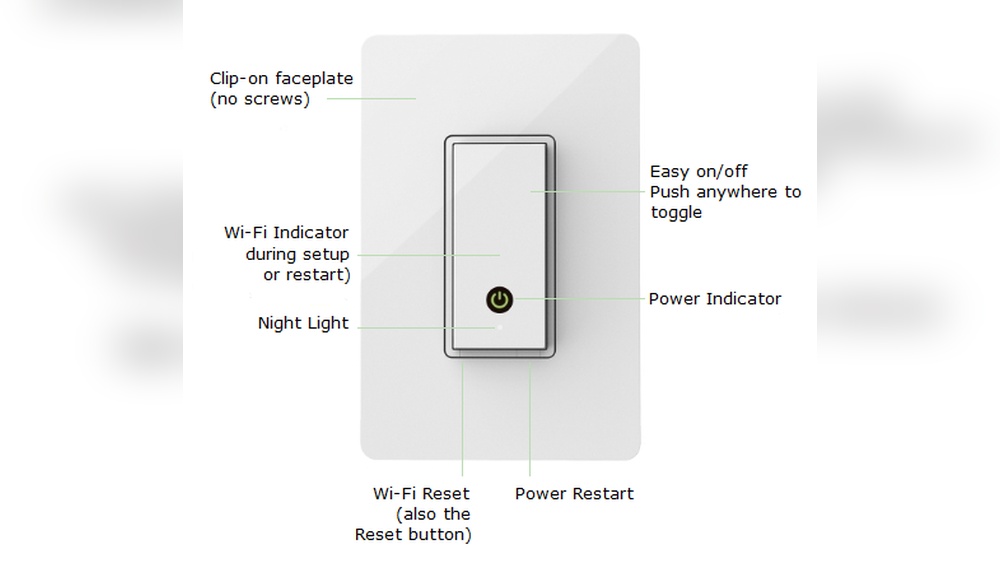
Credit: www.electricaltechnology.org
Basic Electrical Concepts
Understanding basic electrical concepts is important before connecting a light switch to a lamp. It helps you work safely and correctly. Simple knowledge of how electricity flows and how switches work makes the task easier. This section explains key ideas you need to know.
Understanding Circuits
A circuit is a path for electricity to flow. It starts at the power source and ends at the device, like a lamp. Electricity flows through wires in a loop. A switch controls this flow by opening or closing the circuit. When the switch is off, the circuit is open, and the lamp is off. When the switch is on, the circuit is closed, and the lamp lights up.
Types Of Switches
There are many switch types, but the most common is the single-pole switch. It controls one circuit with two terminals. Another type is the three-way switch, used for controlling a light from two places. Knowing the switch type helps you connect wires properly. Always choose the correct switch for your lamp setup.
Wiring Colors And Functions
Wires come in different colors, each with a purpose. Black or red wires carry the live current to the lamp. White wires are neutral and complete the circuit back to the power source. Green or bare wires are ground wires that protect you from shocks. Correctly identifying these colors keeps your wiring safe and functional.
Preparing The Work Area
Preparing the work area is the first step before connecting a light switch to a lamp. This stage ensures safety and makes the task easier. A clean, organized space helps prevent accidents and mistakes.
Proper preparation also saves time. You will have all tools and materials ready. Following safety steps reduces the risk of electric shock.
Turning Off Power
Always turn off the power at the circuit breaker. This stops electricity from flowing to the switch or lamp. Never work on live wires. Use a label or tape to mark the breaker off. This avoids someone turning it on by mistake.
Clearing The Space
Remove any items near the switch or lamp. Clear furniture or decorations that block your access. A tidy workspace lets you move freely and handle tools easily. It also reduces the chance of dropping parts or tools.
Testing For Live Wires
Use a voltage tester to check wires. Make sure no electricity flows in the switch or lamp wires. Test all wires before touching them. Safety first. This step prevents shocks and keeps you safe.
Wiring The Light Switch
Wiring the light switch is an important step to control your lamp safely. This process involves understanding the wires, connecting them properly, and securing the switch. Each step ensures your light works well and stays safe.
Identifying Wires
First, find the wires in the switch box. Usually, you will see a black (hot) wire, a white (neutral) wire, and a green or bare copper (ground) wire. The black wire carries electricity to the switch. The white wire returns electricity to the lamp. The green or bare wire is for safety and prevents shocks.
Use a voltage tester to check which wire is live. This step helps avoid mistakes and keeps you safe.
Connecting Wires To Switch
Match the black wire from the power source to one terminal on the switch. Connect the black wire leading to the lamp to the other terminal. Do not connect the white wires to the switch. Instead, twist them together with a wire nut.
Attach the ground wire to the green screw on the switch. This connection keeps the switch grounded and safe.
Securing The Switch
After connecting the wires, carefully push them back into the switch box. Make sure no wires are loose or touching each other. Use screws to mount the switch securely to the electrical box.
Finally, attach the switch cover plate. Tighten the screws gently to avoid breaking the plate. Your switch is now ready for use.
Connecting The Lamp
Connecting the lamp to the light switch is a key step in your wiring project. It ensures the lamp works properly and safely. This part covers the basics of preparing the lamp wires, linking them to the power source, and testing the connection. Follow these steps carefully to get the best results.
Preparing Lamp Wires
Start by unplugging the lamp from any power source. Strip about half an inch of insulation from each wire end. Use wire strippers for a clean cut. Make sure the wires are straight and free of damage. Twist the exposed copper strands tightly to avoid fraying. This helps create a solid connection.
Connecting To Power Source
Identify the live, neutral, and ground wires in your power source. Connect the lamp’s live wire to the power source’s live wire. Then, join the lamp’s neutral wire to the neutral wire from the source. If the lamp has a ground wire, connect it to the source’s ground. Use wire nuts to secure all connections. Wrap them with electrical tape for extra safety.
Testing The Connection
After connecting the wires, plug the lamp into the power outlet. Turn on the light switch carefully. Check if the lamp lights up immediately. If it does not, switch off the power and recheck your connections. Look for loose wires or wrong placements. Test again only when you fix all issues. This ensures your lamp works safely and correctly.

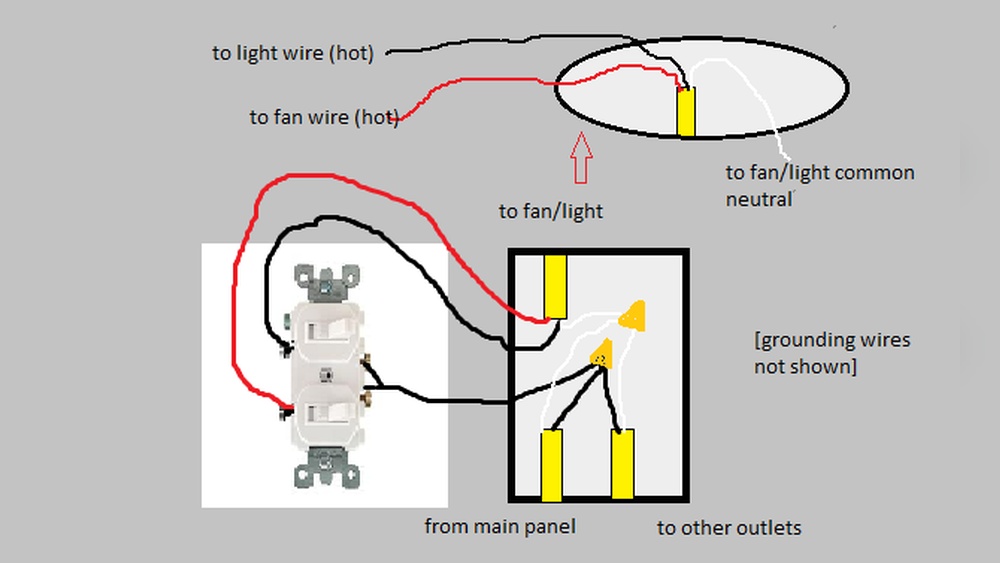
Credit: www.youtube.com
Troubleshooting Common Issues
Troubleshooting common problems helps keep your light switch and lamp working well. Small issues can stop the lamp from lighting up. Knowing how to fix these problems saves time and money. This section covers simple fixes for frequent issues with light switches and lamps.
Switch Not Working
First, check if the power is on at the breaker. Sometimes the switch does not work because the circuit is off. Test the switch by turning it on and off. If nothing happens, the switch might be faulty. Replace the switch if needed. Also, check the wiring to ensure it is correct and tight.
Flickering Lamp
A flickering lamp can mean a bad bulb or loose connection. Try changing the bulb first. If flickering continues, look at the wiring inside the lamp or switch. Loose wires cause flickering. Tighten any loose wires carefully. Flickering can also come from a poor wall outlet connection.
Loose Connections
Loose connections cause many lamp and switch problems. Turn off power before checking wires. Look for wires that are not tightly connected to terminals. Use a screwdriver to tighten screws on switch and lamp connections. Make sure wire nuts are secure. Loose wires can cause sparks or stop power flow.
Safety Tips And Best Practices
Connecting a light switch to a lamp needs care and attention. Safety comes first to avoid risks. Follow best practices to keep everything safe and working well. This section shares key safety tips and best practices for this task.
Avoiding Electrical Hazards
Turn off the power at the circuit breaker before starting. Use a voltage tester to confirm no electricity flows. Wear insulated gloves to protect your hands. Avoid working in wet areas to prevent shocks. Use tools with insulated handles only. Never touch bare wires with your hands. Check for damaged wires or loose connections. Replace any faulty parts before proceeding.
Proper Wire Management
Keep wires neat and organized. Use wire nuts to secure connections safely. Avoid bending or stretching wires too much. Place wires away from sharp edges or heat sources. Label wires to remember their purpose. Use electrical tape to cover exposed wire ends. Secure wires with clips or ties to prevent movement. Proper wire management prevents shorts and fires.
Regular Maintenance
Check the switch and lamp connections regularly. Look for signs of wear, like frayed wires or loose fittings. Clean dust and dirt from the switch and lamp. Tighten screws and terminals if they become loose. Replace bulbs with the correct wattage to avoid overheating. Test the switch operation often to ensure it works well. Regular care extends the life of your setup and keeps it safe.
Frequently Asked Questions
How Do I Wire A Light Switch To A Lamp Safely?
To wire a light switch to a lamp safely, turn off power first. Connect the switch’s live wire to the lamp’s live wire. Secure all connections with wire nuts. Use insulated tools and follow local electrical codes for safety and compliance.
Can I Connect A Lamp Directly To A Wall Switch?
Yes, you can connect a lamp directly to a wall switch by wiring the switch in series with the lamp’s power line. This setup allows control of the lamp through the switch, turning it on or off conveniently.
What Tools Are Needed To Connect A Light Switch To A Lamp?
You need a screwdriver, wire strippers, wire nuts, electrical tape, and a voltage tester. These tools help you strip wires, secure connections, and ensure power is off for safe installation.
Is It Necessary To Turn Off Power When Wiring A Light Switch?
Yes, always turn off power at the circuit breaker before wiring a switch. This prevents electrical shocks and injuries while working on the wiring.
Conclusion
Connecting a light switch to a lamp is simple and useful. You only need a few tools and basic steps. Always turn off the power before starting work. Follow safety rules to avoid accidents. Test your connection before finishing the job.
With practice, you can do this easily at home. This skill helps control lighting better and saves energy. Try it yourself and enjoy the convenience it brings. Keep learning and improving your home wiring skills.