Are you tired of struggling to hang shelves, pictures, or hooks that just won’t stay put? Installing cylindrical plastic wall anchors might be the simple solution you’ve been looking for.
These small but powerful tools give your screws a strong grip in drywall or plaster, making your fixtures secure and stable. In this guide, you’ll learn exactly how to install them step-by-step—no guesswork, no frustration. Keep reading, and you’ll have the confidence to tackle your next wall project like a pro.

Credit: www.reddit.com
Choosing The Right Anchors
Choosing the right plastic wall anchors is key for a strong hold. The right anchor stops your screws from slipping or damaging the wall. This choice depends on wall type, anchor style, and the weight of the item you want to hang. Picking the correct anchor makes your installation safe and long-lasting.
Types Of Plastic Wall Anchors
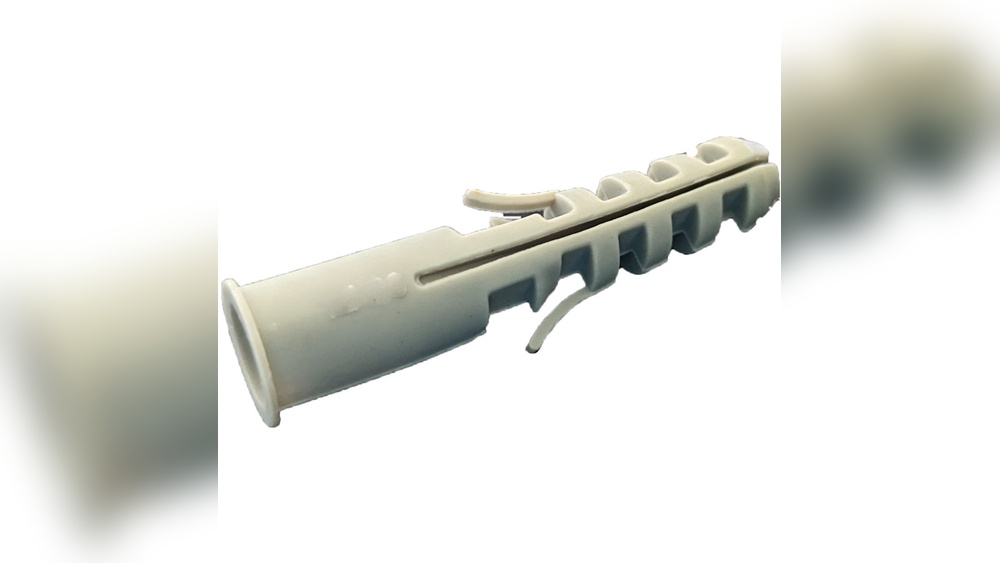
Cylindrical plastic wall anchors come in several types. Expansion anchors spread inside the wall as you insert the screw. Ribbed anchors grip the wall tightly with ridges along their body. Some anchors have wings that open behind the drywall for extra support. Each type works best for different situations.
Matching Anchors To Wall Material
Wall material affects which anchor works best. Drywall requires lightweight anchors like expansion types. Plaster walls need anchors that spread wide to avoid cracks. Hollow walls benefit from anchors with wings or toggle designs. Solid walls like concrete or brick need heavy-duty anchors with strong grip.
Weight Capacity Considerations
Think about the weight of the item to hang. Light items need small anchors with low weight limits. Heavy items require large anchors rated for more weight. Always check the anchor’s weight capacity on the package. Using an anchor too small can cause damage and failure.
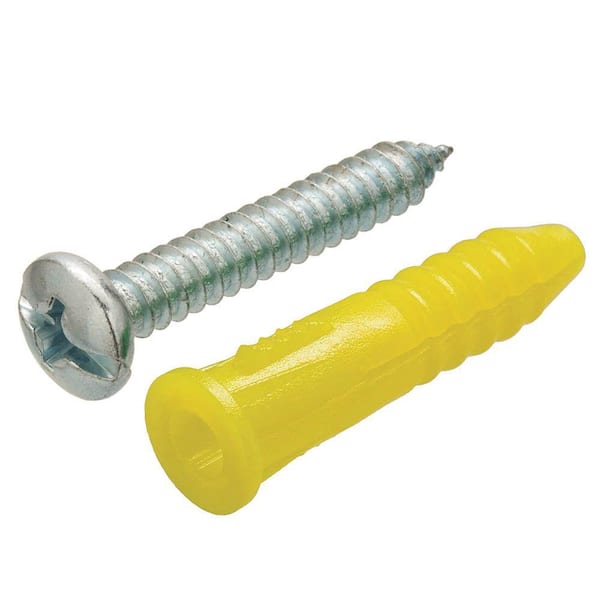
Credit: www.homedepot.com
Gathering Tools And Materials
Before installing cylindrical plastic wall anchors, gather all needed tools and materials. This step saves time and avoids frustration during the project. Having everything ready helps you work smoothly and safely.
Essential Tools List
- Drill with a drill bit matching anchor size
- Hammer for tapping anchors into holes
- Screwdriver or power driver for screws
- Measuring tape to mark anchor spots
- Level to ensure correct placement
- Pencil for marking drill points
- Wall anchors and matching screws
Safety Gear Recommendations
- Safety goggles to protect your eyes
- Dust mask to avoid inhaling debris
- Work gloves to protect your hands
- Ear protection if using loud power tools
Preparing The Wall
Preparing the wall is a key step before installing cylindrical plastic wall anchors. A well-prepared wall ensures the anchor fits securely and holds weight properly. This process helps avoid mistakes that can damage the wall or weaken the hold.
Locating The Drill Spot
Find the exact spot on the wall where you want to insert the anchor. Choose a solid area free from wires and pipes. Use a stud finder if available to avoid drilling into electrical lines.
Pick a spot that matches the size of the item you plan to hang. Double-check the location to ensure it looks balanced and straight.
Marking And Measuring
Mark the drill spot with a pencil. Make a small, clear dot for accuracy. Use a tape measure to check distances from corners or other reference points.
Measure carefully to keep your anchors level and evenly spaced. This step keeps your project neat and professional-looking. Take your time with marking to prevent errors later.
Drilling The Hole
Drilling the hole is the first step to install cylindrical plastic wall anchors properly. A clean, correct-sized hole ensures the anchor holds firmly. The right drill bit and method depend on the wall type. Follow simple steps for best results.
Choosing The Drill Bit Size
Select a drill bit that matches the anchor’s diameter. Too big, and the anchor will be loose. Too small, and it won’t fit. Check the anchor package for the recommended drill bit size. Use a sharp drill bit for clean holes. Measure twice, drill once.
Drilling Techniques For Different Walls
For drywall, use a standard drill bit and drill straight. Avoid pushing too hard to prevent wall damage. For concrete or brick walls, use a masonry drill bit. Start slowly to avoid bit slipping. Drill at steady speed to reach the needed depth. For plaster walls, drill gently to avoid cracks. Let the drill do the work without forcing it. Clean out dust before inserting the anchor.
Inserting The Plastic Anchor
Inserting the plastic anchor into the wall is a key step. It holds screws firmly in place, especially in drywall or masonry. Proper insertion ensures strong support for shelves, hooks, and other fixtures.
Take your time to place the anchor right. A poor fit can weaken the hold and damage the wall. Follow these tips to insert anchors correctly and get the best results.
Proper Placement Tips
Start by drilling a hole that matches the anchor size. Too small and the anchor won’t fit; too large and it will be loose. Clean out dust from the hole for a tight grip.
Hold the anchor straight and push it gently into the hole. Use a hammer lightly if needed, but avoid force. The anchor should slide in without bending or breaking.
Ensuring A Flush Fit
The anchor’s head should sit flush with the wall surface. It should not stick out or sink too deep. Use a flat tool to press the anchor if it’s slightly raised.
A flush fit allows the screw to enter smoothly and hold firmly. Check the anchor’s position before inserting the screw. Adjust if necessary to avoid loose fitting.
Securing The Screw
Securing the screw is a crucial step in installing cylindrical plastic wall anchors. This step ensures that your anchor holds tightly in the wall. A well-secured screw prevents the anchor from slipping or pulling out. Properly securing the screw supports the weight of the object you hang or attach.
Selecting The Correct Screw
Choose a screw that fits the plastic anchor size. The screw should be long enough to go through the anchor and into the wall. Avoid screws that are too short or too thin. A screw that is too large can crack the anchor. Use screws made of strong materials like steel for better hold.
Driving The Screw Safely
Insert the screw slowly into the anchor using a screwdriver. Turn the screw with steady, even pressure. Stop if you feel strong resistance. Over-tightening can break the anchor or damage the wall. Tighten the screw until it feels snug and secure. Avoid pushing the screw too deep; it should not go beyond the anchor’s end.
Testing The Installation
Testing the installation of cylindrical plastic wall anchors is a key step. It ensures the anchors hold firmly and the mounted item stays secure. Skipping this step can lead to loose anchors and damage to your wall or item. Spend time checking the stability to avoid future problems.
Checking Anchor Stability
First, give the anchor a gentle tug with your fingers. It should not move or wiggle inside the wall. Next, try pushing the screw or hook into the anchor. It should feel tight and solid. If the anchor spins or slips, the installation is weak. Use a small level to check if the mounted item is straight. This confirms the anchor holds well and supports the weight.
Troubleshooting Common Issues
If the anchor feels loose, remove it and inspect the hole size. The hole may be too big or uneven. Use a smaller drill bit next time for a tighter fit. For weak drywall, try a larger anchor or a different type. If the screw won’t go in, check for debris or damage inside the anchor. Clean the hole and try again carefully. Repeat the stability test after fixing these issues to confirm success.

Credit: www.wikihow.com
Frequently Asked Questions
What Tools Do I Need To Install Plastic Wall Anchors?
You need a drill, drill bit, hammer, screwdriver, and the plastic wall anchors. These tools ensure precise installation and secure anchoring in the wall.
How Do I Choose The Right Size Anchor?
Select an anchor size matching your screw diameter and wall thickness. Correct sizing prevents anchor failure and provides solid support for your fixtures.
Can I Install Plastic Anchors In Drywall?
Yes, plastic anchors work well in drywall. Drill a proper-sized hole, insert the anchor flush with the wall, then screw in your fixture securely.
How Deep Should I Drill For Wall Anchors?
Drill a hole slightly deeper than the anchor length. This ensures the anchor fits fully and holds firmly without damaging the wall.
Conclusion
Installing cylindrical plastic wall anchors is simple and useful. These anchors hold screws tightly in drywall or masonry. Drill a hole, insert the anchor, then screw in your fastener. This method keeps shelves, pictures, and fixtures secure. Following these steps helps avoid damage to walls.
With practice, the task becomes quick and easy. Use the right size anchor for your project. Trust this guide for safe and strong wall attachments every time.