Are you struggling to hang something heavy on your wall without worrying it might fall? Knowing how to drive a nail anchor into a wall can make all the difference.
It’s a simple skill that gives your nails extra strength and holds your items securely. You’ll discover easy steps to get it right the first time. By the end, you’ll feel confident tackling any wall-hanging project with ease. Keep reading—your walls will thank you!
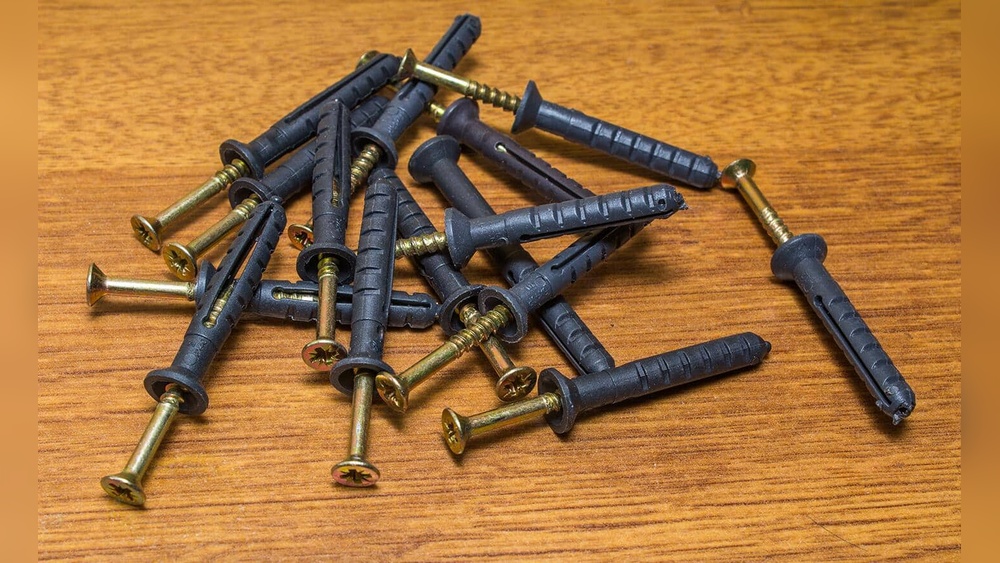
Choosing The Right Nail Anchor
Choosing the right nail anchor is important for a strong hold in your wall. The correct anchor keeps items secure and prevents damage. Different anchors work best with different walls and weights. Understanding types and matching them to your wall is key.
Types Of Nail Anchors
Nail anchors come in many types. Plastic anchors are common for light loads. They expand inside the wall when hammered. Metal anchors are stronger and hold heavier items. There are also toggle anchors for hollow walls. Each type suits different needs and weights.
Matching Anchors To Wall Material
Wall materials affect anchor choice. Drywall needs anchors that spread weight evenly. Plastic or metal anchors work well here. Concrete or brick walls need heavy-duty anchors. Use metal anchors designed for masonry. Wood walls usually don’t need anchors, just nails. Choose anchors that fit your wall type for best results.

Credit: colonyglamping.com
Gathering Necessary Tools
Gathering the right tools is the first step to drive a nail anchor into a wall. Having the proper equipment makes the job easier and safer. It helps to avoid damage to the wall and ensures the anchor holds strong. Below are the main tools you need.
Hammer And Drill Options
A hammer is essential to drive the nail anchor into the wall. Choose a hammer that feels comfortable in your hand. A claw hammer is a good choice for most jobs. It provides enough force without being too heavy.
A drill is useful for making pilot holes, especially in hard walls. An electric drill or a cordless drill works well. Use a drill bit slightly smaller than the anchor diameter. This helps the anchor fit tightly in the wall.
Measuring And Marking Tools
Measure the exact spot where you want to place the nail anchor. Use a tape measure or a ruler for accuracy. Mark the spot with a pencil or a marker. This ensures you drill or hammer in the right place.
A level can help keep your marks straight and even. This is important if you plan to hang shelves or pictures. Straight lines make your work look neat and professional.
Preparing The Wall Surface
Preparing the wall surface is the first step in driving a nail anchor into a wall. Proper preparation ensures the anchor holds firmly and avoids damage. This process involves finding the right spot and making the surface ready.
Locating Studs And Avoiding Obstacles
Studs are the wooden or metal supports inside the wall. Anchors work best when placed between studs, not directly on them. Use a stud finder to locate these supports. Scan the wall slowly and mark the edges of each stud. Avoid areas with electrical wires or plumbing pipes. These hidden obstacles can cause harm or damage tools.
Cleaning And Marking The Spot
Clean the wall surface where the anchor will go. Dust and dirt can weaken the hold. Use a dry cloth to wipe the area. Next, mark the exact spot with a pencil. A clear mark guides the nail anchor during installation. Keep the mark small but visible.
Credit: www.bobvila.com
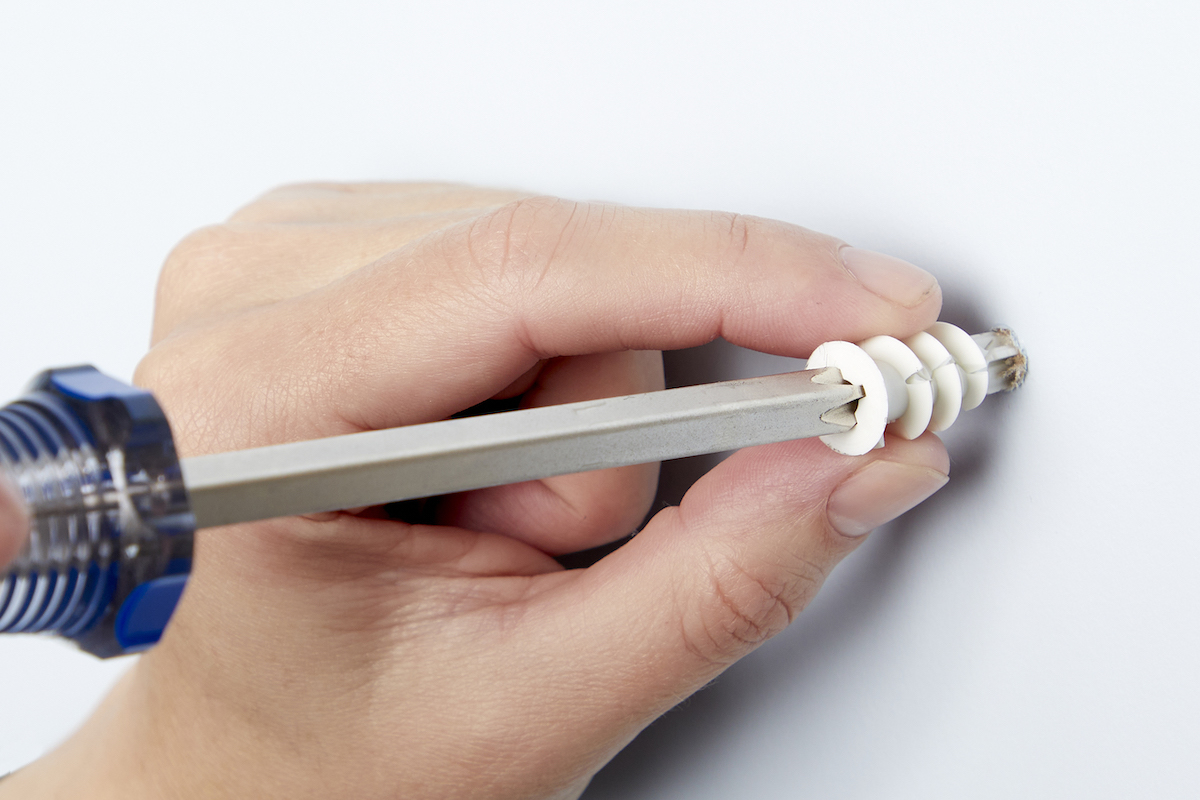
Installing The Nail Anchor
Installing a nail anchor is an important step for a secure hold in walls. It helps to fix objects safely without damaging the wall. The process needs care and the right tools. Follow simple steps for best results.
Drilling Pilot Holes
Start by marking the spot for the anchor. Use a drill bit that matches the anchor size. Drill a hole straight and to the right depth. Avoid making the hole too big or too small. A proper hole allows the anchor to fit tightly.
Driving The Anchor Correctly
Place the anchor into the pilot hole. Use a hammer to tap it gently. Drive it until the anchor is flush with the wall. Do not hit too hard to avoid wall damage. Check the anchor is secure before hanging any items.
Testing Anchor Stability
Testing anchor stability is a crucial step after driving a nail anchor into a wall. It ensures the anchor holds tight and supports the weight it needs to carry. A loose anchor can cause damage or accidents. Checking its firmness early helps fix problems quickly and safely.
Applying Gentle Pressure
Start by pressing gently on the anchor. Use your fingers to push or pull slightly. The anchor should not move or wiggle. If it feels solid, it is likely secure. This simple test shows if the anchor grips the wall well.
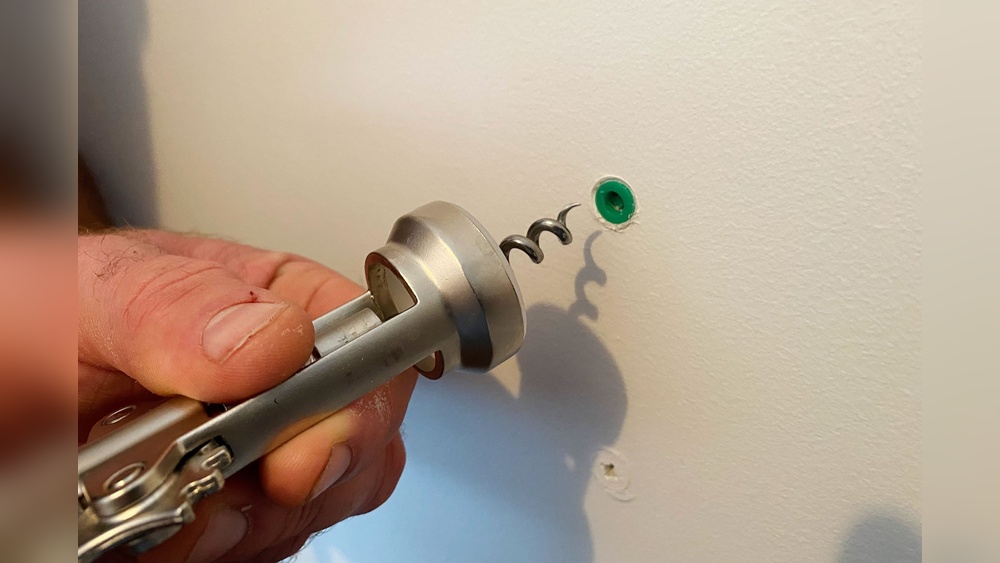
Adjusting Or Replacing If Needed
If the anchor moves or feels loose, take action. Remove the nail and anchor carefully. Choose a larger anchor or a different type for better hold. Sometimes, drilling a new hole in a stronger spot helps. Always make sure the new anchor fits tightly before use.
Mounting Items Securely
Mounting items securely on a wall is important for safety and durability. Using nail anchors helps hold objects tightly. Anchors provide extra grip inside the wall, preventing slips or falls. This section explains how to attach fixtures and handle different types of items.
Attaching Fixtures To Anchors
First, insert the nail anchor into the wall hole. Make sure it fits snugly without wobbling. Place the fixture’s screw or hook into the anchor’s center. Tighten the screw slowly, allowing the anchor to expand inside the wall. This expansion locks the anchor firmly in place. Check that the fixture is steady before hanging anything. Loose screws reduce the hold and can cause damage.
Tips For Heavy Or Delicate Items
Heavy objects need stronger anchors and multiple points of support. Use anchors rated for the item’s weight. Spread the load across several anchors to avoid stress on one point. For delicate items, handle carefully to avoid damage. Avoid overtightening screws, which can crack fragile materials. Always test the mounted item gently before full use. This prevents accidents and keeps the wall safe.
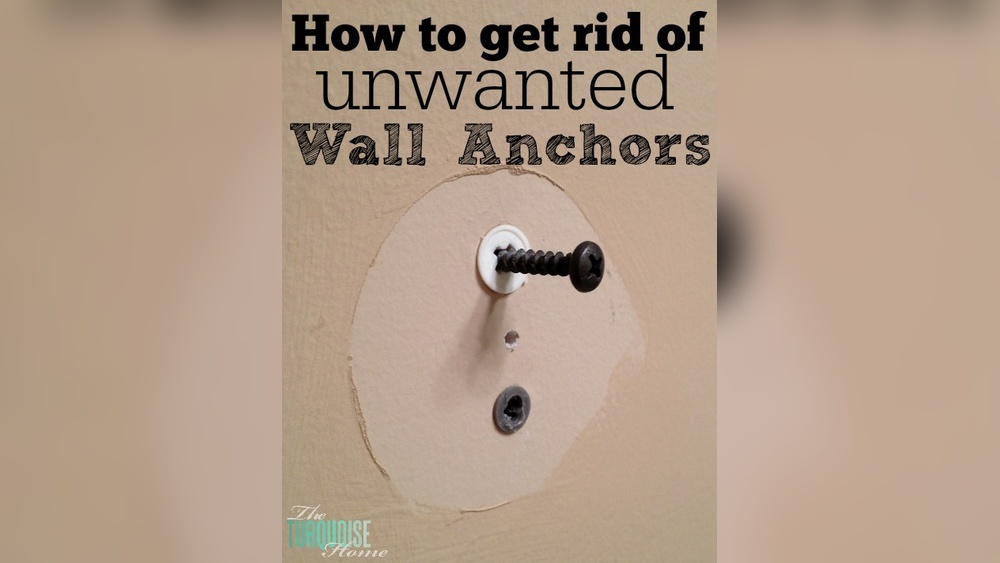
Common Mistakes To Avoid
Driving a nail anchor into a wall may seem simple. Yet, common mistakes can weaken the hold or damage the wall. Avoiding these errors saves time and effort. It also ensures your items stay securely mounted.
Overdriving Or Underdriving Anchors
Driving a nail anchor too deep can break the anchor or wall. It reduces the anchor’s grip. On the other hand, not pushing it in enough leaves it loose. The anchor won’t hold weight properly. Aim to drive the anchor flush with the wall surface. Stop when you feel resistance. This balance keeps the anchor strong and steady.
Ignoring Wall Type Differences
Walls differ in material and strength. Drywall, plaster, and brick need different anchors and techniques. Using the wrong anchor type causes poor support or wall damage. Always check your wall material first. Match the anchor type to the wall. This step avoids loose anchors and holes that grow bigger over time.

Credit: www.wikihow.com
Frequently Asked Questions
What Tools Do I Need To Drive A Nail Anchor?
You need a hammer, drill, appropriate drill bit, and the nail anchor itself. A pencil and level help mark the spot accurately. Using the right tools ensures a secure and clean installation.
How Do I Prepare The Wall Before Inserting A Nail Anchor?
Clean the wall surface and mark the drilling spot clearly. Use a drill bit matching the anchor size to create a hole. Proper preparation prevents damage and ensures the anchor fits tightly.
Can I Use Nail Anchors On All Wall Types?
Nail anchors work best on drywall, plaster, and hollow walls. For concrete or brick, use specialized anchors. Always choose anchors suitable for your wall type to ensure strong support.
How Deep Should I Drill For A Nail Anchor?
Drill a hole slightly longer than the nail anchor length. This allows the anchor to fit fully and grip the wall securely. Avoid shallow holes to prevent loose anchors.
Conclusion
Driving a nail anchor into a wall is simple with the right steps. Start with a clean hole and use a hammer carefully. Make sure the anchor fits snugly before pushing the nail. Take your time to avoid damage or mistakes.
This method keeps your wall strong and secure. Practice a few times to build confidence. Soon, hanging items will feel easy and safe. Keep tools handy and follow these tips for best results. You can handle small home projects like a pro.