Are you struggling to remove your Ikea Krokig wall hooks without damaging your walls? You’re not alone.
These hooks stick firmly, making them tricky to take down smoothly. But don’t worry—removing them can be simple if you know the right steps. In this guide, you’ll discover easy, effective methods to get those hooks off quickly and cleanly.
Keep reading to save your walls and avoid extra repairs. Your next DIY project just got a whole lot easier!
Tools Needed
Removing Ikea Krokig wall hooks requires the right tools. Having these tools ready makes the process smooth and safe. You do not need many tools, but some basics are essential. Preparing optional supplies helps fix any wall damage after removal.
Basic Tools Checklist
- Screwdriver (Phillips or flathead, depending on the hook screws)
- Putty knife or plastic scraper
- Step ladder or sturdy stool (for higher hooks)
- Small hammer (for gentle tapping if needed)
Optional Supplies For Damage Control
- Wall filler or spackling paste
- Sanding block or fine sandpaper
- Touch-up paint matching your wall color
- Soft cloth for cleaning the wall
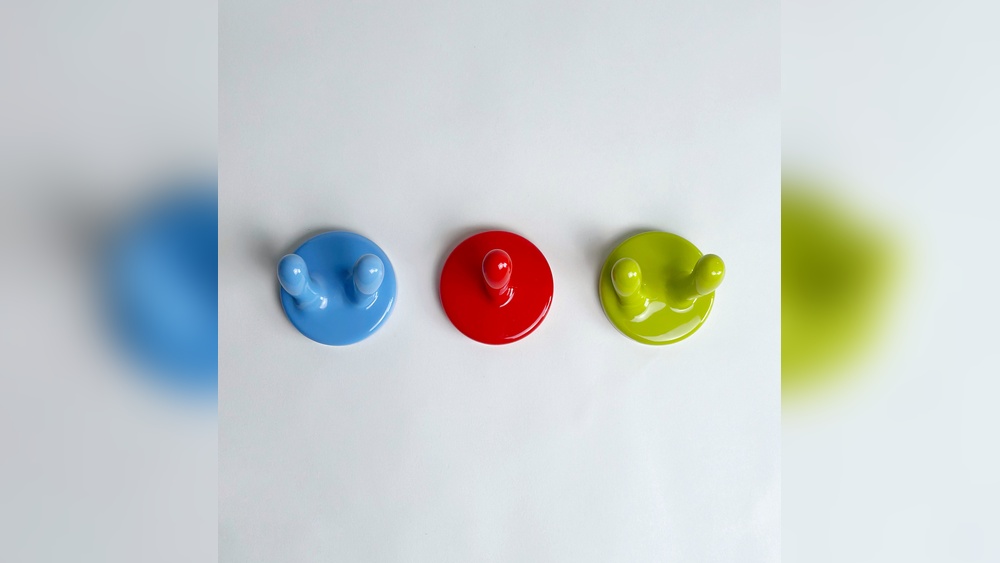
Credit: www.ikeaddict.com
Preparing The Wall
Preparing the wall before removing Ikea Krokig wall hooks is important. It makes the process safer and easier. Taking time to prepare prevents damage to your walls and keeps your space clean.
Clear The Area
Remove objects around the hooks. Clear furniture or decorations close to the wall. This gives you enough space to work comfortably. It also stops things from falling or breaking during removal.
Protect The Surface
Place a drop cloth or old towel under the hooks. This protects your floor from scratches or debris. Use painter’s tape around the hooks to avoid wall damage. These small steps keep your wall and floor safe.
Removing The Krokig Hooks
Removing the Ikea Krokig wall hooks is simple with the right steps. These hooks are designed to hold firmly but come off without damage. Knowing how to find the attachment points and the correct removal method saves time and effort.
Follow the clear instructions below for a smooth removal process. Keep your walls safe and the hooks reusable.
Locate The Attachment Points
First, find where the hooks attach to the wall. Look closely at the back of each hook. Usually, there are small clips or screws holding it in place.
Check for any visible fasteners or slots. These points keep the hook stable. Knowing their position helps avoid wall damage during removal.
Step-by-step Removal Process
Start by gently lifting the hook from the bottom. Pull slowly to see if it loosens. If it feels stuck, locate the clips or screws.
For clips, press or slide them to release the hook. For screws, use a screwdriver to remove them carefully.
Once the fasteners are free, pull the hook straight off the wall. Wipe the area to remove any residue.
Store the hooks safely if you plan to reuse them. Proper removal keeps both wall and hooks in good condition.
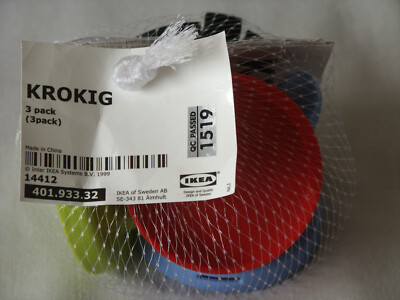
Credit: www.ebay.com
Handling Stubborn Hooks
Removing Ikea Krokig wall hooks can be tricky when they stick tight. Stubborn hooks need gentle care to avoid wall damage. Using the right methods helps loosen the hooks safely. Patience and simple tools often do the job well.
Using Heat Or Solvents
Applying gentle heat softens the glue behind the hook. Use a hairdryer on low heat, holding it close for a minute. Warmth makes the adhesive less sticky. This helps pull the hook off with less force.
If heat alone does not work, try a mild solvent. Rubbing alcohol or nail polish remover can break down glue. Dab a small amount on the hook’s base. Wait a few minutes before prying it gently.
Avoiding Wall Damage
Pull hooks slowly and carefully to keep paint intact. Use a plastic scraper or old credit card to lift edges. Work from the sides, not the center. Avoid sharp tools that can scratch or gouge the wall.
After removal, clean the area with warm soapy water. This removes leftover glue and prevents stains. Touch up paint can fix small marks easily. Handle hooks with care to protect your wall’s surface.
Repairing Minor Wall Damage
Removing Ikea Krokig wall hooks can leave small holes or marks on your wall. Repairing this minor damage helps keep your walls smooth and clean. Fixing these imperfections is simple and only takes a few steps. With the right tools, your wall will look as good as new.
Filling Small Holes
Start by cleaning the hole area to remove dust and loose paint. Use a putty knife to apply spackling paste or wall filler into the hole. Press the filler firmly to fill the hole completely. Let the filler dry for the time suggested on the package. After drying, check if the hole is filled evenly. Add more filler if needed and let it dry again.
Sanding And Painting Tips
Once the filler is dry, gently sand the area with fine-grit sandpaper. Sand until the surface feels smooth and even with the wall. Wipe away dust with a clean, dry cloth. Choose paint that matches your wall color. Use a small brush or roller to apply paint over the repaired spot. Apply thin layers and let each layer dry. Repeat painting until the patch blends well with the rest of the wall.

Credit: www.liftingitalia.com
Preventing Damage In Future Installations
Preventing damage during future installations of Ikea Krokig wall hooks helps keep walls clean and strong. Careful choices and good methods save time and money. Avoid peeling paint, holes, and marks by planning well. This guide shows simple ways to protect walls when hanging hooks again.
Choosing The Right Hooks
Pick hooks that fit the wall type. Light hooks suit drywall better than heavy hooks. Use plastic or metal hooks that match the weight of items hung. Hooks with adhesive backs cause less damage than nails or screws. Choose hooks with clear instructions to ease installation.
Proper Installation Techniques
Clean the wall surface before placing hooks. Dry and smooth walls help hooks stick firmly. Follow package steps carefully to avoid mistakes. Press hooks firmly for the best hold. Avoid hanging very heavy items on small hooks. Remove hooks slowly by pulling straight down to protect paint.
Frequently Asked Questions
How Do I Safely Remove Ikea Krokig Wall Hooks?
To safely remove Ikea Krokig hooks, gently pull the hook away from the wall. Use a flat tool if needed. Avoid forcing it to prevent wall damage. Slowly detach the mounting bracket and clean any residue left behind.
What Tools Are Needed To Remove Ikea Krokig Hooks?
You need a flathead screwdriver or a plastic scraper. These tools help pry the hook gently from the wall. Optional tools include a cloth and adhesive remover for cleaning residue after removal.
Will Removing Ikea Krokig Hooks Damage My Wall?
If done carefully, removing Ikea Krokig hooks usually causes minimal damage. Use gentle pressure and proper tools to avoid holes or paint peeling. Clean the area with mild adhesive remover to restore the wall’s surface.
Can I Reuse Ikea Krokig Hooks After Removal?
Yes, Ikea Krokig hooks can be reused if removed carefully. Avoid bending or breaking the hook and mounting parts. Store all components safely for reinstallation on a clean, smooth wall surface.
Conclusion
Removing Ikea Krokig wall hooks is simple with the right steps. Take your time and use basic tools carefully. Avoid damaging the wall by pulling gently and cleaning residue well. This method keeps your space neat and ready for new decor.
Practice patience, and the process will go smoothly. Now, you can change or move hooks without worry.