
If you’re looking to remove your Kwikset deadbolt faceplate, you’ve come to the right place. Maybe you want to replace it, fix a problem, or just clean it properly.
Whatever your reason, this task can feel tricky if you don’t know the right steps. But don’t worry—you can do it yourself, and it’s easier than you think. Keep reading, and you’ll learn exactly how to remove your Kwikset deadbolt faceplate quickly and safely, even if you’re not a DIY expert.
By the end, you’ll have the confidence to handle this simple home improvement task on your own.

Credit: www.reddit.com
Tools Needed
Removing a Kwikset deadbolt faceplate needs a few basic tools. These tools make the job easier and safer. Having the right tools helps avoid damage to the door or lock parts.
Use tools that fit well and work smoothly. This saves time and effort. Let’s look at the tools required for this task.
Screwdriver
A screwdriver is the main tool for this job. Most Kwikset deadbolt faceplates use standard screws. A Phillips head screwdriver works best. It fits into the screw heads securely. This helps remove screws without stripping them.
Utility Knife
A utility knife is handy to cut paint or caulk around the faceplate edges. This step prevents peeling or damage when you pull the faceplate off. Use it carefully to avoid scratching the door.
Putty Knife
A putty knife helps pry the faceplate gently if it sticks. It slides under the plate without harming the door surface. Use a plastic one if possible to avoid scratches.
Flashlight
A flashlight lights up dark spots around the lock. Good lighting helps you see screws and edges clearly. This reduces mistakes and speeds up the process.
Towel Or Cloth
Use a towel or cloth to protect the door finish. Place it under tools or faceplate parts. It stops scratches and keeps small pieces from rolling away.
Credit: www.kwikset.com
Prepare The Door
Start by removing screws around the Kwikset deadbolt faceplate. Gently pull the faceplate away from the door edge. Clear any dirt or paint that might block removal.
Clear The Work Area
Start by clearing the area around the door. Remove any objects that might get in the way. This gives you space to work safely and comfortably.
Gather Necessary Tools
Collect tools like a screwdriver and flashlight. Having the right tools ready saves time. It helps you avoid interruptions during the process.
Check The Door Position
Make sure the door is fully open. This makes it easier to access the deadbolt faceplate. You can work without strain or awkward angles.
Protect The Door Surface
Place a cloth or tape around the door near the faceplate. This prevents scratches or damage. It keeps the door looking good after removal.
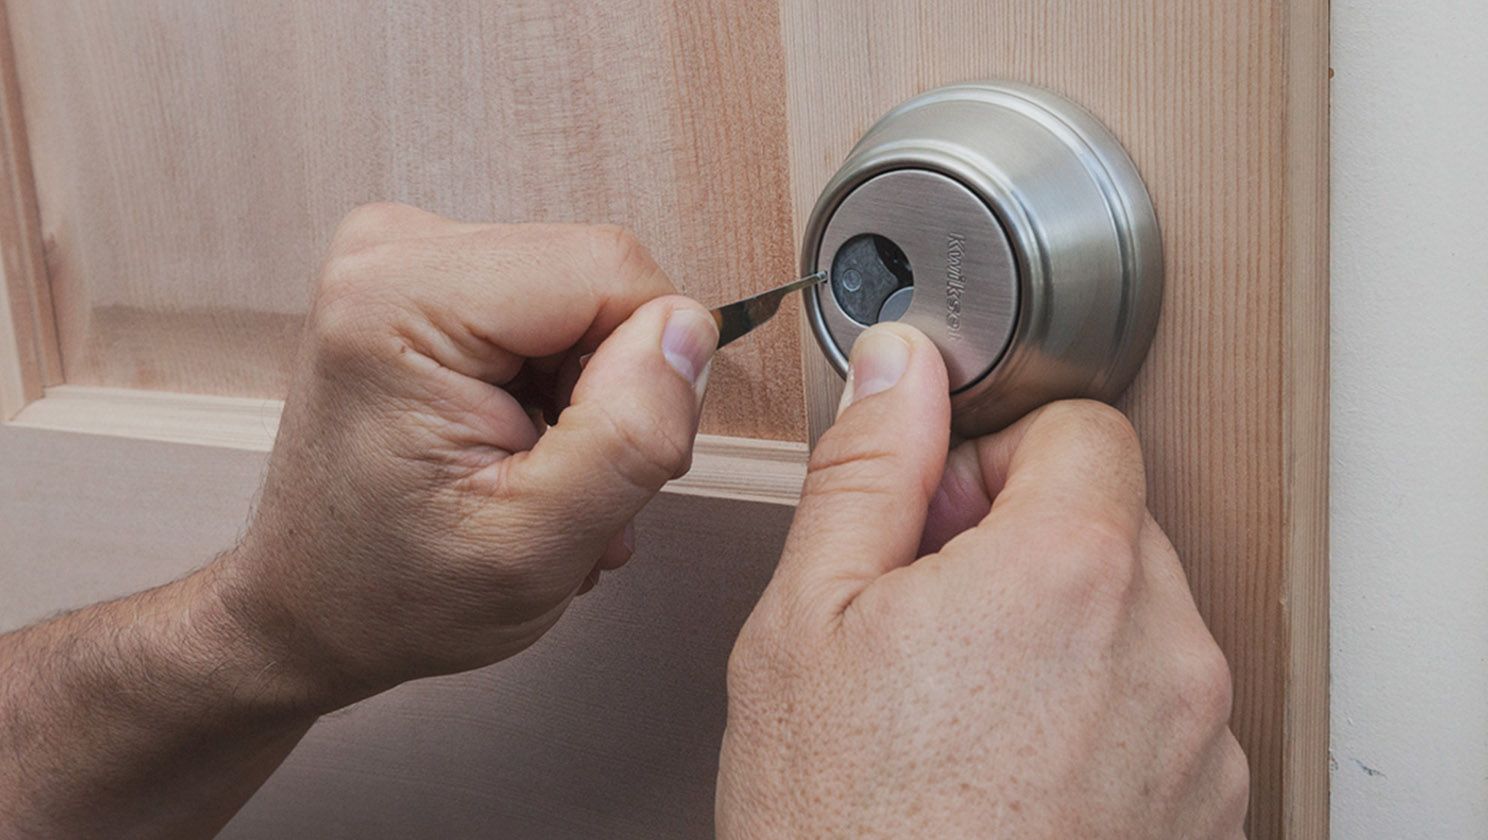
Locate The Faceplate Screws
Locating the faceplate screws is the first step in removing a Kwikset deadbolt faceplate. These screws hold the faceplate firmly against the door. Finding them quickly helps you work faster and avoid damage.
The screws are usually small and sit at the top and bottom of the faceplate. They are often silver or brass, matching the lock’s finish. Sometimes, screws can be covered by a decorative trim or paint.
Use a flashlight to spot the screws clearly. Check both sides of the door, as some models have screws on the interior or exterior faceplate.
Check The Top And Bottom Of The Faceplate
Focus on the edges of the faceplate. The screws are almost always placed at the top and bottom. Look closely near the latch area. The screws may be tiny but are easy to spot with good light.
Remove Any Cover Plates
Some Kwikset deadbolts have small covers hiding the screws. These covers snap on and off. Gently pry them with a flat tool or fingernail. Removing covers reveals the screws underneath.
Use A Flashlight For Better Visibility
A flashlight helps see screws clearly, especially in dim areas. Shine light directly on the faceplate edges. This makes the small screws stand out and easier to find.
Inspect Both Sides Of The Door
Check the inside and outside of the door. Some deadbolts have screws on one or both sides. This step ensures you don’t miss any screws holding the faceplate.

Credit: www.reddit.com
Remove The Screws
Removing the screws is the first step to take off the Kwikset deadbolt faceplate. This part holds the faceplate firmly against the door. Without removing these screws, the faceplate will not come off easily. Use the right screwdriver to avoid damaging the screws or the door surface.
Take your time to find all screws. Sometimes, screws hide under small covers or paint. Check carefully before you start unscrewing. Keep the screws safe to reuse later.
Locate All Faceplate Screws
Look closely at the deadbolt faceplate. You will see two or more screws holding it. These screws usually sit vertically on the faceplate. Sometimes, they might blend in with the door color. Use a flashlight for better visibility.
Choose The Correct Screwdriver
Kwikset screws often need a Phillips head screwdriver. Check the screw heads before choosing your tool. Using the wrong screwdriver can strip the screws. If needed, try a flathead screwdriver as a backup.
Unscrew The Faceplate Screws
Turn each screw counterclockwise to loosen it. Apply steady pressure to avoid slipping. Remove all screws completely. Place them in a small container to prevent loss. Avoid forcing screws out; gentle turns work best.
Detach The Faceplate
Detaching the Kwikset deadbolt faceplate is a simple step in lock maintenance or replacement. This process requires basic tools and careful handling. Removing the faceplate allows access to internal parts and helps with cleaning or repair.
Gather Necessary Tools
Use a screwdriver that fits the screws on the faceplate. Most Kwikset deadbolts use a Phillips head screwdriver. Prepare a small container to hold screws safely.
Locate The Screws On The Faceplate
Look closely at the faceplate on the door edge. You will see two screws holding it in place. These screws keep the faceplate firmly attached to the door.
Unscrew The Faceplate
Turn the screwdriver counterclockwise to remove the screws. Keep the screws in your container to avoid losing them. Pull the faceplate gently away from the door after all screws come out.
Handle The Faceplate Carefully
Place the faceplate on a flat surface to avoid damage. Check for any dirt or rust around the edges. Clean the area if needed before installing a new faceplate or reattaching the old one.
Check For Damage
Checking for damage on the Kwikset deadbolt faceplate is an important step. It helps avoid problems during removal and replacement. Small cracks or bends can affect how the lock works. Take a careful look at the faceplate before you start.
Damage might not always be obvious. Look closely for scratches, dents, or loose screws. These signs show the faceplate might need repair or replacement. Knowing the condition saves time and effort later.
Inspect The Faceplate Surface
Look at the faceplate’s surface for visible cracks or dents. Even small damage can cause issues. A smooth surface means the faceplate is likely in good shape. Rough or cracked areas need attention.
Check For Loose Or Missing Screws
Loose screws can make the faceplate unstable. Missing screws cause the lock to wobble. Tighten any loose screws before removal. Replace any screws that are missing to keep the lock secure.
Examine The Edges And Corners
The edges and corners often show wear first. Bent or chipped parts can stop the faceplate from fitting correctly. Gently press these areas to check for weakness. Damaged edges might need fixing or swapping out.
Clean The Door Edge
Cleaning the door edge is an important step before removing the Kwikset deadbolt faceplate. Dirt and dust can make the process harder. A clean surface helps the faceplate come off smoothly. It also protects the door from scratches and damage.
Focus on the door edge where the faceplate sits. This area often collects grime from daily use. Removing this buildup makes the removal easier and faster.
Gather The Right Cleaning Tools
Use a soft cloth or sponge to clean the door edge. Mild soap mixed with water works well. Avoid harsh chemicals that can harm the door’s finish. A small brush can help reach tight spots.
Wipe The Door Edge Gently
Dip the cloth in soapy water and wring out extra liquid. Wipe the door edge carefully to remove dirt. Use gentle strokes to avoid damaging the wood or paint. Dry the area with a clean cloth after cleaning.
Check For Stubborn Dirt Or Paint
Sometimes dirt sticks firmly or paint chips near the faceplate. Use a plastic scraper to remove these spots. Be careful not to gouge the door. Light sanding may help smooth rough areas before removal.
Ensure The Door Edge Is Dry
Before removing the faceplate, make sure the door edge is dry. Moisture can cause slipping or damage during removal. Use a dry towel or let it air dry for a few minutes. A dry surface makes the process safer and easier.
Replace Or Reinstall The Faceplate
Replacing or reinstalling the Kwikset deadbolt faceplate is an important step after removing it. This part helps keep the lock secure and flush with the door. Whether the faceplate is damaged or you want to upgrade its look, correct installation is key.
Proper alignment ensures smooth operation of the deadbolt. Poor fitting can cause the lock to stick or fail to lock properly. Use the right screws and tools for a safe, sturdy fit. Follow simple steps for a clean, professional result.
Remove Old Screws And Clean The Area
Start by taking out the old screws from the faceplate. Keep them safe if you plan to reuse them. Clean the door surface to remove dust and dirt. A clean area helps the new faceplate fit tightly and look neat.
Position The New Or Original Faceplate
Place the faceplate carefully over the deadbolt hole. Align it so the bolt fits through the center. Check that the edges sit flush against the door surface. Proper placement avoids gaps and ensures smooth bolt movement.
Secure The Faceplate With Screws
Use a screwdriver to fasten the screws firmly. Do not overtighten as this can strip the wood or damage the faceplate. Tight screws hold the faceplate steady and prevent it from loosening over time.
Turn the lock to test the bolt movement. Make sure it slides in and out smoothly. Check if the door closes properly and the lock clicks securely. Adjust the faceplate position slightly if needed for perfect operation.
Frequently Asked Questions
How Do I Remove A Kwikset Deadbolt Faceplate?
Start by unscrewing the screws on the faceplate. Use a screwdriver to carefully lift the faceplate away from the door. Ensure the deadbolt is retracted before removal. This prevents damage to the mechanism and makes removal easier.
What Tools Are Needed To Remove Kwikset Deadbolt Faceplate?
You only need a Phillips head screwdriver for most Kwikset deadbolt faceplates. Sometimes, a flathead screwdriver helps to gently pry the faceplate. Avoid using power tools to prevent stripping screws or damaging the door.
Can I Remove The Faceplate Without Removing The Deadbolt?
No, retract the deadbolt first before removing the faceplate. Removing the faceplate with the deadbolt extended can damage the lock or door. Always ensure the bolt is inside the door for safe removal.
How Long Does It Take To Remove Kwikset Faceplate?
Removing a Kwikset deadbolt faceplate usually takes 5 to 10 minutes. This includes unscrewing and gently lifting the faceplate. With the right tools and care, it’s a quick and simple task.
Conclusion
Removing a Kwikset deadbolt faceplate is simple with the right steps. Start by gathering basic tools like a screwdriver. Unscrew carefully to avoid damage. Keep track of small parts for easy reassembly. Taking your time helps prevent mistakes. This task saves money and improves home security.
Anyone can do it with patience and care. Try it yourself and see how easy it feels. A small effort brings good results.

