Are you tired of struggling with loose screws and unstable shelves? Using drive wall anchors could be the simple solution you need to secure your items firmly and safely.
But if you’re unsure how to use them correctly, you might end up with wasted time and damage to your walls. In this guide, you’ll discover step-by-step how to install drive wall anchors like a pro, ensuring your projects stay strong and reliable.
Keep reading, and you’ll gain the confidence to tackle your next wall-mounting task with ease.
Choosing The Right Drive Wall Anchor
Choosing the right drive wall anchor is key to a secure hold. Picking the wrong anchor can cause damage or failure. Knowing the types, material fit, and weight limits helps you select the best one.
Types Of Drive Wall Anchors
Drive wall anchors come in several styles. Plastic anchors are common for light loads. Metal anchors offer stronger support for heavier items. Some anchors expand inside the wall for a tight fit. Others use a screw to grip the surface.
Material Compatibility
Each anchor type suits certain wall materials. Drywall anchors work best in plaster or drywall. Masonry anchors fit brick or concrete walls. Wood anchors hold well in wooden studs. Check your wall type before choosing an anchor.
Weight Capacity Considerations
Every anchor has a weight limit. Light anchors hold small pictures or decorations. Heavy-duty anchors support shelves or mirrors. Always check the package for weight ratings. Use anchors that match or exceed your item’s weight.
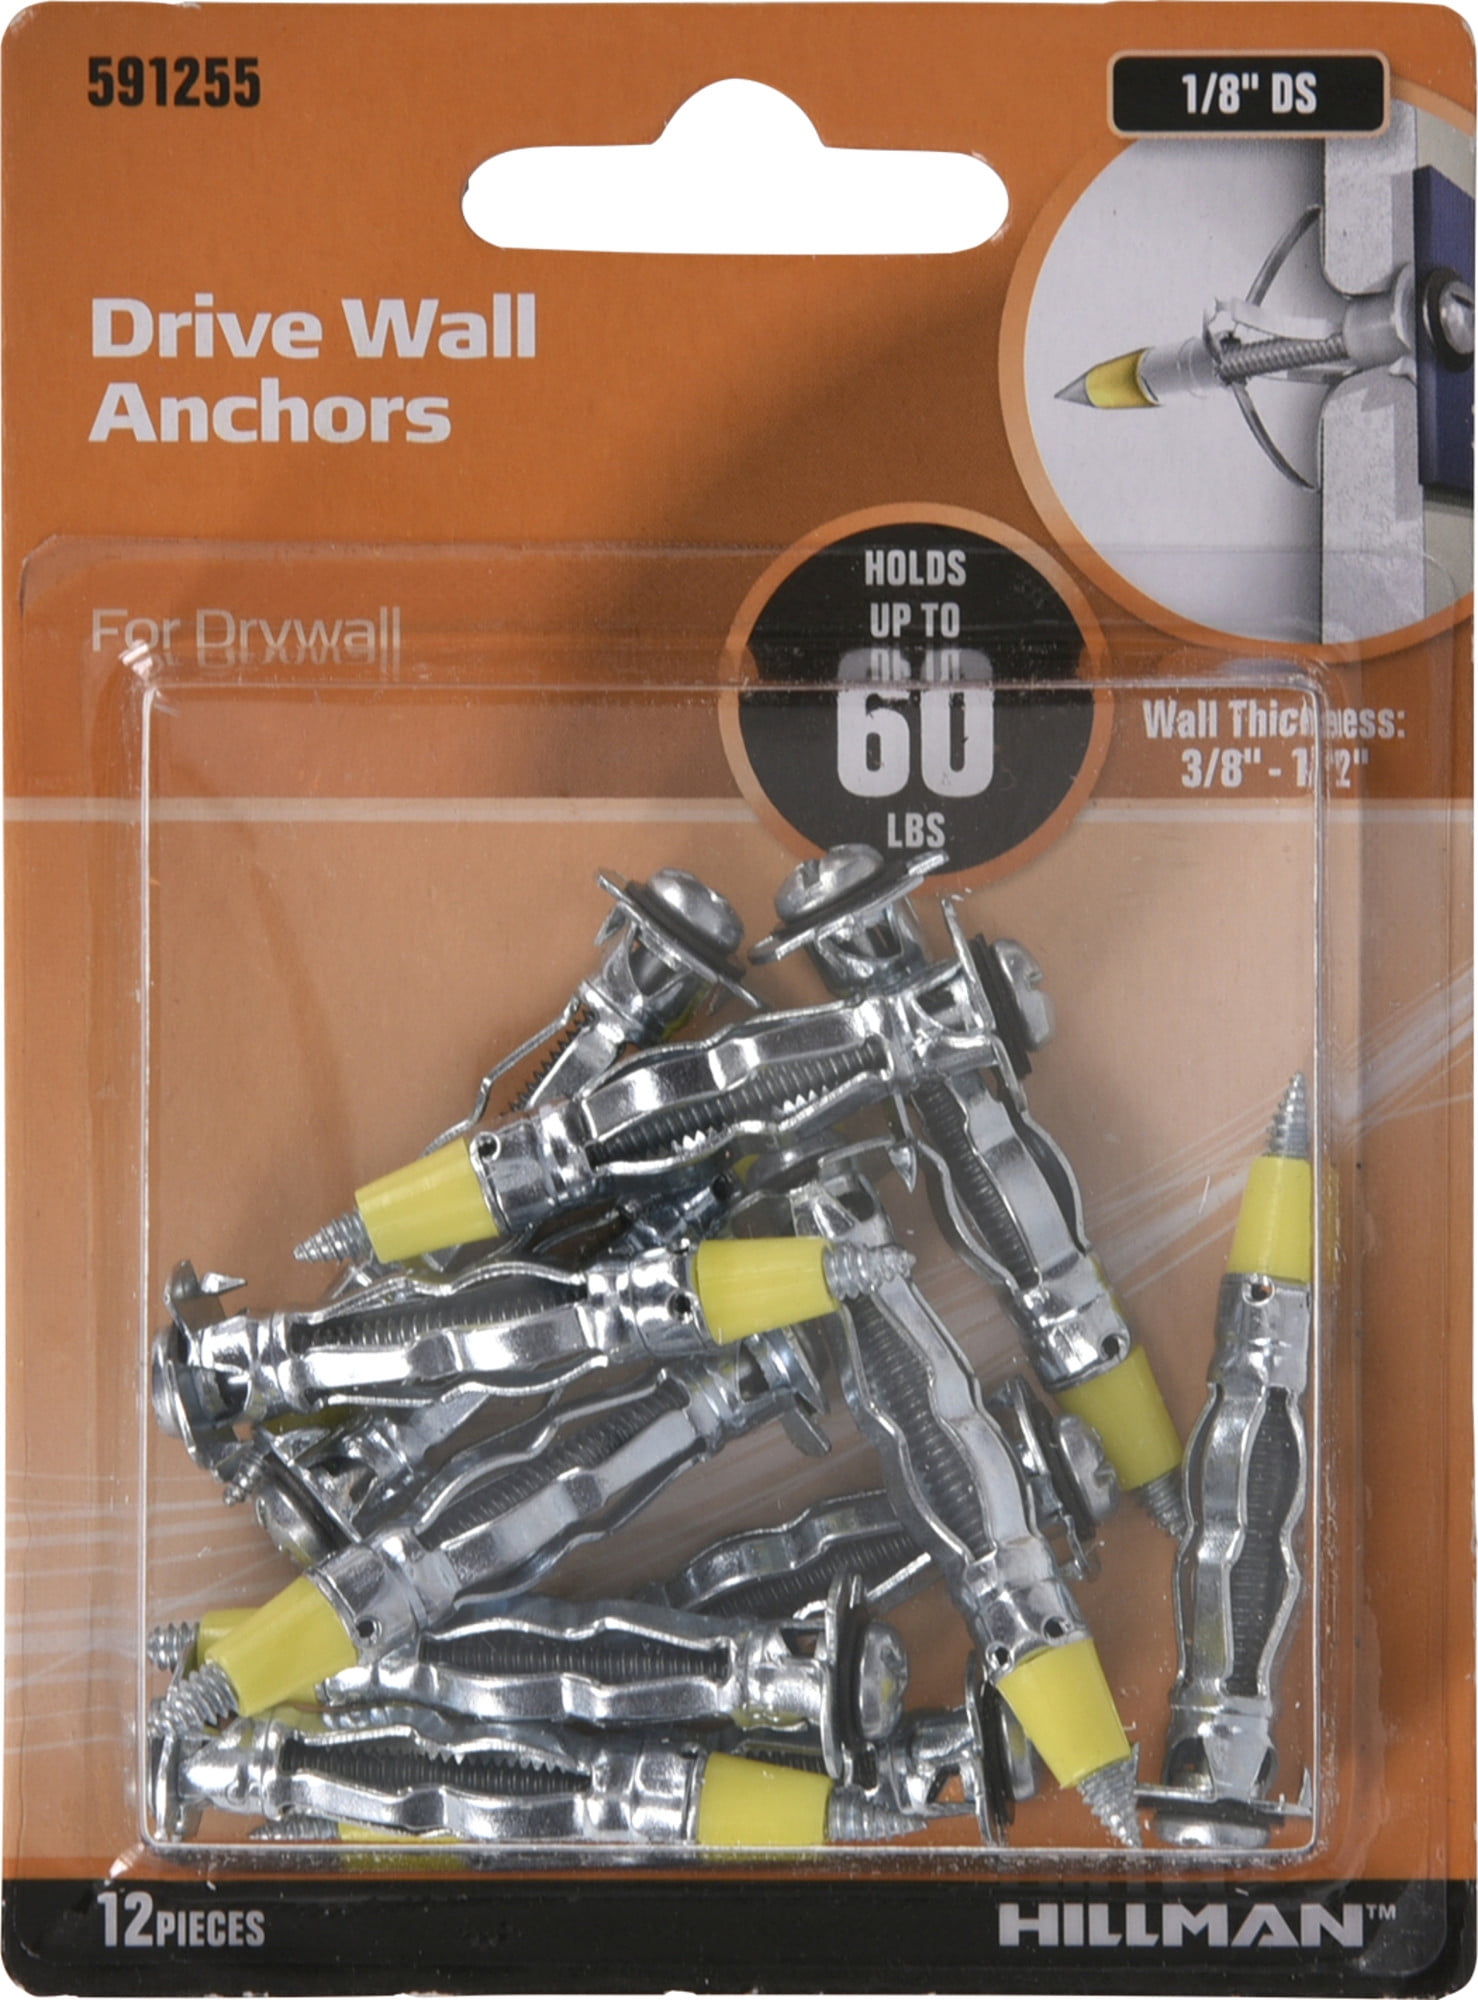
Credit: www.walmart.com
Tools Needed For Installation
Installing drive wall anchors needs the right tools for a secure hold. Using proper tools makes the job easier and safer. This section covers the basic tools needed for smooth installation.
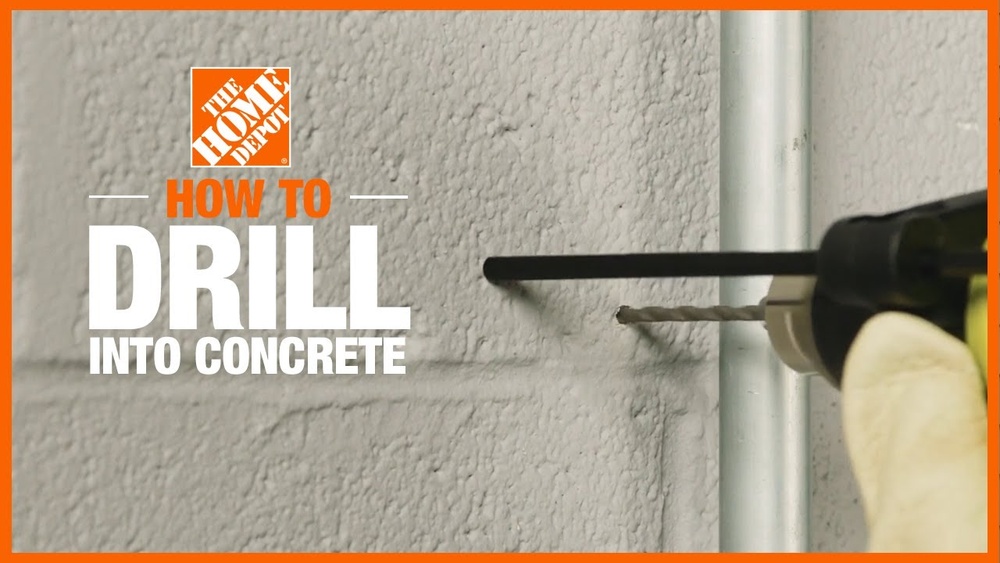
Drill And Drill Bits
A drill is essential for making holes in the wall. Choose drill bits that match the anchor size. A correct hole size helps the anchor fit tightly. Use a drill with steady power for clean holes.
Hammer And Screwdriver
A hammer helps to drive the anchor into the wall. Tap gently to avoid damage. A screwdriver is needed to screw in the fastener. Use the right type of screwdriver for the screw head.
Measuring And Marking Tools
Measure the spot carefully before drilling. Use a tape measure or ruler for accuracy. Mark the exact point with a pencil. Correct marking prevents mistakes and ensures proper placement.
Preparing The Wall
Preparing the wall is the first step in using drive wall anchors. This step ensures your anchors hold firmly and your items stay secure. Proper preparation saves time and prevents damage to walls.
Locating Studs And Avoiding Hazards
Start by finding the studs behind the wall. Studs give extra support for heavy items. Use a stud finder tool to locate them easily. Avoid drilling near electrical wires or pipes inside the wall. These hazards can cause injury or damage.
Marking Anchor Positions
Mark the exact spots where you want to place the anchors. Use a pencil for clear, light marks. Measure twice to make sure the positions are correct. Proper marking helps keep the anchor level and balanced.
Drilling Pilot Holes
Drill small pilot holes at the marked points. The holes guide the anchor and make installation easier. Use a drill bit slightly smaller than the anchor size. Drill straight and stop at the right depth. This step prevents wall damage and ensures a tight fit.
Installing Drive Wall Anchors
Installing drive wall anchors is a simple way to secure objects to walls. These anchors hold screws tightly, giving strong support. You can use them for shelves, pictures, or light fixtures. Follow the steps carefully to ensure a firm hold and avoid damage to the wall.
Inserting The Anchor
Start by choosing the right anchor size for your screw. Place the anchor at the spot on the wall where you want to drill. Press it gently against the wall surface. The anchor should sit flat and flush before you start driving it in.
Driving The Anchor Into The Wall
Use a hammer or mallet to tap the anchor into the wall. Hit it lightly at first to avoid cracking. Keep tapping until the anchor is flush with the wall surface. The anchor expands inside the wall, creating a strong grip.
Securing The Screw
Insert the screw into the anchor carefully. Use a screwdriver to turn the screw slowly. Tighten it until it feels firm but not too tight. Over-tightening can damage the anchor or wall. Your object is now securely fastened to the wall.
Tips For Strong And Safe Fixings
Strong and safe fixings with drive wall anchors need care and attention. Proper use ensures your items stay secure. It also prevents damage to walls and anchors.
Follow simple tips to get the best results. Small actions make a big difference in safety and strength.
Avoiding Over-tightening
Do not turn screws too hard. Over-tightening can crack the wall or break the anchor. Stop tightening as soon as the anchor feels firm. Use a screwdriver with good control. This helps avoid damage and keeps the anchor secure.
Ensuring Proper Anchor Depth
Insert the anchor fully into the wall. It must sit flush with the surface. Too shallow or too deep reduces holding power. Use a drill bit that matches the anchor size. Check the depth by eye or use a depth gauge. This ensures strong support for your fixings.
Checking Load Limits
Know the weight your anchor can hold. Every anchor has a maximum load limit. Exceeding this causes failure and damage. Use anchors designed for your item’s weight. Check package instructions or manufacturer details. This keeps your fixings safe and reliable.
Common Mistakes To Avoid
Drive wall anchors make hanging items easier and stronger. Avoid common mistakes to get the best results. These errors can cause weak holds or damage your wall.
Learn what to watch out for when using drive wall anchors. Correct use saves time and prevents problems.
Using The Wrong Anchor Type
Each anchor fits a specific wall and weight type. Using the wrong anchor can cause it to fail. Check the anchor’s label for the right use. Heavy items need stronger anchors. Light anchors work only for small, light objects.
Ignoring Wall Material
Walls vary: drywall, plaster, concrete, or brick. Each needs a matching anchor type. Drywall anchors won’t work in concrete. Concrete anchors will not fit drywall. Know your wall type before choosing anchors. This keeps your items secure and the wall safe.
Skipping Pilot Holes
Drilling a pilot hole helps guide the anchor. Skipping this step can crack or damage the wall. Pilot holes also make inserting anchors easier. Use a drill bit slightly smaller than the anchor. This ensures a tight fit and strong hold.
Applications For Drive Wall Anchors
Drive wall anchors are versatile tools that offer strong support for many home projects. They work well in drywall, plaster, and hollow walls. These anchors help hold heavy items securely without damaging the wall. Their design allows easy installation and reliable grip.
Understanding where to use drive wall anchors helps you choose the right one for each task. Below are common uses that show their value in daily home improvements.
Hanging Shelves And Cabinets
Drive wall anchors provide stable support for shelves and cabinets. They keep these items from pulling away from the wall. You can hang shelves with confidence, even with heavy books or kitchenware. Cabinets stay level and secure, preventing accidents or damage.
Mounting Heavy Decor
Heavy pictures, mirrors, and art need strong anchors. Drive wall anchors hold these items firmly on the wall. They prevent slipping or falling, protecting your decor and walls. This makes them a good choice for valuable or large decorations.
Securing Fixtures And Hardware
Light fixtures, curtain rods, and towel bars require sturdy mounting points. Drive wall anchors ensure these fixtures stay fixed in place. They help avoid loose or wobbly hardware that can cause problems later. You get reliable support for daily use.
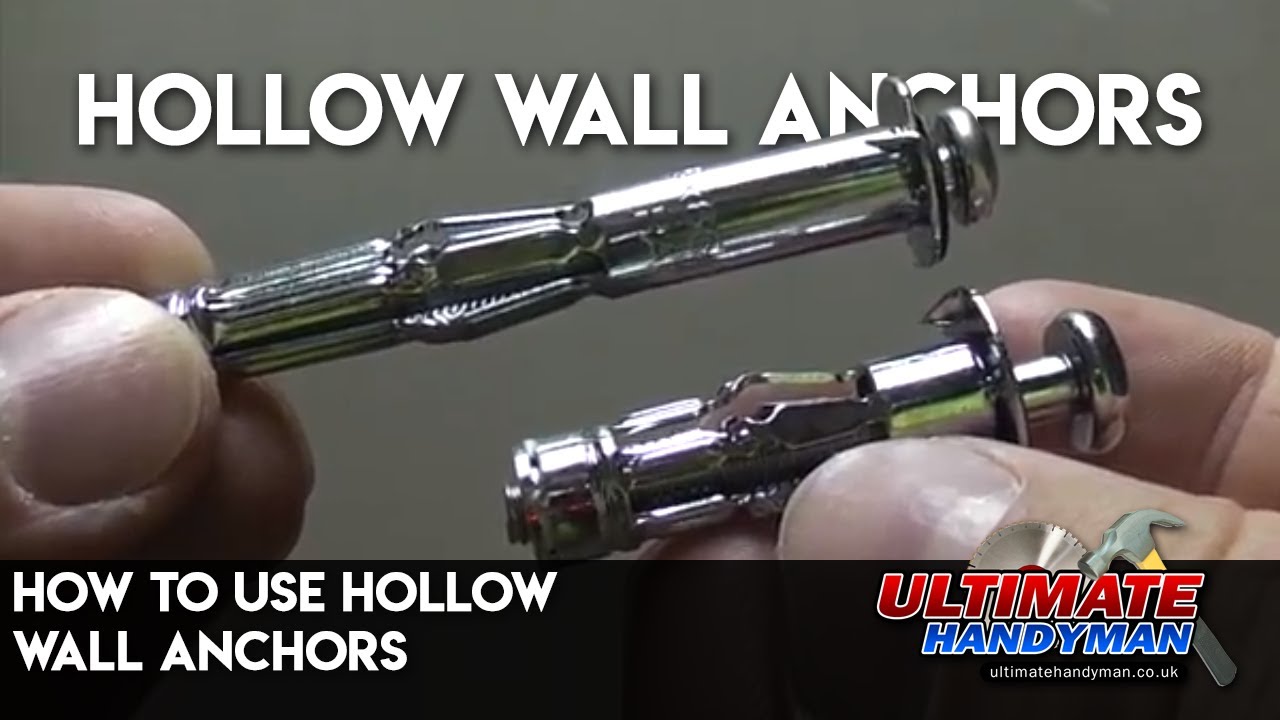
Credit: www.youtube.com

Credit: www.andersonlumbercompany.com
Frequently Asked Questions
What Are Drive Wall Anchors Used For?
Drive wall anchors provide secure mounting in drywall without studs. They support medium-weight items like shelves and frames. These anchors expand inside the wall for a firm grip. They prevent damage and ensure stability when hanging objects. Ideal for drywall applications needing extra strength.
How Do You Install Drive Wall Anchors Correctly?
First, drill a pilot hole matching the anchor size. Insert the drive wall anchor flush with the wall. Use a hammer to gently tap the anchor until fully seated. Finally, screw in the fastener to expand the anchor and secure the fixture.
Avoid over-driving to prevent wall damage.
Can Drive Wall Anchors Support Heavy Objects?
Drive wall anchors are suitable for medium-weight items, typically up to 50 pounds. For heavier objects, consider toggle bolts or molly anchors. Always check the manufacturer’s weight limits. Proper installation is crucial for maximum holding strength. Use multiple anchors for added support if needed.
Are Drive Wall Anchors Reusable After Removal?
No, drive wall anchors are usually single-use. Removing them often damages the anchor or drywall. Replacement with new anchors is recommended for reinstallation. Reusing anchors can reduce holding strength and cause instability. Always prepare a new hole if necessary.
Conclusion
Drive wall anchors hold items firmly on walls. Choose the right size for your project. Use a drill to make a hole first. Then, push the anchor until it fits tight. Screw in the fastener to secure your item. Check stability before hanging anything heavy.
These simple steps help your wall hold strong. Practice makes using anchors easier and faster. Keep your walls safe and your items steady.