Are you struggling to fit a new deadbolt lock on your door because the hole is just too small? You’re not alone, and the good news is that enlarging the deadbolt hole is easier than you might think.
Whether you want to upgrade your security or replace an old lock, knowing how to properly enlarge the hole can save you time, money, and frustration. In this guide, you’ll discover simple steps that anyone can follow to get the perfect fit for your deadbolt.
Keep reading, and you’ll have your door ready in no time.
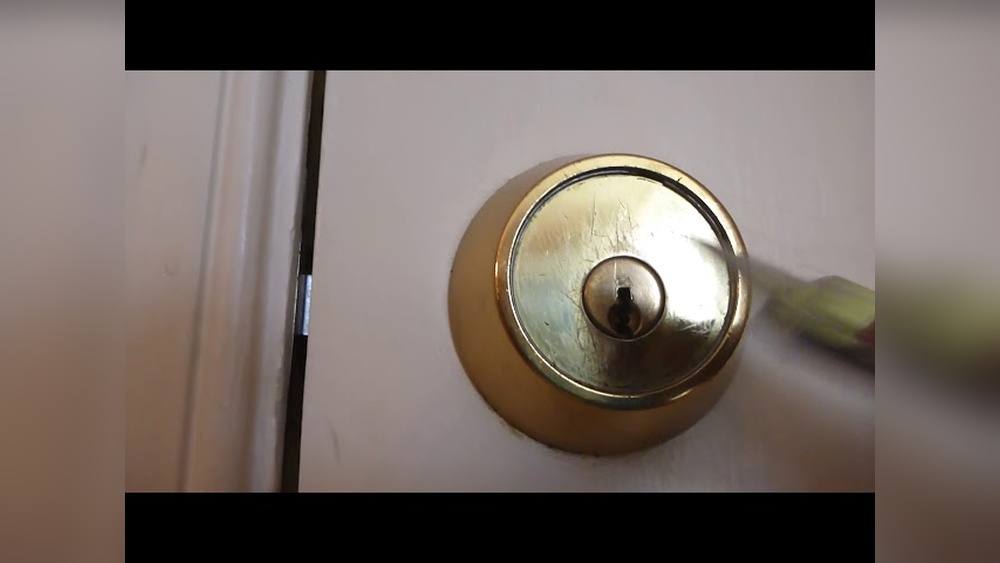
Credit: www.finehomebuilding.com
Tools Needed
Enlarging a deadbolt hole requires the right tools for a clean and safe job. Having these tools ready helps you work faster and with accuracy. Each tool plays a specific role in the process. Below are the essential tools you need to enlarge a deadbolt hole in a door.
Drill And Drill Bits
A drill is the main tool for making the hole bigger. Use drill bits of different sizes to start small and then make the hole larger. Sharp, good-quality bits prevent splintering the door.
Hole Saw
A hole saw attaches to the drill and cuts a clean, round hole. Choose a hole saw that matches the size of the new deadbolt hole. It makes the job easier and the edge smooth.
Measuring Tape
Measure the hole and door thickness carefully. Accurate measurement ensures you cut the right size hole. Mark the spot clearly before drilling.
Pencil
Use a pencil to mark the center of the hole. Clear marks guide your drilling. Pencil marks are easy to erase after the job.
Safety Gear
Wear safety glasses to protect your eyes from wood chips. Use gloves to protect your hands. Always work in a well-ventilated area to avoid dust inhalation.
Measure Existing Hole
Measuring the existing deadbolt hole is the first step in enlarging it. Accurate measurement ensures the new hole fits the deadbolt perfectly. This step prevents mistakes and saves time during installation.
Use a tape measure or ruler for precise results. Take your time to avoid errors that could damage the door.
Check Current Diameter
Find the diameter of the current hole by measuring straight across its widest part. Use a tape measure or caliper for accuracy. Note this number carefully. It shows how much you need to enlarge the hole. Compare this size with the deadbolt’s required diameter. This check helps confirm the exact size needed.
Mark Enlargement Area
Mark the area to be enlarged around the existing hole. Use a pencil or marker to outline the new size. Draw the circle based on the deadbolt’s diameter. Keep the mark clear and visible. This guide helps you cut accurately. Proper marking prevents cutting too much or too little.
Choose The Right Hole Saw
Choosing the right hole saw is a key step in enlarging the deadbolt hole. The right tool ensures a clean cut and prevents damage to your door. Picking the correct size and type saves time and effort. It also helps you get the perfect fit for your deadbolt lock.
Match Deadbolt Size
Start by checking the size of your deadbolt. Most deadbolts have a standard diameter, but some may differ. Measure the deadbolt hole carefully with a tape measure or ruler. Choose a hole saw that matches this size exactly. Using a saw that is too big or too small can cause problems. A perfect match makes the deadbolt fit snugly and work smoothly.
Check Compatibility With Drill
Not all hole saws fit every drill. Check the shank size of the hole saw and the chuck size of your drill. Make sure they match for easy installation. Some hole saws come with adapters. These help fit different drill models. Using a compatible hole saw prevents wobbling and uneven cuts. It also keeps you safe while working on the door.

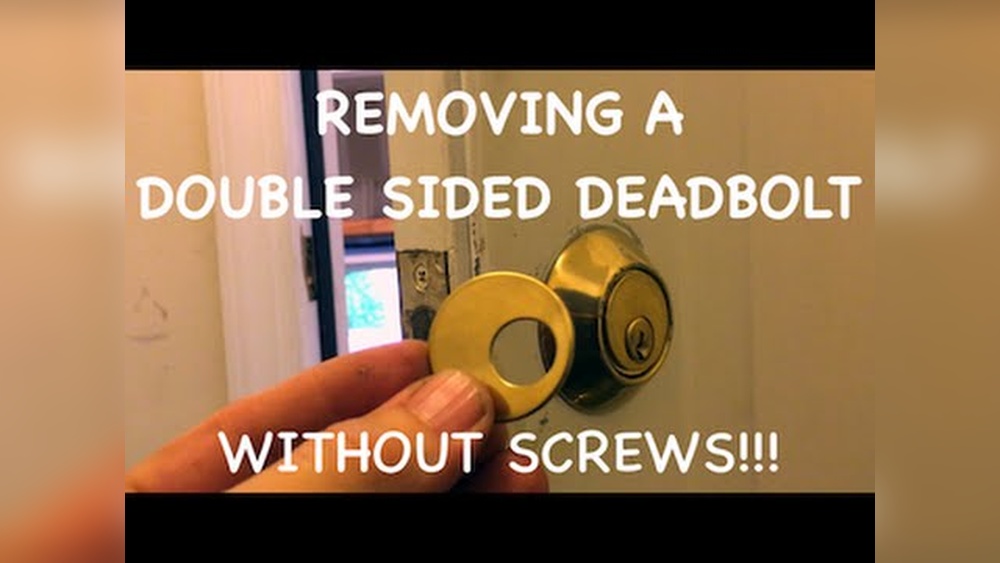
Credit: www.youtube.com
Prepare The Door
Preparing the door is the first step to enlarge the deadbolt hole safely and correctly. This phase helps create a clear workspace. It also prevents damage to the door and hardware. Proper preparation makes the job easier and faster.
Focus on clearing the area and protecting the door. Follow the steps carefully to get ready for the hole enlargement.
Remove Hardware
Start by removing the deadbolt and any nearby hardware. Use a screwdriver to take out screws. Keep screws and parts in a safe place. Removing hardware prevents scratches and damage. It also gives you full access to the door surface.
Secure The Door
Make sure the door stays open and steady. Use a wedge or doorstop to hold it in place. A stable door stops unwanted movement. This stability helps you work with precision and safety. Avoid working on a swinging or shaky door.
Wear Safety Equipment
Protect your eyes with safety goggles. Wear gloves to protect your hands. Use a dust mask to avoid inhaling wood dust. Safety gear prevents injuries and keeps you comfortable. Never skip this important step.
Enlarge The Hole
Enlarging the deadbolt hole is a key step in fitting a new lock. This process needs care to avoid damage to the door. With the right approach, the hole will be the perfect size.
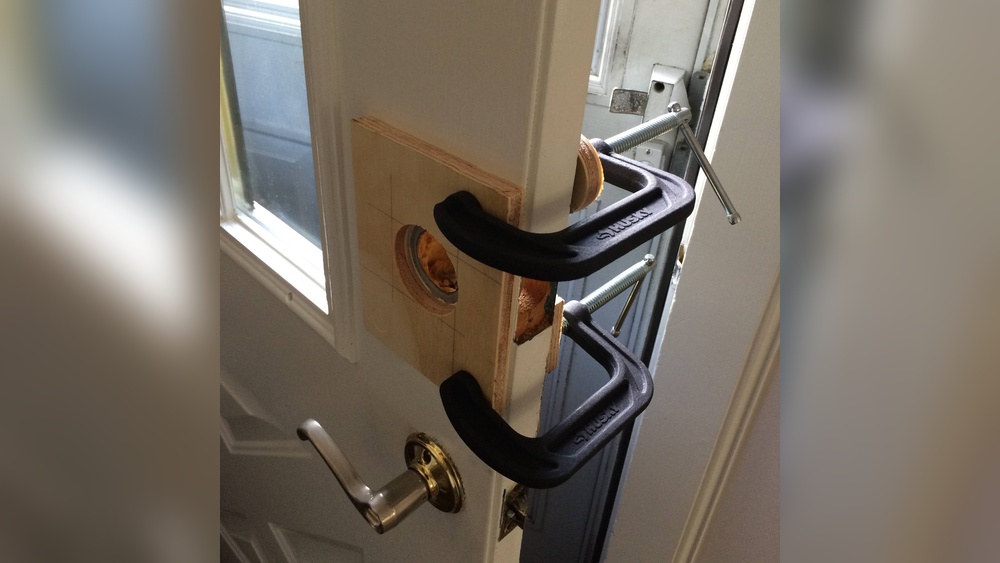
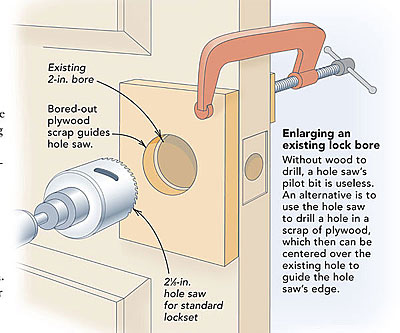
Align Hole Saw Properly
Start by placing the hole saw carefully on the mark. Check that it is straight and centered. Proper alignment helps avoid a crooked or uneven hole. Use a guide or template if available to keep it steady.
Drill Slowly And Steadily
Begin drilling at a slow speed to control the cut. Apply gentle, even pressure to avoid splintering the wood. Take breaks if needed to keep the saw cool. Steady drilling creates a clean and accurate hole.
Clean The Edges
After drilling, remove rough edges with sandpaper or a file. Smooth edges prevent the lock from sticking or misaligning. Check the hole size and shape to make sure it fits the deadbolt snugly. Clean edges make installation easier and the lock safer.

Credit: www.youtube.com
Test The Fit
Testing the fit of your deadbolt hole is a key step after enlarging the door hole. It ensures the deadbolt fits perfectly without forcing or gaps. This step helps you spot any needed adjustments early.
Insert Deadbolt
Place the deadbolt into the enlarged hole gently. Make sure it slides in smoothly. The deadbolt should fit flush with the door surface. Avoid pushing too hard to prevent damage.
Check Alignment And Operation
Turn the deadbolt key or thumb turn to check its movement. The bolt should extend and retract easily. Check if the deadbolt lines up with the strike plate on the door frame. Adjust the hole size or position if it binds or sticks.
Finishing Touches
After enlarging the deadbolt hole, the final steps make your door look clean and professional. These finishing touches protect your work and keep the door strong. They also improve the door’s appearance and help the lock fit perfectly.
Sand Rough Edges
Use fine sandpaper to smooth rough edges around the hole. This step removes splinters and sharp bits. Sand gently until the surface feels even and clean. A smooth edge helps the lock fit better and prevents damage to the lock or door.
Reinstall Hardware
Put the deadbolt lock back into the enlarged hole carefully. Check that the lock aligns well with the hole and turns easily. Tighten screws securely but avoid over-tightening. Proper installation keeps the lock safe and working smoothly.
Apply Paint Or Finish
Touch up the area around the hole with paint or finish to match the door. This step hides any marks or scratches from drilling and sanding. Use a small brush for precise application. A clean finish protects the wood and keeps your door looking new.
Common Mistakes To Avoid
Enlarging a deadbolt hole in a door can be tricky. Many people make simple mistakes that cause problems later. Knowing what to avoid helps you get the job done right the first time. This section covers common errors and how to steer clear of them.
Over-enlarging The Hole
Making the hole too big weakens the door. The deadbolt may not fit tightly. This reduces security and can cause the lock to wobble. Measure carefully before drilling. Stop once the hole matches the deadbolt size. Avoid guessing or rushing the process.
Ignoring Safety Precautions
Safety is key when working with power tools. Not wearing goggles or gloves risks injury. Dust and wood chips can harm your eyes and skin. Always wear protective gear. Keep your hands clear of the drill bit. Work slowly to maintain control and avoid accidents.
Using Incorrect Tools
Using the wrong tools makes the job harder. A drill bit that is too large or small causes uneven holes. Avoid using knives or screwdrivers to widen the hole. Use a hole saw or spade bit designed for the correct size. This ensures a clean, smooth hole and saves time.
Frequently Asked Questions
How Do I Enlarge A Deadbolt Hole Safely?
Use a spade bit or hole saw slightly larger than the existing hole. Drill slowly to avoid splintering the door wood.
What Tools Are Needed To Enlarge A Deadbolt Hole?
You need a power drill, spade bit or hole saw, measuring tape, and pencil for marking the new hole size.
Can Enlarging A Deadbolt Hole Weaken My Door?
If done carefully, enlarging the hole won’t weaken the door. Avoid over-enlarging and damaging the door edges.
How Much Larger Should The Deadbolt Hole Be?
Make the new hole about 1/8 inch larger in diameter than the deadbolt to ensure a proper fit.
Conclusion
Enlarging a deadbolt hole in your door is simple with the right tools. Take your time and measure carefully before cutting. Using the correct drill bit helps avoid damage. Safety matters—wear eye protection and work slowly. A properly sized hole makes installing a new deadbolt easier.
You can improve your door’s security with this small change. Practice on scrap wood if unsure. Soon, your door will fit the lock perfectly and work smoothly. A little patience leads to a strong, secure entryway.