If you need to drill for a deadbolt, knowing the right steps can save you time and frustration. Whether you’re upgrading your home security or replacing an old lock, doing it yourself is easier than you might think.
In this guide, you’ll learn exactly how to drill for a deadbolt the right way, with simple instructions that anyone can follow. Keep reading to make sure your new deadbolt fits perfectly and keeps your home safe.

Credit: www.youtube.com
Choosing The Right Deadbolt
Choosing the right deadbolt is important for home security and ease of use. A good deadbolt keeps your door strong and safe. It must fit your door and meet your security needs. Understanding different types and materials helps you pick the best option. Focus on features that improve protection and durability.
Types Of Deadbolts
Single-cylinder deadbolts use a key outside and a thumb turn inside. They are common and easy to use. Double-cylinder deadbolts need a key on both sides. These add extra security but can slow escape in emergencies. Lockable thumbturn deadbolts offer a mix, allowing you to lock the thumbturn with a key. Choose based on door type and safety needs.
Materials And Durability
Deadbolts made from solid brass or steel last longer and resist damage. Brass resists rust and looks good over time. Steel offers strong protection but may rust if not coated. Look for finishes like nickel or chrome to prevent corrosion. Durable materials keep locks working smoothly for years.
Security Features To Look For
Pick deadbolts with hardened steel bolts to resist cutting. Anti-drill plates stop tools from breaking the lock. Some models include anti-pick pins to prevent lock picking. Choose locks with a long bolt throw, at least one inch. These features improve your door’s defense against break-ins.
Gathering Necessary Tools
Before drilling for a deadbolt, gather the right tools. Having the proper equipment makes the job easier and safer. It saves time and helps you work with accuracy. Below are the main tools you need.
Drill And Drill Bits
Choose a power drill that fits your hand well. A cordless drill is often easier to handle. Use drill bits designed for wood or metal, depending on your door. Common sizes include 1/8 inch for pilot holes and 1 inch for larger holes. Sharp drill bits cut cleaner and reduce damage.
Measuring Tools
Measure carefully to place the deadbolt correctly. A tape measure helps check distances from the door edges. Use a pencil to mark spots clearly. A square or ruler ensures straight lines. Accurate measuring prevents mistakes that waste time.
Safety Equipment
Wear safety glasses to protect your eyes from dust and debris. Gloves keep your hands safe from sharp edges. Ear protection reduces noise from the drill. A dust mask helps avoid breathing in particles. Safety gear keeps you safe during work.
Preparing The Door
Preparing the door is the first step to install a deadbolt correctly. It helps ensure the lock fits well and works smoothly. Taking time to prepare avoids mistakes and damage to the door. Here are the key tasks to do before drilling.
Marking Drill Points
Start by marking where you will drill holes. Use a pencil to mark the door surface. Mark the spot for the lock cylinder and the bolt hole carefully. Make sure marks are clear and visible. Double-check the alignment to avoid drilling in the wrong place.
Measuring Backset
Backset is the distance from the door edge to the center of the lock hole. Measure this distance accurately for a proper fit. Most deadbolts use a backset of 2 3/8 or 2 3/4 inches. Use a ruler or tape measure to check the backset on your door. Adjust your marks if needed.
Checking Door Thickness
Deadbolts need a certain door thickness to fit securely. Measure the door’s thickness with a tape measure. Standard doors are usually 1 3/4 inches thick. If your door is thinner or thicker, choose a deadbolt that fits. Knowing the thickness prevents buying the wrong lock size.

Credit: www.parkavenuelocks.com
Drilling The Holes
Drilling the holes is the key step in installing a deadbolt. It needs care and the right tools. The holes must be precise for the lock to fit well. A careful approach helps avoid damage to the door. Follow these steps to drill the face bore and edge bore correctly. Learn how to avoid common mistakes.
Drilling The Face Bore
Mark the spot on the door face for the main hole. Use a hole saw bit that fits the deadbolt size. Start drilling slowly to keep the drill steady. Drill straight through the door without tilting. Stop once the bit passes the other side. Clean out any wood debris from the hole.
Drilling The Edge Bore
Mark the spot on the edge of the door for the latch hole. Use a spade bit or hole saw smaller than the face bore. Drill straight into the door edge until it meets the face bore. Check that the holes align perfectly. Clear out any splinters or sawdust from the hole.
Avoiding Common Mistakes
Do not rush the drilling process. Drilling too fast can crack the wood. Avoid drilling off-center holes. Misaligned holes cause the lock to jam. Never use a dull drill bit; it can damage the door. Measure twice and drill once for best results.
Installing The Deadbolt
Installing the deadbolt is the next step after drilling the holes. This part needs care to ensure the lock works well and keeps your door secure. Follow each step carefully for the best results.
Fitting The Bolt Mechanism
Start by placing the bolt mechanism into the hole on the door edge. Make sure it fits snugly without forcing it. The bolt should move smoothly when you slide it in and out. Check if the bolt faceplate sits flat against the door edge. Use a screwdriver to tighten any screws that hold the bolt in place.
Attaching The Exterior And Interior Plates
Next, line up the exterior plate with the hole on the outside of the door. The keyhole should face outward. Then, place the interior plate on the inside of the door. Both plates must match perfectly and sit flush with the door surface. Insert the spindle through the bolt mechanism to connect the two plates. This spindle allows the thumb turn or key to operate the lock.
Securing The Deadbolt With Screws
Use the screws provided to fasten the plates firmly to the door. Tighten each screw evenly to avoid misalignment. Do not overtighten, as this can strip the screws or damage the door. Confirm that the deadbolt moves freely when you turn the key or thumb turn. Test the lock several times to ensure smooth operation before finishing.

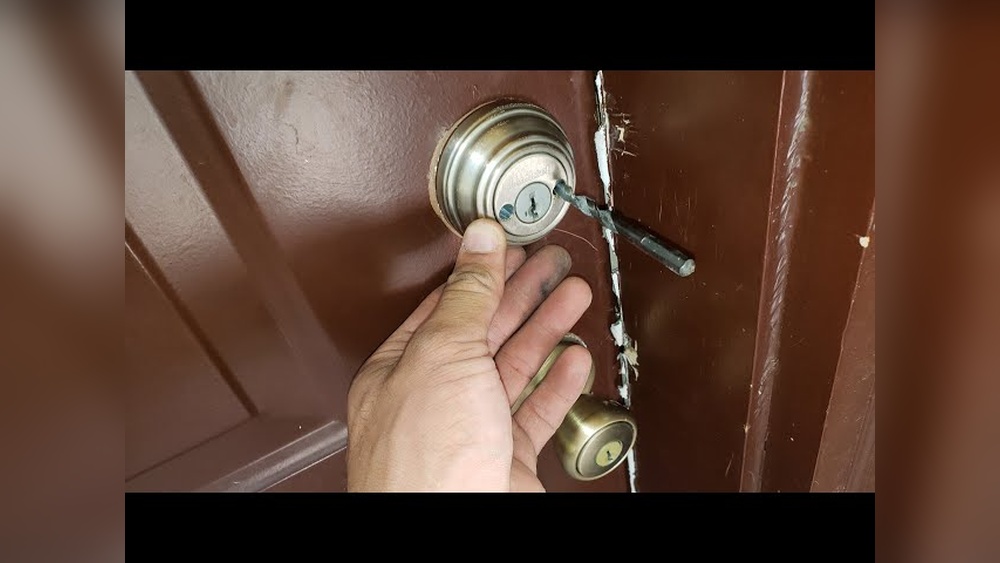
Credit: www.familyhandyman.com
Testing And Adjustments
Testing and adjusting your deadbolt after drilling is key to a secure and easy-to-use lock. This step ensures the lock fits perfectly and works smoothly. Small mistakes can cause big problems later. Take your time to check and fix any issues before finishing.
Checking Lock Alignment
Start by closing the door slowly. See if the deadbolt lines up with the strike plate on the door frame. The bolt must enter the hole without resistance. Misalignment can cause the lock to jam or not close fully. Adjust the strike plate if the bolt misses the hole or rubs against the frame.
Ensuring Smooth Operation
Turn the key or thumb turn several times. The deadbolt should move easily without sticking or grinding. Listen for any strange noises. A smooth lock feels solid and secure. If the bolt feels stiff or hard to turn, check for obstructions or rough edges inside the drilled hole.
Making Necessary Adjustments
Use a screwdriver to loosen screws on the strike plate or lock faceplate. Shift parts slightly to improve alignment. Tighten screws firmly once the lock moves smoothly. If needed, enlarge the strike plate hole with a file or drill bit. Test the lock again after each change until it works perfectly.
Additional Security Tips
Installing a deadbolt is a strong first step. Strengthening the entire door setup keeps your home safer. Small changes can make a big difference. Use these tips to boost your door’s security beyond the lock itself.
Reinforcing The Door Frame
The door frame must be strong to hold the deadbolt. Use solid wood or metal frames for better support. Add metal plates inside the frame to stop it from breaking. Tighten all screws and replace any weak parts. A strong frame resists force and keeps the door shut.
Using Strike Plates
Strike plates hold the deadbolt latch in place. Choose heavy-duty plates made of thick metal. Use long screws to fix the plate deeply into the wall stud. This stops the deadbolt from pulling out easily. A good strike plate increases the lock’s strength.
Regular Maintenance
Check the deadbolt and door often for problems. Clean the lock to remove dirt and dust. Lubricate moving parts with graphite or silicone spray. Tighten screws on the lock and frame to keep parts secure. Fix any damage right away to avoid weak spots.
Frequently Asked Questions
How Do I Drill A Hole For A Deadbolt Lock?
Start by marking the door where the lock will go. Use a hole saw bit to drill the main hole. Then, drill the edge for the latch. Keep the drill steady for a clean, precise hole. Follow the lock’s instructions for exact measurements.
What Size Drill Bit Is Needed For Deadbolts?
Typically, a 2 1/8-inch hole saw bit is used for the main hole. For the latch, a 1-inch spade bit usually fits. Always check your deadbolt’s installation guide for exact sizes before drilling.
Can I Drill A Deadbolt In A Metal Door?
Yes, but use a metal drill bit and apply steady pressure. Start with a smaller pilot hole to guide the larger bit. Use cutting oil to keep the bit cool and extend its life. Drill slowly to avoid damaging the door.
How Deep Should I Drill For A Deadbolt Lock?
Drill through the door’s thickness entirely for the main hole. For the latch hole on the door edge, drill about 1 inch deep. Check the lock’s instructions as some models require specific depths.
Conclusion
Drilling a deadbolt takes care and patience. Use the right tools and follow steps carefully. Always measure and mark before you drill. Take your time to avoid mistakes or damage. Safety matters—wear goggles and keep hands clear. Practicing on scrap wood helps build confidence.
This simple skill improves your home security. Keep your deadbolt strong and reliable. Stay calm and steady throughout the process. You can protect your home with these tips.