Are you ready to make your workspace safer and more efficient? Installing a floor jack post might sound tricky, but with the right steps, you can do it yourself quickly and confidently.
Imagine having a sturdy support right where you need it, making heavy lifting easier and protecting your vehicle or equipment. In this guide, you’ll discover simple, clear instructions that anyone can follow. Keep reading to learn exactly how to install a floor jack post and take control of your garage or workshop setup today.
Choosing The Right Floor Jack Post
Choosing the right floor jack post is essential for safety and efficiency. The correct post supports your vehicle securely. It also makes your work easier and faster. Knowing the key factors helps you pick the best floor jack post for your needs.
Types Of Floor Jack Posts
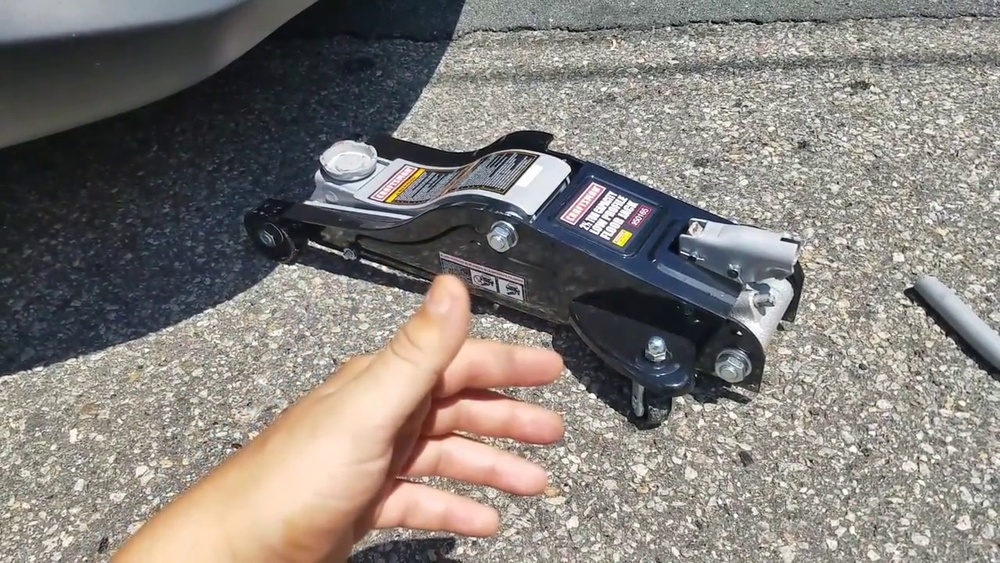
There are different types of floor jack posts. Some are adjustable, allowing height changes. Fixed posts offer solid support at a set height. Hydraulic posts use fluid pressure to lift heavy loads. Mechanical posts rely on screws or levers for lifting. Choose a type that fits your work style.
Weight Capacity Considerations
Each floor jack post has a weight limit. This limit shows the maximum load it can hold safely. Always select a post with a higher capacity than your vehicle’s weight. This prevents accidents and damage. Check the weight rating before buying or using the post.
Material And Durability Factors
Floor jack posts come in various materials. Steel posts are strong and last long. Aluminum posts are lighter and resist rust. The material affects the post’s durability and safety. Pick a post made from sturdy material for long-term use.
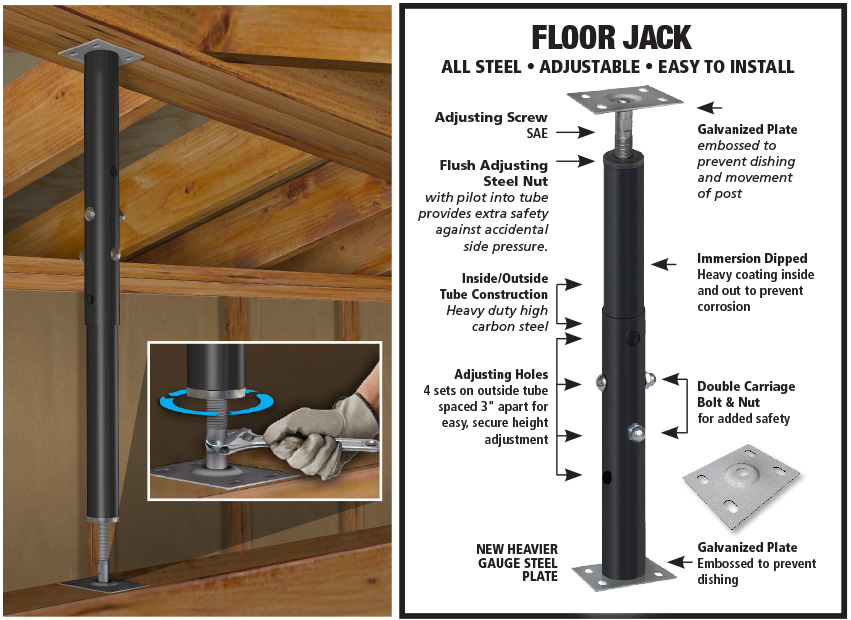
Credit: akronproducts.com
Preparing The Installation Area
Preparing the installation area is a key step in installing a floor jack post safely. This step helps avoid accidents and ensures the jack post works well. Setting up the right space makes the whole process easier and faster. Follow these simple steps to get your area ready.
Selecting A Stable Surface
Pick a flat and firm surface for the floor jack post. Concrete or solid garage floors work best. Avoid soft or uneven ground. A stable base keeps the jack post steady and prevents tilting. This reduces the risk of injury or damage during use.
Clearing The Work Zone
Remove all objects and clutter from the area. Clear tools, boxes, or debris that might block your work. A clean space gives you room to move safely. It also helps you focus on installing the jack post without distractions.
Gathering Necessary Tools And Equipment
Collect all tools and parts before starting the installation. Common tools include a wrench, screwdriver, and measuring tape. Having everything ready saves time and avoids interruptions. Double-check the jack post kit to ensure all pieces are included.
Step-by-step Installation Process
Installing a floor jack post is a straightforward process. Follow each step carefully for safety and efficiency. This guide breaks down the installation into simple actions. Let’s start with positioning the floor jack post.
Positioning The Floor Jack Post
Place the floor jack post on a flat, stable surface. Ensure the spot can hold the weight of your vehicle. Avoid uneven or slippery floors to prevent accidents. Align the post with the area you plan to support. Double-check the position before moving to the next step.
Securing The Base
Once positioned, secure the base firmly to the floor. Use bolts or screws that fit the mounting holes. Tighten them well to avoid any movement. If the floor is concrete, use appropriate anchors. A stable base is crucial for safety during use.
Adjusting The Height
Adjust the post height to match your vehicle’s lifting point. Most floor jack posts have a screw or pin for height adjustment. Raise or lower it slowly, stopping at the correct level. Make sure the top pad contacts the vehicle frame securely. Never exceed the maximum height limit.
Testing Stability
Test the post’s stability before placing any heavy load. Push gently on the post from different angles. Check for wobbling or shifting on the base. If it moves, tighten the base fasteners again. A stable floor jack post prevents accidents and damage.
Safety Tips During Installation
Installing a floor jack post safely is very important. Taking safety steps helps prevent injuries and damage. Focus on careful actions and using the right tools. This section shares key safety tips to follow during installation. These tips keep you and your work area safe.
Wearing Protective Gear
Always wear safety glasses to protect your eyes from debris. Use gloves to keep your hands safe from sharp edges. Wear sturdy shoes to protect your feet from falling objects. Long sleeves and pants help protect your skin. Proper gear lowers the risk of accidents and injuries.
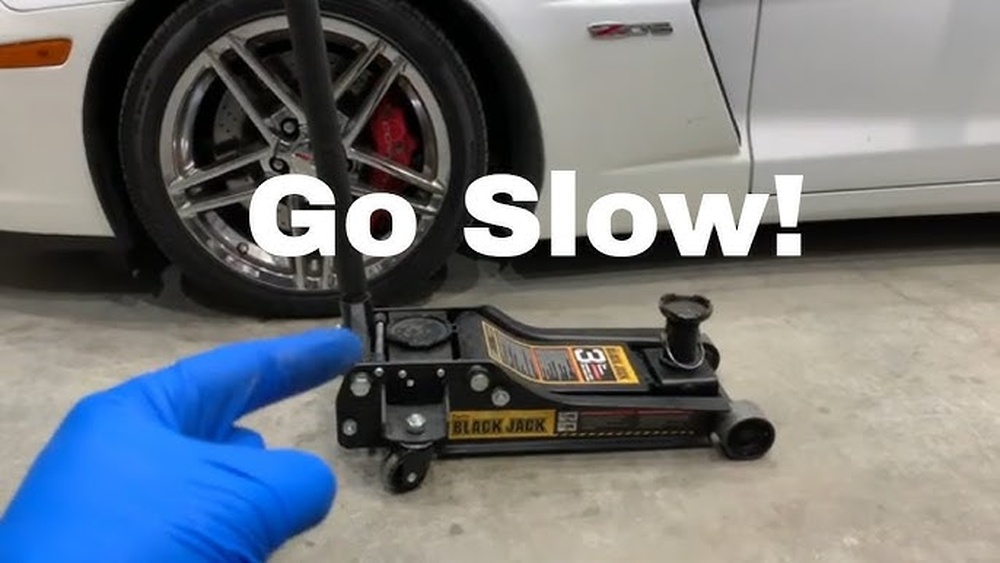
Avoiding Common Mistakes
Do not rush the installation process. Take your time and follow instructions carefully. Avoid using damaged or worn parts. Check all components before starting work. Do not skip steps or use makeshift tools. These mistakes can cause failure or accidents during use.
Ensuring Proper Load Distribution
Place the floor jack post on a flat, stable surface. Make sure the load is centered on the jack post. Distribute the weight evenly to avoid tipping or slipping. Do not exceed the weight limit of the jack post. Proper load distribution keeps the jack steady and safe.
Maintenance And Inspection
Proper maintenance and inspection keep your floor jack post safe and reliable. Regular care helps find problems early. This prevents accidents and costly repairs. Simple checks and cleaning improve the jack’s life.
Regular Checks For Wear And Tear
Look over the jack post often. Check for cracks or rust on metal parts. See if bolts and nuts are tight. Watch for bent or damaged pieces. Test the lifting arm and handle for smooth moves. Spotting wear early stops bigger issues.
Lubrication And Cleaning
Keep the floor jack post clean and free of dirt. Wipe off grease and dust after each use. Apply oil or grease to moving parts. This reduces friction and wear. Avoid over-lubricating; use just enough to keep parts moving smoothly.
When To Replace Parts
Replace parts that show deep rust or cracks. Change worn-out bolts, nuts, or pins. Swap out seals that leak oil or hydraulic fluid. Don’t use the jack if any part feels loose or weak. New parts keep the jack safe and working well.
Credit: www.homedepot.com
Credit: www.residentialresq.com
Frequently Asked Questions
How Do I Safely Install A Floor Jack Post?
To safely install a floor jack post, first position it on a flat surface. Secure the post base firmly. Ensure the jack is centered under the vehicle’s lifting point. Always use jack stands for added stability and safety during lifting.
What Tools Are Needed To Install A Floor Jack Post?
You will need a wrench set, a screwdriver, and possibly a hammer. Some models require bolts or screws for securing the post. Always check the manufacturer’s instructions for specific tool requirements before starting the installation.
How To Choose The Right Floor Jack Post Size?
Select a floor jack post that matches your vehicle’s weight and lifting height. Check your vehicle’s manual for the recommended lifting points and capacity. Using the correct size ensures safety and efficient lifting.
Can I Install A Floor Jack Post Alone?
Yes, you can install a floor jack post alone if you follow safety guidelines. Use sturdy support and take your time aligning the post properly. If unsure, seek help to avoid accidents or damage.
Conclusion
Installing a floor jack post is simple with the right steps. Always choose a sturdy spot for safety. Tighten bolts firmly to keep it steady. Check the post regularly for any wear or damage. Using the floor jack post correctly helps avoid accidents.
Keep your tools organized and clean after work. Following these tips ensures a safe and smooth installation. Now, your floor jack post is ready to support your projects safely.