Are you struggling because your deadbolt won’t fit the hole in your door? Making a deadbolt hole larger might sound tricky, but it’s easier than you think.
Whether you want to upgrade your security or replace an old lock, adjusting the hole size is often the first step. In this guide, you’ll discover simple, clear steps to get the job done right. By the end, you’ll have the confidence to handle this task yourself and make your door more secure.
Keep reading, and let’s get started!
Tools Needed
To make a deadbolt hole larger, having the right tools is important. These tools help you work safely and get clean results. You do not need many tools, but each one plays a key role. Prepare them before starting to save time and avoid mistakes.
Drill And Drill Bits
A drill is the main tool to make holes bigger. Use drill bits of different sizes for precise work. Choose bits made for wood or metal, depending on your door. A cordless drill gives more freedom of movement. Make sure the drill bits are sharp for smooth cutting.
Hole Saw
A hole saw is a round cutting tool that fits on your drill. It helps cut large, clean holes quickly. Pick the right diameter to match your deadbolt size. Hole saws work best on wooden doors and thin metal doors. Use it carefully to avoid cracking the door surface.
Chisel And Hammer
A chisel and hammer help clean and shape the hole edges. Use them to remove small pieces that the drill or hole saw misses. Choose a sharp chisel for better control. Tap gently with the hammer to avoid damage. These tools are perfect for fine adjustments.
Measuring Tools
Accurate measuring tools are key to getting the right hole size. A tape measure or ruler works well for this. Mark the door carefully before drilling. Use a pencil for clear, visible lines. Double-check all measurements to prevent errors.
Measuring The Existing Hole
Measuring the existing hole is the first step in making a deadbolt hole larger. Accurate measurement helps avoid mistakes and ensures the new hole fits the lock properly. Take your time and use the right tools for precise results.
Check Current Hole Size
Start by measuring the diameter of the current hole. Use a tape measure or a ruler to get the width. Check the depth as well to know how far the hole goes into the door. Write down these numbers clearly. This helps compare with the new size you need.
Determine Desired Hole Size
Look at the deadbolt lock’s instructions to find the required hole size. Usually, the new hole will be larger than the old one. Mark the new diameter and depth on paper. This step guides the next drilling or enlarging process. Be exact to avoid damage to the door.
Marking The Expansion Area
Marking the expansion area is the first step in making a deadbolt hole larger. It helps you see exactly where to cut and avoid mistakes. Clear markings guide your tools and ensure a clean, accurate job.
Take your time. Precise marking saves effort later. This step creates the outline for the bigger hole you need.
Trace New Hole Outline
Start by placing the larger deadbolt template or the lock itself on the door. Hold it steady. Use a pencil to trace around the new hole size. Make sure the lines are clear and visible. This outline shows where you will drill or chisel.
Keep the tracing neat. Avoid thick or shaky lines. A smooth outline helps cut the hole exactly right.
Double Check Measurements
Measure the new hole size twice. Use a ruler or tape measure to check the width and height. Compare the new outline with the old hole. Make sure the new hole will fit the larger deadbolt perfectly.
Confirm the position matches the door edge and lock placement. Small errors can cause problems later. Take your time and be exact.

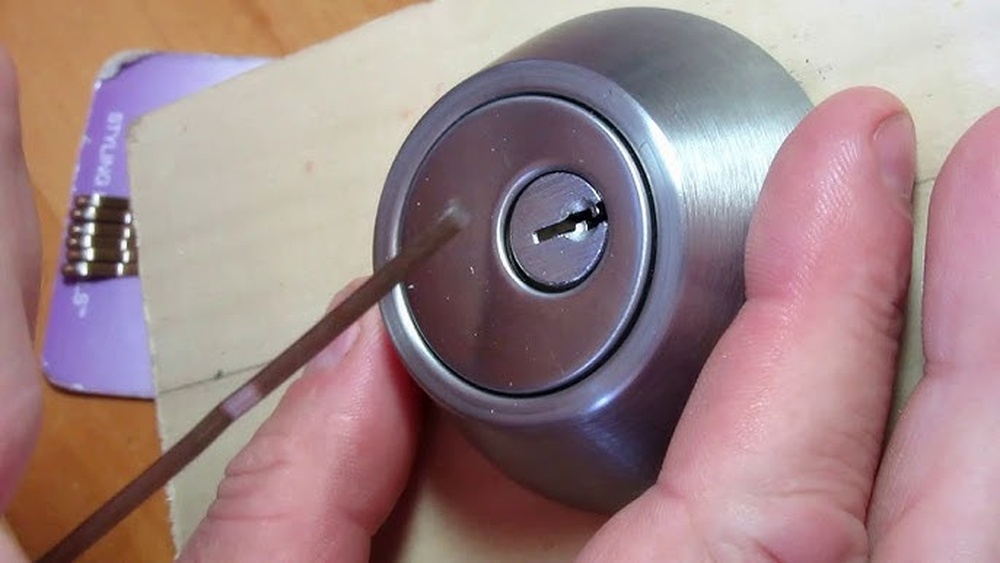
Credit: www.reddit.com
Drilling The Larger Hole
Drilling a larger hole for a deadbolt requires care and the right tools. The goal is a clean, precise hole that fits the new lock. This process demands patience and attention to detail. Follow the steps below to drill safely and effectively.
Using A Hole Saw
A hole saw is ideal for making larger holes quickly. Choose the correct size for your deadbolt. Attach the hole saw to your drill securely. Start drilling slowly to keep control. Push the drill gently to avoid damage. Clear wood chips often to see progress. Stop once the hole saw cuts through the wood.
Drilling With Spade Bits
Spade bits are another option for enlarging holes. Select a spade bit that matches your needed hole size. Mark the center point clearly before drilling. Hold the drill steady and start at low speed. Apply firm, even pressure as you drill. Pull the bit out occasionally to remove debris. Continue until the hole reaches the right depth.
Avoiding Splintering
Splintering can ruin the wood around your hole. To prevent this, place masking tape over the drilling area. Drill from both sides of the door if possible. Use a sharp drill bit to ensure clean cuts. Drill slowly near the exit point of the hole. Sand the edges lightly after drilling to smooth rough spots. These steps keep the door looking neat and strong.
Cleaning And Smoothing Edges
After enlarging a deadbolt hole, cleaning and smoothing the edges is essential. Sharp or rough edges can cause problems when installing the lock. Smooth edges help the deadbolt fit perfectly. They also improve the door’s appearance and prevent damage to the lock mechanism.
Using A Chisel
A chisel is a useful tool for cleaning up the deadbolt hole edges. Hold the chisel at a slight angle to the rough parts. Gently tap the handle with a hammer to remove splinters and uneven wood. Work slowly to avoid making the hole too big. Focus on small, controlled cuts for the best results.
Sanding Rough Areas
Sandpaper smooths the edges after chiseling. Use medium-grit sandpaper to remove splinters and rough spots. Move the sandpaper in a circular motion around the hole. Check often to see if the edges feel smooth. Finish with fine-grit sandpaper for a clean, polished look. Sanding makes installation easier and safer.

Credit: diy.stackexchange.com
Test Fitting The Deadbolt
Test fitting the deadbolt is an important step in making the hole larger. It helps you see if the hole is the right size. This step ensures the deadbolt fits well without damaging the door.
Test fitting saves time and effort. It shows if you need to adjust the hole more. Without this step, the deadbolt might not fit properly, causing problems later.
Insert Deadbolt
First, take the deadbolt and gently insert it into the hole. Check if it slides in smoothly without forcing it. The deadbolt should fit snugly but not too tight. Look at the edges to see if the hole is too small or uneven.
Try turning the deadbolt inside the hole. It should move freely without sticking. If it feels stuck, the hole might need to be bigger or cleaned up. This step helps you find the right fit before final installation.
Make Minor Adjustments
After inserting the deadbolt, note any tight spots or rough edges. Use a file or sandpaper to carefully enlarge the hole. Focus on small areas where the deadbolt hits the wood.
Check the fit again after each adjustment. Insert the deadbolt and test its movement. Repeat this process until the deadbolt fits perfectly. Small changes make a big difference in smooth operation.
Tips For Safe Drilling
Drilling a larger hole for a deadbolt requires care and attention. Safety should be your top priority during this process. Following simple tips can help you avoid accidents and damage. These tips make drilling smoother and safer.
Wear Safety Gear
Always wear safety glasses to protect your eyes from dust and debris. Use gloves to protect your hands from sharp tools. Hearing protection is important if you use power drills. Safety gear prevents injuries and keeps you safe.
Secure The Door
Make sure the door is stable before drilling. Use clamps or have someone hold the door steady. A moving door can cause the drill to slip. Secure the door to maintain control and accuracy.
Work Slowly
Drill at a slow, steady pace to avoid mistakes. Rushing can cause the drill bit to slip or break. Pause often to check your progress. Slow work helps create a clean, precise hole.
Common Mistakes To Avoid
Making a deadbolt hole larger needs care and attention. Many people make mistakes that cause problems. These errors can weaken the door or ruin the lock. Avoiding common mistakes saves time and money.
Follow simple rules to get the best results. Small errors can lead to big troubles. Learn what to watch for during the process.
Over-enlarging The Hole
Cutting the hole too big is a common error. A hole larger than needed makes the lock loose. This reduces security and may cause the lock to fail. Measure carefully and cut slowly. Stop often to check your work.
Ignoring Measurements
Skipping measurement steps leads to poor fitting holes. Each lock has specific size needs. Use a tape measure or ruler before drilling. Mark the exact spot clearly on the door. Double-check all numbers before starting.
Damaging The Door
Careless cutting can harm the door surface or edges. Splinters, cracks, or dents weaken the door’s strength. Use the right tools and work gently. Protect the door by taping around the hole area. Take your time to avoid mistakes.

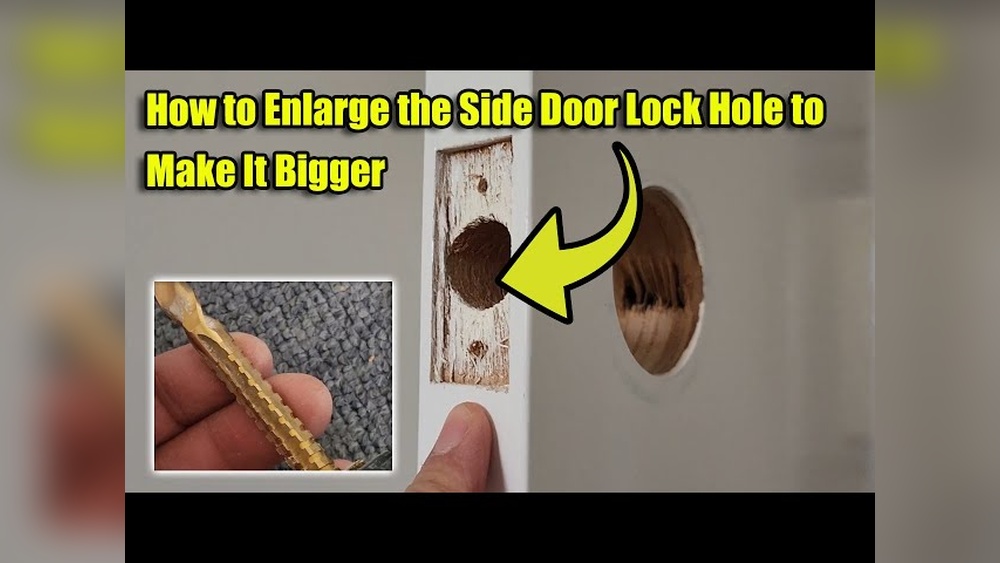
Credit: www.youtube.com
Frequently Asked Questions
How Do You Enlarge A Deadbolt Hole Safely?
Use a hole saw drill bit larger than the current hole size. Mark the new size carefully and drill slowly to avoid splintering. Wear safety goggles and take your time for a clean, accurate enlargement.
What Tools Are Needed To Make A Deadbolt Hole Larger?
You need a power drill, hole saw bit, wood chisel, and measuring tape. A screwdriver and sandpaper can help with finishing touches. Proper tools ensure precise and safe hole enlargement.
Can I Enlarge A Deadbolt Hole Without Damaging The Door?
Yes, by using the right tools and techniques. Measure carefully and drill slowly. Support the door while working and avoid forcing the drill to prevent damage.
How Much Larger Should The Deadbolt Hole Be Made?
Make the hole slightly larger than the deadbolt’s diameter, usually 1/8 to 1/4 inch bigger. This allows easy installation without compromising door strength or security.
Conclusion
Making a deadbolt hole larger is simple with the right tools. Take your time and measure carefully before starting. Use drills and files to adjust the hole smoothly. Always wear safety gear to protect yourself. Practice on scrap wood if unsure.
A properly sized hole helps your deadbolt fit securely and work well. This small task can improve your door’s security easily. Keep these tips in mind for a safe and neat job. You’ll feel more confident handling door hardware after this.