
Are you dealing with a faulty floor jack and wondering how to replace it safely and quickly? Your floor jack is essential for lifting heavy loads, whether you’re working on your car or handling other heavy projects.
Ignoring a worn-out jack can put you at serious risk. But don’t worry—replacing your floor jack doesn’t have to be complicated or expensive. In this guide, you’ll discover easy, step-by-step instructions to get the job done right. Keep reading to protect yourself and your equipment while saving time and money.
Signs You Need New Floor Jacks
Floor jacks are essential for many tasks, especially lifting heavy objects safely. Over time, these tools wear out and lose their strength. Knowing the signs of worn-out floor jacks helps avoid accidents and costly repairs. This guide highlights key signs that show it is time to replace your floor jacks.
Common Wear And Tear
Floor jacks face daily stress and pressure. Look for cracks or dents on the frame. Rust or corrosion weakens metal parts. Hydraulic fluid leaks are a clear warning. Jacks that do not lift smoothly need attention. Worn-out wheels or handles reduce control. Any broken or missing parts affect safety and function.
Safety Risks Of Old Jacks
Old floor jacks may fail without warning. A sudden drop can cause serious injury or damage. Weak jacks do not support loads properly. This increases the chance of accidents. Using unreliable jacks puts people and property at risk. Replacing jacks before failure keeps work safe. Always prioritize safety over saving a few dollars.
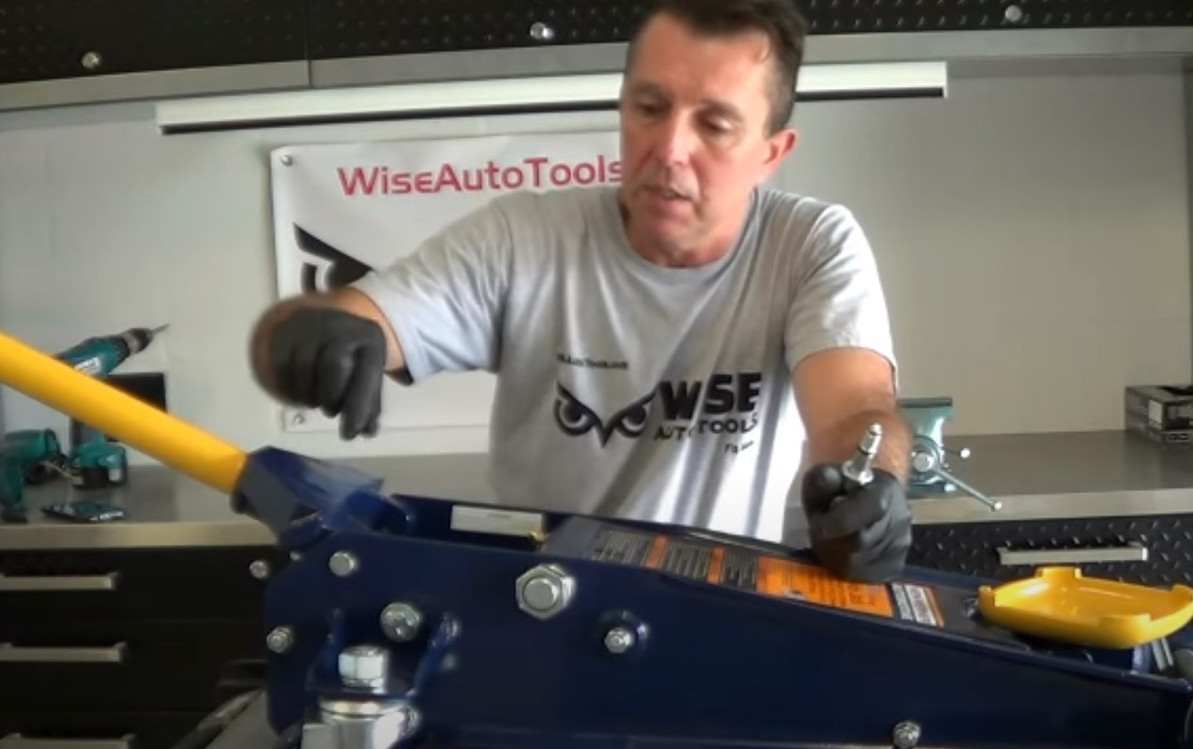
Credit: www.wiseautotools.com
Tools And Materials Required
Replacing floor jacks requires the right tools and materials for safety and success. Using proper tools makes the job easier and faster. It also helps avoid damage to your floor or the jack itself. Prepare all items before starting your work.
Essential Tools List
- Hydraulic floor jack or bottle jack (for lifting)
- Replacement floor jack(s) matching your vehicle’s weight
- Jack stands for support and safety
- Lug wrench or tire iron (to remove wheels)
- Socket set and ratchet (to remove bolts)
- Breaker bar (for stubborn bolts)
- Hammer or rubber mallet (to loosen stuck parts)
- Wire brush (to clean rust and dirt)
- Penetrating oil (to loosen rusty bolts)
- Gloves and safety glasses (for protection)
- Floor mat or cardboard (to kneel on)
Choosing The Right Replacement Jacks
Select a jack that fits your vehicle’s weight and type. Check the maximum lifting capacity on the jack label. Use jacks made for cars, trucks, or SUVs as needed. Choose hydraulic jacks for easier lifting and better stability. Make sure the jack’s lifting pad matches your car’s lift points. Avoid cheap jacks that may fail or cause accidents. Buy from trusted brands with good reviews. Proper jacks keep you safe and protect your vehicle during repairs.
Preparing The Workspace
Preparing the workspace is the first step to replace floor jacks safely and efficiently. A clean and secure area helps avoid accidents and makes the job easier. Taking time to organize your space saves effort later and keeps tools within reach.
Clearing And Securing The Area
Remove all objects from the workspace. Clear away furniture, rugs, and any loose items. This prevents tripping and gives you room to move freely. Use tape or cones to mark off the work zone. This keeps others from accidentally entering while you work. A tidy space helps focus on the task without distractions.
Safety Precautions To Follow
Wear protective gear like gloves and safety glasses. Check the floor for stability before setting up jacks. Use sturdy blocks or supports to back up the jacks. Never work under a floor jack without extra support. Keep children and pets away from the area. Always follow the jack manufacturer’s instructions carefully.
Removing Old Floor Jacks
Removing old floor jacks is the first step in replacing them safely. This process needs care and patience. Floor jacks often hold heavy loads, so safety comes first. Removing them properly prepares the area for new jacks. Follow clear steps to loosen and detach the old jacks. Some parts may be stuck or rusted. Knowing how to handle these parts saves time and effort.
Loosening And Detaching Jacks
Start by lowering the jack to its lowest position. This reduces pressure and makes removal easier. Use a wrench to loosen bolts and nuts holding the jack. Turn bolts slowly to avoid damage. Remove any pins or clips that secure the jack. Keep tools ready for quick access. Clear debris and dirt around the jack before working. This helps bolts turn smoothly. Detach the jack carefully to avoid sudden movements.
Handling Difficult Or Rusted Parts
Rusted bolts can block removal. Spray a rust remover or lubricant on stuck parts. Let it sit for 10 to 15 minutes. Tap bolts gently with a hammer to loosen rust. Use a wire brush to clean rust from threads. Heat can help loosen very tight bolts. Use a heat gun or a small torch with care. Avoid burning surrounding materials. If a bolt breaks, use a bolt extractor tool. Wear gloves and safety glasses during this process.
Installing New Floor Jacks
Installing new floor jacks is a key step in maintaining your vehicle’s safety. Proper installation ensures the jack holds the weight firmly. This section guides you through the process of placing and securing new floor jacks correctly.
Positioning And Securing Jacks
Place the floor jack under the vehicle’s recommended lift points. These spots are usually marked in the owner’s manual. Align the jack carefully to avoid slipping or damage. Lower the jack handle to make contact with the frame. Check that the jack base sits flat on the ground.
Secure the jack by tightening any bolts or locking mechanisms. This stops the jack from moving during use. Use a level to confirm the jack is even. Uneven placement can cause instability and accidents. Double-check the setup before lifting the vehicle.
Testing Stability And Alignment
Lift the vehicle slightly to test the jack’s stability. Watch for any wobbling or shifting. If the jack moves, lower the vehicle and reposition it. The jack should hold steady without any rocking.
Check the alignment with the vehicle frame. The jack saddle must fit snugly against the lift point. This prevents slipping and distributes weight evenly. Lower the vehicle slowly to ensure the jack supports the load safely.
Post-installation Safety Checks
After replacing floor jacks, safety checks are essential. They ensure the jacks work correctly and prevent accidents. Skipping these checks can lead to equipment failure or injury. Careful inspection and maintenance keep the jacks reliable and safe for use.
Inspecting For Proper Function
Check the floor jack’s lifting and lowering actions. It should move smoothly without jerks or delays. Test the release valve to confirm it works correctly. Look for leaks in hydraulic parts or any unusual noises. Make sure the jack holds weight steadily without dropping.
Routine Maintenance Tips
Keep the floor jack clean and free of dirt. Regularly oil moving parts to avoid rust and stiffness. Tighten loose bolts or screws to maintain stability. Store the jack in a dry place to prevent corrosion. Schedule inspections after every few uses to catch issues early.
Troubleshooting Common Issues
Troubleshooting common issues with floor jacks helps keep your work safe and smooth. Problems often arise from small mistakes or overlooked details. Fixing these quickly saves time and prevents damage. Below are common problems and simple ways to solve them.
Addressing Jack Misalignment
Misaligned jacks cause uneven lifting and risk damage. Check the jack’s position before lifting. Make sure the jack sits flat and straight under the load. Adjust the jack base to center it properly. Tighten all bolts and connections firmly. Test the jack slowly to confirm proper alignment. If the jack still shifts, inspect for worn parts. Replace any damaged components to restore stability.
Dealing With Uneven Floor Surfaces
Uneven floors make jack placement tricky and unsafe. Use a sturdy board or metal plate under the jack base. This spreads the weight and creates a flat surface. Avoid soft or slippery materials that can shift. Level the board carefully to prevent rocking. Regularly check the jack during use for any tilt. Adjust the base as needed to maintain balance. This ensures safer lifting and protects your equipment.
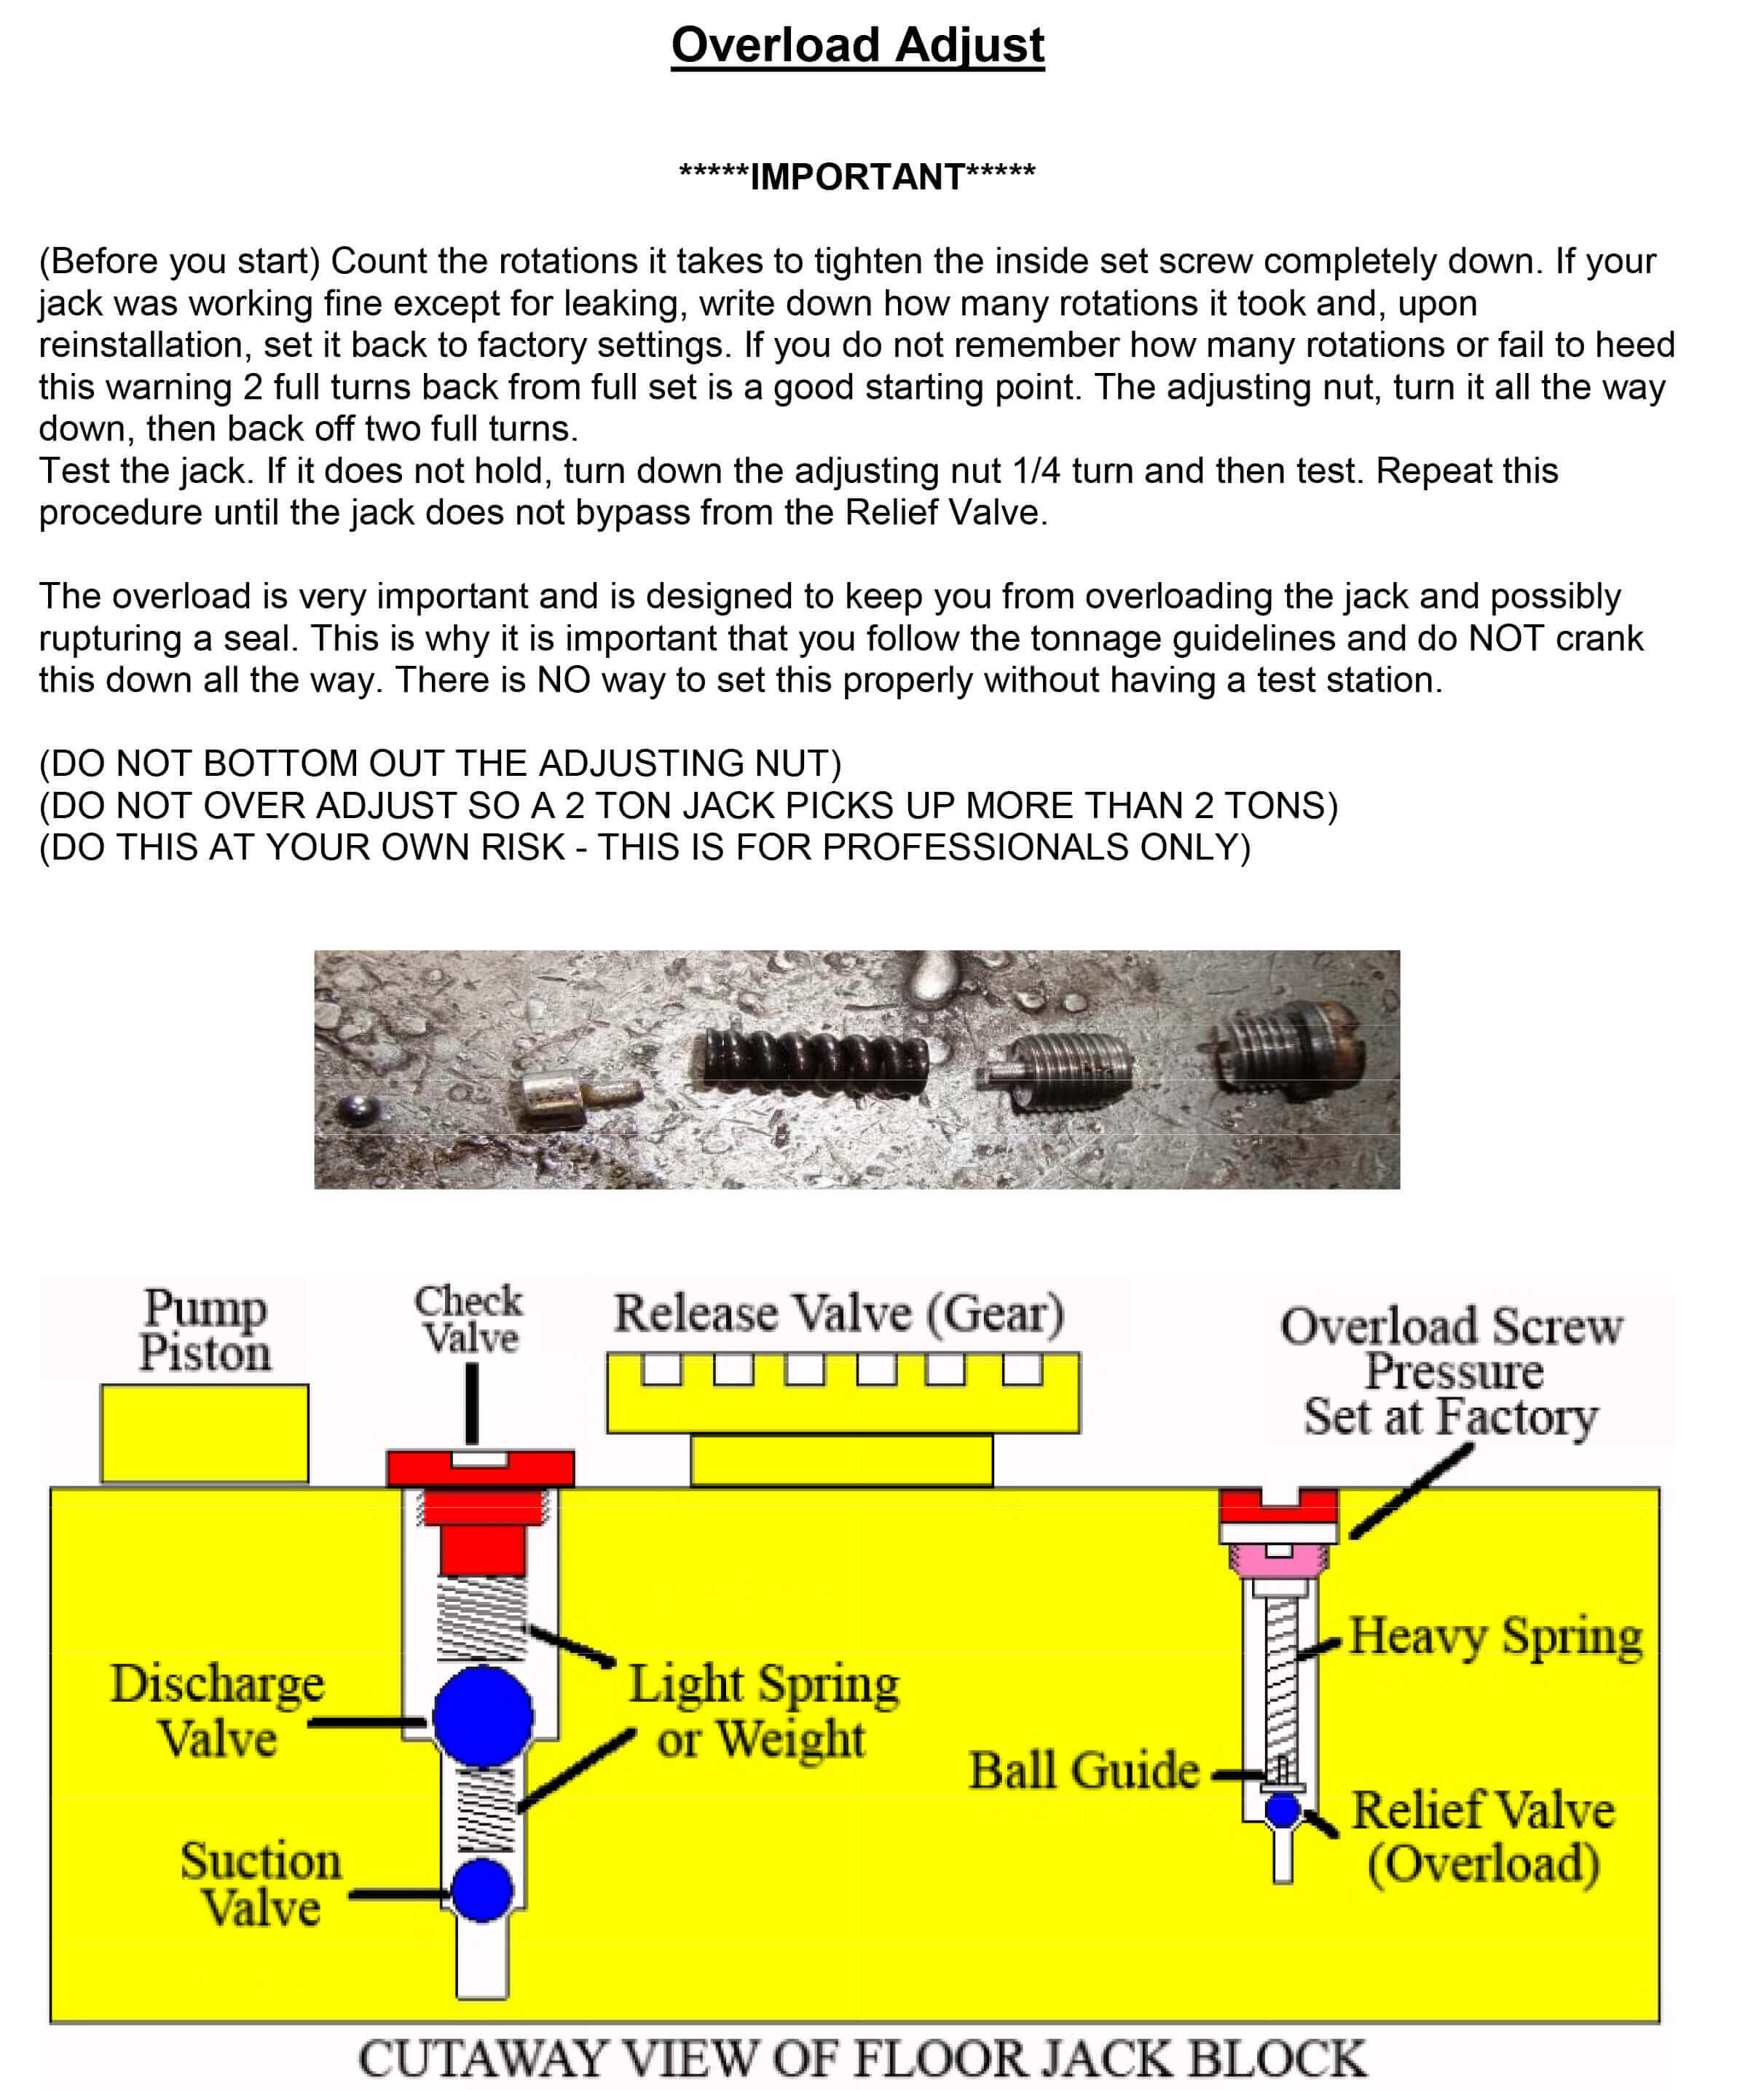
Credit: www.hcrcnow.com

Credit: www.youtube.com
Frequently Asked Questions
What Tools Do I Need To Replace Floor Jacks?
You need a jack, wrench, screwdriver, and safety gloves. A hydraulic jack simplifies lifting the vehicle. Always use jack stands for safety during replacement.
How Do I Safely Remove Old Floor Jacks?
First, lift the vehicle securely using a hydraulic jack. Remove any bolts holding the old jack. Lower the vehicle slowly after removal. Always wear safety gear to prevent injuries.
Can I Replace Floor Jacks Without Professional Help?
Yes, replacing floor jacks is doable with basic tools and safety precautions. Follow manufacturer instructions carefully. If unsure, consult a professional to avoid damage or injury.
How Often Should Floor Jacks Be Replaced?
Replace floor jacks every 5 to 10 years or if damaged. Regular inspection helps detect wear and tear. Proper maintenance extends jack lifespan and ensures safety.
Conclusion
Replacing floor jacks does not have to be hard. Follow the right steps carefully. Use the right tools for safety and success. Check the new jack fits well and works smoothly. Take your time and do not rush the job.
A good floor jack keeps your work safe and easy. Keep your area clean and organized while working. Now you can handle floor jack replacement with confidence. Simple steps lead to great results.


