If you want to boost your home’s security quickly and easily, installing a deadbolt on your wooden door is one of the best steps you can take. You might think it’s complicated or that you need special tools, but the truth is, with the right guidance, you can do it yourself in no time.
Imagine the peace of mind you’ll feel knowing your door is locked tight against intruders. You’ll find simple, clear instructions that walk you through every step. By the end, you’ll have a sturdy deadbolt installed, making your home safer and giving you confidence every time you close the door.
Keep reading, and let’s get started!
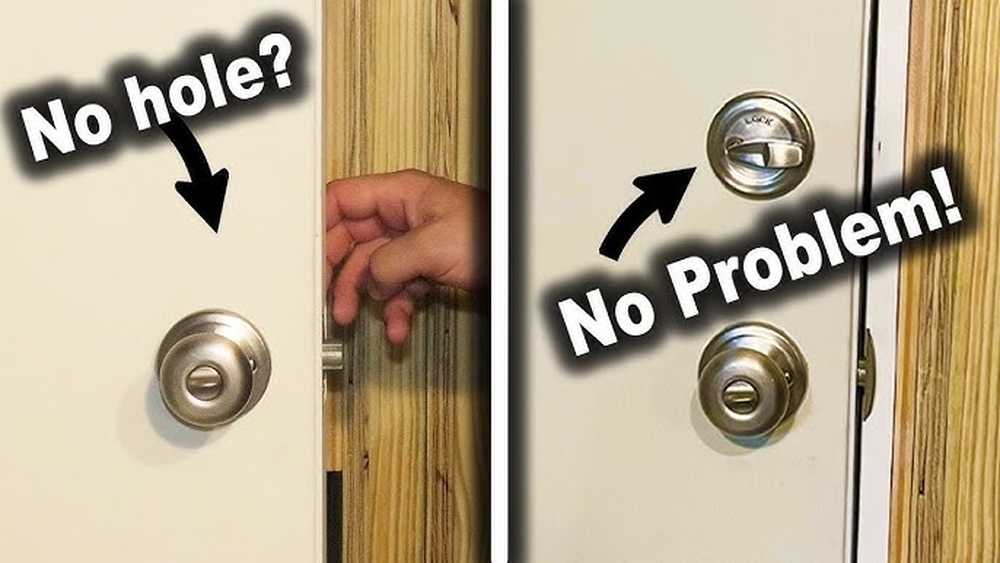
Credit: www.reddit.com
Tools And Materials Needed
Installing a deadbolt on a wooden door requires the right tools and materials. Having everything ready makes the job easier and faster. This section lists all the items needed for a smooth installation process.
Tools Needed
A cordless drill helps create holes for the deadbolt parts. A drill bit set is important for drilling different hole sizes. A screwdriver, either flathead or Phillips, tightens screws securely. A tape measure ensures accurate measurements for hole placement. A pencil marks drilling points on the door. A chisel helps create space for the lock plate. A hammer is useful for tapping the chisel gently. A level ensures the deadbolt aligns properly on the door.
Materials Needed
A deadbolt lock kit includes the lock cylinder, latch, and strike plate. Wood screws come with the kit or can be bought separately. Sandpaper smooths any rough edges after drilling. Wood filler fixes any mistakes or gaps around the holes. Safety glasses protect eyes from dust and wood chips. A dust mask keeps you safe from inhaling particles while drilling.
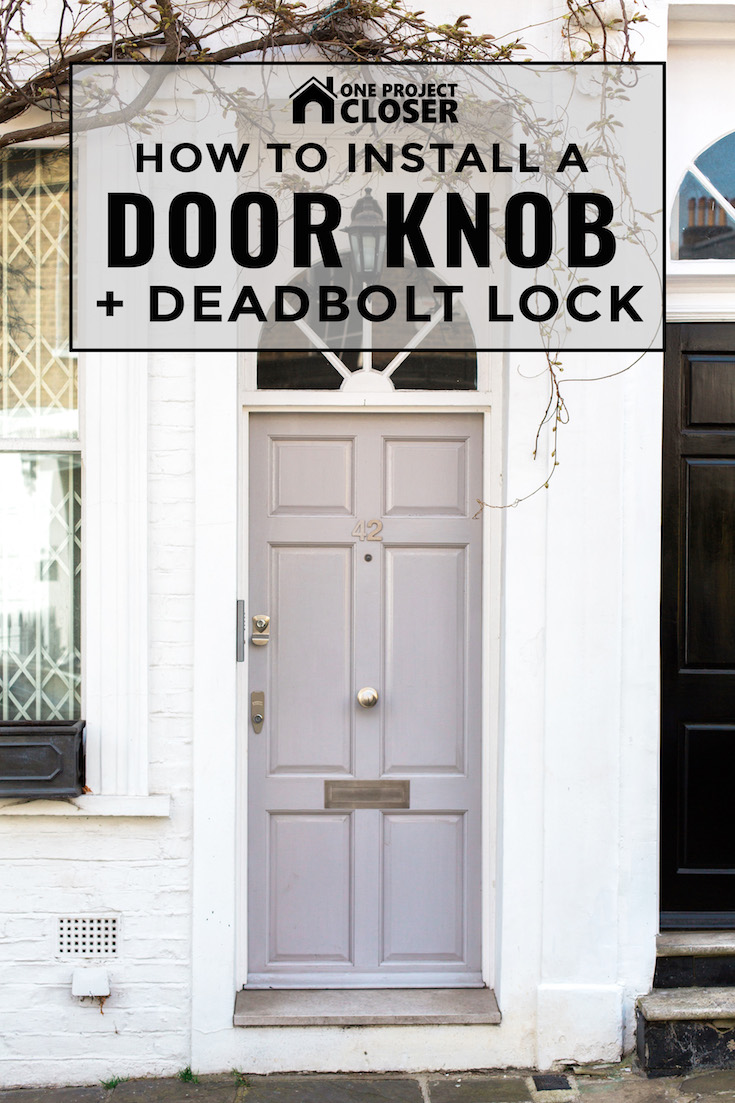
Credit: www.oneprojectcloser.com
Choosing The Right Deadbolt
Choosing the right deadbolt is important for your door’s security and ease of use. A good deadbolt fits well and works smoothly. It also matches your door’s style and thickness. This guide helps you pick the best deadbolt for your wooden door.
Types Of Deadbolts
There are three main types of deadbolts: single-cylinder, double-cylinder, and lockable thumbturn. Single-cylinder deadbolts use a key on the outside and a thumbturn inside. They are easy to use and common for homes.
Double-cylinder deadbolts need a key on both sides. They add security but can be tricky in emergencies. Lockable thumbturn deadbolts let you lock or unlock the inside thumbturn with a key. This adds extra control over access.
Size And Fit Considerations
Measure your door’s thickness before buying a deadbolt. Most deadbolts fit doors from 1 3/8 to 1 3/4 inches thick. Some models adjust for thicker doors. Check the backset distance, the space from the door edge to the hole center. Common backsets are 2 3/8 or 2 3/4 inches.
Make sure the deadbolt’s bolt length suits your door frame. Longer bolts offer stronger protection. Choose a deadbolt that matches your door’s material and style. This ensures a neat, secure fit and smooth operation.
Preparing The Door
Preparing your wooden door for a deadbolt is an important step. It ensures the lock fits well and works smoothly. Careful preparation helps avoid mistakes during installation. Take your time and follow each step carefully for the best results.
Marking The Lock Position
Start by measuring the height where you want the deadbolt. Most deadbolts go about 6 to 12 inches above the doorknob. Use a pencil to mark the spot clearly on the door edge and face. Make sure the marks are straight and level. Check twice before drilling any holes.
Drilling Holes
Use the right drill bit size for the lock parts. Drill a hole through the door face at the marked spot. Then drill a hole in the edge of the door for the bolt. Drill slowly to avoid splintering the wood. Clean the holes of any wood dust before fitting the lock.

Credit: www.youtube.com
Installing The Deadbolt Mechanism
Installing the deadbolt mechanism is a key step in securing your wooden door. It involves placing the bolt and attaching the lock parts correctly. Taking your time ensures the lock works smoothly and fits tightly.
This section guides you through inserting the bolt and securing the deadbolt. Follow each step carefully for a strong, reliable lock.
Inserting The Bolt
Start by sliding the bolt into the hole on the edge of the door. Make sure the bolt’s flat side faces the door frame. Push it until the bolt sits flush with the door edge.
Next, align the bolt’s screw holes with the pre-drilled holes in the door. Insert the screws and tighten them using a screwdriver. Keep the bolt steady while tightening to avoid misalignment.
Securing The Deadbolt
Place the exterior part of the deadbolt on the outside of the door. Feed the bolt’s tailpiece through the hole in the door. Attach the interior part of the lock on the inside of the door.
Line up the screw holes on both sides. Insert the screws and tighten them evenly. Check that the lock turns easily and the bolt moves smoothly.
Attaching The Exterior And Interior Plates
Attaching the exterior and interior plates is a key step in installing a deadbolt on a wooden door. These plates hold the lock in place and ensure smooth operation. Proper alignment is essential for the deadbolt to work well and for the door to close securely.
Each plate fits on opposite sides of the door. The exterior plate usually has the keyhole, while the interior plate has the thumb turn. Both plates must line up perfectly with the holes drilled earlier.
Positioning The Exterior Plate
Start by placing the exterior plate on the outside of the door. Make sure the keyhole matches the drilled hole. Hold the plate firmly in place. Check that it sits flat against the wood. Mark the screw holes with a pencil.
Use a drill to make small pilot holes. This makes it easier to screw in the plate. Avoid making the holes too large. The screws need to grip the wood tightly.
Securing The Interior Plate
Next, align the interior plate on the inside of the door. The thumb turn should fit through the hole smoothly. Match the screw holes with the pilot holes on the other side. Hold the plate steady.
Insert the screws through the interior plate into the exterior plate. Tighten the screws evenly. Do not overtighten to avoid cracking the wood or damaging the lock.
Checking Plate Alignment And Function
Test the lock by turning the key or thumb turn. The deadbolt should move in and out without resistance. Plates must be flush to avoid sticking. Adjust screws if the plates feel loose or uneven.
Good alignment ensures the deadbolt protects your home effectively. Take time to make this step precise.
Testing And Adjustments
After installing a deadbolt on your wooden door, testing and adjustments are key. This step ensures the lock works smoothly and keeps your home safe. Take time to check every part carefully. Small issues now can cause big problems later.
Checking Lock Functionality
Start by turning the key or thumb turn. The bolt should slide out and retract without force. Try locking and unlocking from both sides. Listen for any unusual sounds like grinding or sticking.
Close the door and lock it. Check if the bolt fits easily into the strike plate. If it feels tight or won’t go in fully, the lock may need adjustment. Make sure the door closes completely before locking.
Making Necessary Adjustments
If the bolt sticks, loosen the screws on the strike plate. Move it slightly up, down, or sideways for a better fit. Tighten the screws and test the lock again.
Check the alignment of the deadbolt with the hole in the door frame. Adjust the plate or the bolt position if needed. Sometimes sanding the door edge helps if the bolt hits the wood.
Repeat testing after each adjustment. The lock should work smoothly without any resistance. Proper fit means better security and longer lock life.
Maintaining Your Deadbolt
Maintaining your deadbolt keeps it working smoothly and extends its life. A well-maintained lock helps protect your home better. Small care steps can prevent big problems later.
Lubrication Tips
Apply graphite or silicone spray to the keyhole and bolt. Avoid oil-based lubricants; they attract dust and dirt. Spray a little, then turn the key several times. This spreads the lubricant evenly inside. Do this twice a year for smooth action.
Regular Inspection
Check your deadbolt every few months for wear or damage. Look for loose screws and tighten them if needed. Test the lock by turning the key and handle. Make sure the bolt moves freely without sticking. Early checks help spot issues before they grow.
Frequently Asked Questions
How Do I Choose The Right Deadbolt For A Wooden Door?
Select a deadbolt with a suitable backset and bolt length for your door. Ensure it fits your security needs and door thickness. Quality materials like solid brass or steel offer better durability and protection.
What Tools Are Needed To Install A Deadbolt On Wood?
You need a drill, drill bits, screwdriver, tape measure, pencil, chisel, and level. These tools help create precise holes and secure the deadbolt properly on the door.
Can I Install A Deadbolt Without Professional Help?
Yes, you can install a deadbolt by following detailed instructions carefully. Basic tools and patience are key. Ensure accurate measurements and proper alignment for effective installation.
How Do I Ensure The Deadbolt Aligns Correctly?
Measure and mark the door and frame precisely before drilling. Use a level to keep the deadbolt straight. Test the bolt movement before final tightening to ensure smooth operation.
Conclusion
Installing a deadbolt on a wooden door adds strong security to your home. The steps are simple and do not take much time. Just follow the instructions carefully and use the right tools. A well-installed deadbolt keeps your door safe and gives peace of mind.
Always check the lock works smoothly before finishing the job. With a little effort, you can protect your space better. This small task makes a big difference in home safety. Try it yourself and feel safer today.


