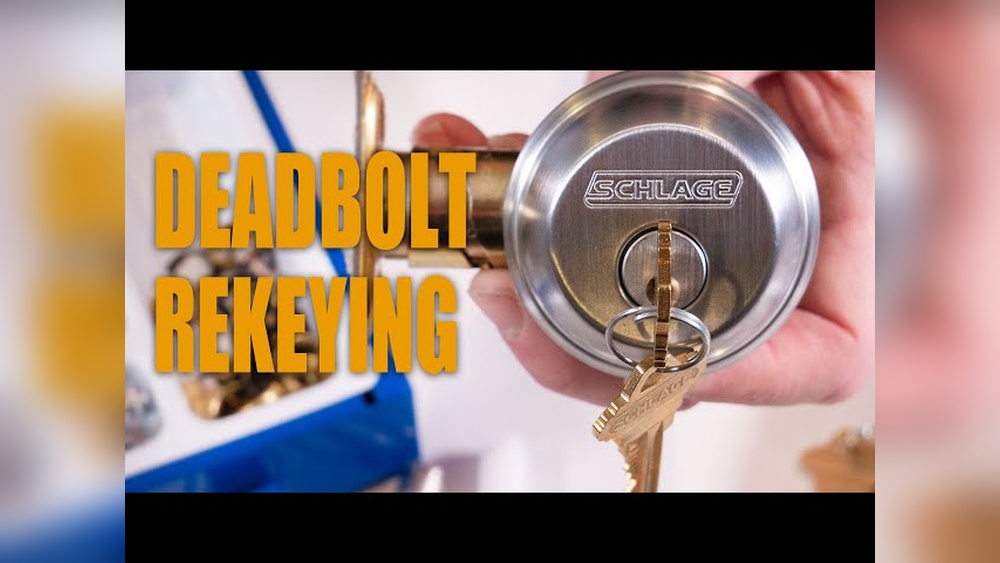
Changing the keys to your Schlage keypad deadbolt might sound tricky, but it’s something you can easily do yourself. If you want to keep your home secure without the hassle of replacing the entire lock, rekeying is the smart solution.
In this guide, you’ll discover simple, step-by-step instructions that anyone can follow. By the end, you’ll have control over who can access your home, giving you peace of mind and saving money. Ready to take charge of your home security?
Let’s get started.
Tools Needed
Before starting to rekey a Schlage keypad deadbolt, gather the right tools. Having the correct tools makes the process faster and easier. It also helps avoid damage to the lock or key.
Most tools are simple and easy to find. You might already have some at home or in your toolbox. Here are the key tools needed for this task.
Phillips Head Screwdriver
This screwdriver is essential for removing screws from the deadbolt. It fits the screws on most Schlage keypad locks. A medium size usually works best.
Flat Head Screwdriver
A flat head screwdriver helps gently pry apart lock parts. It can also push small pins during rekeying. Use it carefully to avoid scratching the lock.
Schlage Rekeying Kit
This kit contains specific tools and new keys for your lock model. It usually includes a special key gauge, pins, and instructions. Buying the right kit ensures a smooth process.
Needle Nose Pliers
These pliers help handle tiny pins inside the lock cylinder. They offer precise control and grip. Needle nose pliers are useful for removing and inserting pins.
Clean Cloth
Keep a clean cloth nearby. It helps wipe dirt or grease from the lock parts. Clean surfaces make the rekey process easier and more accurate.

Credit: www.youtube.com
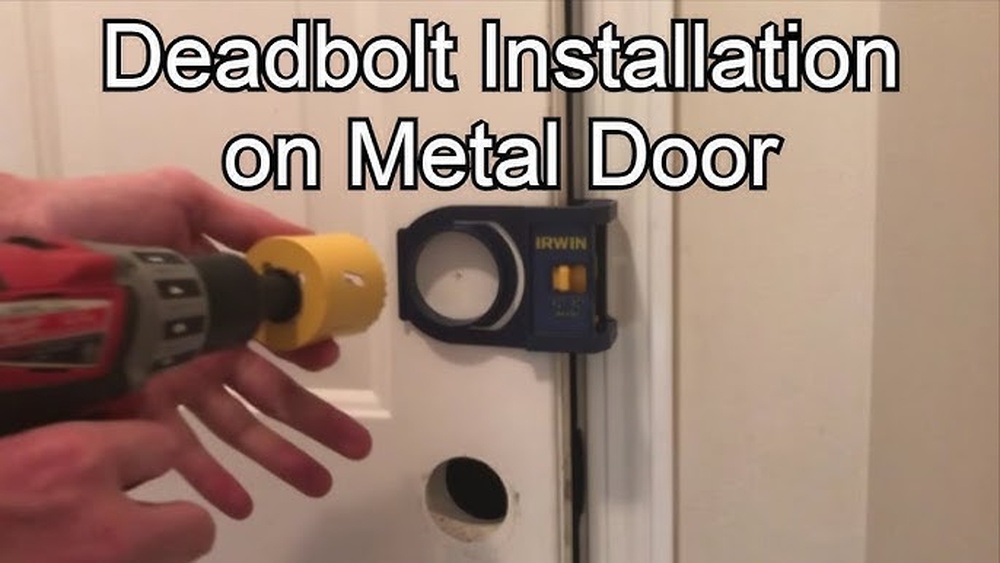
Remove The Deadbolt
Removing the deadbolt is the first step in rekeying a Schlage keypad deadbolt. This step lets you access the internal parts. You can then change the pins or replace the cylinder. Follow these clear instructions to remove the deadbolt safely and easily.
Gather The Necessary Tools
Prepare a screwdriver set. Usually, a Phillips head screwdriver works best. Keep a flathead screwdriver handy too. These tools help remove screws and pry parts gently.
Locate And Remove The Screws
Find the screws on the interior side of the lock. They hold the keypad and thumb turn in place. Unscrew them carefully. Keep the screws safe for reassembly.
Separate The Interior Assembly
Gently pull the interior part away from the door. It may feel tight at first. Wiggle it slowly to avoid damage. This reveals the deadbolt mechanism inside.
Remove The Deadbolt From The Door Edge
Open the door fully. Look at the door’s edge where the deadbolt slides. Remove the screws holding the metal faceplate. Slide the deadbolt out carefully.
Set Aside The Deadbolt For Rekeying
Place the deadbolt on a clean surface. This prevents losing small parts. Now you can start the rekeying process with ease.
Take Out The Cylinder
Removing the cylinder is an important step in rekeying a Schlage keypad deadbolt. The cylinder holds the pins that match your keys. Taking it out lets you change the pins for new keys. This makes your lock work only with the new keys you set.
Careful handling keeps the parts safe and the lock working well. The process is straightforward with the right tools and instructions.
Gather The Necessary Tools
Prepare a screwdriver, the original key, and the new key pins. These tools help you remove the cylinder safely. Keep everything close before starting.
Unlock The Deadbolt
Use the original key to unlock the deadbolt fully. This step allows easier access to the cylinder. Do not force the lock if it feels stuck.
Remove The Interior Thumb Turn
Locate the screws holding the thumb turn on the inside. Unscrew them carefully with a screwdriver. Keep the screws safe for reassembly.
Slide Out The Cylinder
Push the key slightly into the lock. This releases the cylinder from the lock body. Gently pull the cylinder out, avoiding damage.
Disassemble The Cylinder
Disassembling the cylinder is an important step in rekeying a Schlage keypad deadbolt. This process lets you access the internal parts. You can then change the pins to match a new key. Care and patience help avoid damage.
Follow these steps carefully to remove the cylinder safely. Keep track of small parts. Organize them so you do not lose anything. A clean workspace is helpful.
Remove The Deadbolt From The Door
Start by opening the door. Locate the screws on the interior side of the deadbolt. Use a screwdriver to remove them. Pull the deadbolt away from the door gently. This exposes the cylinder for further work.
Take Out The Cylinder Retaining Clip
Look for a small clip holding the cylinder in place. Use needle-nose pliers or a flat tool to remove it. Be careful not to bend or break the clip. Set it aside for reuse later.
Slide The Cylinder Out
Grip the cylinder firmly. Pull it straight out from the lock assembly. If it feels stuck, wiggle it gently. Avoid forcing it to prevent damage. Once free, place the cylinder on a clean surface.
Replace The Pins
Replacing the pins in a Schlage keypad deadbolt is a key step in rekeying. This process changes the lock to work with a new key. Pins inside the lock cylinder match the old key. Swapping them out allows the lock to fit a different key instead.
Precision is important when replacing the pins. The right pins must fit perfectly for the lock to turn smoothly. Too long or too short pins will cause problems. Taking time during this step ensures your deadbolt works well after rekeying.
Remove The Cylinder Plug
Start by taking out the cylinder plug from the lock. Use the follower tool to push the plug out carefully. Keep all parts steady to avoid losing pins. This step exposes the pin chambers for easy access.
Take Out Old Pins
Use tweezers to remove old pins from the plug. Check each chamber and clear out any pins. Old pins are shaped for the previous key. Clearing them makes space for the new pins.
Select New Pins
Match new pins to the cuts on your new key. Each cut needs a pin of a specific length. Use a pinning chart to pick the right sizes. Correct pin length ensures the lock works smoothly.
Insert New Pins
Place each new pin into the correct chamber. Insert carefully to avoid dropping pins inside the lock. Make sure pins sit flush with the plug surface. Proper placement avoids lock jams.
Test The Key
Before reassembling, test the new key in the plug. The key should turn without resistance. If the key sticks, check pin lengths again. Adjust pins until the key turns smoothly.
Credit: www.schlage.com
Reassemble The Cylinder
Reassembling the cylinder is the final step in rekeying a Schlage keypad deadbolt. This process puts all parts back together, ensuring the lock works smoothly with your new key. Careful reassembly prevents damage and keeps the lock secure.
Insert The Plug Back Into The Cylinder
Begin by placing the plug carefully into the cylinder housing. Align the pins so they fit correctly inside the plug. Make sure the new key turns smoothly. Do not force the plug if it feels stuck.
Secure The Retaining Clip
Once the plug is in place, attach the retaining clip. This clip holds the plug firmly inside the cylinder. Use pliers if needed, but be gentle to avoid bending the clip. A loose clip can cause the lock to fail.
Reattach The Cylinder To The Deadbolt
Slide the reassembled cylinder back into the deadbolt housing. Align the tailpiece with the lock mechanism inside. Push the cylinder until it fits snugly. Tighten any screws to hold the cylinder firmly in place.
Test The Lock With The New Key
Insert the new key into the reassembled lock. Turn it several times to check smooth operation. The lock should turn easily without sticking. Confirm the keypad and deadbolt work together perfectly.
Reinstall The Cylinder
Reinstalling the cylinder is the next step after rekeying your Schlage keypad deadbolt. This part fits the new key settings and lets your lock work smoothly. Taking your time here ensures your door locks and unlocks without problems.
Prepare The Cylinder For Installation
Check the cylinder for any dirt or damage. Clean it gently with a soft cloth. Make sure the new pins inside match your new key. This step helps the cylinder fit perfectly into the lock.
Align The Cylinder Correctly
Hold the cylinder so the keyhole faces outward. Line it up with the hole in the door. The tailpiece must fit into the lock mechanism inside. Proper alignment makes the installation easier.
Secure The Cylinder In Place
Push the cylinder into the door hole carefully. Use the screws removed earlier to fasten it firmly. Tighten the screws but do not overdo it. The cylinder should be snug but able to turn freely.
Insert your new key and turn it. The lock should move smoothly without sticking. Test both locking and unlocking actions. If the key does not turn well, check the cylinder’s position and screws.
Credit: www.schlage.com
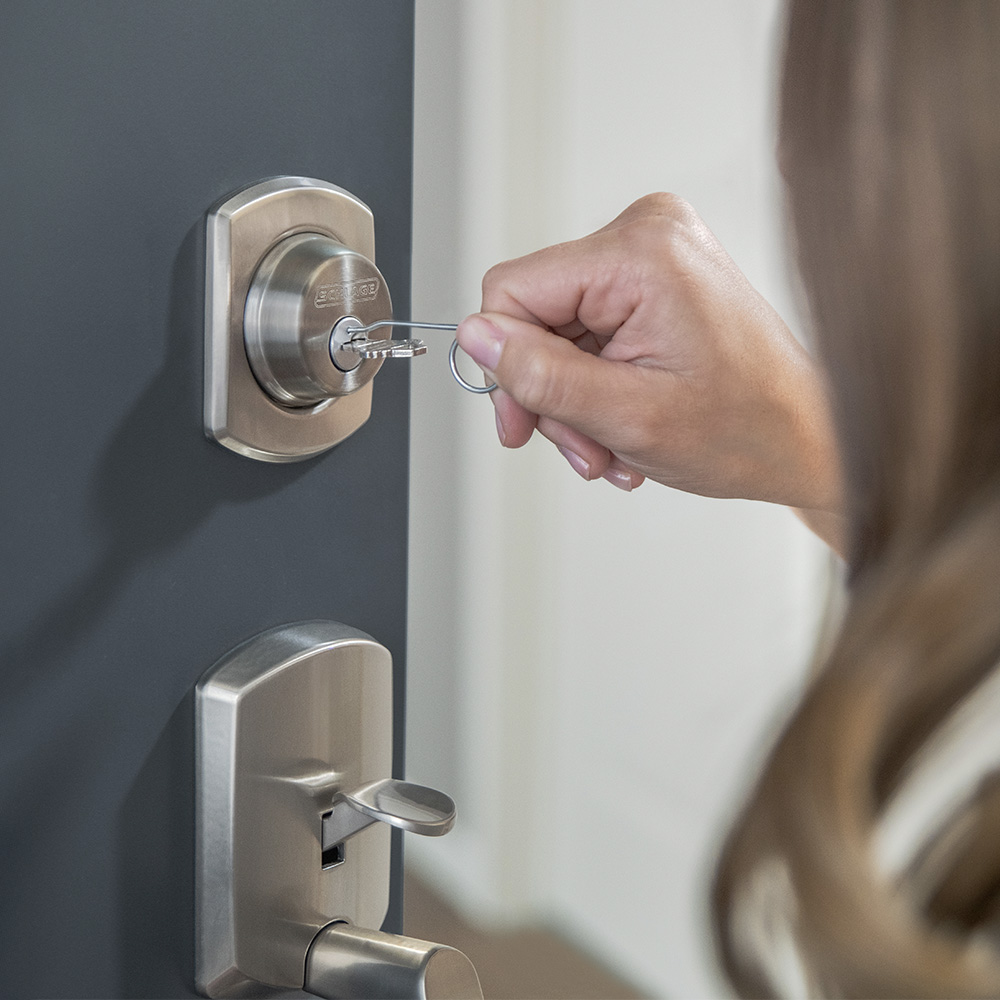
Test The New Key
Testing the new key is an important step after rekeying your Schlage keypad deadbolt. It makes sure the lock works with the new key. This step helps avoid problems later. Take your time to check every function carefully.
Insert The New Key Smoothly
Gently insert the new key into the keyhole. It should slide in without force. If it feels stuck, try turning it slightly while pushing. Do not force the key as this may damage the lock.
Turn The Key To Lock And Unlock
Turn the key to lock the door. Then, turn it back to unlock. The key should turn easily both ways. If it is hard to turn, the pins may not be aligned correctly.
Test The Key Multiple Times
Repeat locking and unlocking several times. This checks if the lock works smoothly every time. Consistent performance means the rekeying was successful.
Check The Keypad Function
Press the buttons on the keypad to test its response. The keypad should still work after rekeying. The new key does not affect the electronic part, but test both to be safe.
Try Spare Keys
Use any spare keys you made to test the lock. All keys should work the same. If some keys fail, the rekeying may need to be redone.
Troubleshooting Tips
Troubleshooting is key when rekeying a Schlage keypad deadbolt. Some steps may not go as planned. Knowing how to fix common issues helps save time and frustration.
Simple checks can often solve problems fast. Pay attention to details during each step. This keeps the lock working smoothly and securely.
Check Battery And Power Supply
Low battery can cause keypad errors. Replace batteries with fresh ones. Use the correct type recommended by Schlage. Make sure batteries are inserted properly.
Inspect The Keypad For Damage
Look for dirt, dust, or water inside the keypad. Clean gently with a soft cloth. Avoid harsh chemicals that damage the surface. Ensure buttons press down fully and return.
Verify Correct Key Cylinder Alignment
Misaligned key cylinder causes lock jams. Remove and reinsert the cylinder carefully. Align it as shown in the instruction manual. Test the key turns smoothly before finishing.
Confirm Programming Mode Entry
Enter programming mode exactly as directed. Wrong steps block new key codes. Listen for beeps or watch for lights. These signals confirm successful mode entry.
Reset The Lock If Needed
Resetting clears errors and restores factory settings. Follow the reset procedure in the manual. Reprogram your codes after reset. This fixes persistent issues with the lock.
Frequently Asked Questions
How Do I Start Rekeying A Schlage Keypad Deadbolt?
Begin by removing the deadbolt from the door. Gather your new keys, a rekeying kit, and follow the manufacturer’s instructions carefully to access the lock cylinder.
Can I Rekey A Schlage Keypad Deadbolt Myself?
Yes, rekeying a Schlage keypad deadbolt is possible for DIYers. It requires patience, the right tools, and following step-by-step guides to ensure the lock works with your new key.
How Long Does Rekeying A Schlage Keypad Deadbolt Take?
Rekeying typically takes between 15 to 30 minutes. The time varies based on your experience and lock model. Following instructions closely speeds up the process.
What Tools Are Needed To Rekey Schlage Keypad Locks?
You need a Schlage rekeying kit, a screwdriver, and sometimes a follower tool. These help remove the cylinder and change the pins to fit your new keys.
Conclusion
Rekeying a Schlage keypad deadbolt keeps your home safe and secure. The steps are simple and clear. You can do the job with basic tools and a little patience. Changing your lock codes helps control who can enter. It saves money compared to replacing the entire lock.
Take your time and follow the instructions carefully. Your efforts bring peace of mind. Keep your home protected with this easy task.