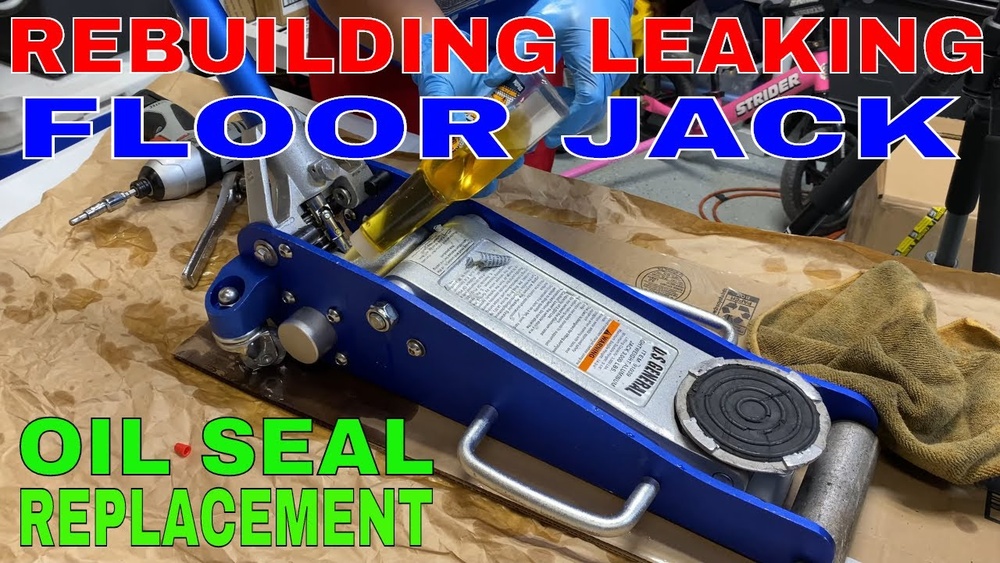
Is your hydraulic floor jack leaking and losing pressure? It can be frustrating when your jack won’t hold up your vehicle safely.
But don’t worry—you don’t have to buy a new one just yet. Fixing a leaky hydraulic floor jack is easier than you think, and with the right steps, you can get it working like new. In this guide, you’ll discover simple, clear instructions to stop the leak and restore your jack’s power.
Keep reading to learn how to save time, money, and avoid unsafe lifting conditions. Your next repair is just a few steps away!

Credit: www.youtube.com
Common Causes Of Hydraulic Jack Leaks
Hydraulic floor jacks often develop leaks. These leaks reduce the jack’s lifting power. Understanding what causes these leaks helps in fixing them quickly. Common causes include worn parts, damage, and loose fittings. Each problem needs a specific solution for effective repair.
Worn Seals And O-rings
Seals and O-rings keep hydraulic fluid inside the jack. Over time, they wear out and crack. This wear lets fluid escape, causing leaks. Dirt and rust speed up the damage. Regular inspection can catch worn seals early. Replacing these parts stops leaks and restores jack function.
Damaged Hydraulic Cylinder
The hydraulic cylinder holds the fluid and pressure. Scratches or dents on its surface create leaks. Damage can happen from dropping the jack or heavy use. A damaged cylinder loses pressure and fluid. Repairing or replacing the cylinder fixes the leak and improves lifting power.
Loose Or Damaged Fittings
Fittings connect different parts of the jack. Over time, they may loosen or break. Loose fittings let hydraulic fluid drip out. Damaged fittings cause sudden fluid loss. Tightening or replacing these fittings stops leaks. Checking fittings regularly ensures the jack stays leak-free.
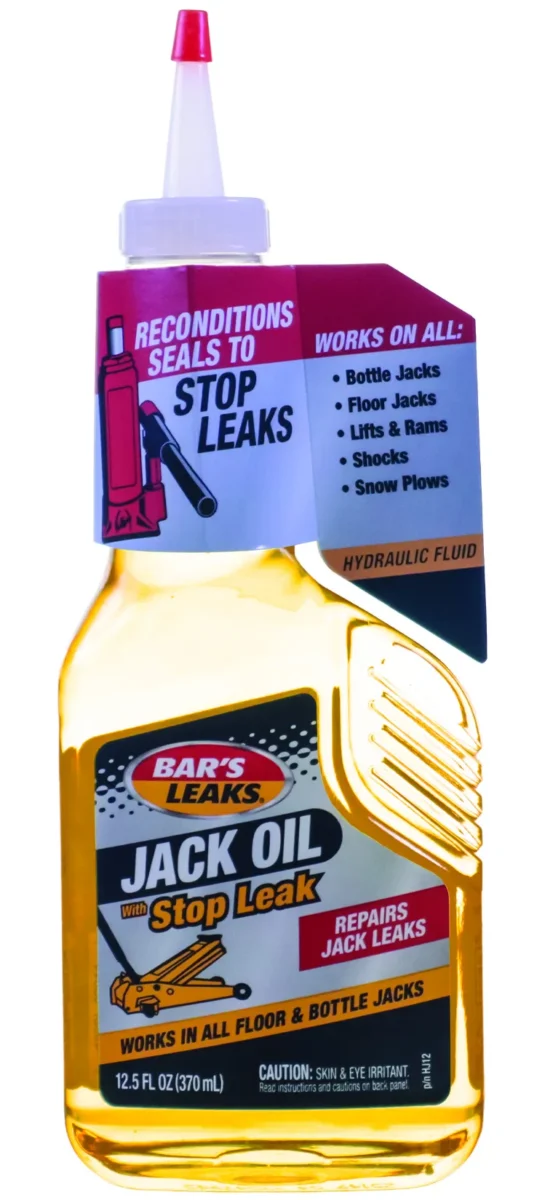
Credit: barsleaks.com
Tools And Materials Needed
Fixing a leaky hydraulic floor jack needs the right tools and materials. Using proper equipment makes the repair easier and safer. Gather all items before starting the job to avoid interruptions.
Essential Repair Tools
Start with a set of wrenches for loosening bolts. A flathead screwdriver helps remove seals and gaskets. Needle-nose pliers are useful for handling small parts. A clean cloth will wipe off dirt and oil. A small container can catch leaking fluid during repair.
Replacement Parts
Hydraulic floor jacks often leak due to worn seals. Have new rubber seals or O-rings ready. Check for a replacement pump or piston if damaged. Use the correct hydraulic fluid recommended by the manufacturer. These parts ensure the jack works properly after repair.
Safety Gear
Wear safety gloves to protect your hands from oil and sharp edges. Safety glasses prevent fluid splashes from reaching your eyes. Use old clothes or a protective apron to keep your clothes clean. Make sure your workspace is well-lit and ventilated for safety.
Preparing The Jack For Repair
Preparing your hydraulic floor jack for repair is a crucial step. It ensures safety and makes the process smoother. Follow these steps carefully to get your jack ready.
Draining Hydraulic Fluid
Start by removing the hydraulic fluid. Place a container under the jack’s fluid reservoir. Open the drain valve or remove the plug. Let the fluid flow out completely. Dispose of the old fluid safely. This prevents mess and allows you to inspect the system.
Cleaning The Jack Surface
Wipe down the jack with a clean cloth. Remove dirt, grease, and grime. Use a mild cleaner if needed. Cleaning helps you see leaks and damaged parts clearly. Avoid using harsh chemicals that can harm the metal.
Securing The Jack Safely
Ensure the jack is stable before repair. Place it on a flat, solid surface. Use wheel chocks or blocks to prevent movement. Never work under a jack that is not secure. Safety comes first to avoid accidents.
Credit: www.farmandfleet.com
Step-by-step Leak Repair Process
Fixing a leaky hydraulic floor jack is easier than you think. The key is to follow a clear step-by-step process. This way, you can find the leak and fix it fast. Start by checking the seals, then look at the fittings. Finally, refill the hydraulic fluid. Each step helps stop the leak and keeps your jack working smoothly.
Inspecting And Replacing Seals
Seals often cause leaks in hydraulic jacks. Begin by cleaning the jack to see the seals clearly. Look for cracks, wear, or damage on the seals. Remove the old seals carefully. Replace them with new seals that fit your jack model. Make sure the new seals sit tight and secure. Proper sealing stops fluid from leaking out.
Fixing Or Replacing Fittings
Fittings can loosen or break, causing leaks. Check all the connections on your jack. Tighten any loose fittings with a wrench. If a fitting looks damaged or cracked, remove it. Replace it with a new fitting of the same size and type. Secure fittings prevent fluid from escaping the system.
Refilling Hydraulic Fluid
Low fluid levels cause poor jack performance and leaks. Open the fill port on the jack. Use the recommended hydraulic fluid for your model. Pour fluid slowly to avoid spills or air bubbles. Fill until the fluid reaches the proper level. Close the fill port tightly to keep fluid inside.
Testing The Jack After Repair
Testing the jack after repair is a crucial step. It confirms the fix and ensures safety. Without testing, you risk failure under load. Take your time to check every detail carefully. This helps you catch small issues before they become serious problems.
Checking For New Leaks
First, inspect the jack for any new leaks. Use a clean cloth to wipe around seals and joints. Look for fresh oil spots or wet areas. Gently pressurize the jack by pumping the handle. Watch closely if oil seeps out anywhere. No leaks mean your repair was successful.
Ensuring Proper Jack Operation
Next, test the jack’s lifting ability. Place it under a sturdy object within its weight limit. Pump the handle slowly and observe the lift. The jack should raise smoothly without jerking or slipping. Lower the jack carefully to ensure smooth descent. Proper operation proves the jack is safe to use again.
Preventive Maintenance Tips
Preventive maintenance helps avoid leaks in your hydraulic floor jack. Small steps keep the jack working well for a long time. Checking and caring for your jack stops damage before it starts.
Regular Inspection Routine
Check your floor jack often. Look for cracks, rust, or oil spots. Make sure all parts move smoothly. Catching problems early saves time and money. Use a flashlight for a close look at tight spots.
Proper Storage Practices
Store the jack on a flat, dry surface. Keep it away from dirt and water. Lower the jack fully before storing. Cover it with a cloth or plastic to protect from dust. Good storage prevents rust and seals from wearing out.
Using Quality Hydraulic Fluid
Use only the recommended hydraulic fluid. Cheap or wrong fluid can cause damage. Check fluid levels often and refill as needed. Clean fluid keeps the system running smoothly. Change the fluid based on the manufacturer’s advice.
Frequently Asked Questions
How Do I Identify A Hydraulic Floor Jack Leak?
Look for oil puddles under the jack or slow lifting action. Check seals and connections for visible cracks or damage. Regular inspection helps catch leaks early and prevents failure.
What Tools Are Needed To Fix A Leaky Hydraulic Jack?
You will need a wrench set, replacement seals or O-rings, hydraulic fluid, and a clean cloth. Some jacks may require a seal kit specific to the model.
Can I Fix A Hydraulic Jack Leak Myself?
Yes, minor leaks caused by worn seals or loose fittings can be fixed at home. Follow safety guidelines, drain fluid, replace seals, and refill with hydraulic oil carefully.
How Much Does It Cost To Repair A Leaky Floor Jack?
Repair costs usually range from $20 to $50 for parts like seals and fluid. Professional repair may cost more, depending on the damage extent and labor fees.
Conclusion
Fixing a leaky hydraulic floor jack saves money and time. Regular checks help spot leaks early. Clean parts and replace seals carefully. Use the right tools to avoid damage. Test the jack after repairs for safety. A well-maintained jack works smoothly and lasts longer.
Small fixes prevent big problems later. Keep your jack ready for every job. Easy steps make the repair less stressful. Your floor jack will serve you better.