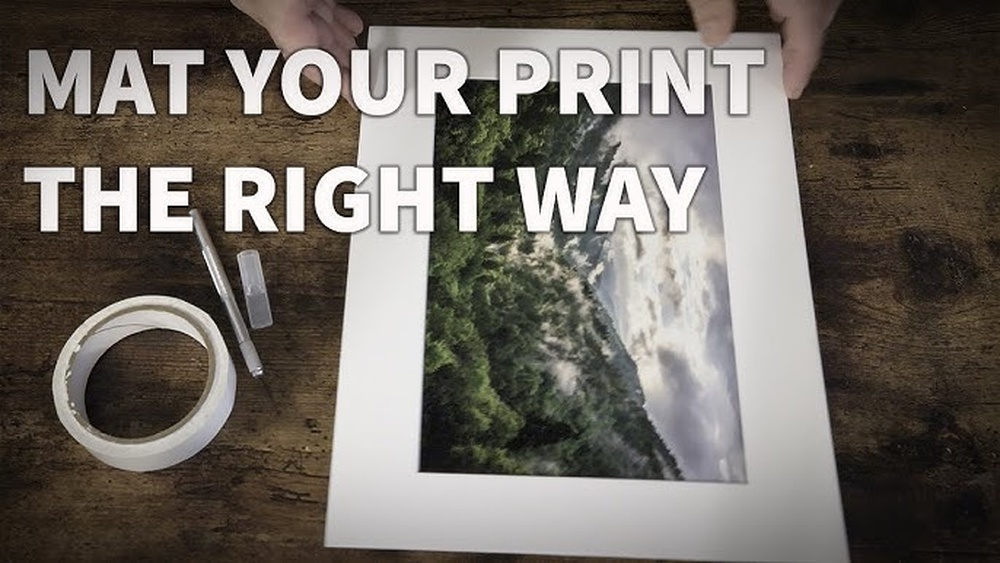
Are you struggling to mount large prints tape to a mat without wrinkles or bubbles? You’re not alone.
Getting this right can be tricky, but once you know the simple steps, your prints will look clean, professional, and perfectly framed every time. In this guide, you’ll discover easy techniques that save you time and frustration. Keep reading, and you’ll learn how to make your artwork stand out with a smooth, flawless finish.
Credit: cloudceramics.com
Choosing The Right Tape
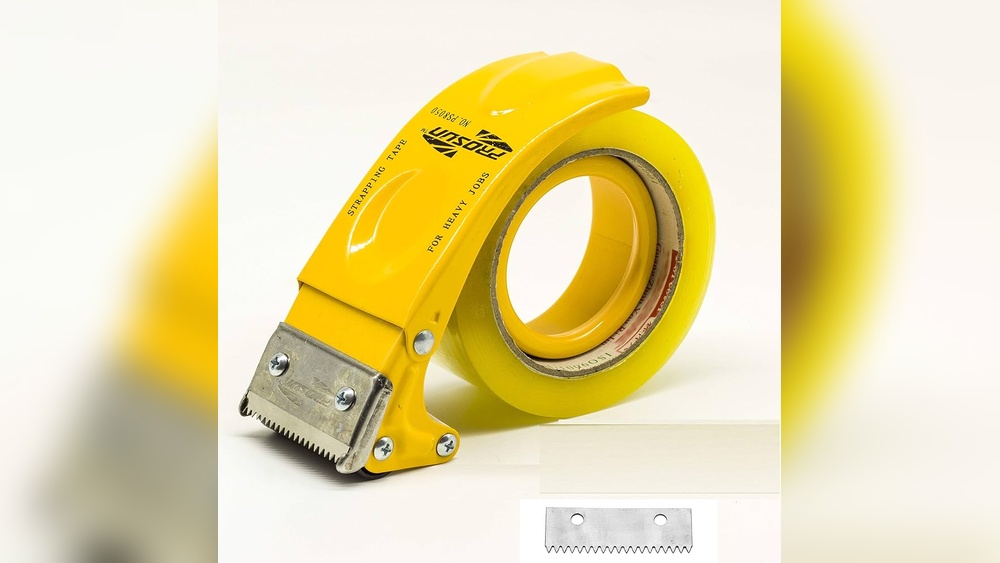
Choosing the right tape for mounting large prints to a mat is very important. The tape must hold the print firmly and keep it safe. Wrong tape can damage the print or fail to hold it. This section explains how to select the best tape for your project.
Types Of Tape For Mounting
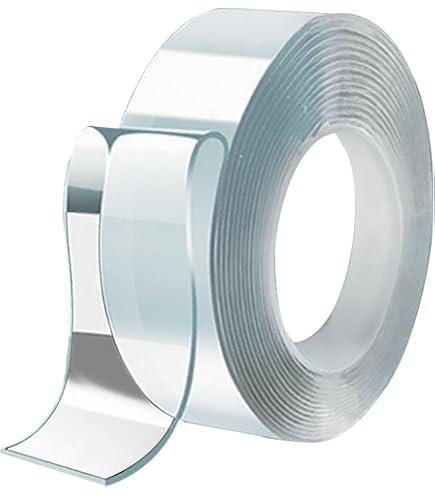
Several tapes work well for mounting prints. Double-sided tape sticks on both sides and hides under the print. Acid-free tape protects prints from yellowing or damage. Washi tape is gentle and easy to remove. Choose tape based on your print type and how long you want it to stay mounted.
Tape Strength And Adhesion
Strong tape holds large prints without slipping. Look for tapes with high adhesion that last over time. Too strong tape can tear the print when removed. Medium strength tape often works best for balance between hold and safety. Test tape on a small area before using it fully.
Avoiding Damage To Prints
Protect prints by choosing acid-free, archival-quality tape. Avoid tapes with strong glue that can stain or wrinkle the paper. Use tape sparingly and on the back edges of the print. Removing tape slowly helps prevent tears or residue. Careful tape choice keeps your print safe and looking great.

Credit: www.amazon.com
Preparing The Print And Mat
Preparing the print and mat is a crucial first step in mounting large prints with tape. This preparation helps ensure the final display looks neat and lasts a long time. It involves cleaning, trimming, and careful handling. Each task must be done with care to avoid damage.
Cleaning The Surfaces
Start by cleaning the print and mat surfaces thoroughly. Dust, dirt, or oils can stop the tape from sticking well. Use a soft, dry cloth to wipe the print gently. For the mat, a clean cloth or a soft brush works best. Avoid using water or cleaning liquids that might damage the print or mat.
Trimming And Aligning Edges
Next, trim the edges of the print and mat if needed. Use a sharp cutter or scissors for clean cuts. Align the print on the mat carefully to ensure all edges match up. This step helps prevent uneven gaps or overlaps. Use a ruler or straight edge to guide your cuts and alignment.
Handling Large Prints Safely
Large prints can be heavy and fragile. Handle them with clean, dry hands or wear gloves. Support the print evenly to avoid creases or tears. Work on a flat, stable surface to keep the print safe. Move slowly and avoid sudden movements to protect your print from damage.
Applying Tape To The Mat
Applying tape to the mat is a key step in mounting large prints. Proper tape placement holds the print securely. It also prevents damage to the artwork. Careful application ensures a clean and professional look. Follow these simple steps to apply tape correctly and avoid common mistakes.
Measuring And Cutting Tape Strips
Start by measuring the edges of the mat where the print will sit. Cut tape strips slightly shorter than these edges. Use a ruler and scissors for straight cuts. Avoid tape that is too long. It can cause wrinkles or bubbles under the print. Preparing strips in advance saves time during mounting.
Positioning Tape On The Mat
Place the tape strips on the back side of the mat edges. Align each strip so the sticky side faces outward. This allows the print to stick firmly. Keep the tape close to the edge but not hanging over. Proper positioning helps hold the print evenly without gaps or loose spots.
Ensuring Even Tape Placement
Check each tape strip for even spacing and smoothness. Press down gently to remove air bubbles. Uneven tape can cause the print to warp or lift. Use your fingers or a flat tool to smooth the tape edges. Even placement gives a neat appearance and strong adhesion.
Mounting The Print
Mounting the print is a key step in displaying your large prints neatly. It helps keep the print flat and secure on the mat. This process requires care to avoid damage and ensure a smooth finish.
Aligning The Print With The Mat
Place the mat on a flat surface. Position the print above the mat carefully. Check all edges to match the borders evenly. Use light marks or guides to help keep the print straight. Take your time; a good alignment saves effort later.
Pressing And Securing The Print
Gently lay the print onto the mat’s adhesive tape. Press down from the center outward to fix the print. Use a clean, soft cloth or roller for even pressure. This step helps the print stick well and prevents lifting.
Removing Air Bubbles And Wrinkles
Start at the center and push air bubbles toward the edges. Use your fingers or a soft tool for this task. Work slowly to avoid tearing the print. Smooth out wrinkles carefully to keep the print flat and clean.
Finishing Touches
Finishing touches give your mounted print a clean, professional look. They ensure the tape stays hidden and the print stays flat. Small details make a big difference in presentation and durability.
Trimming Excess Tape
Remove tape edges that stick out from the mat. Use a sharp craft knife or scissors. Cut slowly to avoid damaging the print or mat. Clean edges improve the overall appearance. Neat trimming helps the print sit flush and smooth.
Checking For Secure Adhesion
Press gently along all taped areas. Look for any loose or lifted spots. Apply extra pressure or add a bit more tape if needed. Secure adhesion prevents bubbles and wrinkles. It keeps the print firmly in place over time.
Tips For Long-lasting Mounts
Keep the mounted print away from direct sunlight and moisture. Use acid-free tape to avoid damage. Store prints in a cool, dry place. Handle with clean, dry hands to avoid dirt. These tips protect your print and mat for years.

Credit: www.amazon.com
Common Mistakes To Avoid
Mounting large prints with tape to a mat can be tricky. Many make common mistakes that cause damage or poor results. Avoiding these errors saves time and keeps your prints looking great.
Focus on the right steps. Careful work gives the best finish.
Using Incorrect Tape Types
Not all tape works for mounting prints. Masking tape or duct tape can ruin your print. Choose acid-free, archival tape made for art. It holds well without harming the paper. Using the wrong tape can cause yellowing or peeling over time.
Skipping Surface Preparation
Clean the mat and print surface before taping. Dust or dirt stops tape from sticking properly. Wipe gently with a dry cloth. Make sure both surfaces are dry. Skipping this step leads to bubbles and weak adhesion.
Rushing The Mounting Process
Take your time when mounting. Place the tape carefully and press it down firmly. Moving too fast causes wrinkles or crooked placement. Smooth the print slowly, checking alignment. Patience creates a smooth, neat finish every time.
Frequently Asked Questions
What Type Of Tape Is Best For Mounting Large Prints?
Acid-free, double-sided archival tape works best for mounting large prints. It ensures strong adhesion without damaging the print over time. Avoid regular tapes as they may cause discoloration or peeling. Archival tape preserves the print’s quality and longevity.
How To Prepare The Mat Before Taping Large Prints?
Clean the mat surface to remove dust and oils. Use a lint-free cloth and mild cleaner. Ensure the mat is dry before applying tape. This preparation helps the tape adhere better and prevents bubbles or wrinkles under the print.
Can I Reposition Large Prints After Taping To The Mat?
Repositioning is limited once archival tape is applied. It’s best to align the print carefully before taping. Use small tape strips initially to test placement. Once secured, avoid lifting the print to prevent damage or weakening of the tape bond.
How Much Tape Should I Use To Mount Large Prints?
Use thin strips of tape along the top edge for mounting. Additional strips can be placed on corners for extra support. Avoid excessive tape to prevent buckling or visible marks. Proper tape amount ensures a flat, secure mount without damage.
Conclusion
Mounting large prints with tape on a mat is simple and effective. Use the right tape to avoid damage and keep prints flat. Take your time to align everything carefully. This method saves space and looks neat on display. Practice a few times to feel confident.
Your prints will stay secure and look great for years. Try this easy technique for your next art project.