Are you ready to take control of your home lighting and save money by doing it yourself? Installing a single pole light switch is easier than you might think, even if you have little experience with electrical work.
With just a few simple tools and clear steps, you can replace or install a switch that works perfectly for your needs. Keep reading, and by the end of this guide, you’ll feel confident and proud to have handled this common home improvement task on your own.
Let’s get started!
Tools And Materials Needed
Before installing a single pole light switch, gather all necessary tools and materials. Having the right items ready makes the job safer and easier. It also helps you finish faster with fewer mistakes.
Essential Tools
- Screwdriver (flathead and Phillips)
- Wire stripper
- Voltage tester
- Needle-nose pliers
- Electrical tape
- Flashlight or work light
- Drill (optional for new installations)
Required Materials
- Single pole light switch
- Electrical box
- Wire connectors (wire nuts)
- Electrical wires (14 or 12 gauge, depending on circuit)
- Wall plate cover
- Grounding wire (copper or green insulated)

Credit: blueskysparky.com
Safety Precautions
Safety is the top priority when installing a single pole light switch. Electric shocks can cause serious injury or worse. Taking the right safety steps keeps you protected. Always follow these simple but important rules before you start your work.
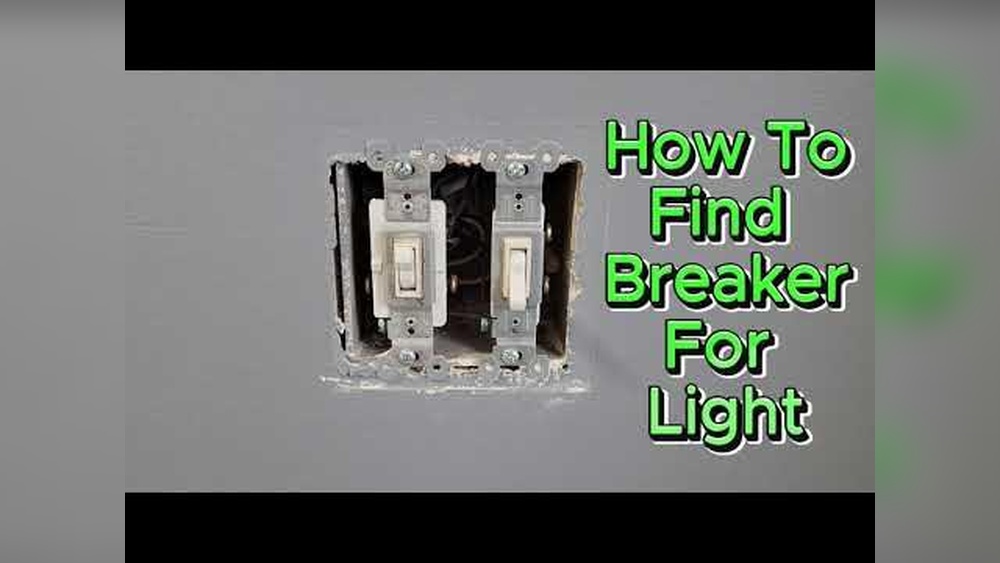
Turning Off Power
Start by turning off the power at the circuit breaker. This stops electricity from flowing to the switch. Find the correct breaker and switch it off. Do not rely on just the wall switch to cut power.
Confirm the power is off by flipping the switch and checking if the light goes off. This is not enough alone but helps reduce risk.
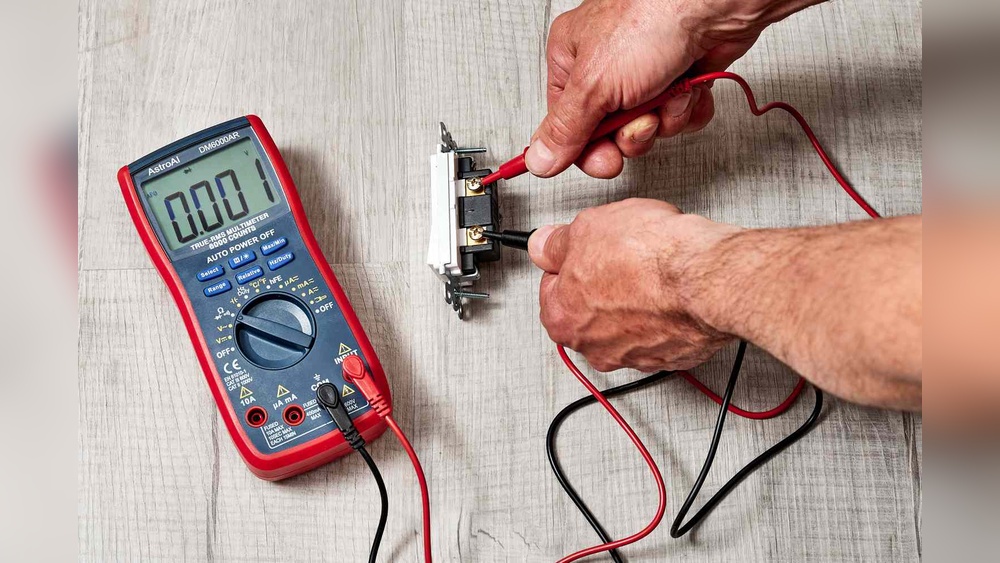
Using A Voltage Tester
Use a voltage tester to be sure the wires have no live current. Touch the tester to each wire carefully. If the tester shows no voltage, the power is off and safe to work on.
Never skip this step. Voltage testers are inexpensive and easy to use. They protect you from accidental shocks. Always test before touching any wire.
Removing The Old Switch
Removing the old switch is the first step in installing a new single pole light switch. It requires care to avoid damaging wires or the electrical box. Safety is key; always turn off the power at the breaker before starting.
Removing The Cover Plate
Start by unscrewing the cover plate. Use a flathead screwdriver or a Phillips head, depending on the screws. Place the screws somewhere safe to avoid losing them. Gently pull the cover plate away from the wall. This exposes the switch and wiring behind it.
Unscrewing The Switch
Next, remove the screws holding the switch to the electrical box. These screws are usually at the top and bottom of the switch. Keep the screws in a safe place. Carefully pull the switch out from the box. Do this slowly to avoid pulling on the wires.
Disconnecting Wires
Look closely at how the wires connect to the switch. Some wires may be attached with screws, others pushed into holes. Loosen the screws or release the wires gently. Take note of which wire connects where. This helps during installation of the new switch. Once all wires are free, remove the old switch completely.
:max_bytes(150000):strip_icc()/how-to-wire-and-install-single-pole-switches-1152330-05-2de77af170364a6fb3846f30634a5cd3.jpg)
Credit: www.thespruce.com
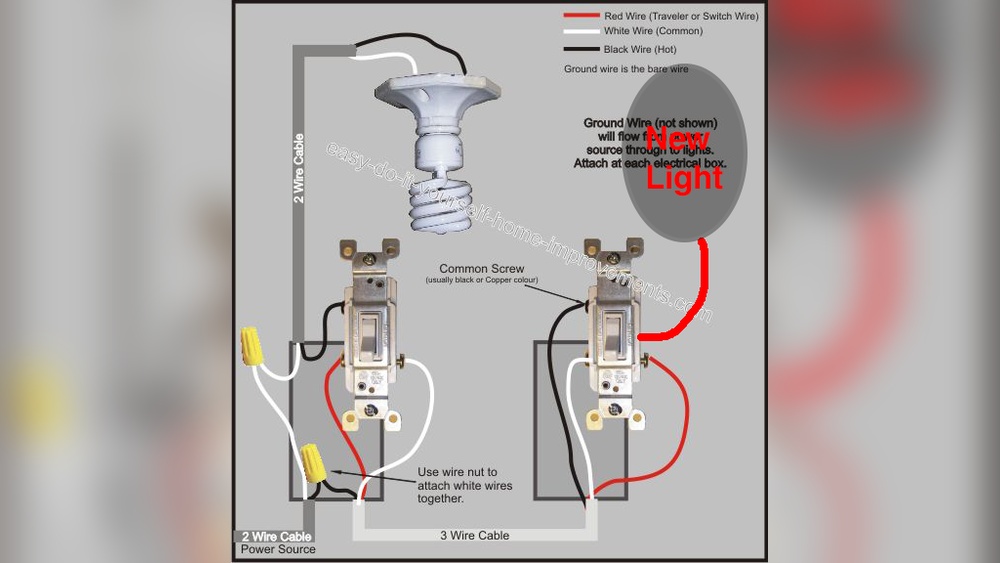
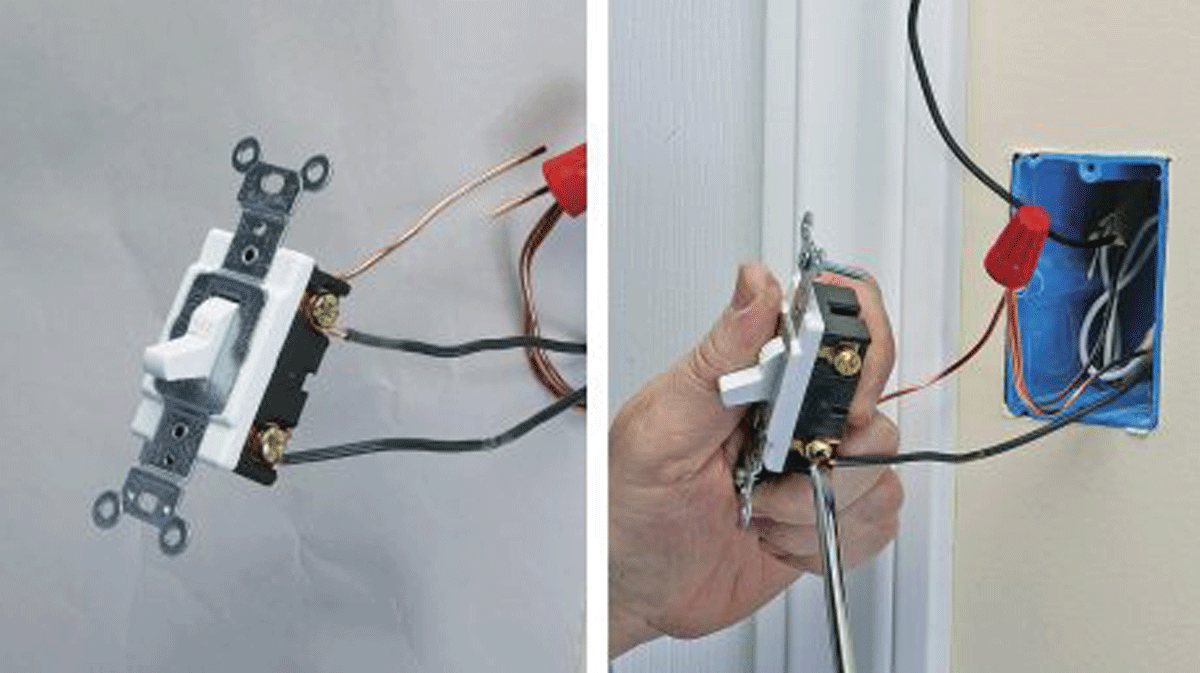
Wiring The New Switch
Wiring the new switch is a key step in installing a single pole light switch. This part ensures the switch controls the light properly. It involves identifying wires, connecting the ground wire, and attaching the hot wires. Careful handling is important for safety and function.
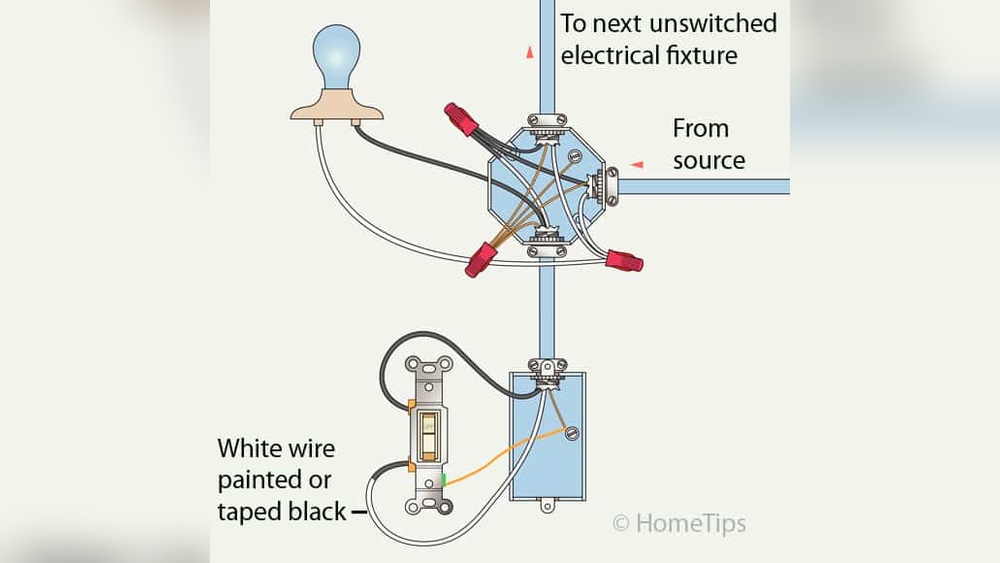
Identifying Wires
First, look at the wires coming from the wall. Usually, you will see a black wire, a white wire, and a bare copper or green wire. The black wire is the hot wire. The white wire is neutral. The bare copper or green wire is the ground wire. Make sure the power is off before touching any wires.
Connecting The Ground Wire
Take the bare copper or green wire from the wall box. Attach it to the green screw on the switch. This wire helps prevent electric shocks. Tighten the screw firmly. Do not skip this step; it is important for safety.
Attaching The Hot Wires
Connect the black wire from the wall to one brass screw on the switch. Then, connect the black wire leading to the light fixture to the other brass screw. Tighten both screws well. Make sure no wires touch each other. This wiring allows the switch to control the light properly.
Securing And Testing
Securing and testing the single pole light switch is a crucial step. It ensures safety and proper function. This part involves fixing the switch in place and checking if it works correctly. Follow these simple steps to finish your installation confidently.
Mounting The Switch
Place the switch into the electrical box carefully. Align the screw holes with the box holes. Use a screwdriver to tighten the mounting screws. Make sure the switch is snug but do not over-tighten. The switch should sit flat and not wiggle.
Replacing The Cover Plate
Put the cover plate over the switch. Align it with the screw holes on the switch. Insert the screws and tighten them gently. The cover plate protects the wiring and gives a finished look. Avoid cracking the plate by not using too much force.
Restoring Power And Testing
Turn the power back on at the circuit breaker. Flip the light switch to test the connection. The light should turn on and off smoothly. If it does not work, turn off the power and check the wiring. Proper testing confirms a safe and successful installation.
Troubleshooting Tips
Troubleshooting a single pole light switch can save time and frustration. Small problems often cause the switch to stop working properly. Simple checks help find and fix these issues quickly. Follow these tips to get your light switch working again.
Switch Not Working
First, check if the power is off. Use a tester to confirm no electricity flows. Loose wires often cause the switch to fail. Tighten all wire connections carefully. Look for signs of damage or burning. Replace the switch if it looks worn out. Sometimes, the problem is the light bulb. Try a new bulb to rule this out.
Flickering Lights
Flickering lights can mean a loose connection. Inspect wires for any gaps or breaks. Secure any loose wires tightly. Check the light bulb for a poor fit. Use bulbs that fit the socket well. A faulty switch can also cause flicker. Replace the switch if tightening doesn’t help. Flicker may also come from the fixture itself. Test with a different fixture to find the cause.
Credit: www.finehomebuilding.com
Frequently Asked Questions
What Tools Are Needed To Install A Single Pole Switch?
You need a screwdriver, voltage tester, wire stripper, and electrical tape. These tools help safely remove the old switch and install the new one.
How Do I Turn Off Power Before Installation?
Turn off the circuit breaker that controls the switch’s circuit. Use a voltage tester to confirm no power flows to the wires.
Can I Replace A Single Pole Switch Myself Safely?
Yes, with basic electrical knowledge and safety precautions, you can replace it. Always turn off power and follow step-by-step instructions carefully.
How Do I Identify The Wires On A Single Pole Switch?
Typically, black wires are hot, white are neutral, and green or bare wires are ground. Use a voltage tester to verify before connecting.
Conclusion
Installing a single pole light switch is easier than it seems. Follow the steps carefully and work safely. Turn off the power before starting any wiring. Use the right tools and double-check connections. A properly installed switch controls your light smoothly.
Take your time and do not rush. Enjoy the convenience of your new light switch. Small projects like this build your confidence. Try other simple electrical tasks next. Safety always comes first in every project.