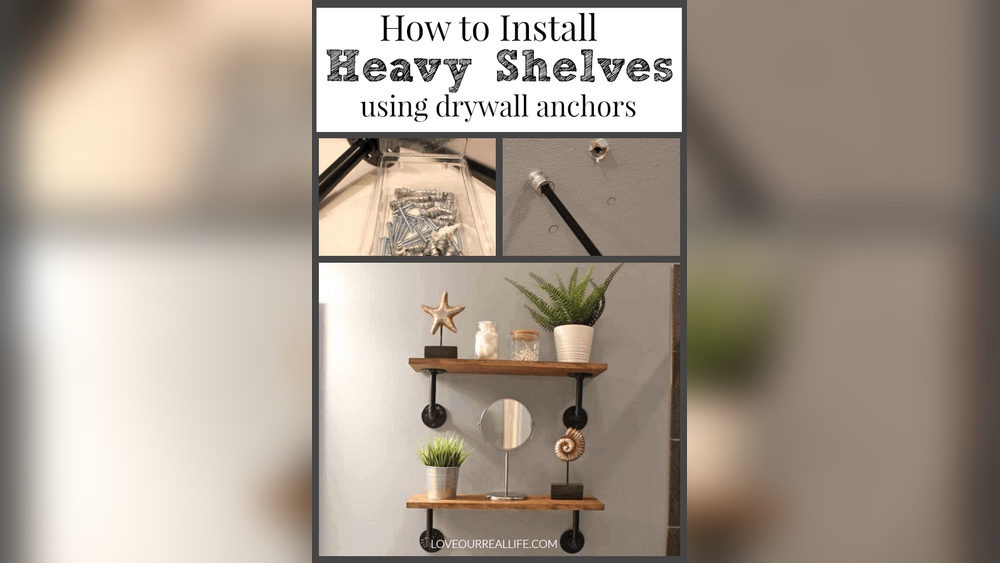
Are you struggling to hang things securely on your walls? Learning how to screw in plastic wall anchors can make all the difference.
These small tools hold your screws tightly, keeping shelves, pictures, and hooks firmly in place. In this guide, you’ll discover simple steps to master this essential skill quickly and easily. Keep reading, and you’ll gain the confidence to tackle your next home project without worry.
Types Of Plastic Wall Anchors
Plastic wall anchors come in different types. Each type works best for certain walls and weights. Knowing these types helps you pick the right anchor for your project. This section explains the main types of plastic wall anchors.
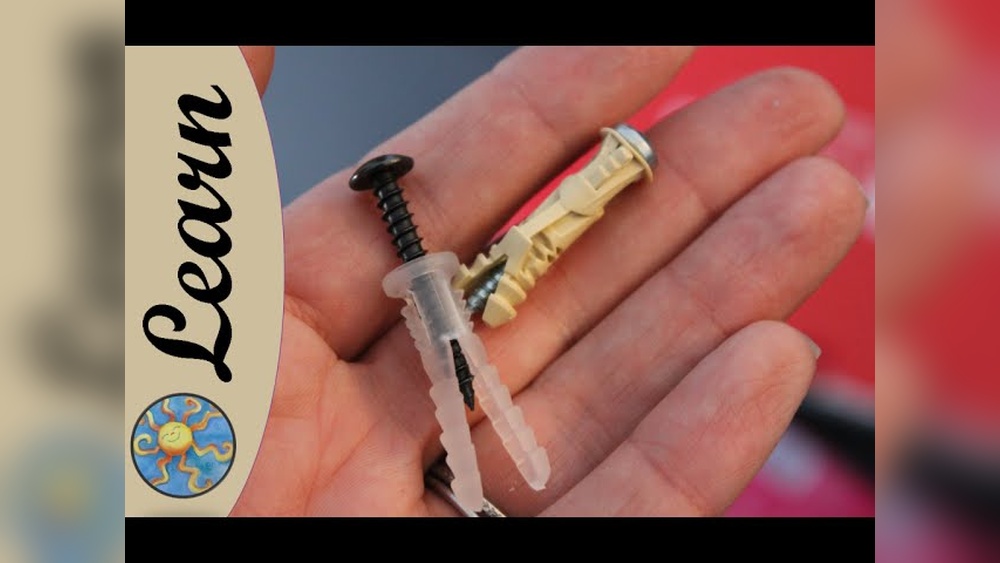
Expansion Anchors
Expansion anchors are the most common plastic anchors. They expand inside the wall when you screw into them. This expansion holds the anchor tightly in place. These anchors work well in drywall and hollow walls. They are easy to install and hold light to medium loads.
Self-drilling Anchors
Self-drilling anchors have sharp tips. You can screw them directly into drywall without drilling a hole first. These anchors save time and effort. They are strong and hold heavier items than expansion anchors. Use them for shelves, hooks, or pictures on drywall.
Toggle Anchors
Toggle anchors have wings that open inside the wall. The wings spread out behind the wall to hold more weight. They need a larger hole but provide a strong hold. Use toggle anchors for heavy items on drywall or hollow walls. They are reliable for mirrors, shelves, and cabinets.
Credit: www.homedepot.com
Tools Needed
Installing plastic wall anchors requires a few basic tools. Having the right tools makes the job easier and faster. This section covers the main tools needed for the task.
Screwdriver Options
A screwdriver is essential for driving screws into anchors. Choose between a manual or electric screwdriver. A manual screwdriver gives more control. An electric screwdriver saves time and effort. Make sure the screwdriver fits the screw head perfectly. Common types include Phillips and flathead screwdrivers.
Drill And Drill Bits
A drill helps create holes for the anchors. Pick the right drill bit size for the anchor. The hole must be slightly smaller than the anchor. This ensures a snug fit. Use a drill with adjustable speed for better control. A cordless drill adds convenience in tight spaces.
Measuring Tools
Measuring tools ensure precise placement of anchors. A tape measure helps mark the correct spot. A pencil or marker is useful for marking. A level can check if the marks are straight. Accurate measurements prevent mistakes and damage to the wall.
Choosing The Right Anchor
Choosing the right plastic wall anchor is key to a strong hold. The right anchor keeps your items safe and secure on the wall. It is important to match the anchor with your needs and wall type. This section will help you pick the best anchor for your project.
Weight Capacity
Check how much weight the anchor can hold. Every anchor has a weight limit. Use an anchor that can support the item you want to hang. If the anchor is too weak, it may fail and damage your wall or item.
Wall Material Compatibility
Choose an anchor that fits your wall type. Plastic anchors work well in drywall and plaster. Some anchors are made for hollow walls, others for solid walls. Using the wrong anchor can cause poor grip and wall damage.
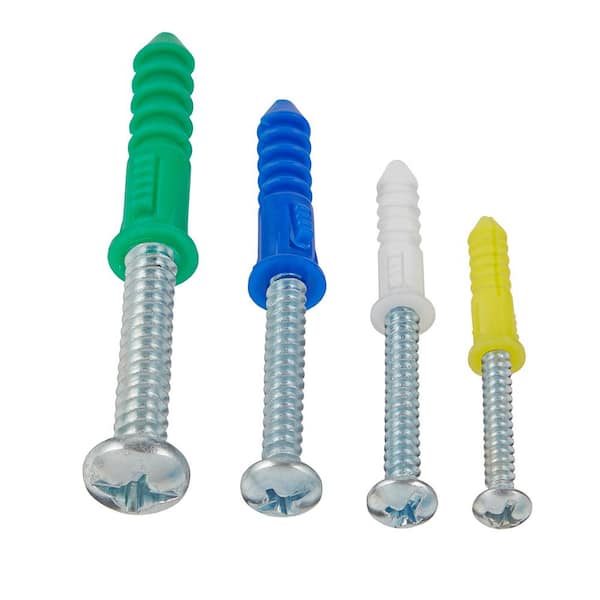
Anchor Size Selection
Select the right size anchor for your screw and hole. Anchors come in different sizes for different screw thicknesses. A too-small anchor will not hold well. A too-large anchor may crack the wall. Match the size carefully for the best fit.
Preparing The Wall
Preparing the wall is a key step before screwing in plastic wall anchors. It helps the anchors hold tightly and keeps your items secure. Taking time to prepare the wall makes the entire process easier and safer.
Marking Drill Points
Start by deciding where to place the anchors. Use a pencil to mark the exact spots on the wall. Check measurements twice to ensure accuracy. Clear marks guide your drilling and prevent mistakes.
Drilling Pilot Holes
Select a drill bit that fits the anchor size. Drill slowly at the marked points to avoid cracking the wall. Keep the drill straight for clean holes. Pilot holes help the anchors fit snugly and hold better.
Cleaning The Hole
Remove dust and debris from each hole using a small brush or vacuum. Clean holes allow anchors to grip the wall firmly. Skipping this step can weaken the anchor’s hold. A clean hole means a strong, lasting fix.
Installing The Anchor
Installing plastic wall anchors is a simple process that strengthens your wall’s grip on screws. Proper installation ensures your items stay secure and stable. Follow these clear steps to install anchors correctly and avoid common mistakes.
Inserting The Anchor
Start by gently pushing the anchor into the drilled hole. The anchor should fit snugly but not force in. If it feels too tight, slightly widen the hole with a drill bit. The anchor must sit flush with the wall surface for best results.
Using The Screwdriver Or Drill
Choose a screwdriver or drill with a matching bit size. Slowly turn the screw into the anchor, keeping it straight. Avoid using too much force to prevent damaging the anchor or wall. A steady, controlled motion helps the screw bite properly.
Ensuring A Secure Fit
Check that the screw holds firmly without wobbling. The anchor should expand inside the wall, gripping tightly. If the screw feels loose, remove it and try a larger anchor or screw size. A secure fit ensures your mounted item stays safe and stable.

Credit: www.fmwfasteners.com
Troubleshooting Common Issues
Installing plastic wall anchors can sometimes lead to small problems. These issues stop the anchor from holding well. Knowing how to fix common problems saves time and effort. Below are solutions for usual troubles.
Anchor Spins In Hole
The anchor spins if the hole is too big. It loses grip and cannot hold the screw. Use a smaller drill bit next time. Remove the spinning anchor and fill the hole with wood glue. Let it dry, then reinsert the anchor. This makes the anchor tight and stable.
Wall Cracks Or Damage
Cracks appear if too much force is used. The wall weakens and may crumble. Stop screwing immediately. Use a larger anchor for better support. Fill cracks with spackle or wall filler. Let it dry fully before installing the anchor again. Gentle pressure helps prevent damage.
Screw Doesn’t Tighten
The screw may not tighten if the anchor is damaged. Check the anchor for cracks or breaks. Replace it if needed. Use the right size screw for the anchor. Turn the screw slowly and firmly. Tighten until the screw feels secure, not forced.
Tips For Long-lasting Installation
Installing plastic wall anchors correctly helps keep your items secure for years. Small steps during installation can make a big difference. Follow these tips for a strong, lasting hold.
Avoiding Over-tightening
Turn screws gently into the anchor. Stop as soon as you feel resistance. Over-tightening can crack the anchor or wall. This weakens the hold and may cause damage. Use steady pressure and do not force the screw.
Regular Inspection
Check the anchors regularly, especially in busy areas. Look for any signs of loosening or damage. Tighten screws if needed but avoid overdoing it. Early fixes prevent bigger problems later. Regular care keeps anchors strong and safe.
Using The Right Screws
Choose screws that fit the anchor size exactly. Screws too big or too small reduce the anchor’s grip. Match the screw length to the wall thickness and item weight. Using correct screws ensures the anchor holds firmly over time.

Credit: www.fmwfasteners.com
Frequently Asked Questions
What Tools Do I Need For Plastic Wall Anchors?
You need a drill, screwdriver, hammer, and a plastic wall anchor. A drill bit matching the anchor size is essential. These tools ensure proper installation and a secure hold in drywall or plaster.
How Do I Prepare The Wall For Anchors?
First, mark the spot for the anchor. Drill a hole slightly smaller than the anchor. Clean any debris from the hole to ensure a snug fit for the anchor.
Can I Reuse Plastic Wall Anchors?
Plastic wall anchors are generally single-use. Removing them often damages the anchor and the wall. It’s best to use new anchors for each installation to maintain strength and safety.
How Deep Should I Drill For Plastic Anchors?
Drill a hole about the same length as the anchor. This ensures the anchor fits fully and grips the wall securely. Avoid drilling too deep to prevent weakening the wall.
Conclusion
Screwing in plastic wall anchors is simple with the right steps. Start by drilling a hole that fits the anchor size. Gently tap the anchor into the wall until it is flush. Then, screw your fastener carefully to avoid damage.
This method keeps your items secure and the wall safe. Practice makes perfect, so don’t worry if it takes a few tries. Now you can hang pictures, shelves, or hooks with confidence. Small jobs like these make a big difference around your home.
Give it a shot and see how easy it can be!