You want your home to feel safe, and a sturdy deadbolt on your wooden door is one of the best ways to protect what matters most. But maybe you’re worried that installing it yourself will be too hard or confusing.
Don’t worry—this guide will walk you through every step clearly and simply. By the end, you’ll have a strong deadbolt locking your door, giving you real peace of mind. Ready to take control of your home’s security? Let’s get started.
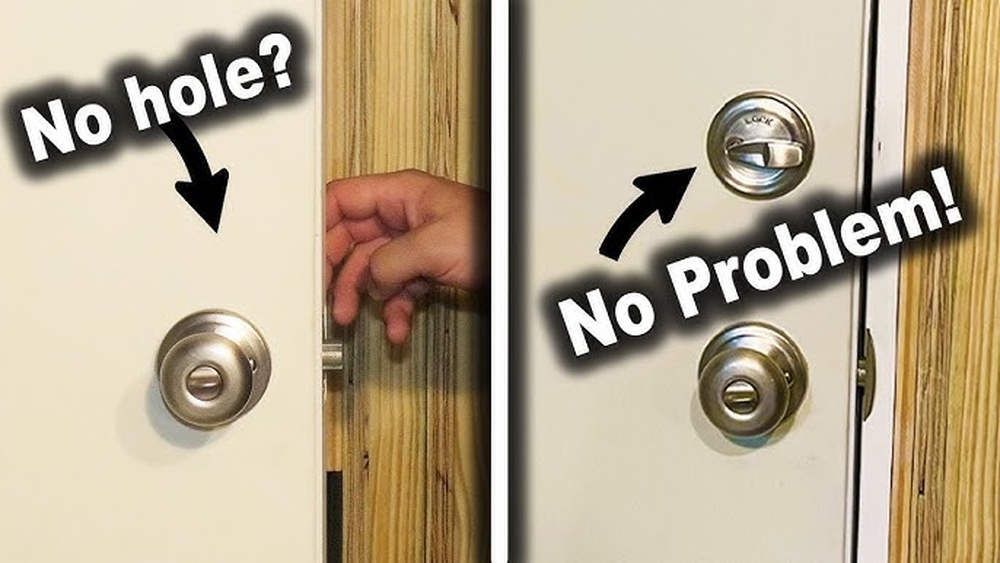
Credit: www.homedepot.com
Tools And Materials Needed
Installing a deadbolt on a wooden door requires specific tools and materials. Having these ready makes the process smooth and safe. Each tool plays a vital role in completing the installation accurately.
Gathering all items before starting saves time and effort. It also helps avoid mistakes and damage to the door. Below is a list of essentials needed for this project.
Tools Needed
- Power Drill – for drilling holes precisely
- Drill Bits – various sizes matching the lock parts
- Screwdriver – to tighten screws securely
- Chisel – for creating space for the lock plate
- Hammer – to assist with chiseling and fitting
- Measuring Tape – to measure exact positions
- Pencil – for marking drilling spots
- Level – to ensure proper alignment
Materials Needed
- Deadbolt Lock Kit – includes lock, strike plate, and screws
- Wood Filler – to fix any mistakes or holes
- Sandpaper – for smoothing edges after drilling
- Masking Tape – to protect the door surface while drilling
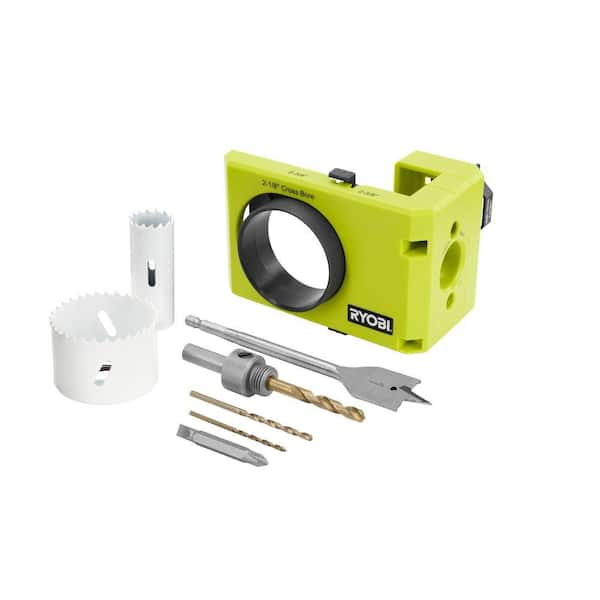
Credit: www.homedepot.com
Choose The Right Deadbolt
Choosing the right deadbolt is important for your wooden door’s security. The right lock keeps your home safe and makes your door stronger. Not all deadbolts fit every door. Some work better on wooden doors than others.
Consider the type of deadbolt before buying. Think about how easy it is to install and use. Also, check the lock’s durability and strength. These factors help you pick the best deadbolt for your door.
Types Of Deadbolts
Single-cylinder deadbolts use a key outside and a thumb turn inside. They are common and easy to use. Double-cylinder deadbolts need a key on both sides. They add extra security but can be tricky in emergencies.
Lock your door with a deadbolt that suits your needs. Choose based on safety and convenience.
Size And Fit
Measure your door’s thickness before buying. Most wooden doors are 1 3/4 inches thick. Some deadbolts fit only certain thicknesses. A good fit means better security and easier installation.
Check the backset, the distance from the door edge to the keyhole. Common backsets are 2 3/8 or 2 3/4 inches. Match these measurements with your deadbolt.
Material And Finish
Deadbolts come in brass, steel, or zinc alloys. Steel is strong and resists force. Brass looks nice and resists corrosion. Choose a finish that matches your door’s style and lasts long.
Good material helps the lock last through weather and use. It keeps your door secure for years.
Security Features
Look for deadbolts with anti-pick pins. These prevent lock picking. Some have reinforced strike plates for extra strength. Others include bump-resistant technology.
Extra features improve protection. They stop intruders from breaking in easily.
Prepare The Door
Preparing the door is the first step to install a deadbolt correctly. It ensures the lock fits well and works smoothly. Careful preparation helps avoid mistakes that can damage the door.
Start by measuring and marking the exact spots where the deadbolt will go. Then, drill holes carefully to match these marks. This makes the installation easier and more secure.
Mark The Deadbolt Position
Measure the height on the door edge where the deadbolt will sit. Usually, it is about 6 to 12 inches above the door handle. Use a pencil to mark this spot clearly.
Next, mark the center of the door face for the lock cylinder. Use the deadbolt template or the lock itself to trace the circle. Double-check these marks before drilling.
Drill The Holes
Select a drill bit that matches the deadbolt size. Drill a hole through the door face at the marked circle. Drill slowly to keep the hole clean and straight.
Then, drill a hole on the door edge for the bolt part. Make sure this hole lines up with the face hole. Clean out any wood chips for a smooth fit.

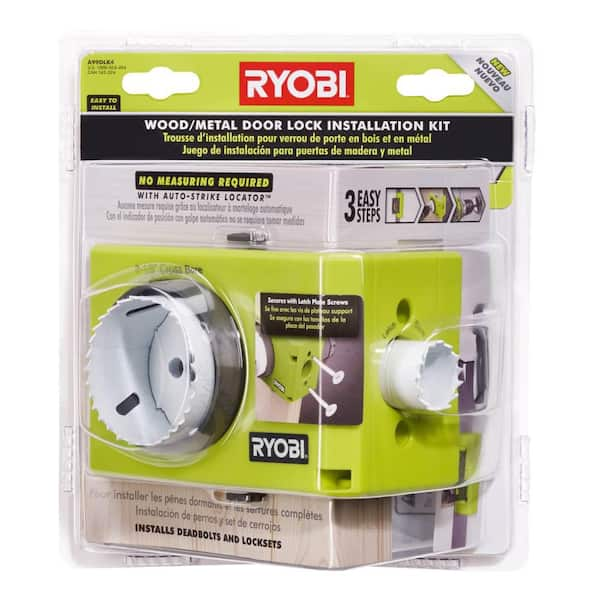
Credit: murphydoor.com
Install The Deadbolt Mechanism
Installing the deadbolt mechanism is a key step to secure your wooden door. This process fits the main lock part into the door. It requires careful handling to ensure the deadbolt works smoothly and locks tightly.
Follow the steps carefully to avoid mistakes. A properly installed deadbolt adds safety and peace of mind to your home.
Insert The Deadbolt
Take the deadbolt unit and slide it into the hole on the edge of the door. The bolt should face outward. Push it in until the faceplate is flush with the door edge. Make sure the bolt moves freely when you slide it back and forth.
Secure The Deadbolt With Screws
Use the screws provided with the deadbolt kit. Insert them into the holes on the faceplate. Tighten the screws firmly to hold the deadbolt in place. Check that the lock does not move or wiggle. Avoid over-tightening, which could damage the wood or the lock.
Attach The Exterior And Interior Plates
Attaching the exterior and interior plates is a key step in installing your deadbolt on a wooden door. These plates hold the lock in place and ensure it works smoothly. Proper attachment makes your door secure and the lock durable.
Take your time to fit each plate carefully. Align them perfectly to avoid problems later. The right fit helps the deadbolt move freely and locks tightly.
Align The Plates
Start by positioning the exterior plate on the outside of the door. Match it with the holes you drilled earlier. Check that the deadbolt fits through the plate’s center.
Next, place the interior plate on the inside of the door. Make sure it lines up exactly with the exterior plate. Both plates must be flush against the door surface.
Fasten The Screws
Use the screws that come with your deadbolt kit. Insert them into the holes and tighten them by hand first. This keeps the plates in place without shifting.
After all screws are in, use a screwdriver to secure them firmly. Avoid overtightening to prevent damaging the wood or stripping the screws. Check that the plates stay aligned and stable.
Install The Strike Plate
Installing the strike plate is a key step in securing your deadbolt. The strike plate holds the bolt firmly in place when the door locks. Proper placement ensures smooth locking and unlocking. This section explains how to mark, chisel, and attach the strike plate on your wooden door frame.
Mark The Strike Plate Position
Close the door and extend the deadbolt fully. Hold the strike plate against the door frame where the bolt meets the frame. Use a pencil to trace around the strike plate. Mark the screw holes clearly. This outline guides the next steps.
Chisel The Recess
Use a sharp chisel to create a shallow recess inside the marked outline. The recess should be deep enough for the strike plate to sit flush with the door frame. Work slowly to avoid removing too much wood. Check the fit often by placing the strike plate in the recess.
Attach The Strike Plate
Align the strike plate with the recess and screw holes. Use a screwdriver to secure it tightly with screws provided. Ensure the plate does not move or shift. Test the deadbolt by locking and unlocking to confirm smooth operation. Adjust if necessary for perfect alignment.
Test The Deadbolt Functionality
Testing the deadbolt functionality is an important step after installation. It ensures the lock works smoothly and keeps your door secure. This step helps avoid problems later, such as difficulty locking or unlocking the door. Spend some time checking every part of the deadbolt for smooth operation.
Check Lock And Unlock
Start by turning the key or thumb turn to lock the deadbolt. The bolt should slide out easily and fully into the strike plate. Then, try to unlock it by turning the key or thumb turn the opposite way. Make sure the bolt retracts completely. Test this several times to confirm smooth movement without sticking or jamming.
Make Adjustments If Needed
If the bolt does not slide smoothly, check the alignment between the bolt and strike plate. Slightly loosen the screws and adjust the strike plate position. Tighten screws back and test again. Also, check the door edge for any rough spots that block the bolt. Sand or file these areas for better fit. Repeat testing until locking and unlocking is easy and secure.
Safety Tips And Maintenance
Installing a deadbolt on a wooden door improves home security. Proper safety and maintenance keep the lock working well. Simple steps help avoid damage and keep the door safe.
Safety Precautions During Installation
Wear safety goggles to protect your eyes from wood chips. Use a sharp drill bit for clean holes. Measure twice before drilling to avoid mistakes. Keep your hands clear of the drill path. Follow the deadbolt instructions carefully for proper fit.
Regular Cleaning And Lubrication
Clean the deadbolt with a soft cloth to remove dirt. Avoid harsh chemicals that can damage the lock. Use graphite or silicone spray to lubricate the lock. Lubricate twice a year for smooth operation. Do not use oil sprays as they attract dust.
Inspecting For Wear And Tear
Check the deadbolt and strike plate regularly for damage. Tighten loose screws to keep the lock secure. Look for cracks or splinters on the wooden door near the lock. Replace worn parts to maintain strong security. Early fixes prevent bigger problems later.
Frequently Asked Questions
How Do I Choose The Right Deadbolt For A Wooden Door?
Select a deadbolt designed for wooden doors with a solid metal bolt. Ensure it fits your door’s thickness and enhances security.
What Tools Are Needed To Install A Deadbolt On Wood?
You need a drill, screwdriver, chisel, measuring tape, pencil, and a hole saw for precise installation on wooden doors.
How To Prepare A Wooden Door For Deadbolt Installation?
Mark the correct height, drill holes for the lock and bolt, and chisel out space for the faceplate before mounting.
Can I Install A Deadbolt Without Professional Help?
Yes, with basic tools and instructions, you can install a deadbolt on a wooden door yourself safely.
Conclusion
Installing a deadbolt on a wooden door adds extra security. The process is simple with the right tools and steps. Measure carefully and follow instructions for a proper fit. Take your time to drill holes and align parts correctly. Test the lock to ensure it works smoothly.
This small effort helps protect your home better. Keep your family and belongings safe with a strong deadbolt lock.