Are you facing the challenge of anchoring a wall to your ceiling but can’t find any studs? It can feel frustrating and tricky, especially when you want to make sure everything is strong and safe.
Don’t worry—there are smart ways to secure your wall even without studs. In this guide, you’ll discover simple, reliable methods that anyone can use. Keep reading, and you’ll learn how to tackle this common problem with confidence and ease. Your project will be sturdy, and you’ll avoid costly mistakes along the way.
Let’s get started!

Credit: diy.stackexchange.com
Choosing The Right Anchors
Choosing the right anchors is key to securing a wall to a ceiling without studs. The right anchor provides strong support and prevents damage. It also ensures safety and stability for the wall or object. Understanding different anchors and their strengths helps make the best choice.
Types Of Wall Anchors
There are several types of wall anchors. Plastic expansion anchors work well for light loads and drywall. Metal toggle bolts offer stronger support for medium loads. Molly bolts expand inside the wall for a firm hold. Heavy-duty anchors, like sleeve anchors, suit heavy items and thick materials.
Load Capacity Considerations
Every anchor has a load capacity, the weight it can hold safely. Choose an anchor with a capacity higher than the weight of the wall or object. Overloading an anchor can cause it to fail and cause damage. Always check the package or product details for load ratings before buying.
Credit: www.youtube.com
Preparing The Surface
Preparing the surface is the first step to anchor a wall to a ceiling without studs. This step ensures the wall stays secure and safe. Proper preparation helps avoid damage and makes the process easier.
Focus on finding strong points on the ceiling. Mark the spots carefully to guide your work. A well-prepared surface supports the weight and keeps the wall stable.
Locating Ceiling Joists
Ceiling joists are wooden beams that support the ceiling. Find them using a stud finder or tapping method. A stud finder is a tool that detects wood behind drywall.
Tap gently on the ceiling and listen for a solid sound. A hollow sound means no joist is behind that spot. Mark the solid sounds to locate the joists.
Joists usually run parallel and are spaced 16 to 24 inches apart. Knowing their position helps you decide where to place anchors.
Marking Anchor Points
Mark anchor points along the joists for strong support. Use a pencil to make small marks on the ceiling. These marks show where you will drill or insert anchors.
Space the anchor points evenly to balance the load. Check your wall size to plan the number of anchors needed. Accurate marks prevent mistakes during installation.
Double-check the marks before starting to drill. Correct placement ensures the wall will be safely anchored.
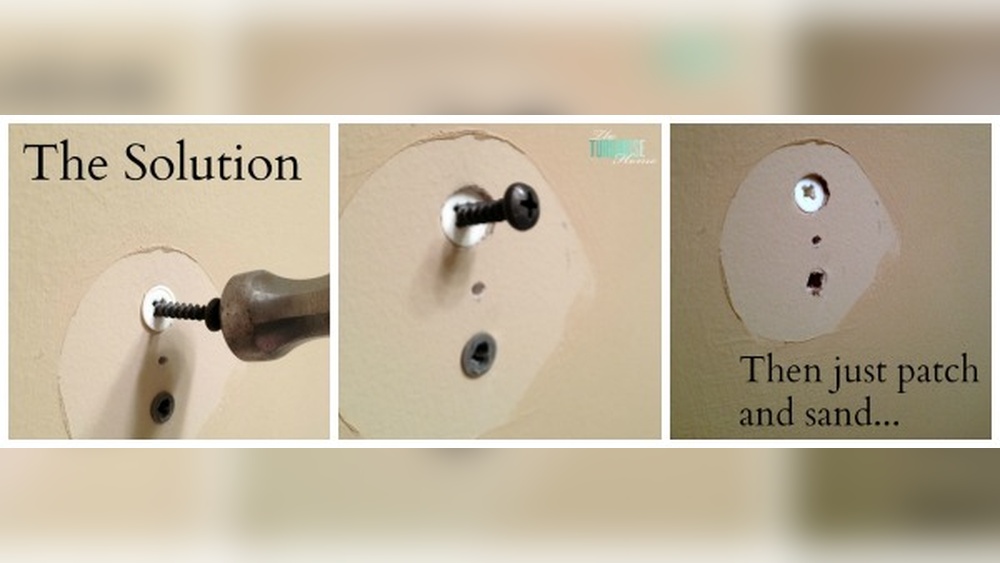
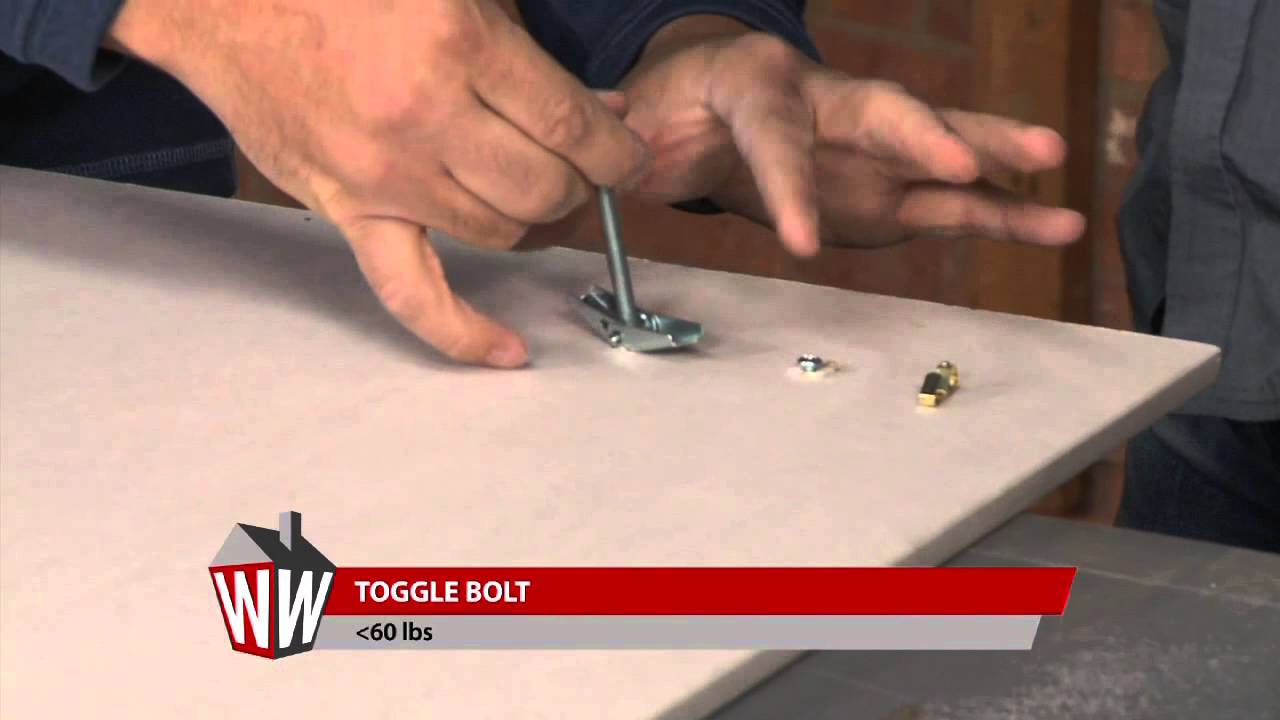
Installing Toggle Bolts
Installing toggle bolts is a reliable way to anchor a wall to a ceiling without studs. Toggle bolts provide strong support by spreading the load behind the drywall or plaster. They are ideal for heavy items and ensure your wall stays secure. This method needs careful steps for the best results.
Drilling The Hole
First, choose the right size drill bit for the toggle bolt. The hole must be large enough for the folded toggle to pass through. Mark the spot on the ceiling where you want to anchor the wall. Drill slowly to avoid cracking the drywall. Clean the hole of any dust or debris before moving on.
Inserting And Securing The Bolt
Fold the toggle wings and insert them into the hole. Push the wings through until they open fully behind the ceiling. Pull the bolt back gently to keep the wings tight against the inside surface. Use a screwdriver to tighten the bolt. Do not overtighten, or the drywall might break.
Using Molly Bolts For Secure Fixing
Using molly bolts offers a strong way to anchor a wall to a ceiling without studs. These bolts spread inside the wall or ceiling material, creating a firm grip. This method ensures the fixing holds tight and stays secure over time.
Molly bolts work well for medium-weight items and provide a reliable connection. They fit in drywall, plaster, and other hollow materials. Proper use of molly bolts prevents damage and keeps your installation safe.
Choosing The Right Molly Bolt
Select molly bolts based on the wall and ceiling thickness. Check the weight of the item you want to hang. Use bolts rated for slightly more weight than your item.
Choose the right length to pass through the wall and hold firmly in the ceiling. Look for bolts made of steel for better strength. Avoid cheap or weak materials to ensure safety.
Step-by-step Installation
Start by marking the spot where you want to fix the wall. Drill a hole matching the diameter of the molly bolt. Push the molly bolt into the hole until flush with the surface.
Use a screwdriver to tighten the bolt. This action expands the sleeve behind the wall or ceiling. The expanding sleeve holds the bolt firmly in place.
Do not overtighten, or you might damage the wall. Once tight, attach your wall securely to the ceiling. Check the fixing by gently pulling to ensure it is stable.
Applying Adhesive Anchors
Applying adhesive anchors is a smart way to fix a wall to a ceiling without using studs. These anchors create a strong bond between surfaces. They hold the wall securely and avoid damage to the ceiling. Using adhesive anchors saves time and tools. It is important to choose the right type of adhesive and apply it correctly. This ensures the best hold and safety.
Types Of Adhesives
There are several types of adhesives used for anchoring walls to ceilings. Epoxy adhesives are strong and durable. They work well on wood, metal, and concrete. Construction adhesives are easy to use and dry fast. They are good for light to medium loads. Polyurethane adhesives offer flexibility and strong bonds. They resist moisture and temperature changes. Choose an adhesive based on the material and load size.
Proper Application Techniques
Clean both surfaces before applying the adhesive. Remove dust, grease, and loose particles. This helps the adhesive stick better. Apply the adhesive evenly in a continuous bead. Avoid gaps or bubbles for a firm hold. Press the wall firmly against the ceiling after applying. Use clamps or temporary supports to hold the wall in place. Allow the adhesive to cure fully before removing supports. Follow the manufacturer’s drying time for the best result.
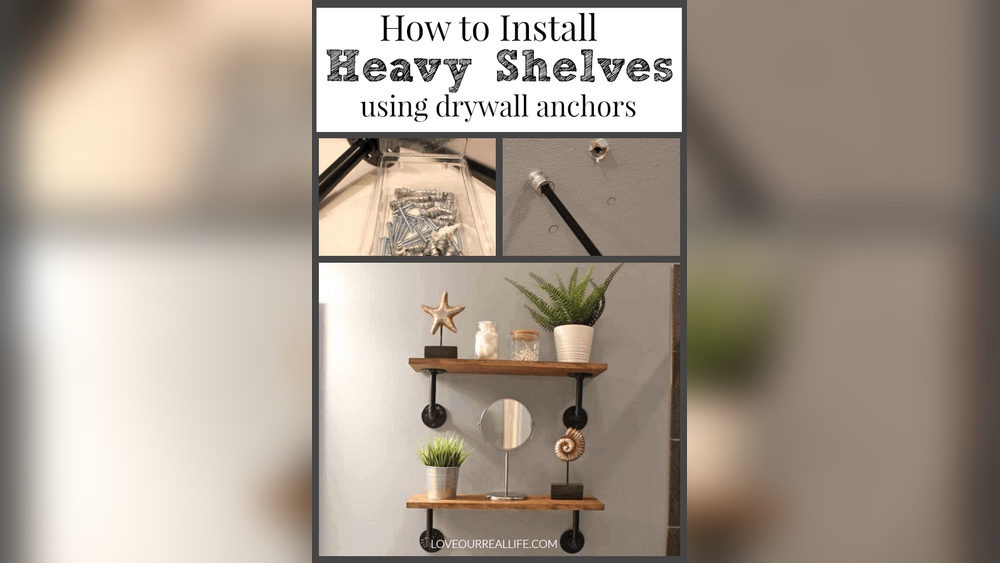
Reinforcing The Connection
Reinforcing the connection between a wall and ceiling is key for strong support. Without studs, extra steps make the joint safe and steady. Proper reinforcement stops movement and keeps the structure solid. Focus on adding hardware that spreads weight evenly. This helps the wall hold firm over time.
Adding Support Brackets
Support brackets provide extra strength at the joint. Attach L-shaped metal brackets where the wall meets the ceiling. Use screws that grip well into the ceiling material. Place brackets every few feet for balanced support. These brackets reduce sway and help the wall stay upright.
Choose brackets made from strong steel for durability. Check that the bracket arms are long enough to cover both surfaces. Tighten screws firmly but avoid splitting the materials. Brackets add a reliable anchor point without needing studs.
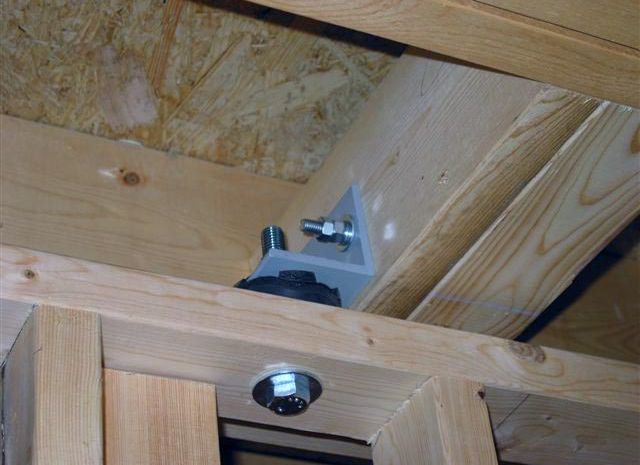
Using Metal Plates For Stability
Metal plates spread the load across a wider area. Fix flat plates over the joint between wall and ceiling. Secure them with multiple screws to improve hold. Plates prevent the wall from pulling away under pressure.
Select plates that match the wall thickness for a flush fit. Drill pilot holes to avoid cracking the wall or ceiling. Plates also help resist twisting forces that loosen fasteners. This method works well in drywall or plaster ceilings without studs.
Safety Tips And Best Practices
Anchoring a wall to a ceiling without studs requires care and attention. Safety should always come first. Following best practices helps avoid damage and accidents. This section covers key safety tips to keep your project secure and strong.
Weight Limits And Testing
Check the weight of the item before anchoring. Exceeding weight limits can cause failure. Use anchors designed for the load you expect. Test the anchor by gently applying pressure. Ensure it holds firmly without moving or cracking. Never guess weight capacity; always verify before starting.
Avoiding Common Mistakes
Do not drill too large holes; anchors must fit snugly. Avoid using anchors not meant for ceiling use. Do not ignore signs of damage in the ceiling material. Avoid over-tightening screws; this can weaken the anchor. Always follow manufacturer instructions carefully. Take time to measure and mark anchor points precisely.
Credit: kineticsnoise.com
Frequently Asked Questions
How Can I Anchor A Wall To A Ceiling Without Studs?
Use heavy-duty toggle bolts or molly bolts designed for drywall. These fasteners expand behind the drywall, providing strong support without needing studs.
What Tools Do I Need For Ceiling Anchoring Without Studs?
You’ll need a drill, toggle bolts or molly bolts, a screwdriver, a stud finder (optional), and a level to ensure alignment.
Are Toggle Bolts Safe For Anchoring Walls To Ceilings?
Yes, toggle bolts are safe if properly installed. They distribute weight evenly and hold securely in drywall or plaster ceilings.
Can I Use Adhesive Instead Of Anchors For Ceiling Mounting?
Adhesive alone is not reliable for heavy loads. It’s best combined with mechanical anchors for a secure ceiling-to-wall connection.
Conclusion
Anchoring a wall to a ceiling without studs is possible with the right tools. Choose strong anchors designed for your ceiling type. Measure carefully and drill holes with precision. Secure the wall firmly to prevent movement. Take your time to ensure safety and durability.
This method works well for lightweight walls or partitions. Always check the weight limits of anchors before starting. A steady hand and good preparation make the job easier. Now, you can add walls even without studs in your ceiling.