Have a hook stuck in your wall that you want to remove without causing damage? You’re not alone.
Removing a hook might seem simple, but if done the wrong way, it can leave unsightly holes or marks. You’ll discover easy, step-by-step methods to safely take down hooks and keep your walls looking flawless. Keep reading, and you’ll learn how to handle this task like a pro—saving you time, effort, and frustration.
Tools You’ll Need
Removing a hook from the wall is easier with the right tools. Having the correct items makes the job faster and cleaner. Prepare these tools before you start for a smooth process.
Flathead Screwdriver
A flathead screwdriver helps pry the hook gently from the wall. It fits under the hook base and lifts it slowly. This tool is simple but very useful for small hooks.
Pliers
Pliers give a strong grip to pull out stubborn hooks. They work well for hooks with a screw or nail base. Use them carefully to avoid wall damage.
Putty Knife
A putty knife slides under the hook to loosen it. It also helps scrape away leftover adhesive or paint. This tool protects the wall surface during removal.
Rubber Mallet
A rubber mallet taps hooks loose without hurting the wall. It provides gentle force to loosen tight hooks. Use light taps to prevent dents or marks.
Wall Patch Kit
A wall patch kit repairs holes after hook removal. It usually includes spackle, sandpaper, and a putty knife. Fix the wall to make it look like new.
Prepare The Area
Preparing the area before removing a hook from the wall is very important. It helps protect your wall and makes the process safer and easier. Taking time to get ready prevents damage and keeps your space clean.
Clear the space around the hook first. Remove any objects or furniture nearby. This gives you enough room to work without accidents. You can also avoid scratching or damaging other items.
Gather all the tools you might need. Having everything ready saves time and effort. This includes pliers, a putty knife, a cloth, and cleaning supplies.
Protect The Wall Surface
Use painter’s tape around the hook area. This prevents paint or wall surface from peeling. It also marks the spot clearly for careful removal.
Cover Nearby Furniture And Floors
Lay down a drop cloth or old sheet. This catches dust, debris, or paint chips. Protecting your floor and furniture keeps the area tidy.
Wear Safety Gear
Put on safety glasses to protect your eyes. Use gloves to avoid cuts or scrapes. Staying safe helps you work with confidence.
Check The Wall Type
Identify if your wall is drywall, plaster, or brick. Different walls need different removal techniques. Knowing this helps avoid extra damage.
Identify The Hook Type
Identifying the type of hook on your wall is the first step to remove it safely. Hooks come in many shapes and sizes. Knowing the exact type helps you pick the right tools and method. This reduces damage to your wall and keeps things simple.
Picture Hooks
Picture hooks are small and often have one or two sharp ends. They usually hold light frames or artwork. These hooks are easy to spot because they stick out slightly from the wall.
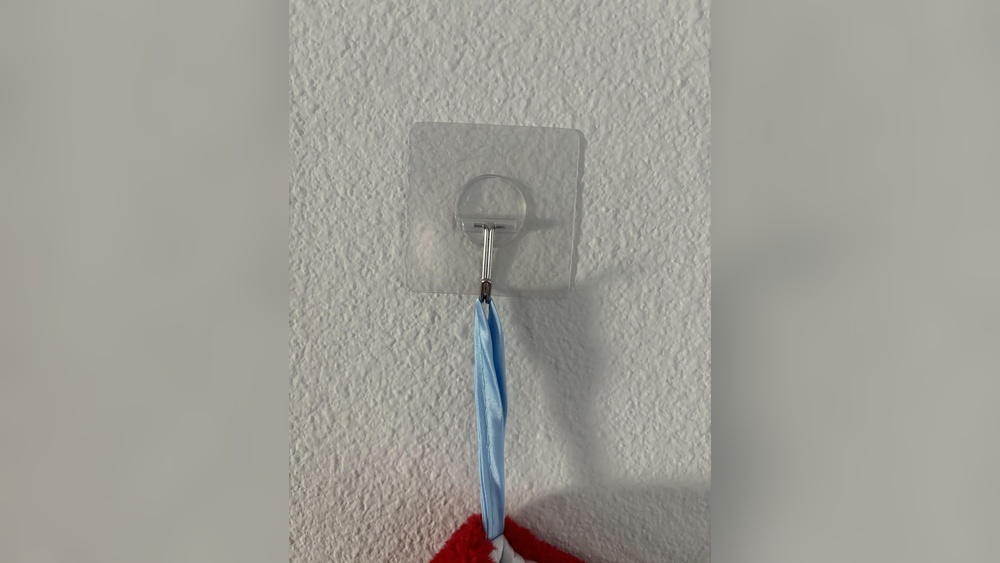
Adhesive Hooks
Adhesive hooks use sticky pads to hold items. They leave no holes but can peel paint if removed wrongly. These hooks often have a plastic base that sticks flat to the wall.
Screw-in Hooks
Screw-in hooks are metal and screw directly into the wall. They are strong and hold heavy objects. These hooks have visible threads and may have a small loop or hook at the end.
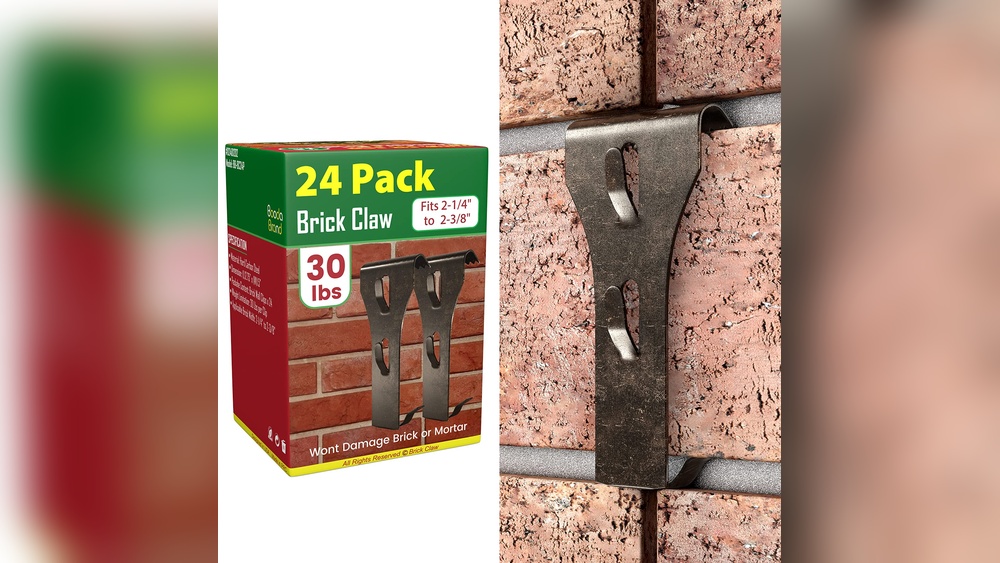
Wall Anchors With Hooks
Wall anchors come with hooks attached. They help hold heavy things in drywall or plaster. The anchor is hidden inside the wall, but the hook is visible on the surface.
Credit: www.reddit.com
Remove Adhesive Hooks
Removing adhesive hooks from walls can be tricky without damaging the paint or surface. These hooks stick strongly but can come off cleanly with the right approach. Follow simple steps to peel off the hook safely. Use heat if the adhesive is stubborn and hard to remove. This method helps loosen the glue, making removal easier and safer for your wall.
Peeling Off The Hook
Start by gripping the hook firmly. Pull the hook slowly away from the wall. Try to pull the hook parallel to the surface. This reduces the chance of wall damage. If the hook resists, do not force it. Slow and steady pulling works best. The adhesive strip will stretch and release.
Using Heat For Stubborn Adhesive
Use a hairdryer on low heat to warm the adhesive. Hold the dryer close but not too hot. Move the heat around the hook for one to two minutes. Warm adhesive becomes soft and easier to remove. After heating, try peeling the hook again. Heat helps avoid peeling paint or leaving residue. Clean any leftover glue with warm soapy water.
Remove Nail Or Screw Hooks
Removing nail or screw hooks from walls is a common task during home updates. It helps prepare walls for new decorations or repairs. Doing it carefully prevents damage to your wall surface and keeps your space neat.
Different hooks need different removal methods. Nail hooks often require gentle pulling, while screw hooks may need unscrewing tools. Knowing the right technique saves time and effort.
Unscrewing The Hook
Use a screwdriver that fits the screw head well. Turn it counterclockwise to loosen the screw. Keep steady pressure to avoid stripping the screw head. Remove the screw completely from the wall. Hold the hook firmly as you unscrew to avoid sudden drops. If the screw feels stuck, apply a small amount of oil and wait a few minutes. Repeat turning until the screw loosens. After removal, check the hole for any damage.
Extracting Nails Safely
Start by placing the claw of a hammer or a nail puller under the nail head. Gently rock the tool back and forth to loosen the nail. Pull the nail out slowly to avoid wall damage. If the nail is deep, try tapping around it to loosen the wall hold. Use a small block of wood under the tool for more leverage. Avoid pulling too fast or hard to keep the wall intact. Once removed, fill the hole with spackle or wall filler for a smooth finish.

Credit: www.youtube.com
Fixing Minor Wall Damage
Preventing future wall damage is important after removing hooks. Small holes and marks can weaken the wall. Taking simple steps helps keep walls smooth and strong. These tips reduce the chance of damage when hanging items again.
Use Appropriate Hooks For Wall Type
Choose hooks made for your wall material. Drywall, plaster, and brick need different hooks. Using the right hook lowers the risk of cracks and holes.
Distribute Weight Evenly
Heavy items need more support. Use multiple hooks or anchors to spread weight. This prevents stress on one spot and stops damage.
Install Hooks With Care
Mark the spot before drilling or hammering. Drill pilot holes for screws in hard walls. Work slowly to avoid cracks and chips.
Remove Hooks Gently
Pull hooks out slowly and straight. Avoid twisting or forcing them. This reduces wall tears and large holes.
Fill Holes Immediately
Use spackling or wall filler on holes. Smooth the surface with sandpaper. Paint over the spot to match the wall color.

Credit: www.youtube.com
Frequently Asked Questions
How Do I Safely Remove A Hook From The Wall?
To remove a hook safely, gently twist or pull it out. Use pliers if needed. Avoid damaging the wall by applying steady, controlled force.
What Tools Help Remove Wall Hooks Effectively?
Common tools include pliers, a screwdriver, and a putty knife. These help loosen and pry hooks without causing wall damage.
How To Fix Wall Damage After Removing A Hook?
Fill holes with spackle or wall filler. Sand smooth once dry. Then repaint to match the wall color for a seamless finish.
Can I Remove Hooks Without Damaging Drywall?
Yes, by gently twisting or pulling the hook straight out. Use minimal force and proper tools to prevent drywall damage.
Conclusion
Removing a hook from the wall is simple with the right steps. Take your time and work carefully to avoid damage. Use basic tools and gentle force to pull the hook out. After removal, fill holes with putty for a smooth finish.
Sand and paint if needed to restore the wall’s look. This small task saves your walls and keeps your space neat. Practice patience, and you will get great results every time.