Imagine walking into a room where the lights turn on just as you step inside. No more fumbling for switches in the dark or worrying if you left the lights on when you left the house.
Automating your light switches can make your life easier, save energy, and add a touch of modern convenience to your home. If you’ve ever wondered how to make this happen without complicated setups or big expenses, you’re in the right place.
You’ll discover simple, effective ways to automate your light switches and take control of your lighting with ease. Ready to transform your home? Let’s dive in.
Benefits Of Automating Light Switches
Automating light switches brings many useful benefits. It changes how you control lighting at home or work. Smart switches save time and effort. They also help reduce electricity use. Safety improves too, with lights turning on automatically.
Energy Savings
Automated switches cut down electricity waste. Lights turn off when rooms are empty. This lowers your electric bills. You can set schedules for lights to follow. Smart controls adjust brightness based on natural light. This reduces energy use without losing comfort.
Convenience And Comfort
Control lights from anywhere with a phone or voice. No need to find switches in the dark. Set lights to match your daily routine. Adjust lighting for reading, relaxing, or working easily. Automation creates a cozy, hassle-free environment every day.
Enhanced Security
Lights can turn on automatically at night. This scares away unwanted visitors. Use timers to simulate presence when away from home. Bright outdoor lights activate with motion sensors. Automated lighting adds an extra layer of safety.
Types Of Smart Light Switches
Smart light switches offer many options for home automation. Choosing the right type helps control your lights with ease. Each type works differently and fits various needs. Understanding these types simplifies your decision.
Wi-fi Enabled Switches
Wi-Fi enabled switches connect directly to your home internet. They allow control from smartphones or voice assistants. No extra hubs are needed for these switches. Setup is usually simple and fast. They work well in homes with strong Wi-Fi signals.
Zigbee And Z-wave Switches
Zigbee and Z-Wave switches use special hubs to connect. These hubs create a mesh network for better range. They use less power than Wi-Fi switches. These switches are good for larger homes. They offer reliable communication between devices.
Battery-powered Vs. Wired
Battery-powered switches do not need electrical wiring. They are easy to install and move anywhere. Batteries need regular replacement or charging. Wired switches connect directly to your home wiring. They offer constant power and stable control. Installation takes more effort but is more permanent.
Tools And Materials Needed
Automating light switches needs some specific tools and materials. Having the right items makes the process smooth and safe. Preparing these tools helps you finish the job faster and with less hassle.
Basic Electrical Tools
Gather common electrical tools first. A screwdriver set is essential for removing switch covers and securing wires. Wire strippers help remove insulation without damaging wires. A voltage tester checks if wires have power. Electrical tape keeps connections safe and insulated. Pliers assist in bending or twisting wires. These basic tools help handle most tasks safely.
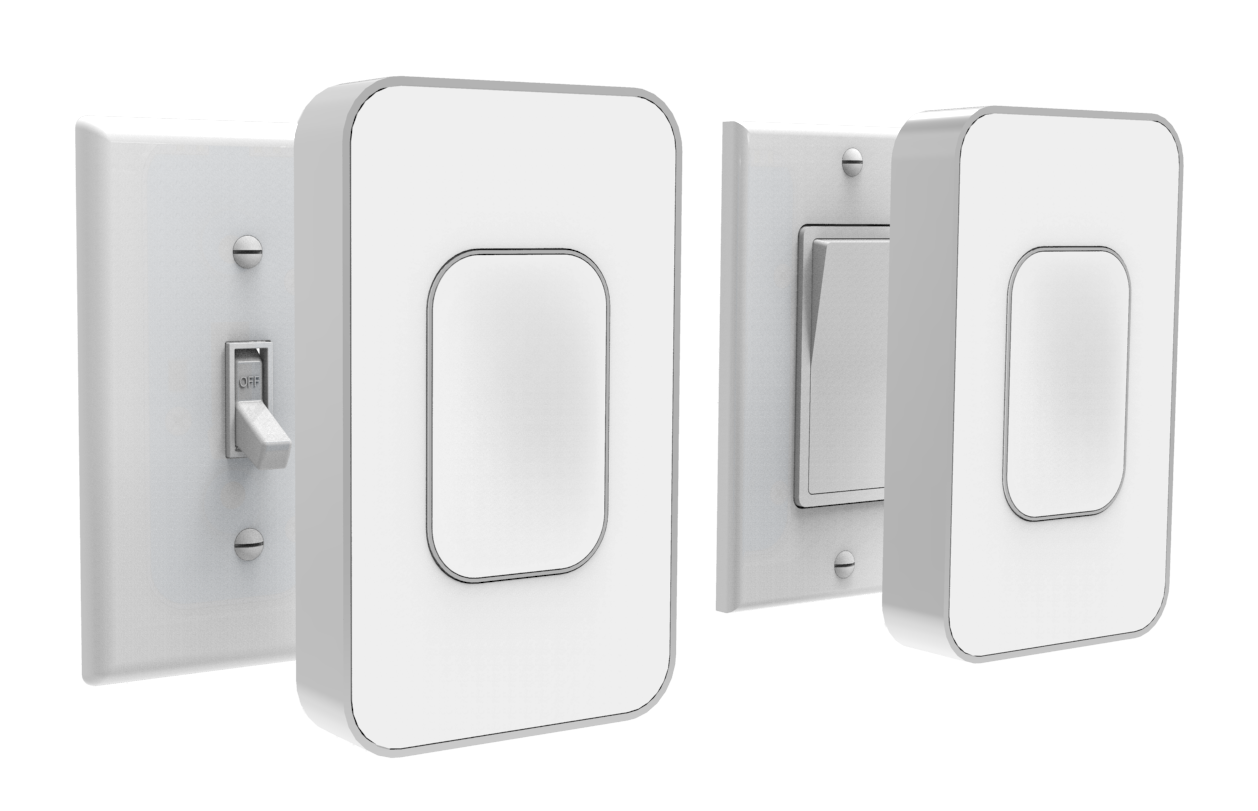
Smart Switch Devices
Choose the smart switch that fits your needs. Look for switches compatible with your home wiring. Some models require a neutral wire, others do not. Pick switches with clear instructions and good reviews. Consider features like dimming, remote control, or voice command. Having the right smart switch ensures smooth installation and reliable use.
Smartphone Or Hub
You need a smartphone or smart home hub to control switches. Most smart switches connect via Wi-Fi or Bluetooth. A smartphone app lets you turn lights on or off remotely. A smart home hub can link multiple devices in one system. Make sure your phone or hub supports the switch brand. This setup helps manage your lights easily and flexibly.

Credit: community.smartthings.com
Preparing For Installation
Preparing for the installation of automated light switches sets the stage for a smooth process. Proper preparation helps avoid mistakes and ensures safety. This section covers key steps to get ready before starting the work.
Turning Off Power Safely
Safety is the top priority. Turn off the power at the circuit breaker to avoid electric shock. Use a voltage tester to confirm the power is off. Never start work without ensuring no electricity flows to the switch.
Identifying Wiring Setup
Check the existing wiring before installation. Remove the old switch cover and look inside. Note the color and number of wires connected. Understanding your wiring helps select the right smart switch model and prevents errors.
Checking Compatibility
Not all smart switches fit every home. Verify the switch supports your wiring type. Some require a neutral wire, others do not. Also, check if your home’s electrical system matches the switch’s voltage and current ratings.
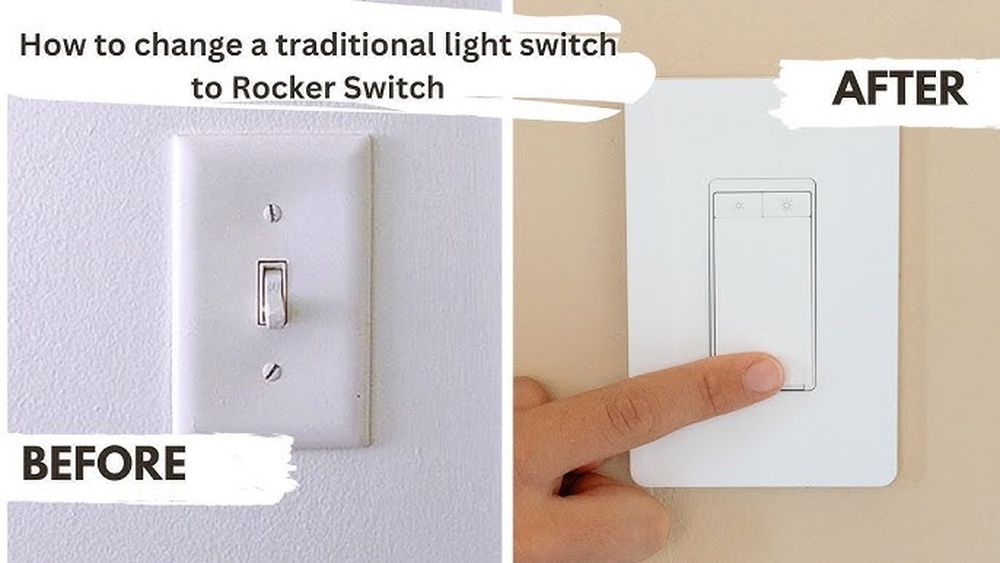
Step-by-step Installation Guide
Installing a smart light switch can improve your home’s comfort and control. This guide breaks down the process into easy steps. Follow each part carefully for a smooth installation.
Removing The Old Switch
Turn off the power from the circuit breaker. Use a voltage tester to ensure no electricity flows. Remove the switch cover by unscrewing it. Unscrew the old switch from the wall box. Gently pull the switch out to expose the wires. Note the wire positions for reference.
Connecting The Smart Switch
Read the instructions that come with your smart switch. Match each wire from the wall to the switch wires. Connect the ground wire first, usually green or bare copper. Attach the neutral wires together if required. Connect the line and load wires to the switch. Use wire nuts to secure all connections tightly.
Securing And Testing
Carefully push the wires back into the wall box. Screw the smart switch into place. Attach the switch cover plate. Turn the power back on at the circuit breaker. Test the switch by turning the light on and off. Use the smart app to check remote control functions.
Credit: www.open-electronics.org
Setting Up Automation
Setting up automation for your light switches makes daily life easier. Automating lets you control lights without manual effort. It saves energy and adds convenience. Follow simple steps to start automation.
Connecting To Wi-fi Or Hub
First, link your smart switch to your home network. Most switches connect via Wi-Fi or a smart hub. Use the switch’s app to find your network. Enter the Wi-Fi password carefully. If using a hub, connect the switch to the hub device. Make sure the hub is online and working. Connection allows remote control from your phone.
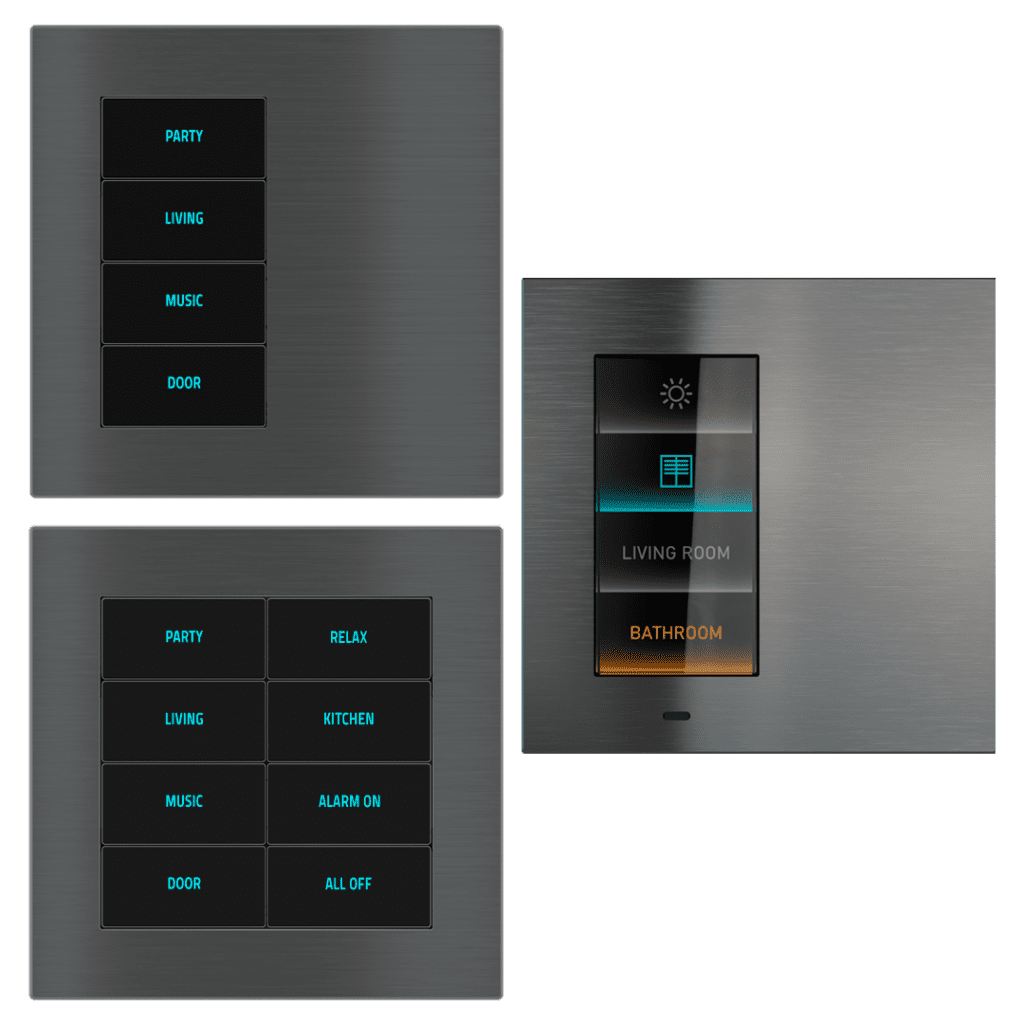
Configuring Schedules And Scenes
Create schedules to automate lights at set times. For example, set lights to turn on at sunset. Or schedule them to turn off when you leave. Scenes combine multiple settings into one action. Set a “Relax” scene with dim lights. Or a “Welcome” scene with bright lights. Custom schedules and scenes fit your lifestyle.
Voice Control Integration
Link your smart switches to voice assistants like Alexa or Google. Use simple voice commands to control lights hands-free. Say “Turn on the living room light” to activate. Make sure your assistant and switches are on the same network. Enable the switch skill or app in the assistant’s app. Voice control adds quick, easy access to your lights.
Troubleshooting Common Issues
Troubleshooting common issues is a key part of automating light switches. Problems can happen during setup or daily use. Knowing how to fix these issues saves time and frustration. This section covers frequent problems and easy solutions. Follow these tips to keep your smart lights working smoothly.
Connectivity Problems
Connectivity issues are common with smart light switches. The switch may lose connection to your Wi-Fi network. Check if your router is working properly. Move the switch closer to the router if the signal is weak. Restart your router and the switch. Make sure your Wi-Fi password is correct. Use the app to test the connection status regularly.
Switch Not Responding
A light switch that does not respond can be frustrating. First, check the power supply to the switch. Ensure the circuit breaker is on. Reset the switch by turning it off and on again. Remove and re-add the switch in the app. Check for firmware updates and install them. Sometimes, the switch needs a factory reset to fix bugs.
App Configuration Errors
App configuration errors often cause control problems. Double-check your app settings and permissions. Confirm the switch is added to the correct room or group. Clear the app cache or reinstall the app if it crashes. Make sure your phone’s software is up to date. Follow the app instructions carefully during setup. Small mistakes in settings can block the switch from working.
Credit: ryelec.com.au
Tips For Maximizing Smart Switch Use
Smart switches make home lighting easier and more flexible. Using them well saves time and energy. Small actions can improve your experience a lot. Here are some tips for getting the most from your smart switches.
Grouping Switches
Group switches by room or function. Control multiple lights at once with one command. It saves effort and makes scenes easy. For example, group all living room lights together. Turn them on or off with a single tap or voice command. Grouping helps keep your home organized and simple to control.
Using Geofencing
Geofencing lets your switches respond to your phone’s location. Lights turn on as you arrive home and off when you leave. It adds convenience and saves power. Set a boundary around your house in the app. The lights will react automatically without any manual action. This feature creates a smart, hands-free lighting system.
Integrating With Other Smart Devices
Connect switches with other smart devices for better automation. Pair lights with sensors, alarms, or smart speakers. Lights can turn on when a motion sensor detects movement. Or dim when you start a movie. Integration builds a connected home where devices work together smoothly. This makes daily life easier and more comfortable.
Frequently Asked Questions
What Tools Are Needed To Automate Light Switches?
To automate light switches, you need smart switches, a screwdriver, a voltage tester, and a Wi-Fi connection. These tools help install and connect switches safely and efficiently.
Can I Automate Existing Light Switches Myself?
Yes, you can automate existing switches if you have basic electrical skills. Follow safety guidelines and use compatible smart switches for easy installation.
How Does A Smart Light Switch Work?
A smart light switch connects to your Wi-Fi and allows remote control via apps or voice commands. It replaces traditional switches for automation.
Are Smart Light Switches Compatible With All Bulbs?
Most smart switches work with LED, CFL, and incandescent bulbs. Always check product compatibility to ensure proper functionality and avoid flickering.
Conclusion
Automating light switches saves time and adds convenience. You control lights with a simple tap or voice command. It also helps save energy by turning lights off automatically. Installation is easier than many think, with clear steps to follow. Small changes can make your home smarter and more comfortable.
Start with one switch and see the difference it makes. Enjoy the benefits of modern technology in your daily life.