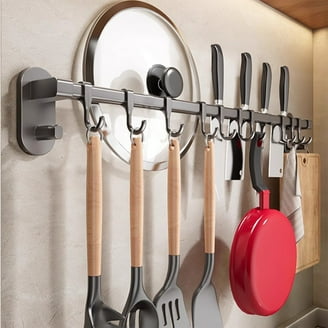
Are you tired of cluttered countertops and searching for the perfect way to organize your kitchen? Hanging your pots on a drill wall can transform your space, making it both stylish and functional.
But how do you get started without damaging your walls or wasting time? This guide will show you simple, step-by-step tips to hook your pots securely and beautifully. By the end, you’ll have a neat, easy-to-access kitchen setup that feels just right.
Ready to make your kitchen more efficient and inviting? Let’s dive in!
Choosing The Right Wall
Choosing the right wall is key for hanging pots with a drill. Not all walls can hold the weight or support the hooks well. Picking a strong, stable wall ensures your pots stay safe. This step saves time and avoids damage later.
Identify Suitable Wall Types
Look for walls made of solid materials like brick, concrete, or wood. These walls hold hooks firmly and support heavy pots. Avoid thin drywall or plaster without support. These can break or fall apart easily under weight.
Check the wall surface for cracks or damage. Weak spots cannot hold hooks properly. A smooth, clean wall surface works best for drilling and fixing hooks.
Check For Studs And Support
Studs are vertical wooden beams inside walls. Hooks fixed into studs hold much more weight. Use a stud finder tool to locate them behind the wall.
If no studs are available, use special anchors made for drywall. These spread the weight evenly and prevent damage. Always ensure the hook is fixed into a strong support point.

Credit: www.martinispa.com
Gathering Tools And Materials
Gathering the right tools and materials is the first step to hook pots on a drill wall. Having everything ready makes the process smooth and safe. It saves time and avoids frustration during installation.
Choosing the correct tools and hooks is important. The right items support the weight of your pots and protect your wall from damage.
Essential Tools Needed
You need a power drill to make holes in the wall. A drill bit suitable for your wall type is also necessary. Use a screwdriver to fix the hooks securely. A tape measure helps place hooks evenly. A pencil marks the spots where you will drill. A level ensures hooks are straight on the wall. Safety glasses protect your eyes from dust and debris.
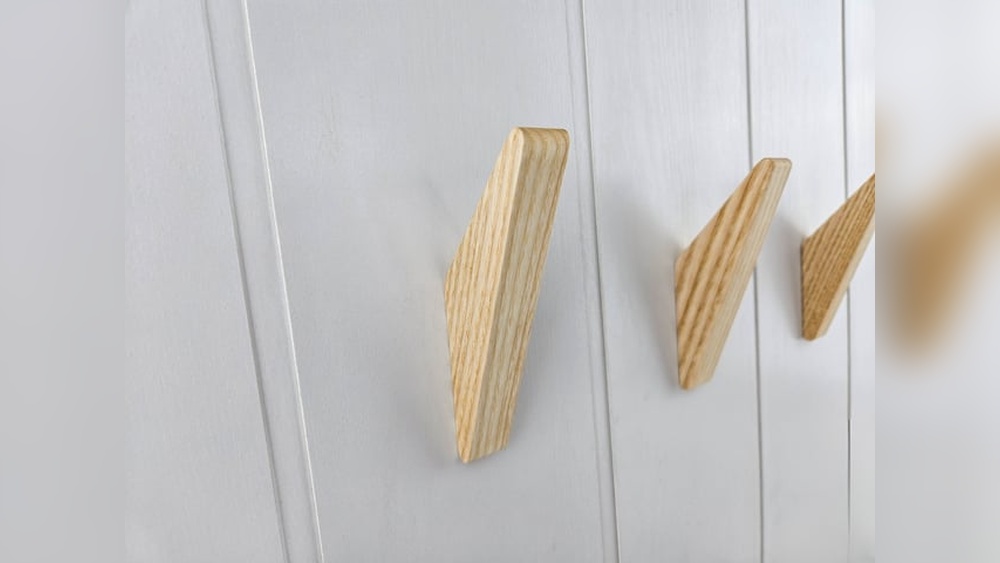
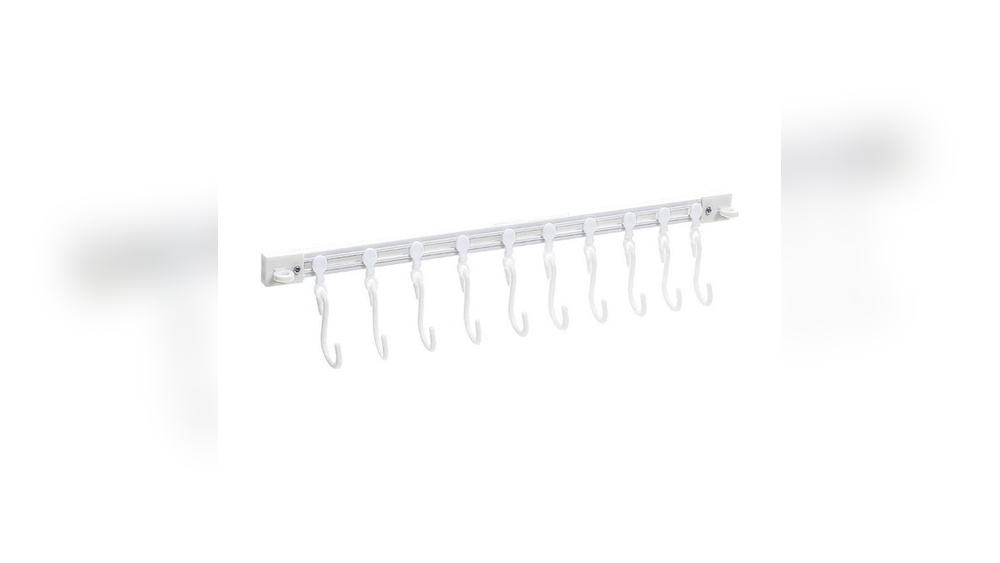
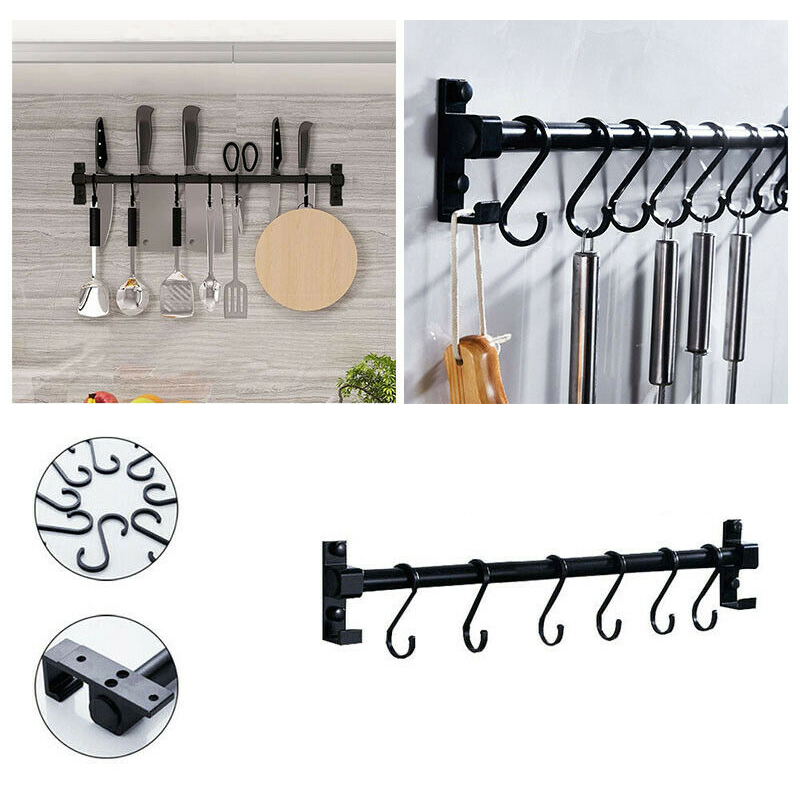
Selecting Appropriate Hooks And Anchors
Choose hooks that can hold the weight of your pots. Metal hooks are strong and durable. Plastic hooks work for lighter pots. Wall anchors are key to secure hooks in drywall or plaster. Use toggle bolts for heavy pots on drywall. Plastic anchors suit medium weight pots. For concrete or brick walls, use masonry anchors. Pick hooks and anchors that match your wall and pot weight.
Marking The Mounting Spots
Marking the mounting spots is the first key step for hanging pots on a drill wall. It helps to place hooks in the right positions. Careful marking avoids mistakes and keeps your pots balanced. This step saves time and effort later.
Measure And Align For Balance
Start by measuring the space where you want to hang your pots. Use a tape measure to find equal distances between hooks. This keeps the pots evenly spaced and balanced. Align marks horizontally to make the display look neat. Balance is important to prevent pots from tipping or falling.
Use Level For Accuracy
Use a level tool to check if your marks are straight. Place the level on the wall along your marks. Adjust marks until the bubble is centered. This ensures hooks go in straight lines. Straight lines make your wall look tidy and professional.
Drilling Holes Safely
Drilling holes safely is key to hanging pots on a drill wall without damage. Proper drilling keeps walls strong and avoids accidents. Follow simple steps for a safe and clean drilling process.
Choose The Right Drill Bit
Select a drill bit made for your wall type. Use masonry bits for brick or concrete walls. Wood bits work best on wooden panels. The right bit prevents wall cracks and ensures a strong hold.
Drill At Proper Depth And Angle
Mark the exact spot before drilling. Hold the drill steady at a 90-degree angle to the wall. Drill slowly to avoid slipping. Stop when you reach the needed depth for hooks or anchors.
Installing Anchors And Hooks
Installing anchors and hooks is a key step in hanging pots on a drill wall. This process ensures the pots stay secure and the wall remains undamaged. Proper installation keeps your kitchen organized and safe.
Insert Anchors Correctly
Choose anchors that fit your wall type and pot weight. Use a drill bit slightly smaller than the anchor size. Drill a straight hole to avoid damage. Push the anchor fully into the hole until it is flush with the wall. Tap gently with a hammer if needed for a tight fit. Proper anchor insertion prevents slipping and ensures strong support.
Secure Hooks Firmly
After placing the anchor, screw the hook into it. Turn the hook clockwise until it feels tight. Avoid over-tightening to prevent damage. Test the hook by gently pulling it. A firm hook holds the pots safely. This step keeps your pots stable and easy to access.
Credit: mbsr-montpellier.com
Hanging Pots With Confidence
Hanging pots on a drill wall is simple with the right hooks. Choose strong hooks and place them where the wall is sturdy. Secure the pots carefully to avoid falling and keep your space tidy.
Test Weight Support
Start by checking how much weight your drilled wall can hold. Use a small hook and hang a light object first. This helps ensure the wall and hook are secure. Avoid heavy pots until you confirm the hook can support them. Test each hook separately to be safe. This step prevents accidents and damage. Always use hooks made for the wall type. Drywall, concrete, and brick need different anchors. Proper testing gives confidence to hang your pots without worry.
Arrange Pots For Aesthetic Appeal
Place pots in a way that looks balanced and neat. Use varying sizes to create interest and depth. Group similar colors or plants for a pleasing look. Keep heavier pots at the bottom or near the wall. Space pots evenly to avoid a crowded feel. Think about light and airflow around each pot. A well-arranged display brightens your space and shows off your plants. This simple step makes your wall garden a beautiful feature.
Maintaining Your Mounted Pots
Maintaining your mounted pots ensures they stay secure and last longer. Regular care keeps your walls safe and your pots in good shape. Simple steps can prevent damage and accidents.
Regular Checks For Stability
Check the hooks and pots often to ensure they are stable. Look for loose screws or signs of wear on the hooks. Make sure the pots do not wobble or feel heavy on one side. Tighten any loose parts right away. This prevents pots from falling and breaking.
Cleaning And Care Tips
Clean the pots and hooks to avoid dirt buildup. Use a soft cloth to wipe dust and grime. Avoid harsh chemicals that can damage the pots or wall. Water the plants carefully to prevent water damage on the wall. Dry the area around the hooks to keep metal parts from rusting.
Credit: www.walmart.com
Frequently Asked Questions
How Do I Hang Pots On A Drill Wall?
To hang pots on a drill wall, first locate studs or use anchors. Drill holes, insert hooks, and hang pots securely. This method supports weight and keeps pots organized.
What Tools Are Needed For Hanging Pots On Drill Walls?
You need a drill, wall anchors or screws, hooks, a level, and a measuring tape. These tools ensure proper placement and secure mounting of pots on the wall.
Can I Hang Heavy Pots On A Drill Wall?
Yes, but ensure you use heavy-duty anchors or screw directly into studs. This provides strong support and prevents damage to your wall or pots.
How To Choose The Right Hooks For Drill Wall Pots?
Choose hooks based on pot size and weight. Metal hooks are durable and best for heavy pots, while plastic hooks suit lighter ones. Ensure the hook fits your wall type.
Conclusion
Hooking pots on a drill wall saves space and keeps things tidy. Use the right tools and follow safety steps carefully. Measure and mark spots before drilling to avoid mistakes. Choose hooks that fit your pots well and hold weight firmly.
Take your time and work with care for best results. With practice, hanging pots becomes quick and easy. This simple skill helps organize your kitchen better every day. Try it yourself and enjoy a neat, clutter-free space.