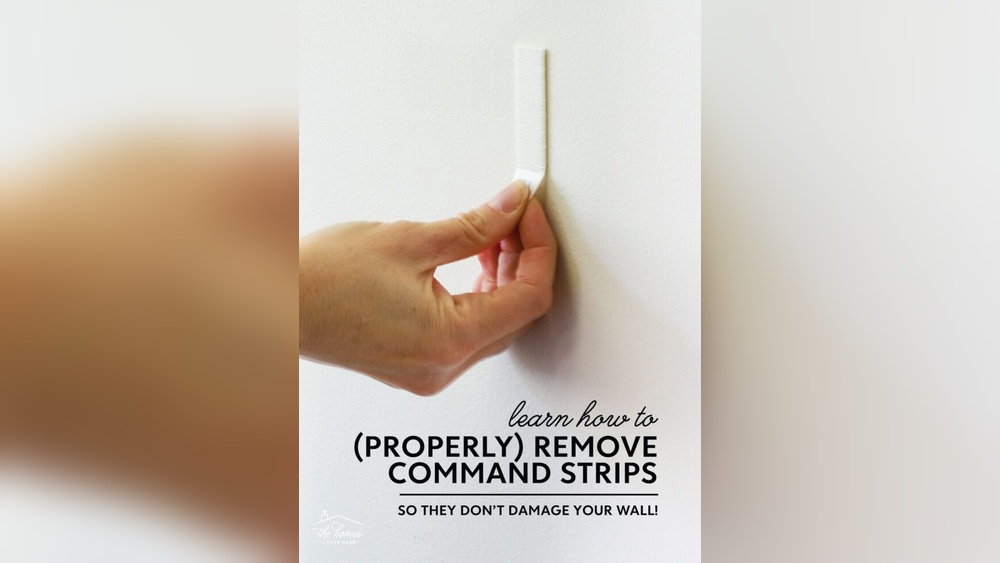
Are you tired of your adhesive hooks falling off the wall? The secret to making them stick strong and stay put lies in one simple step: cleaning the wall properly before you stick.
If you want your hooks to hold up your keys, towels, or decorations without slipping or leaving marks, you need to know exactly how to prepare the surface. In this guide, you’ll discover easy and effective ways to clean your wall so your adhesive hooks can do their job perfectly every time.
Keep reading, and you’ll never worry about falling hooks again!
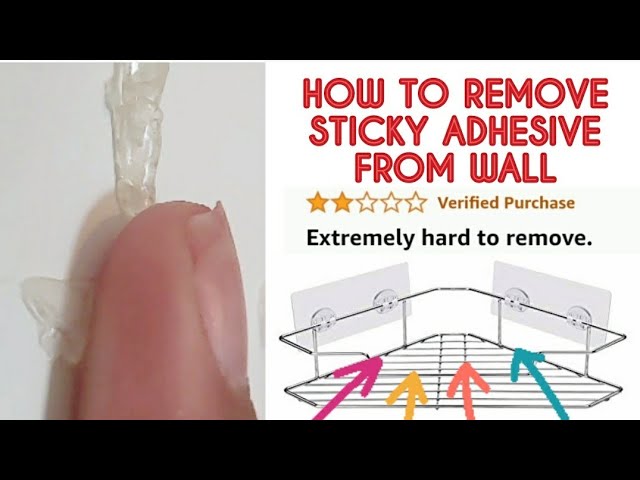
Credit: www.youtube.com
Choose The Right Surface
Choosing the right surface is key to making adhesive hooks stick well. The surface must be smooth and clean for the hook to hold strong. Picking the wrong wall can cause the hook to fall off quickly. This section explains which walls work best and which ones to avoid.
Ideal Wall Materials
Flat and smooth walls are the best for adhesive hooks. Painted drywall or plaster works well. Glass, metal, and tile are also good choices. These surfaces allow the hook to stick without lifting. Clean the surface with rubbing alcohol before sticking the hook.
Avoiding Textured Walls
Rough or bumpy walls cause problems for adhesive hooks. Textured paint, brick, or stone walls make it hard for the glue to hold. The hook will not stick properly and can fall. Skip these surfaces for a safer, longer hold.

Credit: www.amazon.com
Gather Cleaning Supplies
Gathering the right cleaning supplies is the first step to prepare your wall for an adhesive hook. Clean walls ensure the hook sticks well and holds strong. Dirt, dust, and grease can prevent the adhesive from working correctly. Having the proper cleaners and tools ready makes the process smooth and effective.
Recommended Cleaners
Use mild soap and water for general cleaning. This removes surface dirt without damaging the paint. For greasy spots, rubbing alcohol works well to cut through oils. Avoid harsh chemicals that can harm your wall’s finish. Choose gentle, non-abrasive cleaners to keep your wall safe.
Tools Needed
Gather soft cloths or sponges to apply cleaners and wipe the wall. Use a microfiber cloth for a final dry and polish. Avoid rough scrubbers that may scratch or peel paint. A small bowl or bucket helps to mix soap and water. Have cotton swabs ready for tight corners or edges.
Prepare The Wall
Preparing the wall is the first step to make sure the adhesive hook sticks well. A clean surface helps the hook stay strong and last longer. Dirt, dust, grease, and oils can stop the hook from holding properly. This section explains how to get the wall ready before you stick the hook.
Remove Dust And Dirt
Dust and dirt create a rough surface that weakens the hook’s grip. Use a soft cloth or a dry sponge to wipe the wall gently. Make sure to clean the entire area where the hook will go. For stubborn dirt, a damp cloth can help remove it. Let the wall dry completely before moving on.
Eliminate Grease And Oils
Grease and oils make the wall slippery, causing the hook to fall off. Use a mild soap mixed with water to clean the area. Apply the solution with a soft cloth and rub gently. Avoid using harsh chemicals that can damage the paint. Rinse the wall with clean water and dry it fully with a towel.
Clean The Surface Properly
Cleaning the surface properly is key to making adhesive hooks stick well. Dirt, dust, and grease can stop the hook from holding strong. A clean wall ensures better grip and longer use. Spend time on this step for best results.
Wiping Techniques
Use a soft cloth or sponge to wipe the wall. Avoid rough materials that can scratch the surface. Dampen the cloth with warm water and mild soap. Wipe the area gently to remove dirt and grease. Repeat if the wall still feels sticky or dirty. Clean in small sections for thoroughness.
Drying The Wall
After wiping, dry the wall completely. Use a dry, clean cloth to remove moisture. Let the wall air dry for 10 to 15 minutes. Moisture can weaken the adhesive bond. Make sure the surface feels dry to touch before sticking the hook.
Test The Cleanliness
Testing the cleanliness of the wall is a key step before applying an adhesive hook. Dirt, dust, and grease can stop the hook from sticking well. It is important to check the surface to ensure the best hold. This step saves time and prevents damage to walls or hooks.
Adhesion Check
Press the cleaned wall with your hand or a clean cloth. Feel for any dust or sticky spots left behind. You can also tape a small piece of tape on the wall and peel it off. If the tape picks up dirt, the wall is not clean enough.
Try sticking the hook lightly to see if it holds. Do not press hard yet. If it falls off or slides easily, the surface needs more cleaning. A good hold means the wall is ready for the hook.
Recleaning Tips
Use a mild soap and water mix to wipe the wall again. Avoid harsh chemicals that may damage paint or wall surfaces. Use a soft cloth and dry the area fully.
For oily spots, use rubbing alcohol on a cotton ball. Wipe gently and let it dry. Repeat the adhesion check after each cleaning. Repeat cleaning until the surface is free from dust and grease.
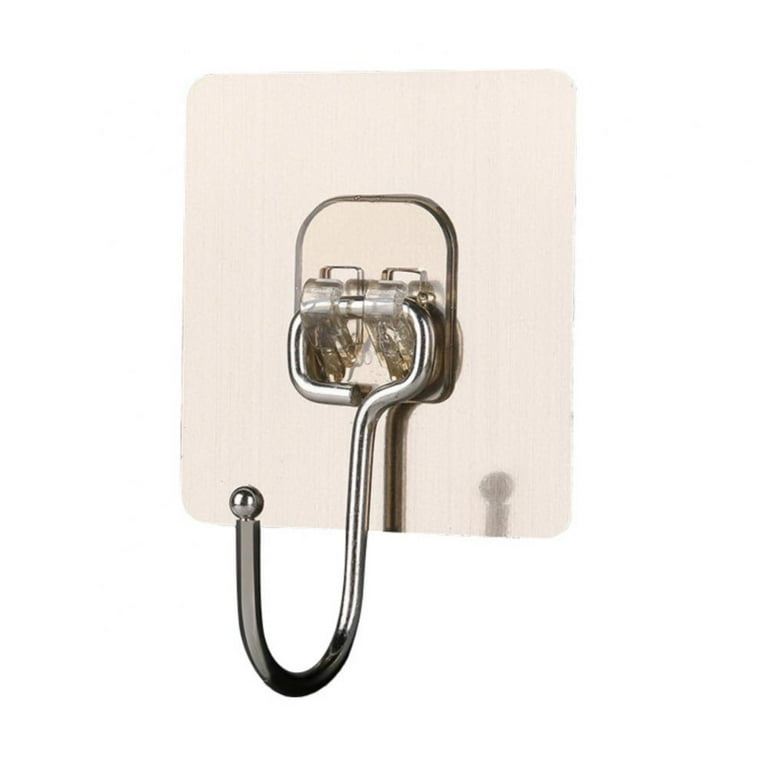
Credit: www.walmart.com
Apply The Adhesive Hook
Applying the adhesive hook correctly is key to its strong hold. This step ensures the hook stays in place and supports the weight it is meant to carry. Follow these tips to place and secure the hook for the best results.
Positioning The Hook
Choose a clean, smooth wall surface for the hook. Avoid rough or dusty areas. Hold the hook at the spot where you want it. Make sure it is straight and at the right height.
Mark the spot lightly if needed. This helps to place the hook exactly where you want it. Take your time to avoid repositioning later. A well-placed hook looks neat and works better.
Pressing For Secure Hold
Press the hook firmly against the wall. Use even pressure across the whole adhesive area. Hold the hook for about 30 seconds. This helps the adhesive bond tightly to the surface.
Do not rush this step. The stronger the press, the better the hook will stick. Avoid pulling or moving the hook right after pressing. Let the adhesive set for a few hours before hanging anything.
Enhance Adhesion Strength
Enhancing the adhesion strength of wall stick-on hooks ensures they stay firmly in place. Proper surface cleaning and careful handling improve the hook’s grip. Small steps make a big difference in how long the hook lasts.
Waiting Time Before Use
After cleaning the wall, allow it to dry completely. The surface must be dry for the adhesive to stick well. Wait at least 24 hours before attaching the hook. This waiting time helps the adhesive bond strongly with the wall.
Avoiding Moisture Exposure
Keep the wall dry after mounting the hook. Moisture weakens the adhesive and causes the hook to fall. Avoid placing hooks near sinks or humid areas. Dry walls keep the hook stable and secure for longer.
Frequently Asked Questions
How Do I Prepare The Wall For Adhesive Hooks?
Clean the wall with mild soap and water to remove dirt and grease. Dry completely before applying the hook. Avoid using oily or waxy cleaners as they reduce adhesion.
What Cleaning Agents Work Best For Adhesive Hook Surfaces?
Use rubbing alcohol or vinegar on a cloth to wipe the surface. These remove residues without leaving a film, ensuring better hook sticking.
Can I Clean Textured Walls For Adhesive Hooks?
Yes, gently clean textured walls with a soft brush and mild detergent. Make sure to dry thoroughly to avoid moisture affecting the adhesive.
How Long Should The Wall Dry Before Sticking Hooks?
Allow the wall to air dry completely, usually 30 minutes to 1 hour. Moisture can weaken adhesive strength, so ensure it’s fully dry.
Conclusion
Cleaning the wall properly helps the adhesive hook stick well. Use a mild cleaner and a soft cloth to remove dirt and grease. Let the wall dry fully before placing the hook. This simple step keeps the hook strong and lasting longer.
Clean walls mean better grip and fewer falls. Try these tips for a neat, secure hook on your wall. Easy and effective!