Are you tired of that old, flickering light switch in your home? Changing a light switch might seem tricky, but with the right steps, you can do it yourself quickly and safely.
In this guide, you’ll discover simple tips and clear instructions that make the whole process easy to follow. Plus, you’ll find helpful YouTube videos that show you exactly what to do. Keep reading, and by the end, you’ll have the confidence to upgrade your lighting without calling a pro.
Ready to brighten up your space? Let’s get started!
Tools And Materials Needed
Changing a light switch is a simple task that anyone can do with the right tools and materials. Before starting, gather everything you need. This makes the job faster and safer. Knowing what tools and safety gear to use helps avoid mistakes and accidents.
Essential Tools
You need a screwdriver set with both flat and Phillips heads. A voltage tester is important to check if the power is off. Wire strippers help remove insulation from wires without damage. Needle-nose pliers make it easier to bend or hold wires. Keep a flashlight nearby if the room is dark after turning off power.
Choosing The Right Switch
Pick a switch that fits your wall box and matches your wiring type. Single-pole switches are common for one location control. Three-way switches control lights from two places. Look at the amperage rating to match your circuit. A simple switch is best for beginners.
Safety Gear
Wear insulated gloves to protect from electric shock. Safety glasses keep debris out of your eyes. Use shoes with rubber soles for better grip and insulation. Make sure your work area is dry and clear of clutter. Safety first keeps accidents away.
Credit: www.youtube.com
Preparing For The Switch Replacement
Preparing for a light switch replacement is an important step. It helps keep you safe and makes the work easier. You need to take some simple actions before you start. These actions protect you from electric shocks and prevent damage to your home.
Follow clear steps to get ready. This way, you can change the switch with confidence. Let’s look at the key steps for preparation.
Turning Off The Power
Always turn off the power before working on a light switch. Find your home’s main electrical panel. Locate the circuit breaker that controls the switch. Flip the breaker to the “off” position. This stops electricity from reaching the switch. It keeps you safe while you work.
Testing For Electricity
After turning off the power, test the switch for electricity. Use a voltage tester or a simple test light. Touch the tester to the switch wires. If the tester shows no power, it is safe to proceed. If power remains, double-check the breaker or call an electrician.
Removing The Old Switch
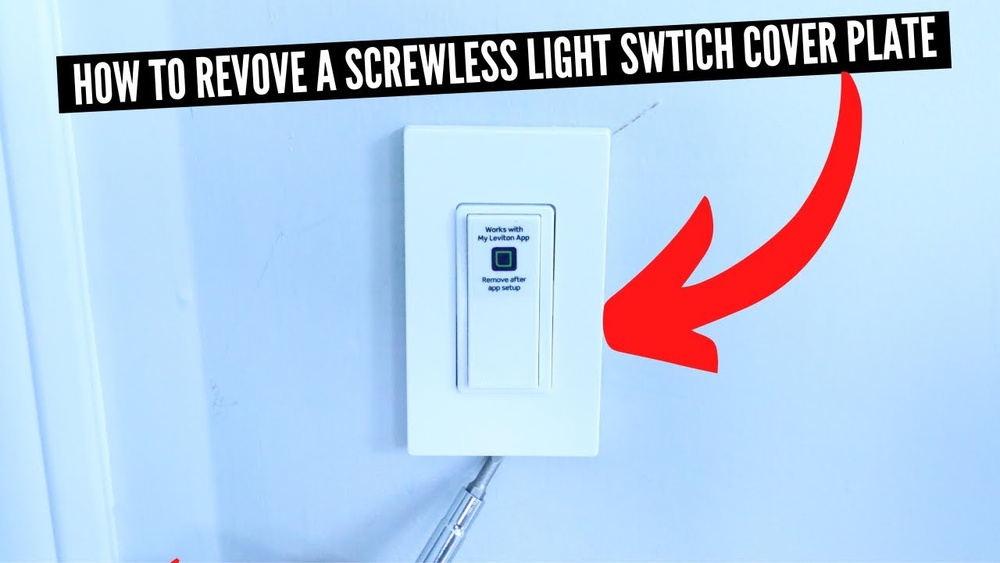
Start by unscrewing the switch cover plate. Use a screwdriver to remove the screws. Carefully pull the cover plate away from the wall. Next, unscrew the switch itself from the electrical box. Gently pull the switch out to expose the wires. Note how the wires connect to the switch. This helps when you install the new one.
Wiring The New Switch
Wiring the new switch is a key step in changing a light switch. It involves handling electrical wires safely and correctly. This part can seem tricky but breaking it down helps. Focus on identifying, connecting, and securing the wires. Safety matters most. Turn off the power before starting. Use a voltage tester to be sure.
Identifying Wires
Look at the wires coming from the wall. Usually, there are three types: live, neutral, and ground. The live wire carries electricity to the switch. It is often black or red. The neutral wire returns electricity and is white. The ground wire is green or bare copper. It protects against shocks. Use a tester to confirm each wire’s function. Label wires if needed to avoid confusion.
Connecting The Wires
Match the wires to the new switch terminals. The live wire goes to the terminal marked “live” or “L.” Connect the neutral wire if the switch requires it. Attach the ground wire to the green screw or ground terminal. Tighten screws firmly to avoid loose connections. Use wire nuts for extra safety. Make sure no bare wire shows outside the connectors.
Securing The Switch
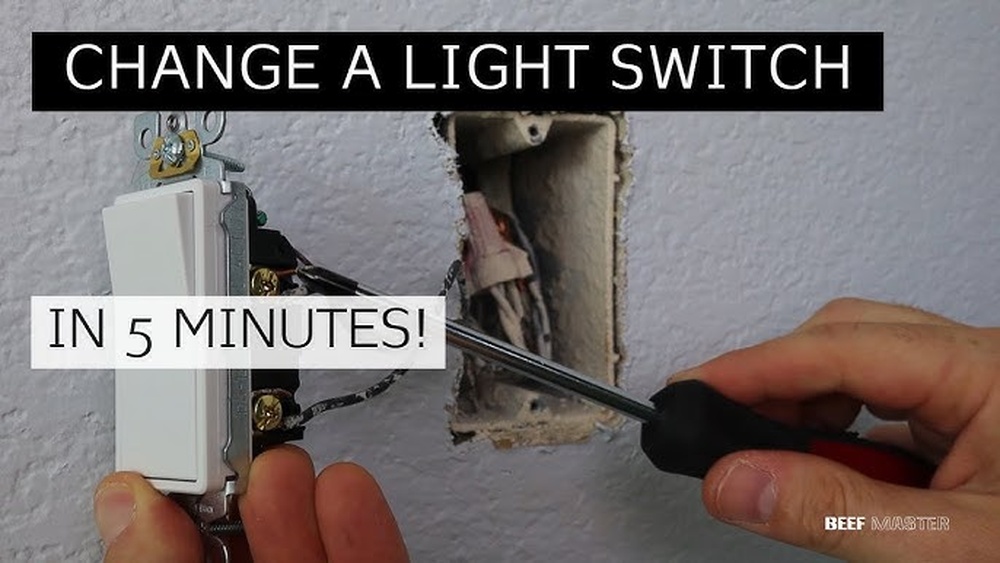
Push the wires carefully back into the electrical box. Fit the switch into the box without pinching wires. Screw the switch to the box using the provided screws. Tighten the screws so the switch is stable. Attach the switch cover plate. Turn the power back on and test the switch. Check that the light turns on and off correctly.

Credit: www.reddit.com
Final Checks And Testing
After replacing a light switch, final checks and testing are vital. These steps ensure the switch works correctly and safely. Taking time here helps avoid problems later. Follow these simple actions to complete your project with confidence.
Restoring Power
First, turn the power back on at the circuit breaker. Make sure the switch is in the off position. Switch the breaker on carefully. Watch for any sparks or unusual sounds. If you notice anything strange, turn the power off and check your work again.
Testing The New Switch
Flip the switch to test if the light turns on. Try turning it on and off several times. Check the light fixture for proper function. If it works smoothly, you have installed it correctly. If not, double-check your wiring and connections.
Troubleshooting Common Issues
If the light does not turn on, check the breaker again. Ensure all wires are tightly connected. Look for loose or damaged wires. Use a voltage tester to confirm power at the switch. Replace the switch if it still does not work. Safety first: always turn off power before making fixes.
Tips For Safe And Effective Switch Replacement
Replacing a light switch can seem simple, but safety is key. Follow these tips for a safe, smooth switch replacement. Careful steps prevent accidents and ensure the switch works well.
Pay attention to details and avoid common errors. Know when to ask for help. Keep your switch working longer with regular care.
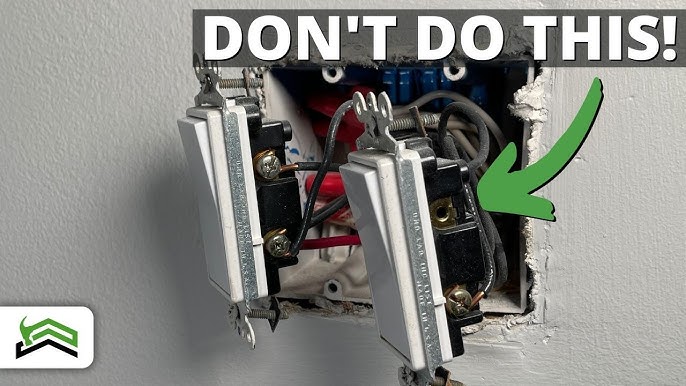
Avoiding Common Mistakes
Turn off the power at the breaker before starting. Test the switch with a voltage tester to be sure. Label wires before disconnecting them. Connect wires to the correct terminals. Tighten screws firmly but don’t over-tighten. Use the right tools for the job. Double-check all connections before restoring power.
When To Call A Professional
Call an electrician if you see damaged wiring or outlets. Avoid working with old or unsafe wiring. Don’t try to fix complex electrical issues alone. If you feel unsure at any point, stop and get expert help. Professionals prevent risks and ensure code compliance.
Maintaining Your Switch
Clean the switch plate regularly to avoid dirt buildup. Check for loose screws every few months. Replace worn or cracked switch plates immediately. Avoid using switches with flickering lights or sparks. Regular inspection helps catch problems early. A well-maintained switch lasts longer and stays safe.

Credit: himadritechblog.wordpress.com
Frequently Asked Questions
How Do I Safely Change A Light Switch?
Turn off the power at the circuit breaker before starting. Use a voltage tester to confirm no electricity flows. Remove the switch cover and disconnect wires carefully. Replace with the new switch, reconnect wires, and secure the cover. Restore power and test the switch for proper function.
What Tools Are Needed To Change A Light Switch?
You need a screwdriver, voltage tester, wire stripper, and replacement switch. A flashlight helps if lighting is poor. Safety gloves and goggles protect you during the process. Having all tools ready ensures a smooth and safe switch replacement.
Can I Change A Light Switch Without Electrical Experience?
Yes, if you follow safety steps carefully. Always turn off power and use a voltage tester. Watch detailed tutorials on YouTube for guidance. If unsure, consult a professional electrician to avoid hazards. Safety is the top priority when working with electricity.
How Long Does It Take To Change A Light Switch?
It usually takes about 10 to 20 minutes for a basic switch replacement. Time depends on your experience and switch type. Preparing tools and ensuring safety can add a few extra minutes. Watching a YouTube tutorial beforehand can speed up the process.
Conclusion
Changing a light switch can be simple and safe. Watch the video carefully and follow each step. Turn off the power before you start working. Use the right tools and take your time. This task saves money and helps you learn new skills.
Enjoy your updated switch and brighter room. Keep practicing to get better at home repairs. You can do it!