Are you tired of your dimmer switch not giving you the simple on-off control you want? Changing a dimmer switch to a regular light switch might seem tricky, but it’s easier than you think.
By making this switch, you can enjoy straightforward lighting without the hassle of adjusting brightness every time. In this guide, you’ll learn step-by-step how to safely and quickly replace your dimmer with a standard switch. Keep reading—you’ll have your new switch installed in no time!
Credit: www.homedepot.com
Tools And Materials Needed
Changing a light switch from a dimmer to a regular switch involves working with electricity. Safety must be the top priority. Following safety steps helps prevent accidents and injuries.
Taking time to prepare ensures the job goes smoothly. It protects you and your home from electrical hazards.
Turn Off The Power
Locate your home’s circuit breaker panel. Switch off the power to the room where you will work. Use a tester to confirm no electricity flows to the switch.
Use Proper Tools
Gather insulated screwdrivers and voltage testers. These tools reduce the risk of electric shock. Avoid using metal tools without insulation.
Wear Protective Gear
Put on rubber-soled shoes and gloves. These items add extra protection against electric shock. Avoid wearing jewelry or metal accessories.
Work In A Dry Area
Make sure your hands are dry before starting. Avoid working in wet or damp conditions. Water increases the risk of electric shock.
Follow Manufacturer Instructions
Read the instructions that come with the new switch. Follow them step-by-step. Incorrect installation can cause damage or danger.
Safety Precautions
Removing the dimmer switch is the first step in changing it to a regular switch. This process needs care and attention to safety. Turn off the power at the circuit breaker. This stops any chance of electric shock.
After the power is off, remove the switch cover plate. Use a screwdriver to take out the screws. Keep the screws safe for later use.
Unscrew The Dimmer Switch
Use a screwdriver to remove the screws holding the dimmer switch to the wall box. Gently pull the switch out. Do not pull too hard to avoid damaging the wires.
Note The Wiring
Look closely at the wires connected to the dimmer switch. Notice their colors and positions. Take a photo or draw a diagram. This helps connect the new switch correctly.
Disconnect The Dimmer Switch Wires
Use a screwdriver to loosen the screws holding the wires. Carefully remove each wire from the dimmer switch. Keep the wires separate to avoid confusion.
Turn Off Power
Always turn off the power at the circuit breaker before starting any switch work. This prevents electric shock and keeps you safe while changing a dimmer to a regular switch. Safety first.
Turn Off Power At The Circuit Breaker
Start by switching off the power to the light switch at the circuit breaker. This step is crucial for safety. Never work on electrical wiring with power on. Use a circuit tester to confirm the power is off before touching any wires.
Remove The Dimmer Switch Cover Plate
Unscrew the cover plate of the dimmer switch carefully. This exposes the switch and wiring behind it. Keep the screws safe for reinstallation. Gently pull the dimmer switch from the wall box to see the wires connected to it.
Identify The Wires Connected To The Dimmer
Look closely at the wires connected to the dimmer switch. Typically, there will be two or three wires: a line (hot), a load, and possibly a ground wire. The wires may be black, red, white, or green. Note how they are connected before removing the dimmer.
Check For Neutral Wire In The Box
Many dimmer switches need a neutral wire to work. Check if a white neutral wire is present in the switch box. If you find a bundle of white wires, it is likely the neutral. Regular switches usually do not require this wire to be connected.
Take Photos Or Label The Wires
Take clear photos or label each wire before disconnecting. This helps during installation of the regular switch. It prevents confusion and ensures the new switch works properly. Use tape and a marker to label wires if needed.
Remove The Dimmer Switch
Start by turning off the power at the breaker to stay safe. Remove the dimmer switch by unscrewing it from the wall and disconnecting the wires carefully.
Prepare The Wires For The New Switch
Start by checking the wires inside the switch box. The wires should be clean and free of damage. If the wires have old wire nuts or tape, remove them carefully. Straighten any bent wire ends. This helps the new switch connect well. Make sure the power is off before touching any wires.
Connect The Regular Switch Wires
Attach the wires to the new regular switch. Usually, two black wires connect to the switch terminals. Loosen the screws, wrap the wires around them clockwise, and tighten firmly. If there is a green or bare copper wire, connect it to the ground screw. The ground wire keeps the switch safe to use.
Secure The Switch And Test
Push the wires gently back into the box. Place the switch into the box and screw it in tightly. Attach the switch plate cover. Turn the power back on at the breaker. Test the switch by flipping it on and off. The light should respond without flickering or dimming.
Identify Wiring Setup
Securing the switch and cover plate is an important step in changing a dimmer switch to a regular one. This step keeps everything safe and neat. A loose switch or cover can cause problems or look unfinished.
Take your time to fasten the switch properly. This ensures it does not wiggle or move when used. A secure switch also connects better with the wiring, avoiding electrical issues.
Align The Switch In The Electrical Box
Place the new switch straight inside the electrical box. Make sure the screw holes line up with the box holes. Adjust the switch until it fits snugly and evenly.
Tighten The Mounting Screws
Use a screwdriver to tighten the screws. Do this slowly to avoid stripping the screws. Tighten until the switch feels firm but not too tight to crack the box.
Attach The Cover Plate
Place the cover plate over the switch. Make sure it fits flush against the wall. Line up the screw holes on the cover plate with the switch holes.
Secure The Cover Plate Screws
Insert the screws into the cover plate holes. Turn them gently with the screwdriver. Tighten until the plate is secure but not cracked or bent.

Credit: diy.stackexchange.com
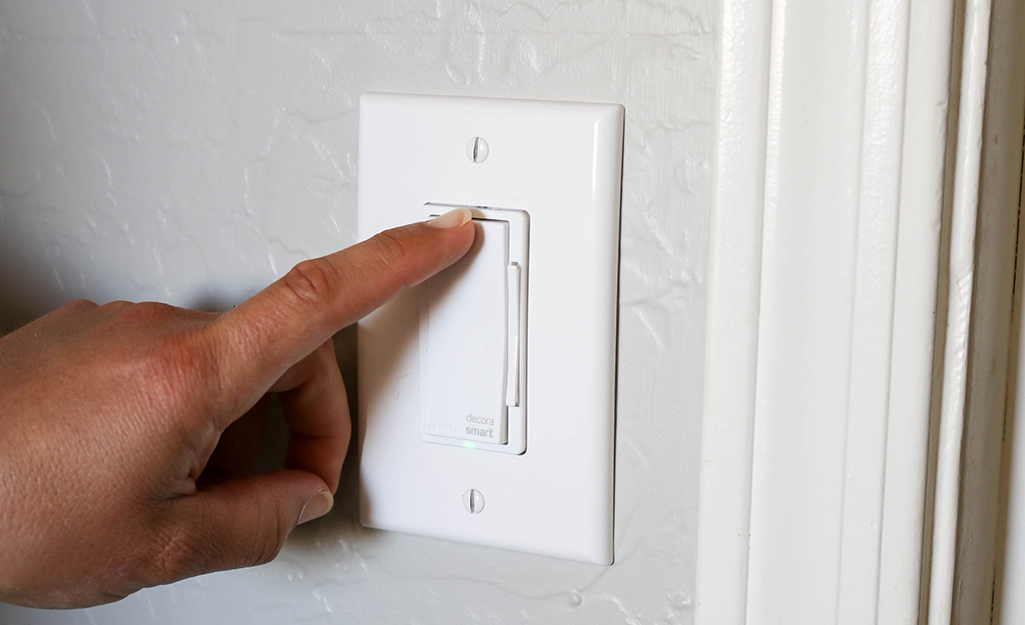
Install The Regular Switch
Restoring power and testing the new switch is the final step in this project. It ensures the switch works correctly and safely. Take your time and follow these steps carefully to avoid any issues.
Turn The Circuit Breaker Back On
Find the circuit breaker panel in your home. Flip the breaker switch controlling the light back to the ON position. This restores electricity to the switch and light fixture.
Check The Light Switch Operation
Flip the new regular switch up and down. The light should turn on and off smoothly. If the light does not respond, turn off the breaker and check your wiring again.
Inspect For Any Flickering Or Issues
Observe the light for a minute. Watch for flickering or unusual behavior. Flickering might mean loose wires or a bad connection. Fix any problems before finishing.

Credit: www.youtube.com
Frequently Asked Questions
How Do I Safely Remove A Dimmer Switch?
Turn off the power at the circuit breaker first. Use a voltage tester to confirm no electricity. Unscrew the dimmer switch from the wall. Carefully disconnect the wires before removing the switch.
Can I Replace A Dimmer With Any Regular Switch?
No, ensure the regular switch matches the circuit type and load. Check the voltage and amperage ratings. Use a switch compatible with your wiring system for safety and functionality.
What Tools Are Needed To Change A Dimmer Switch?
You will need a screwdriver, voltage tester, wire stripper, and wire nuts. These tools help safely remove and install the new switch. Always use insulated tools for electrical work.
How Do I Connect Wires When Installing A Regular Switch?
Match the wires by color: usually black (hot) and white (neutral). Connect the black wires to the switch terminals. Secure connections with wire nuts and tighten screws firmly.
Conclusion
Changing a dimmer switch to a regular one is simple and safe. Turn off the power first to avoid any accidents. Remove the old dimmer carefully and connect the new switch wires correctly. Test the switch to make sure it works well.
This small change can make your lighting easier to control. Follow the steps step-by-step for the best result. No special skills needed—just a bit of care and attention. Now, your light switch is ready for everyday use.