Have you ever wished you could plug in a device right next to your light switch? Maybe a lamp, a charger, or a small appliance?
Adding a plug to a light switch can save you space and make your room more convenient. It might sound tricky, but with the right steps, you can do it yourself safely and easily. In this guide, you’ll learn exactly how to add a plug to your light switch, even if you don’t have much experience with electrical work.
Keep reading, and by the end, you’ll have a handy new outlet ready to use!

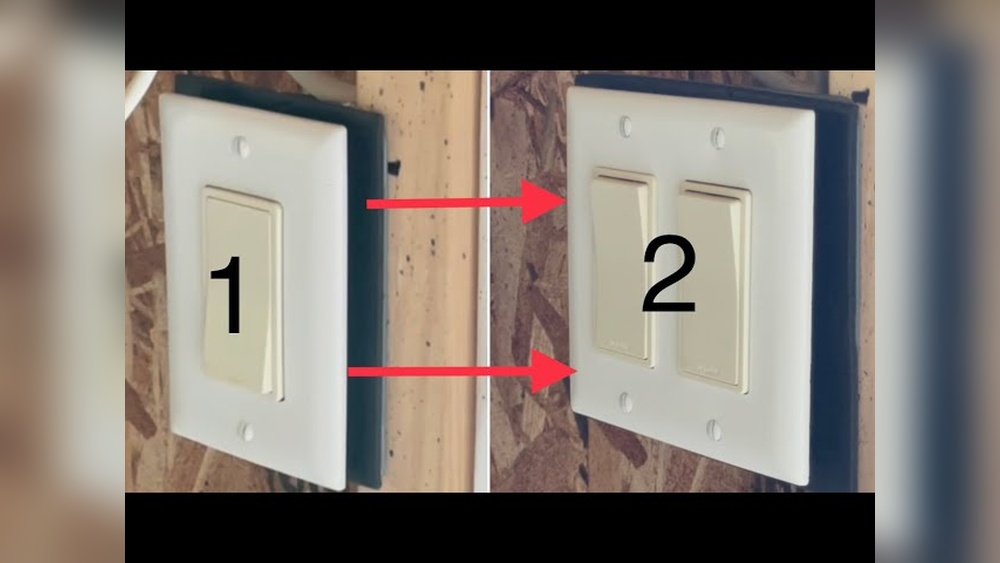
Credit: www.youtube.com
Tools And Materials Needed
Adding a plug to a light switch requires some basic tools and materials. Having everything ready makes the work easier and safer. This section lists what you need to complete the job properly.
Essential Tools
- Screwdriver (flathead and Phillips)
- Wire stripper
- Voltage tester
- Needle-nose pliers
- Electrical tape
- Drill (optional, for mounting)
Required Materials
- Electrical plug socket
- Electrical wires (14 or 12 gauge)
- Wire nuts/connectors
- Switch plate cover with plug opening
- Wall box (if needed for new socket)
Safety Precautions
Working with electricity can be dangerous without proper safety steps. Always follow safety rules before adding a plug to a light switch. These steps protect you from electric shocks and accidents. Take your time and be careful. Safety is the top priority in any electrical work.
Power Shutdown
Turn off the power at the main circuit breaker. This stops electricity flow to the switch. Double check that the light switch has no power. Do not skip this step. It is the first and most important safety action.
Using Insulated Tools
Use tools with insulated handles only. These tools reduce the risk of electric shock. Avoid metal tools without insulation. Insulated tools keep you safe while working on wires and switches.
Testing For Live Wires
Use a voltage tester to check wires for electricity. Test each wire before touching it. A live wire can cause serious injury. Confirm no current flows before starting the work. Safety testing is essential to avoid accidents.
Preparing The Work Area
Preparing the work area is the first step to safely add a plug to a light switch. A clean and organized space helps avoid accidents and makes the task easier. Taking time to prepare saves effort later. This section covers clearing the space and organizing tools and materials.
Clearing The Space
Start by removing any furniture or objects near the switch. This prevents damage and gives you room to move. Clear the floor and surfaces around the work area. Good lighting is important. Make sure the area is bright enough to see small parts. Keep children and pets away from the workspace.
Organizing Tools And Materials
Gather all needed tools before starting. Common tools include a screwdriver, wire stripper, voltage tester, and electrical tape. Arrange tools in a way that they are easy to reach. Lay out the plug and switch parts on a clean cloth. Check that all materials are in good condition. This preparation saves time and reduces stress during work.
Identifying Wiring Setup
Before adding a plug to a light switch, you must know the wiring setup. This step keeps you safe and helps the task go smoothly. Understanding the wiring helps you connect the plug correctly. It also prevents damage to your electrical system.
Start by finding the switch box and checking the wires inside. Each wire has a role. Knowing these roles is key to a proper connection. Let’s explore how to locate the switch box and understand the wires you find there.
Locating The Switch Box
The switch box holds the light switch and wires. Usually, it sits in the wall near the light fixture. Look for a small, rectangular cover on the wall. This cover hides the switch box. Turn off the power to stay safe. Use a screwdriver to open the cover carefully. Inside, you will see the switch and wires.
Understanding Existing Wiring
Inside the switch box, wires have different colors. Each color means something. Black or red wires carry power. White wires are neutral. Green or bare wires are ground. Note how wires connect to the switch. The power wire usually attaches to one side. The wire going to the light attaches to the other side. Ground wires connect to a green screw or box. Check if wires are secured tightly. Loose wires can cause problems later.
Wiring The Plug To The Switch
Wiring the plug to the switch is a key step in adding a plug to a light switch. Proper wiring ensures safe and reliable operation. Take your time and follow each step carefully. Use the right tools and materials for best results.
Connecting The Live Wire
First, identify the live wire in your switch box. It is usually brown or red. Connect this live wire to the live terminal on the plug. Tighten the screw firmly to hold the wire in place. Make sure no wire strands are loose or exposed.
Attaching Neutral And Ground Wires
Next, find the neutral wire. It is typically blue or black. Attach the neutral wire to the neutral terminal on the plug. Then locate the ground wire, often green or bare copper. Connect the ground wire to the plug’s ground terminal. These connections help prevent electrical shocks.
Securing Connections
Check all wire connections to ensure they are tight and secure. Loose wires can cause sparks or shorts. Use a screwdriver to tighten each terminal screw. Wrap electrical tape around terminals for extra safety. Finally, carefully tuck the wires back into the switch box.
Credit: www.reddit.com
Installing The Plug
Installing a plug to a light switch can make your space more functional. This step involves attaching the plug box securely and running cables safely. Careful work ensures the setup is safe and reliable.
Mounting The Plug Box
First, choose a spot near the light switch for the plug box. The box must fit well and not block the switch. Use screws to attach the box firmly to the wall. Check that the box is level and does not move. A steady box helps avoid loose wires later.
Running Cables Properly
Next, run the cables from the switch to the plug box carefully. Avoid sharp bends or tight loops in the wires. Keep cables away from heat sources and sharp edges. Use cable clips or staples to hold wires in place. Leave some slack inside the box for easy connections. Proper cable running reduces risks of damage and shorts.
Testing The Installation
Testing the installation is a key step after adding a plug to a light switch. It ensures safety and confirms the plug works correctly. Take your time to do this carefully. Avoid rushing through these tests to prevent accidents and damage.
Restoring Power
Start by turning the circuit breaker back on. This restores electricity to the switch and the new plug. Check the switch for any signs of power, like a small light or sound. If nothing happens, turn off the breaker and double-check your wiring. Safety first.
Checking Plug Functionality
Plug in a small device, such as a lamp or phone charger, to test the new outlet. Turn the light switch on and off to see if power flows correctly. The device should turn on with the switch and off when you flip it again. If it does, your installation is successful.
Troubleshooting Tips
Troubleshooting tips help fix problems when adding a plug to a light switch. Small errors can cause the setup to fail. Knowing what to check saves time and effort. This guide covers common problems and signs to seek expert help.
Common Issues
The most frequent problem is no power at the plug. Check if the switch is on and the breaker is not tripped. Loose wires can cause the plug to not work. Make sure all connections are tight and secure. A wrong wire connection might cause sparks or short circuits. Use a tester to confirm voltage and wiring order. Sometimes, the plug or switch itself is faulty. Test with new parts if needed.
When To Call A Professional
Call an electrician if you see sparks or smell burning. If you are unsure about wiring or safety, do not continue. Problems like tripped breakers or flickering lights need expert care. Avoid risks with electric shock or fire. A professional can check wiring and fix hidden issues safely. Trust experts for complex or dangerous situations.

Credit: www.do-it-yourself-help.com
Frequently Asked Questions
How Do I Safely Add A Plug To A Light Switch?
Turn off the power at the circuit breaker first. Use a voltage tester to confirm. Connect the plug’s wires to the switch terminals correctly. Follow electrical codes and use insulated tools for safety.
Can I Add A Power Outlet Next To A Light Switch?
Yes, you can. Ensure the circuit can handle extra load. Use proper wiring methods and follow local electrical codes. Consult an electrician if unsure about your skill level.
What Tools Are Needed To Add A Plug To A Light Switch?
You need a screwdriver, wire stripper, voltage tester, electrical tape, and a plug outlet. Also, use a wire cutter and a drill if mounting is required. Always prioritize safety with insulated tools.
Is It Legal To Add An Outlet To A Light Switch Circuit?
It depends on local electrical codes. Many areas allow it if the circuit can handle the load. Always check your local regulations or consult a licensed electrician before starting work.
Conclusion
Adding a plug to a light switch can save space and add convenience. Always turn off the power before starting any work. Use the right tools and follow safety rules carefully. Double-check all connections to avoid electrical problems. With patience and care, you can finish this project yourself.
Enjoy the extra outlet without calling an electrician. Small upgrades like this make your home more useful and safe. Give it a try and see how easy it can be.