Are your cabinet handles and knobs covered in stubborn grease and grime? It’s frustrating when your kitchen hardware looks dirty no matter how many times you wipe it down.
But don’t worry—you can easily bring back that shiny, clean look without spending a fortune or using harsh chemicals. You’ll discover simple and effective ways to clean your greasy, grimy cabinet hardware. Keep reading to learn the quick tricks that will make your kitchen feel fresh and inviting again.
Identify Hardware Types
Identifying the type of cabinet hardware is the first step in cleaning greasy and grimy pieces. Different materials and finishes need different care. Knowing the type helps avoid damage and ensures effective cleaning.
Hardware comes in many shapes and finishes. Some are easy to clean with simple soap and water. Others require special cleaners or gentle methods. Understanding your hardware type saves time and effort.
Metal Hardware
Metal hardware is common in kitchens. It includes knobs, pulls, and handles made from brass, stainless steel, or chrome. These metals can handle water but may need a soft cloth to avoid scratches. Avoid harsh chemicals that can dull the finish.
Plastic Hardware
Plastic hardware is lightweight and often found in budget cabinets. It does not react well to strong cleaners. Use mild soap and warm water to clean plastic pieces. Avoid scrubbing hard to keep it from scratching.
Wooden Hardware
Wooden knobs and handles require gentle cleaning. Water can damage wood, so use a damp cloth instead. Dry the wood right after cleaning to avoid warping or swelling. A small amount of wood polish can restore shine.
Glass And Ceramic Hardware
Glass and ceramic hardware add style but need careful cleaning. Use mild soap and a soft cloth to wipe away grease. Avoid abrasive pads that can cause scratches. Check for cracks or chips before cleaning.
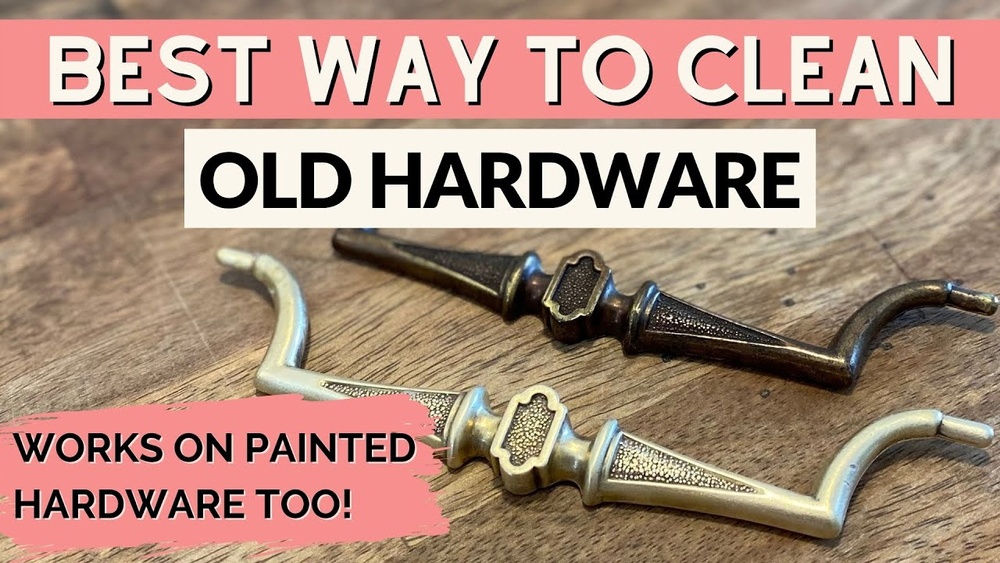
Antique Or Painted Hardware
Antique or painted hardware needs extra caution. Harsh cleaners can remove paint or damage the patina. Use gentle cleaning solutions and soft cloths. Test on a small area first to avoid damage.
Gather Cleaning Supplies
Gathering the right cleaning supplies is the first step to cleaning greasy, grimy cabinet hardware. Having everything ready makes the process quick and easy. It also helps avoid using harsh chemicals that can damage the hardware.
Focus on gentle, effective items that break down grease without scratching surfaces. Most supplies are easy to find at home or in local stores. Preparing well ensures your hardware looks fresh and lasts longer.
Soft Cloths And Microfiber Towels
Use soft cloths or microfiber towels to avoid scratches. These materials lift dirt without damaging the finish. Keep a few cloths handy for rinsing and drying.
Mild Dish Soap
Mild dish soap cuts through grease effectively. Mix a small amount with warm water for a gentle cleaning solution. Avoid soaps with harsh chemicals or abrasives.
Old Toothbrush Or Small Brush
An old toothbrush helps reach tight spots and crevices. Use soft bristles to scrub away grime without harm. Small brushes are perfect for detailed cleaning.
Baking Soda
Baking soda acts as a natural cleaner and deodorizer. Make a paste with water to remove stubborn stains. It’s gentle and safe for most hardware finishes.
White Vinegar (optional)
White vinegar dissolves grease and mineral buildup. Dilute with water before use to protect surfaces. Test on a small area first to avoid damage.
Gloves
Wear gloves to protect your skin from cleaning solutions. Gloves also keep oils and dirt off hardware during cleaning.
Remove Hardware Safely
Removing cabinet hardware safely is the first step to clean it well. Careful removal prevents damage to your cabinets and hardware. It also makes cleaning easier and more effective. Follow these simple steps to remove your hardware without problems.
Gather The Right Tools
Use a screwdriver that fits the screws perfectly. This avoids stripping or damaging screws. Keep a small container nearby to hold screws and small parts. This keeps everything organized and prevents loss.
Protect Cabinet Surfaces
Place a soft cloth or towel under the cabinet door or drawer. This stops scratches and dents while you work. Work slowly and gently to avoid harming the finish.
Loosen Screws Carefully
Turn screws slowly in the correct direction. Avoid forcing them out quickly. If screws are tight, try spraying a little oil to loosen them. This helps prevent stripping or breaking.
Remove Hardware Gently
Once screws are loose, pull the hardware straight away from the cabinet. Avoid twisting or bending to prevent damage. Place hardware in a safe spot for cleaning.

Credit: mod-lighting.com
Soak In Warm Soapy Water
Soaking cabinet hardware in warm soapy water is a simple and effective way to remove grease and grime. The warm water helps loosen dirt, while soap breaks down oily residues. This method saves time and effort compared to scrubbing dry hardware.
This process is gentle and safe for most metal finishes. It softens buildup, making it easier to clean the hardware thoroughly. The result is shiny, fresh-looking knobs and handles that improve your kitchen’s appearance.
Prepare A Warm Soapy Solution
Fill a bowl or bucket with warm water. Add a few drops of mild dish soap. Mix the water until it becomes sudsy. Avoid using harsh detergents that can damage metal.
Remove Hardware From Cabinets
Take off knobs and handles carefully. Use a screwdriver if needed. Soaking hardware separately lets you clean every corner. It also prevents water damage to cabinets.
Soak Hardware For 15 To 30 Minutes
Place the hardware pieces into the soapy water. Let them soak to loosen grease and dirt. Check the hardware after 15 minutes. Soak longer if needed, but avoid soaking for hours.
Scrub Gently With A Soft Brush
After soaking, use a soft toothbrush or cloth. Gently scrub away loosened grime. Focus on crevices and grooves where dirt hides. Rinse the hardware with clean water afterward.
Scrub With Soft Brushes
Scrubbing with soft brushes is a gentle way to clean greasy, grimy cabinet hardware. It helps remove dirt without scratching the surface. Soft bristles reach into small crevices and corners. This method keeps your hardware looking like new.
Choose The Right Brush
Pick a brush with soft, nylon bristles. Toothbrushes work well for small hardware. Avoid stiff or wire brushes that can damage finishes. A soft brush cleans thoroughly and safely.
Use Warm Soapy Water
Fill a bowl with warm water and mild soap. Dip the brush into the solution. Soap helps break down grease and grime. The soft brush loosens dirt without harsh scrubbing.
Scrub Gently In Circular Motions
Move the brush in small circles on hardware. This action lifts dirt from all sides. Scrub gently to protect delicate finishes. Take your time for the best results.
Rinse hardware with clean water after scrubbing. Remove all soap and loosened dirt. Dry with a soft cloth to prevent water spots. Clean, dry hardware stays shiny and fresh.
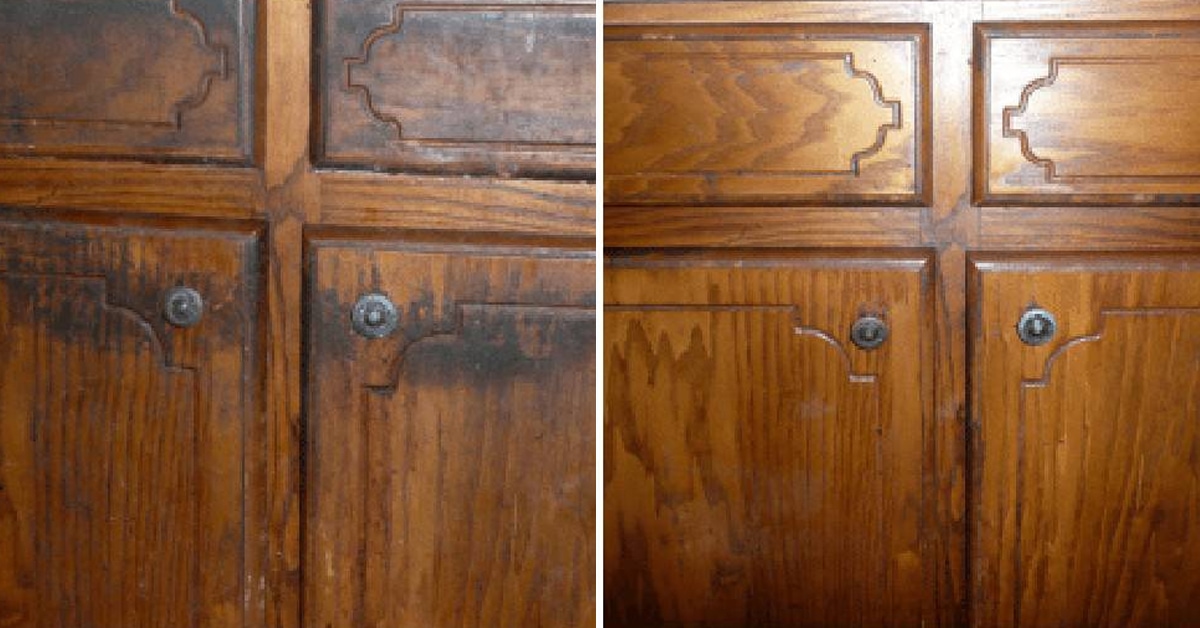
Credit: www.everydaycheapskate.com
Use Natural Degreasers
Natural degreasers offer a safe way to clean greasy, grimy cabinet hardware. They remove dirt without harsh chemicals. These options are gentle on surfaces and the environment.
Natural degreasers break down grease quickly. They leave hardware shiny and fresh. Using them keeps your kitchen healthier and cleaner.
Vinegar: A Powerful Natural Cleaner
Vinegar is a common natural degreaser. Mix equal parts of white vinegar and water. Soak a cloth in the solution and wipe the hardware.
Vinegar cuts through grease and grime easily. It also kills bacteria. Avoid using vinegar on delicate finishes, as it may dull them.
Baking Soda Paste For Tough Grease
Baking soda is mild and effective. Make a paste with baking soda and water. Apply it to greasy spots on the hardware.
Let the paste sit for 10 minutes. Then scrub gently with a soft brush. Rinse with warm water and dry with a cloth.
Lemon Juice For A Fresh Clean
Lemon juice has natural degreasing and antibacterial properties. Use lemon juice alone or mix it with water. Wipe the hardware with the solution.
Lemon also leaves a fresh scent. It brightens metal surfaces and removes grease stains. Avoid lemon on sensitive finishes to prevent damage.
Rinse And Dry Thoroughly
Rinsing and drying cabinet hardware is a key step in cleaning greasy, grimy pieces. It removes leftover soap, dirt, and cleaning agents. Proper rinsing stops grime from returning or sticking to the surface. Drying prevents water spots and rust from forming.
Skipping this step can leave residue behind. This makes hardware look dull or stained. It can also cause damage over time. Taking time to rinse and dry gives your cabinets a fresh, clean shine.
How To Rinse Cabinet Hardware Effectively
Use warm water to rinse each piece well. Hold hardware under running water or dip in a bowl. Make sure to remove all soap and dirt. Check for any hidden grease in small crevices. Clean water helps bring out the hardware’s shine.
Best Techniques For Drying Cabinet Hardware
Pat dry with a soft cloth or towel. Avoid air drying, which can leave water spots. Use a microfiber cloth to absorb moisture quickly. Dry every angle, including grooves and edges. A thorough dry keeps hardware looking polished and new.
Tools To Use For Rinsing And Drying
A soft brush or toothbrush helps reach tight spots during rinsing. Use gentle cloths to avoid scratching the finish. Avoid rough materials that can damage the surface. Using the right tools improves the cleaning result.
Polish For Extra Shine
After cleaning greasy, grimy cabinet hardware, polishing gives a bright, fresh look. Polishing removes smudges and tiny stains left behind. It also protects the metal and keeps it shiny longer. A good polish makes old hardware look almost new again. This step is quick but makes a big difference in appearance.
Choosing The Right Polish
Select a polish made for your hardware’s material. Brass, chrome, and stainless steel need different types. Using the wrong polish can dull or damage the finish. Read labels carefully before buying. Test polish on a small hidden area first. This avoids unwanted marks or color changes.
How To Apply Polish
Use a soft cloth or cotton ball for application. Dab a small amount of polish onto the cloth. Rub the polish gently in circular motions. Cover the entire surface of each knob or handle. Avoid using too much polish to prevent buildup. Let the polish sit a few minutes to work well.
Buffing For A Brilliant Shine
After applying polish, buff the hardware with a clean cloth. Use light pressure and quick circular movements. Buffing removes excess polish and enhances shine. Repeat buffing until the hardware gleams under the light. This step seals the polish and makes it last longer.
Reinstall Hardware Correctly
Reinstalling cabinet hardware correctly is important after cleaning. It keeps the hardware secure and prevents damage. Proper installation also helps the hardware look its best on your cabinets.
Take your time to place each piece carefully. Use the right tools for a tight fit. This step ensures your hardware stays in place for a long time.
Check Hardware Before Reinstalling
Look over the cleaned hardware closely. Make sure screws and parts are not damaged. Replace any worn pieces to avoid future problems.
Align Hardware Accurately
Match the hardware with the original holes on the cabinet. Hold the piece steady and line it up well. Proper alignment keeps the hardware functional and neat.
Use The Correct Screws
Use screws that fit the hardware and cabinet. Too long or short screws can cause damage. Tighten screws just enough to hold the hardware firmly.
Tighten Screws Evenly
Turn screws slowly and evenly on both sides. Avoid overtightening to prevent stripping the holes. Secure hardware firmly without forcing it.
Test Hardware After Installation
Open and close doors or drawers to check hardware. Make sure it feels stable and works smoothly. Adjust screws if the hardware feels loose or uneven.
Prevent Future Grease Build-up
Preventing future grease build-up on cabinet hardware keeps kitchens cleaner and fresher. It saves time and effort on tough scrubbing. Simple habits and regular care make a big difference.
Small changes in daily routines can reduce grease and grime. Protect hardware from sticky buildup and maintain its shine longer. These tips help keep your cabinets looking neat and new.
Use Splash Guards Or Covers
Install splash guards near cooking areas to block grease spray. Covers on handles keep dirt and oil away. These barriers stop grease from settling on hardware surfaces.
Wipe Handles Daily
Quick daily wiping prevents grease from sticking and hardening. Use a damp cloth or mild cleaner. It only takes a minute to keep handles fresh and clean.
Choose Easy-to-clean Hardware
Select cabinet hardware with smooth finishes. Avoid intricate designs that trap grease and dirt. Simple shapes clean faster and resist grime build-up better.
Improve Kitchen Ventilation
Use exhaust fans or open windows during cooking. Good airflow reduces grease particles in the air. Less airborne grease means less buildup on hardware.
Apply Protective Coatings
Use a thin layer of furniture wax or clear sealant. This creates a barrier against grease and grime. Reapply coatings regularly for ongoing protection.
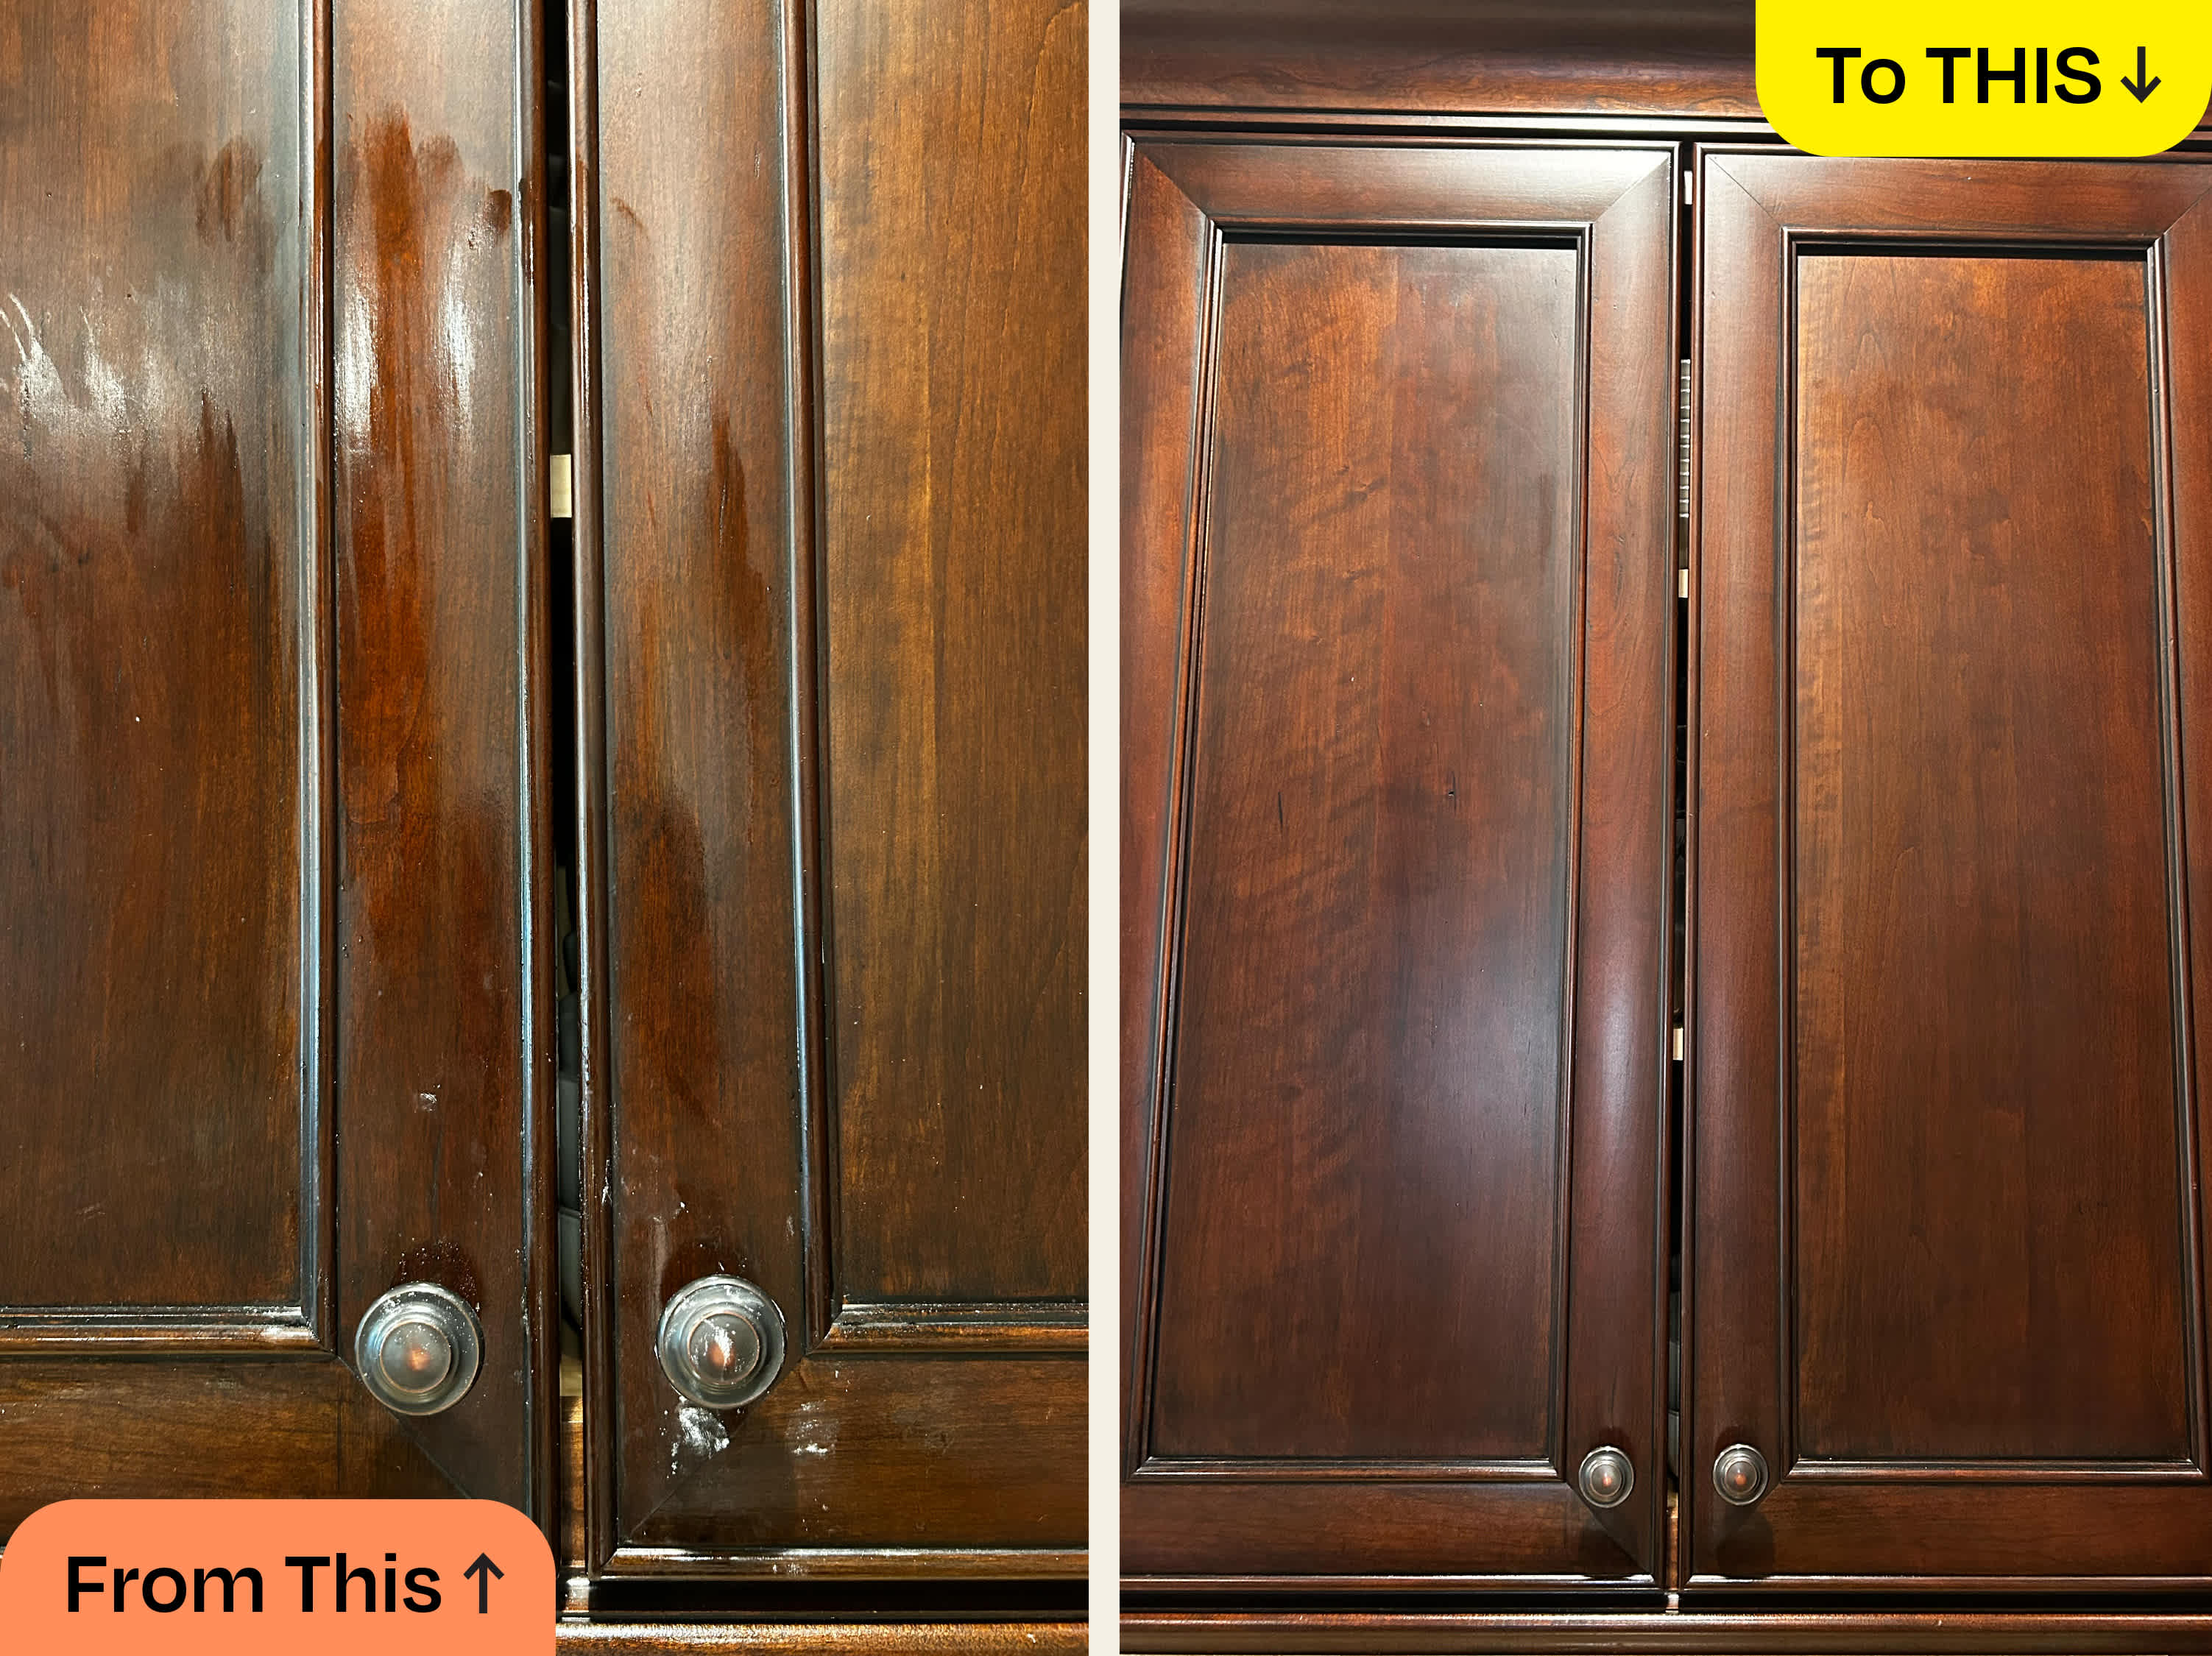
Credit: www.thekitchn.com
Frequently Asked Questions
How Do I Remove Grease From Cabinet Hardware?
Use warm soapy water with a soft cloth to wipe hardware. For tough grease, apply a baking soda paste and scrub gently. Rinse and dry thoroughly to prevent rust or damage.
What Household Items Clean Greasy Cabinet Handles?
Common items like vinegar, baking soda, and dish soap effectively clean greasy hardware. These ingredients break down grease safely without harming finishes. Always test on a small area first.
Can I Use Commercial Cleaners On Cabinet Hardware?
Yes, but choose non-abrasive, gentle cleaners to avoid damage. Follow product instructions carefully and avoid harsh chemicals like bleach or ammonia that degrade metal finishes.
How Often Should I Clean Cabinet Hardware?
Clean hardware weekly to prevent grease buildup. Regular wiping keeps handles shiny and extends their life. Deep clean monthly for best results.
Conclusion
Cleaning greasy, grimy cabinet hardware takes time and care. Use gentle cleaners and soft cloths to avoid damage. Regular cleaning keeps hardware looking fresh and new. Small efforts prevent buildup and save work later. Enjoy the shine and neat look in your kitchen.
A clean space feels welcoming and comfortable. Keep these tips in mind for easy, effective cleaning. Your cabinets will thank you with every touch. Simple steps lead to great results.