Have you ever needed to hold papers or materials together quickly and securely, but didn’t have a brad fastener on hand? Making your own brad fastener can save you time, money, and hassle.
You’ll learn simple steps to create a sturdy brad fastener using items you likely already have. Whether you’re working on a craft project, organizing documents, or fixing something on the go, mastering this easy skill will make your life a lot easier.
Keep reading, and you’ll be surprised how fast and simple it really is!
Credit: www.youtube.com
Materials Needed
Making a brad fastener requires a few basic materials. These materials help you create a strong, functional fastener. Knowing what to gather first saves time and effort. Below, find the key materials you need.
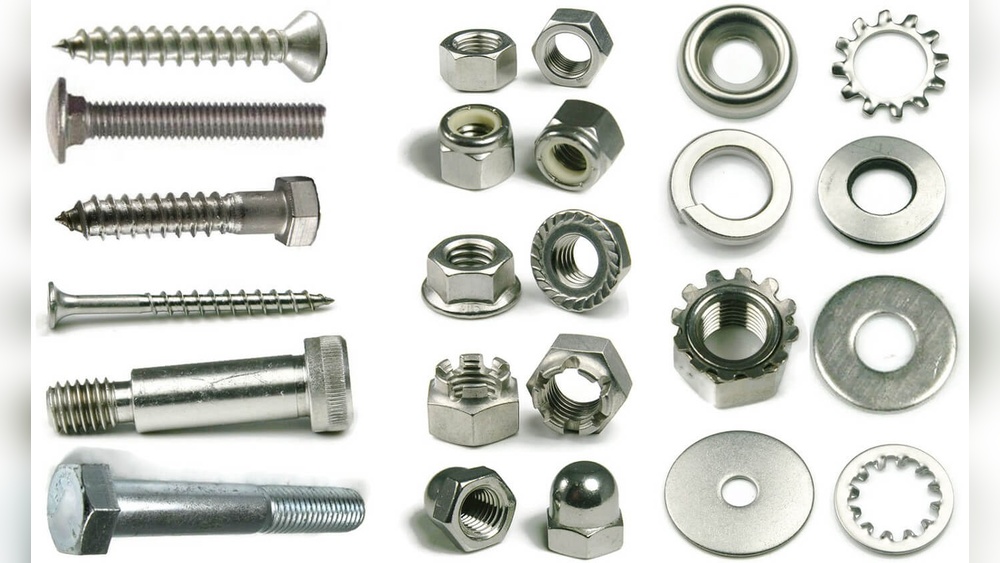
Types Of Brad Fasteners
Brad fasteners come in several types. The most common are metal and plastic. Metal brads offer durability and strength. Plastic brads are lightweight and flexible. Choose the type based on your project needs. Size varies too, from small to large brads. Pick a size that fits your paper or material thickness.
Tools Required
Some tools make the process easier and cleaner. You need a hole punch to create neat holes. Scissors or a craft knife help trim materials. A ruler ensures precise measurements. A pencil helps mark placement points. A pair of pliers assists in bending the brad’s legs. Having these tools ready makes your work smoother and faster.

Credit: www.amazon.com
Preparing The Components
Preparing the components is the first step to make a brad fastener. This stage ensures all parts fit well and work properly. Taking time to prepare parts carefully helps the fastener hold papers tightly. It also makes the assembly process easier and faster.
Focus on cutting the metal strips and shaping the prongs. These steps create the basic parts of the brad fastener. Each part must be done with care for a strong and neat finish.
Cutting The Metal Strips
Start by choosing thin metal strips. Brass or steel works best for durability. Use sharp scissors or metal shears for clean cuts. Measure the length to about 2 inches for each strip. Cut straight lines to avoid uneven edges.
Keep the strips narrow, about 1/4 inch wide. This size fits well into standard paper holes. Smooth the edges with fine sandpaper to prevent cuts. Clean the strips to remove any dust or oil.
Shaping The Prongs
Bend the ends of the metal strips to form prongs. Use pliers for better control and precision. Make two prongs on each strip by bending opposite ends upwards. The prongs should be about 1/2 inch long.
Bend the prongs slightly outward for easy insertion into paper holes. Check that prongs are even and strong enough to hold papers. Adjust the shape until the prongs open and close smoothly. Well-shaped prongs make the fastener work well every time.
Assembling The Fastener
Assembling a brad fastener is a simple process that holds papers firmly. This step ensures your documents stay neat and secure. Follow clear steps to put the parts together correctly.
Aligning The Parts
Start by placing the prongs through the holes in your papers. Make sure the prongs point outward on the back side. The round head should sit flat on the front side. Align the metal strip with the prongs behind the papers.
Securing The Brad
Fold the prongs outward to hold the papers tightly. Press the prongs flat against the metal strip. This prevents the papers from slipping out. Check that the fastener feels firm but not too tight.
Testing The Fastener
Testing the fastener is a key step after making a brad fastener. It helps confirm the fastener works well and lasts long. Testing also ensures the fastener can hold papers tightly without bending or breaking. This step saves time and effort later by catching problems early.
Checking Flexibility
Check how the fastener bends without breaking. Gently open and close the prongs several times. The metal should bend easily and return to its shape. Avoid fasteners that feel too stiff or crack when bent. A flexible fastener holds papers firmly and adapts to different thicknesses.
Ensuring Durability
Test the fastener’s strength by fastening a stack of papers. Shake the papers lightly and see if it stays secure. The prongs should hold tight and not loosen. Durable fasteners resist rust and damage from repeated use. Choose materials that last long for better value and performance.
Tips For Faster Assembly
Speeding up the assembly of a brad fastener makes your project easier and less tiring. Small changes in your process save time and reduce mistakes. Follow these simple tips to work faster without losing quality.
Using Templates
Templates help keep your work consistent and quick. Mark holes and folds on a template once. Use it for every fastener you make. This stops repeated measuring and guessing. You get the same shape and size each time. Templates also reduce errors and waste of materials.
Streamlining Your Workspace
Organize your tools and materials close to your work area. Keep scissors, punches, and brads within easy reach. Clear clutter to avoid distractions and accidents. Use containers to sort small parts. A tidy workspace lets you focus and move faster. Less searching means more assembling done.

Credit: www.amazon.com
Common Mistakes To Avoid
Making a brad fastener can be simple if done right. Avoiding common mistakes saves time and materials. Many beginners rush and miss key steps. This causes weak or unusable fasteners. Below are some frequent errors to watch for.
Using The Wrong Materials
Choosing poor-quality metal or paper weakens the fastener. Thin metal bends easily and breaks fast. Thick paper may tear when folded. Use sturdy but flexible metal and smooth paper.
Incorrect Measuring And Cutting
Measure carefully before cutting metal strips. Too short or too long strips do not fit well. Rough cuts can cause sharp edges and injury. Use a ruler and sharp scissors or metal cutters.
Improper Folding Technique
Folding the metal incorrectly causes it to not hold papers tightly. Fold both legs evenly and press firmly. Avoid sharp bends that can crack the metal. Practice gentle, even folds for best results.
Failing To Punch Proper Holes
Holes that are too big or too small reduce fastener strength. Use the right size punch tool for clean holes. Place holes in the right spot on paper and metal. Misaligned holes make assembling hard or impossible.
Skipping Testing Before Use
Test the fastener before final use. Check if it holds papers well and does not bend easily. Fix any problem by adjusting fold or hole size. Testing prevents wasting time on broken fasteners.
Frequently Asked Questions
What Materials Do I Need To Make A Brad Fastener?
To make a Brad fastener, you need metal strips, a punch tool, and a rivet or pin. These materials help secure papers or documents effectively.
How Do I Shape The Metal For A Brad Fastener?
Cut a thin metal strip and bend its ends into prongs. The prongs will hold papers together when fastened.
Can I Make A Brad Fastener Without Special Tools?
Yes, simple tools like scissors and a hole punch can help. Precision tools improve quality but are not mandatory.
How Do I Secure Papers Using A Homemade Brad Fastener?
Pierce papers with the prongs, then fold the prongs outward. This holds the papers tightly without damaging them.
Conclusion
Making a brad fastener is simple with the right steps. You just need a few tools and patience. This guide helps you create strong, useful fasteners for papers or crafts. Practice a little, and your skills will improve quickly. Small projects become easier with your own fasteners.
Keep trying and enjoy making things by hand. This skill saves money and adds a personal touch. Now, you can organize papers neatly anytime you want. Give it a go and see the difference yourself.