Are you tired of visible screws and nails ruining the clean look of your composite deck? Replacing your decking with hidden fasteners can give your outdoor space a sleek, modern finish that’s both strong and safe.
But how do you make the switch without causing damage or extra hassle? In this guide, you’ll discover simple, step-by-step tips to replace your composite decking using hidden fasteners. By the end, you’ll know exactly how to upgrade your deck’s appearance and durability—making it a place you’ll love to spend time on.
Keep reading to transform your deck with ease!
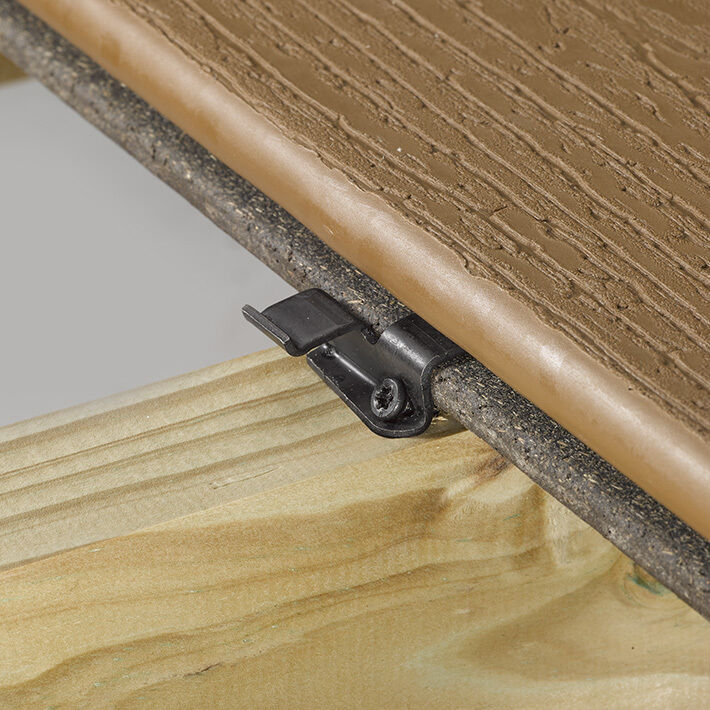
Credit: www.fastenmaster.com
Benefits Of Hidden Fasteners
Hidden fasteners offer many benefits for composite decking replacement. They improve the deck’s overall look and function. These fasteners create a seamless surface without visible screws or nails. This makes decks safer and longer-lasting. The following sections explain these benefits in detail.
Enhanced Aesthetics
Hidden fasteners keep the deck surface smooth and clean. No screws or nails show on the boards. This creates a sleek, modern appearance. The deck looks more polished and attractive. It also allows the natural beauty of composite materials to stand out.
Improved Safety
Without exposed fasteners, the deck surface is safer to walk on. There are no sharp edges or protruding screws to cause injuries. This is especially important for families with children or pets. It reduces the risk of trips and cuts on the deck.
Increased Durability
Hidden fasteners hold boards tightly in place. This reduces movement and wear over time. The fasteners protect the boards from damage caused by weather and use. This helps the deck last longer with less maintenance. It also prevents the boards from warping or cracking.

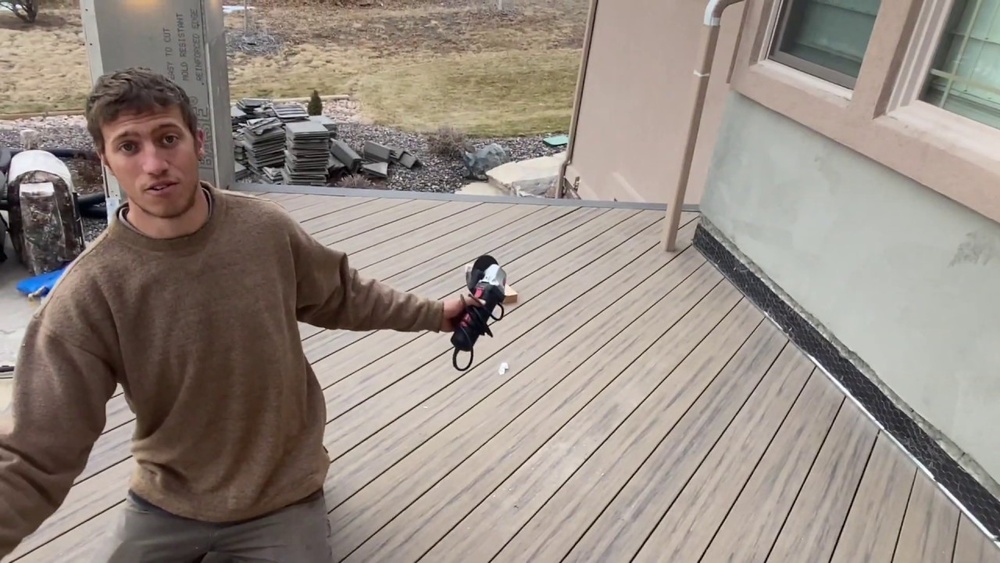
Credit: www.youtube.com
Tools And Materials Needed
Replacing composite decking with hidden fasteners requires specific tools and materials. These items help ensure a smooth and safe installation. Preparing the right tools and materials saves time and effort on the project.
Essential Tools
Start with a power drill for screws and fasteners. A circular saw or miter saw cuts the decking boards to size. A tape measure ensures precise board placement and spacing. Use a rubber mallet to gently tap boards into place without damage. A pry bar helps remove old decking boards carefully. Safety gear like gloves and goggles protect your hands and eyes during work.
Recommended Fasteners
Choose fasteners made for composite decking and hidden installation. Stainless steel or coated screws resist rust and corrosion. Hidden fasteners are designed to fit between boards for a clean look. Some systems include clips that attach to joists and hold boards firmly. Always pick fasteners recommended by your decking board manufacturer.
Composite Decking Boards
Select composite decking boards that match your project needs. Boards come in different colors, textures, and lengths. Look for boards compatible with hidden fastener systems. Quality boards resist fading, mold, and scratches. Proper boards make your deck durable and beautiful for years.
Preparing The Deck Surface
Preparing the deck surface is a key step before installing hidden fasteners. It ensures a smooth and strong base for your new composite decking. Taking time to prepare helps avoid problems later. Follow these steps carefully.
Removing Old Decking
Start by taking off the old composite boards. Use a pry bar to lift each board gently. Remove all nails, screws, and fasteners left behind. Clear the area of all debris to get a clean workspace. This makes it easier to inspect the frame underneath.
Inspecting And Repairing Frame
Check the deck frame for any damage or rot. Look at the joists closely. Replace any weak or broken pieces with new wood. Make sure the frame is level and secure. A strong frame supports the hidden fasteners well and keeps the deck safe.
Cleaning The Area
Clean the frame and surrounding area thoroughly. Sweep away dirt, leaves, and dust. Use a brush to remove stubborn grime. A clean surface helps the hidden fasteners stick properly. It also prevents mold and mildew growth under the decking.
Installing Hidden Fasteners
Installing hidden fasteners on composite decking creates a clean, smooth surface. This method hides screws and nails, improving deck appearance and safety. Proper installation ensures strong, durable decking that lasts for years. Follow these steps to install hidden fasteners correctly and achieve a professional finish.
Positioning The First Board
Start by placing the first board along the deck frame edge. Ensure it is straight and aligned with the deck’s outline. Leave a small gap between the board and the house wall for expansion. Secure this board with screws visible on the face, as hidden fasteners will attach the next boards. Check the board is level before moving to the next step.
Attaching Fasteners Correctly
Insert hidden fasteners into the board groove on the side. Use a drill to screw them into the joists below. Tighten screws firmly but avoid over-tightening to prevent damage. Place fasteners at every joist for even support. This method locks boards in place without visible screws. Double-check fasteners are flush with the board edge.
Spacing And Alignment Tips
Maintain consistent gaps between boards for water drainage and expansion. Use spacers or a measuring tool to keep equal spacing. Align each board tightly against the fasteners before screwing down. Regularly check board alignment along the length of the deck. Proper spacing and alignment prevent warping and create a neat look.
Finishing Touches
The finishing touches make your new composite deck look clean and last long. These final steps protect your work and improve its appearance. Pay close attention to details for the best result.
Securing Last Boards
Place the last boards carefully to fit tightly. Use hidden fasteners to keep a smooth surface. Check that each board is level before securing. Tighten the fasteners without damaging the decking material. This step prevents movement and keeps the deck safe.
Trimming Edges
Trim the deck edges neatly to create a polished look. Use a fine-tooth saw or a rotary tool for smooth cuts. Follow the deck’s outline for a perfect shape. Remove any rough spots or splinters after cutting. Clean edges improve the deck’s overall finish and safety.
Maintenance Tips
Clean your deck regularly with mild soap and water. Avoid harsh chemicals that may harm composite materials. Inspect hidden fasteners yearly for any looseness. Remove debris from gaps to prevent water buildup. Proper care keeps your deck strong and looking new.
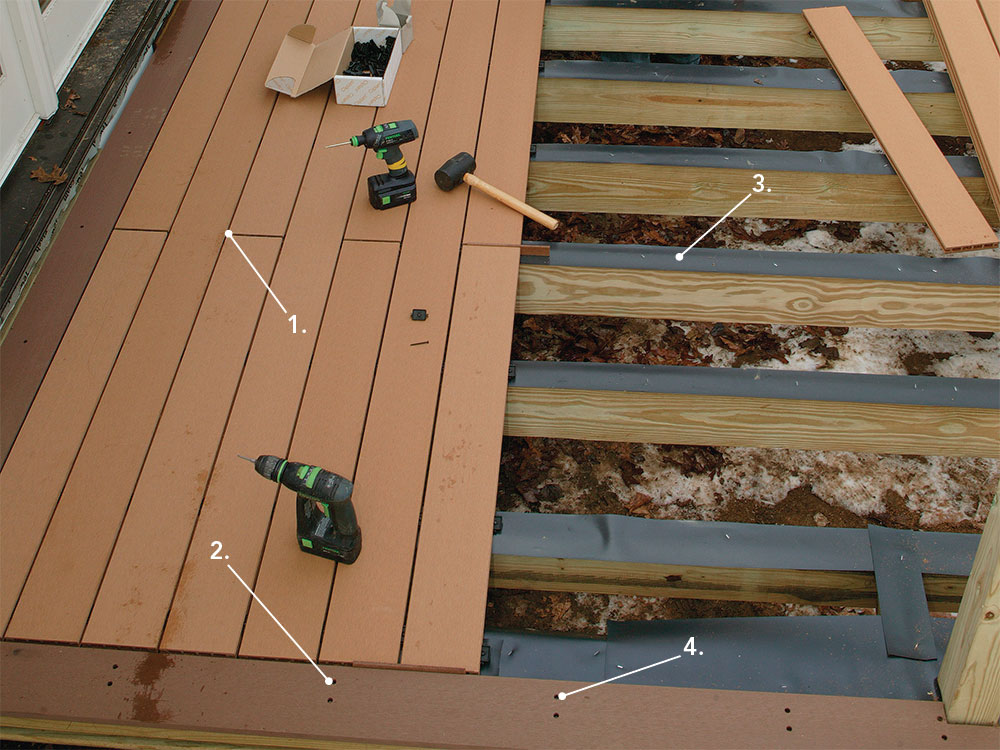
Credit: www.finehomebuilding.com
Frequently Asked Questions
What Tools Do I Need To Replace Composite Decking?
You need a drill, hidden fasteners, a pry bar, screws, and a saw. These tools help remove old boards and install new composite decking neatly.
How Do Hidden Fasteners Improve Composite Decking?
Hidden fasteners create a smooth, fastener-free surface. They prevent visible screws and nails, enhancing deck appearance and safety.
Can I Replace Composite Decking Myself?
Yes, with basic carpentry skills and the right tools, you can replace composite decking yourself. Follow safety guidelines and instructions carefully.
How Long Does It Take To Replace Composite Decking?
Replacing composite decking typically takes one to three days, depending on deck size and complexity. Proper preparation speeds up the process.
Conclusion
Replacing composite decking with hidden fasteners is a smart choice. It gives your deck a clean, smooth look. The process is simple if you follow steps carefully. Using hidden fasteners keeps screws out of sight and prevents damage. This method also helps your deck last longer.
Take your time and check each step. Soon, you will enjoy a neat, sturdy deck. Ready to upgrade your outdoor space with ease?