Your Restoration Hardware medicine cabinet is more than just a storage space—it’s a key part of your bathroom’s style. But over time, it can show signs of wear like scratches, chips, or dull spots.
You might think a full replacement is your only option, but you’re closer to a simple fix than you realize. Imagine restoring that sleek, polished look without spending a fortune or calling a pro. In this guide, you’ll discover easy, effective touch-up techniques that bring your cabinet back to life.
Keep reading, and you’ll learn how to save time, money, and frustration while making your bathroom look brand new again.
Assessing The Damage
Before fixing your Restoration Hardware medicine cabinet, check the damage carefully. This step helps you know what tools and materials you need. It saves time and stops small problems from becoming big.
Look at the cabinet in good light. Take your time to see every part. Some damage is easy to miss. Focus on the surface and edges. Notice any marks, stains, or changes in color.
Identifying Common Issues
Most medicine cabinets face similar problems over time. These include scratches, water damage, loose hinges, and fading finish. Knowing these common issues helps you spot them fast. It also guides your repair work. Start by touching the surface gently. Feel for bumps or rough spots. Look closely for cracks or chips.
Checking For Surface Scratches
Scratches are thin lines on the cabinet surface. They often happen from daily use or moving items. Use your hand to feel for shallow or deep scratches. Light scratches may only affect the finish. Deep scratches can reach the wood underneath. Note the size and depth of each scratch. This helps decide how to fix it.
Spotting Water Damage
Water damage can cause swelling, discoloration, or peeling. Check areas near sinks and edges first. Look for dark spots or soft areas on the wood. Water may cause the finish to bubble or crack. Smell the cabinet for a damp or musty odor. This often means hidden water damage. Mark all damaged spots for repair.
Gathering Essential Tools
Gathering the right tools makes restoring your Restoration Hardware medicine cabinet easier. Having everything ready saves time and avoids frustration. It helps you complete the job with better results. Start by collecting cleaning supplies, repair materials, and safety gear. Organize these items before you begin any work.
Recommended Cleaning Supplies
Use a soft cloth to avoid scratches. Mild soap mixed with water cleans dirt gently. Glass cleaner helps remove smudges and fingerprints. Avoid harsh chemicals that can damage finishes. A small brush reaches tight corners and crevices. Have paper towels or microfiber cloths for drying.
Necessary Repair Materials
Wood filler fills small dents and scratches. Fine-grit sandpaper smooths repaired surfaces. Matching touch-up markers or paint restore color. Clear lacquer or sealant protects the finish. Small brushes or applicators apply these materials precisely. Keep painter’s tape on hand to protect edges.
Safety Precautions
Wear gloves to protect your hands from chemicals. Use a mask if sanding or working with fumes. Work in a well-ventilated area to avoid inhaling dust. Keep tools away from children and pets. Read labels carefully before using any product. Stay alert and take breaks if needed.
Cleaning The Cabinet
Cleaning the Restoration Hardware medicine cabinet is the first step in touching it up. Dirt and dust build up over time and make the cabinet look old. A clean surface helps you see any damage clearly. It also prepares the cabinet for any repairs or paint touch-ups.
Use gentle cleaning methods to avoid damage. The right cleaning keeps the cabinet looking fresh and bright.
Removing Dust And Grime
Start by wiping the cabinet with a soft, dry cloth. This removes loose dust and dirt. Use a microfiber cloth for best results. For grime, dampen the cloth slightly with water. Wipe gently to avoid scratching the surface. Avoid harsh chemicals that can harm the finish.
Clean corners and edges carefully. Use a soft brush or cotton swab to reach tight spots. Make sure the cabinet is dry before moving to the next step.
Dealing With Stubborn Stains
Stubborn stains need a stronger approach. Mix mild soap with warm water. Dip a cloth in the solution and wring it out well. Gently rub the stain in a circular motion. Rinse with a clean, damp cloth to remove soap residue.
For tough stains, use a paste of baking soda and water. Apply it to the stain and let it sit for a few minutes. Wipe off with a damp cloth. Avoid abrasive scrubbing that can damage the cabinet’s finish.
Fixing Surface Scratches
Surface scratches on your Restoration Hardware medicine cabinet can make it look old and worn. Fixing these scratches helps keep the cabinet looking fresh and new. Small touch-ups are simple and cost-effective. You can restore the cabinet’s beauty with just a few tools and steps.
Using Wood Fillers
Wood fillers fill in deep scratches or small dents. Choose a filler that matches the cabinet’s color. Apply the filler with a putty knife. Press it into the scratch until smooth. Let it dry fully before sanding. This method hides damage and evens out the surface.
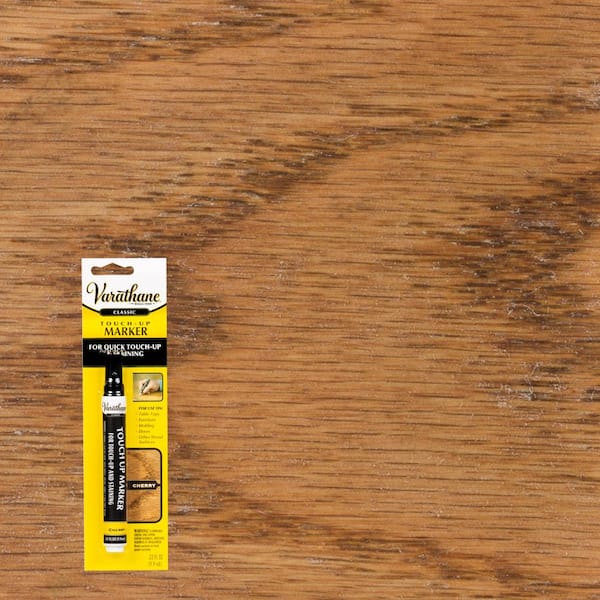
Applying Touch-up Markers
Touch-up markers are quick and easy for light scratches. Pick a marker close to the cabinet’s finish. Draw over the scratch gently. Blend the color with a soft cloth. Markers help restore color and reduce visibility of scratches. They work best on shallow surface marks.
Sanding Techniques
Sanding smooths rough areas around scratches. Use fine-grit sandpaper to avoid damage. Sand lightly along the scratch’s direction. Wipe away dust with a clean cloth. Sanding prepares the surface for touch-up paint or finish. It creates a smooth, even look on your cabinet.
Addressing Water Damage
Water damage can harm your Restoration Hardware medicine cabinet quickly. It may cause stains, warping, or mold growth. Acting fast helps save your cabinet’s look and structure. Follow simple steps to fix the damage and keep it from coming back.
Drying And Treating Affected Areas
Start by removing any wet items from the cabinet. Use a dry cloth to soak up water spots gently. Let fresh air reach the cabinet by opening windows or using a fan. Avoid heat sources that may crack the wood or finish.
Check for mold or mildew. Clean the area with a mild detergent and water. Use a soft brush to scrub gently. Dry the surface completely before moving to the next step. Apply a wood conditioner or sealant to protect the wood. This stops further water absorption and damage.
Preventing Future Moisture Issues
Keep your bathroom well-ventilated to reduce moisture. Use an exhaust fan during and after showers. Wipe down the cabinet regularly to remove water drops. Avoid placing wet items directly on the cabinet’s surface.
Consider adding a water-resistant finish to the cabinet. This layer helps shield the wood from spills and humidity. Check for leaks around sinks and pipes. Fix any leaks immediately to stop water from reaching the cabinet. These small steps keep your medicine cabinet safe and looking good longer.

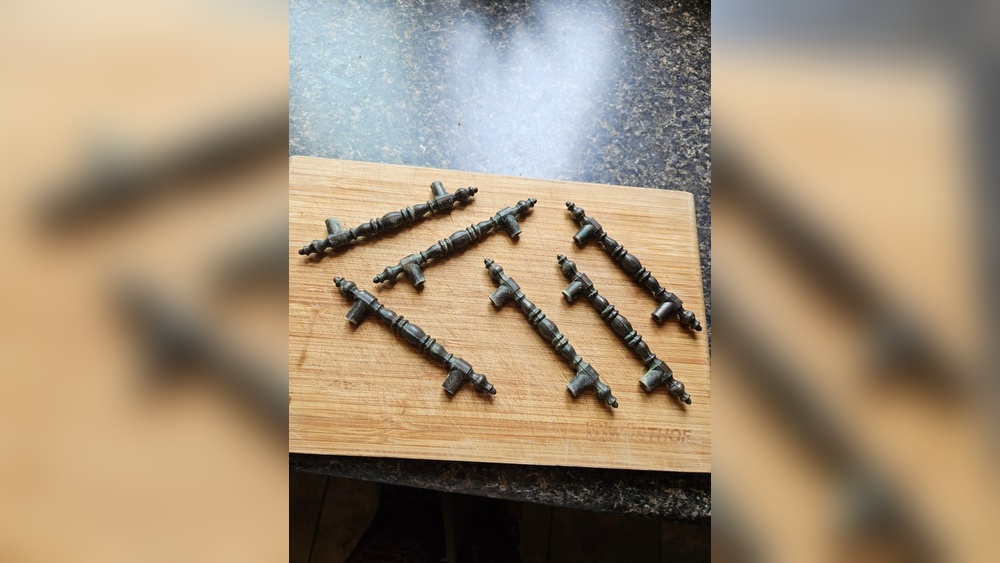
Credit: www.edwardmartin.com
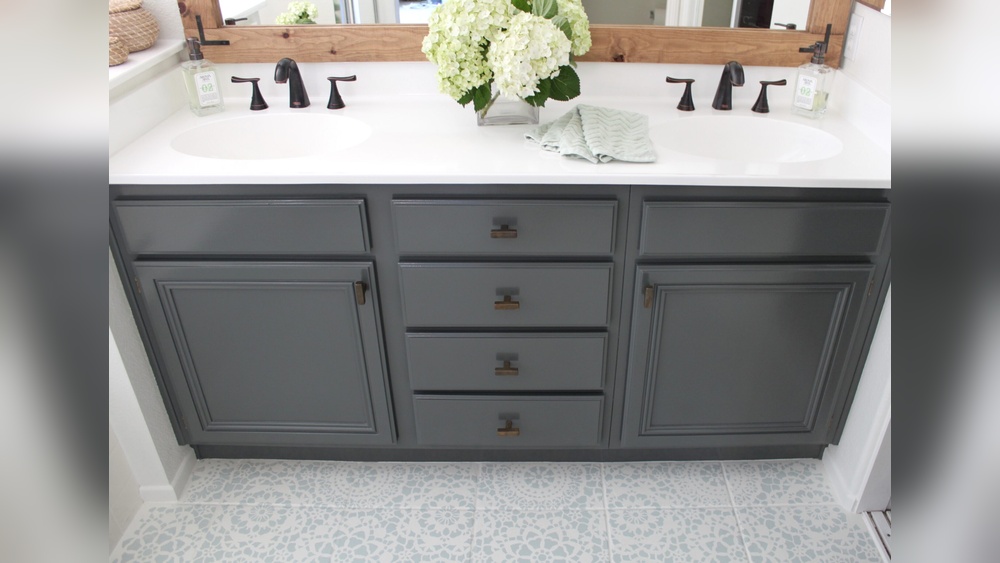
Repainting And Refinishing
Repainting and refinishing a Restoration Hardware medicine cabinet restores its beauty and extends its life. This process refreshes the cabinet’s surface and covers any scratches or worn areas. A smooth, new finish improves the overall look of your bathroom.
Follow these simple steps to achieve a professional result. Choose the right materials and apply them carefully. A well-done paint job enhances your cabinet’s style and protects the wood.
Selecting The Right Paint
Choose paint made for wood or furniture. Satin or semi-gloss finishes work best for cabinets. They resist moisture and clean easily. Pick a color that matches or complements your bathroom décor. Avoid flat paint, as it may not hold up well.
Applying Primer And Paint
Start with a clean surface. Lightly sand the cabinet to help paint stick better. Use a high-quality primer to cover old paint and stains. Let the primer dry completely before painting. Apply thin, even coats of paint. Multiple coats may be needed for full coverage. Allow each coat to dry before adding the next.
Finishing With Protective Coats
Apply a clear protective coat to seal the paint. Polyurethane or polycrylic finishes work well. They protect against scratches and moisture damage. Use a brush or spray for an even coat. Let the finish dry fully before using the cabinet. This step keeps your cabinet looking fresh longer.
Maintaining Your Medicine Cabinet
Maintaining your Restoration Hardware medicine cabinet keeps it looking fresh and new. Regular care protects its finish and structure. Simple habits prevent damage and extend its life.
Follow these easy steps to keep your cabinet clean and safe. Small efforts make a big difference in preserving its beauty.
Regular Cleaning Tips
Use a soft, damp cloth for daily cleaning. Avoid harsh chemicals that can damage the finish. Mild soap with water works best for removing dirt.
Wipe spills immediately to prevent stains. Dry the surface with a clean cloth to avoid water spots. Clean mirrors with glass cleaner but spray on the cloth, not directly.
Avoiding Common Damages
Keep the cabinet away from direct water streams. Avoid placing heavy items on the shelves. Use gentle handles to open and close doors.
Prevent scratches by not dragging objects across surfaces. Control bathroom humidity to stop warping or peeling. Use a dehumidifier if needed to protect wood and metal parts.
Credit: www.homedepot.com

Credit: www.amazon.com
Frequently Asked Questions
How Do I Prepare The Cabinet Surface For Touch-up?
Clean the cabinet surface thoroughly with a mild cleaner. Remove dirt, grease, and dust. Allow it to dry completely before starting touch-up.
What Materials Are Needed For Touch-up Restoration?
You’ll need matching paint or stain, fine sandpaper, a small brush, and a soft cloth. These help achieve a smooth and consistent finish.
How To Fix Scratches On A Restoration Hardware Cabinet?
Lightly sand the scratched area with fine-grit sandpaper. Apply matching stain or paint carefully. Wipe excess and let it dry fully.
Can I Use Regular Paint For Touch-up?
It’s best to use paint or stain that matches the original finish. Regular paint may not blend well or last as long.
Conclusion
Restoring your Restoration Hardware medicine cabinet is simple with these steps. Small fixes can make a big difference. Take your time and work carefully. Use the right tools and materials for best results. A well-maintained cabinet looks fresh and lasts longer.
Regular touch-ups keep it looking new. Enjoy the satisfaction of a neat, clean space. This guide helps you keep your cabinet in top shape. Try these tips and see the difference yourself. Your cabinet will thank you with lasting beauty.