Have you ever changed your cabinet hardware only to be left with unwanted holes staring back at you? Those old holes can make your cabinets look unfinished and messy.
But don’t worry—filling cabinet hardware holes is easier than you might think. Whether you want a smooth surface for new handles or just want to restore the look of your cabinets, the right method will make your repair look professional and last for years.
You’ll discover simple, effective ways to fill those holes quickly and get your cabinets looking perfect again. Ready to fix those holes like a pro? Let’s get started!

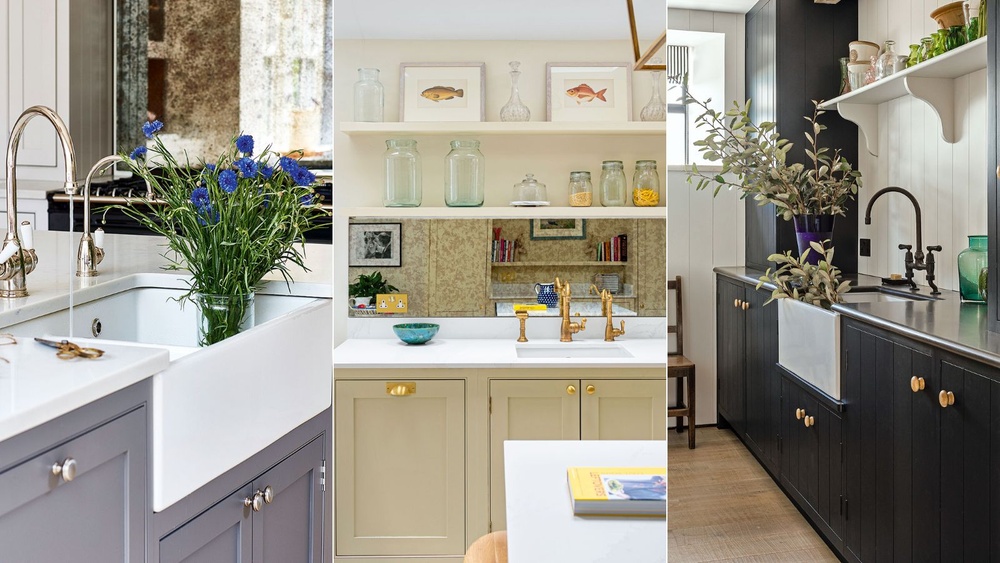
Credit: rainonatinroof.com
Choosing The Right Filler
Choosing the right filler for cabinet hardware holes is key to a smooth repair. The filler must match the purpose of the fix. Some fillers offer strong support for re-screwing. Others work well for painting and finishing. Quick fixes need fast-drying materials that are easy to use. Selecting the right filler ensures the repair lasts and looks good.
Strong Fillers For Re-screwing
For holes that need new screws, use a strong filler. Hardwood dowels with wood glue create a solid base. Durham’s Water Putty is a durable gypsum-based option. It dries hard and can hold screws firmly. Epoxy wood fillers also provide strength. These fillers can be sanded and drilled after curing. They make sure the hardware stays secure over time.
Fillers For Painting And Finishing
Fillers for painting should be smooth and easy to sand. Spackle is lightweight and dries quickly. It works well for small holes and fine cracks. Wood filler designed for finishing fills gaps neatly. These fillers blend well with paint or stain. They help create a flawless surface before painting.
Quick Fix Options
For a fast repair, try toothpicks or matches with wood glue. Insert them into the hole and trim the excess. This method fills the hole enough to hold screws temporarily. Another option mixes sawdust with wood glue for a quick filler. These solutions work well for small holes and fast fixes. They save time and effort in simple repairs.
Preparing The Hole
Preparing the hole is a crucial first step in filling cabinet hardware holes. Proper preparation ensures the filler adheres well and the repair lasts longer. This step involves cleaning the hole and checking its size and condition. Taking time here makes the next steps easier and more effective.
Cleaning And Removing Debris
Start by clearing out any dust, dirt, or old filler from the hole. Use a small brush or compressed air to remove loose particles. Cleaning the hole helps the filler stick better and creates a smoother finish. Avoid using water, as it can cause wood swelling or damage.
Assessing Hole Size And Damage
Check the hole’s size to choose the right filler. Small holes need lightweight wood filler or spackle. Large holes or damaged areas may require wood glue and a dowel for strength. Look for cracks or splits around the hole. These may need extra repair before filling. Knowing the hole’s condition helps pick the best repair method.
Filling Large Holes
Filling large holes in cabinet hardware requires strong and reliable materials. These holes often appear when you remove old knobs or handles. If you want to install new hardware, filling these holes properly is important. Large holes need special attention to ensure a smooth and durable finish. Below are three effective methods to fill large holes in your cabinets.
Using Hardwood Dowels And Wood Glue
Hardwood dowels provide a sturdy base for filling big holes. Cut a dowel slightly longer than the hole depth. Apply wood glue around the dowel and insert it tightly into the hole. Let the glue dry completely, usually for a few hours. After drying, trim the dowel flush with the cabinet surface. Sand the area smooth before painting or staining. This method creates a strong patch that can hold screws well.
Applying Epoxy Wood Fillers
Epoxy wood fillers are two-part compounds that harden after mixing. They fill large holes effectively and bond strongly to wood. Mix the resin and hardener according to the instructions. Use a putty knife to press the mixture into the hole firmly. Shape the filler as close to the surface as possible. Allow it to cure fully, which can take several hours. Sand the patch smooth and finish with paint or stain. Epoxy fillers work well for repairs that need extra strength.
Durham’s Water Putty Method
Durham’s Water Putty is a gypsum-based filler known for its durability. Mix the powder with water to form a thick paste. Apply the putty into the hole using a putty knife. Press it in firmly and smooth the surface. This putty dries hard and can be sanded easily. It creates a solid base that holds screws well after drying. Durham’s Water Putty is ideal for repairs requiring a tough and lasting fix.
Filling Small Holes
Small holes in cabinet hardware can spoil the look of your cabinets. Filling these holes is a simple task that restores the smooth surface. It also prepares the area for new hardware or a fresh coat of paint. Small holes need a filler that is easy to apply and sands smoothly. The right product also dries quickly and blends well with the wood.
Spackle Application
Spackle is a popular choice for filling small holes. It is lightweight and easy to spread. Use a putty knife to apply spackle directly into the hole. Press firmly to fill the hole completely. Smooth the surface with the knife to remove excess spackle.
Let the spackle dry according to the package instructions. Once dry, sand the area lightly with fine-grit sandpaper. This creates a smooth finish ready for painting or staining. Spackle works best on small, shallow holes and is ideal for quick fixes.
Lightweight Wood Fillers And Putties
Lightweight wood fillers come in many types, including putties and pastes. These products are designed for wood surfaces and offer a durable repair. Apply the filler with a putty knife, pressing it into the hole. Overfill slightly to allow for shrinkage during drying.
After drying, sand the area smooth to match the surrounding wood. Some wood fillers can be stained or painted to blend perfectly. These fillers are great for small holes that need a stronger hold or will be drilled again.
Quick Repair Techniques
Quick repair techniques offer simple ways to fill cabinet hardware holes fast. These methods require few tools and little time. Each technique creates a firm base to hold new hardware securely. Choose the best option depending on your materials and hole size. These fixes restore cabinet surfaces smoothly and prepare them for painting or staining.
Toothpicks Or Matchsticks With Glue
Fill small holes using toothpicks or matchsticks and wood glue. Insert the sticks tightly into the hole. Add a drop of glue to secure them in place. Let the glue dry completely before trimming the excess. Sand the surface smooth for a clean finish. This method works well for shallow or narrow holes.
Sawdust And Wood Glue Mixture
Mix fine sawdust with wood glue to create a thick paste. Press the mixture firmly into the hole using a putty knife. Overfill slightly to allow for sanding. Wait for the paste to dry hard. Sand the area smooth and level with the surrounding surface. This technique matches wood texture and color closely.
Using Wall Plugs For Stability
Use wall plugs in larger or loose holes to add strength. Insert the plug snugly into the hole before attaching hardware screws. The plug prevents screws from wobbling or stripping the wood. Cut the plug flush with the surface if it sticks out. This method is ideal for cabinets with damaged or oversized holes.
Sanding And Finishing
Sanding and finishing are key steps after filling cabinet hardware holes. These steps ensure the surface looks smooth and blends well with the rest of the cabinet. Proper sanding removes excess filler and prepares the area for a clean finish. Finishing helps protect the repair and matches the cabinet’s style.
Taking time on these steps improves the final look. It also helps the repair last longer and look natural.
Sanding Techniques For Smooth Surface
Start with medium-grit sandpaper, around 120 grit, to level the filled hole. Sand gently in a circular motion to avoid damaging surrounding wood. Once the filler is flush with the surface, switch to fine-grit sandpaper, like 220 grit. This smooths the area and removes any scratches.
Use a sanding block or sponge for even pressure. Check the surface by touch to find rough spots. Wipe away dust with a dry cloth before moving to finishing.
Preparing For Painting Or Staining
After sanding, clean the surface completely. Use a damp cloth to remove all dust particles. Let the wood dry fully before applying paint or stain.
Apply a primer if you plan to paint. It helps paint stick better and hides repaired areas. For staining, test the stain on a small spot first. This ensures the color matches the rest of the cabinet.
Use thin, even coats of paint or stain. Allow each coat to dry well before adding another. This creates a smooth, professional-looking finish.
Re-drilling And Installing Hardware
Re-drilling and installing new hardware on your cabinets requires care and precision. After filling old holes, you must find the right spot for new screws. This step ensures the hardware fits well and looks neat. A small mistake can cause damage or misalignment. Follow simple steps for best results.
Marking New Hole Positions
Use the hardware piece as a guide to mark holes. Place it carefully on the cabinet door or drawer. Check alignment with edges and existing design. Use a pencil to mark spots lightly. Double-check measurements to avoid errors. Marking clearly helps you drill in the right place.
Drilling Tips For Accuracy
Use a drill bit slightly smaller than the screw size. This prevents wood from splitting. Drill slowly and hold the drill steady. Keep the drill straight to avoid angled holes. Start with a small pilot hole for better control. Clean dust from the hole before inserting screws. Accurate drilling ensures strong hardware attachment.
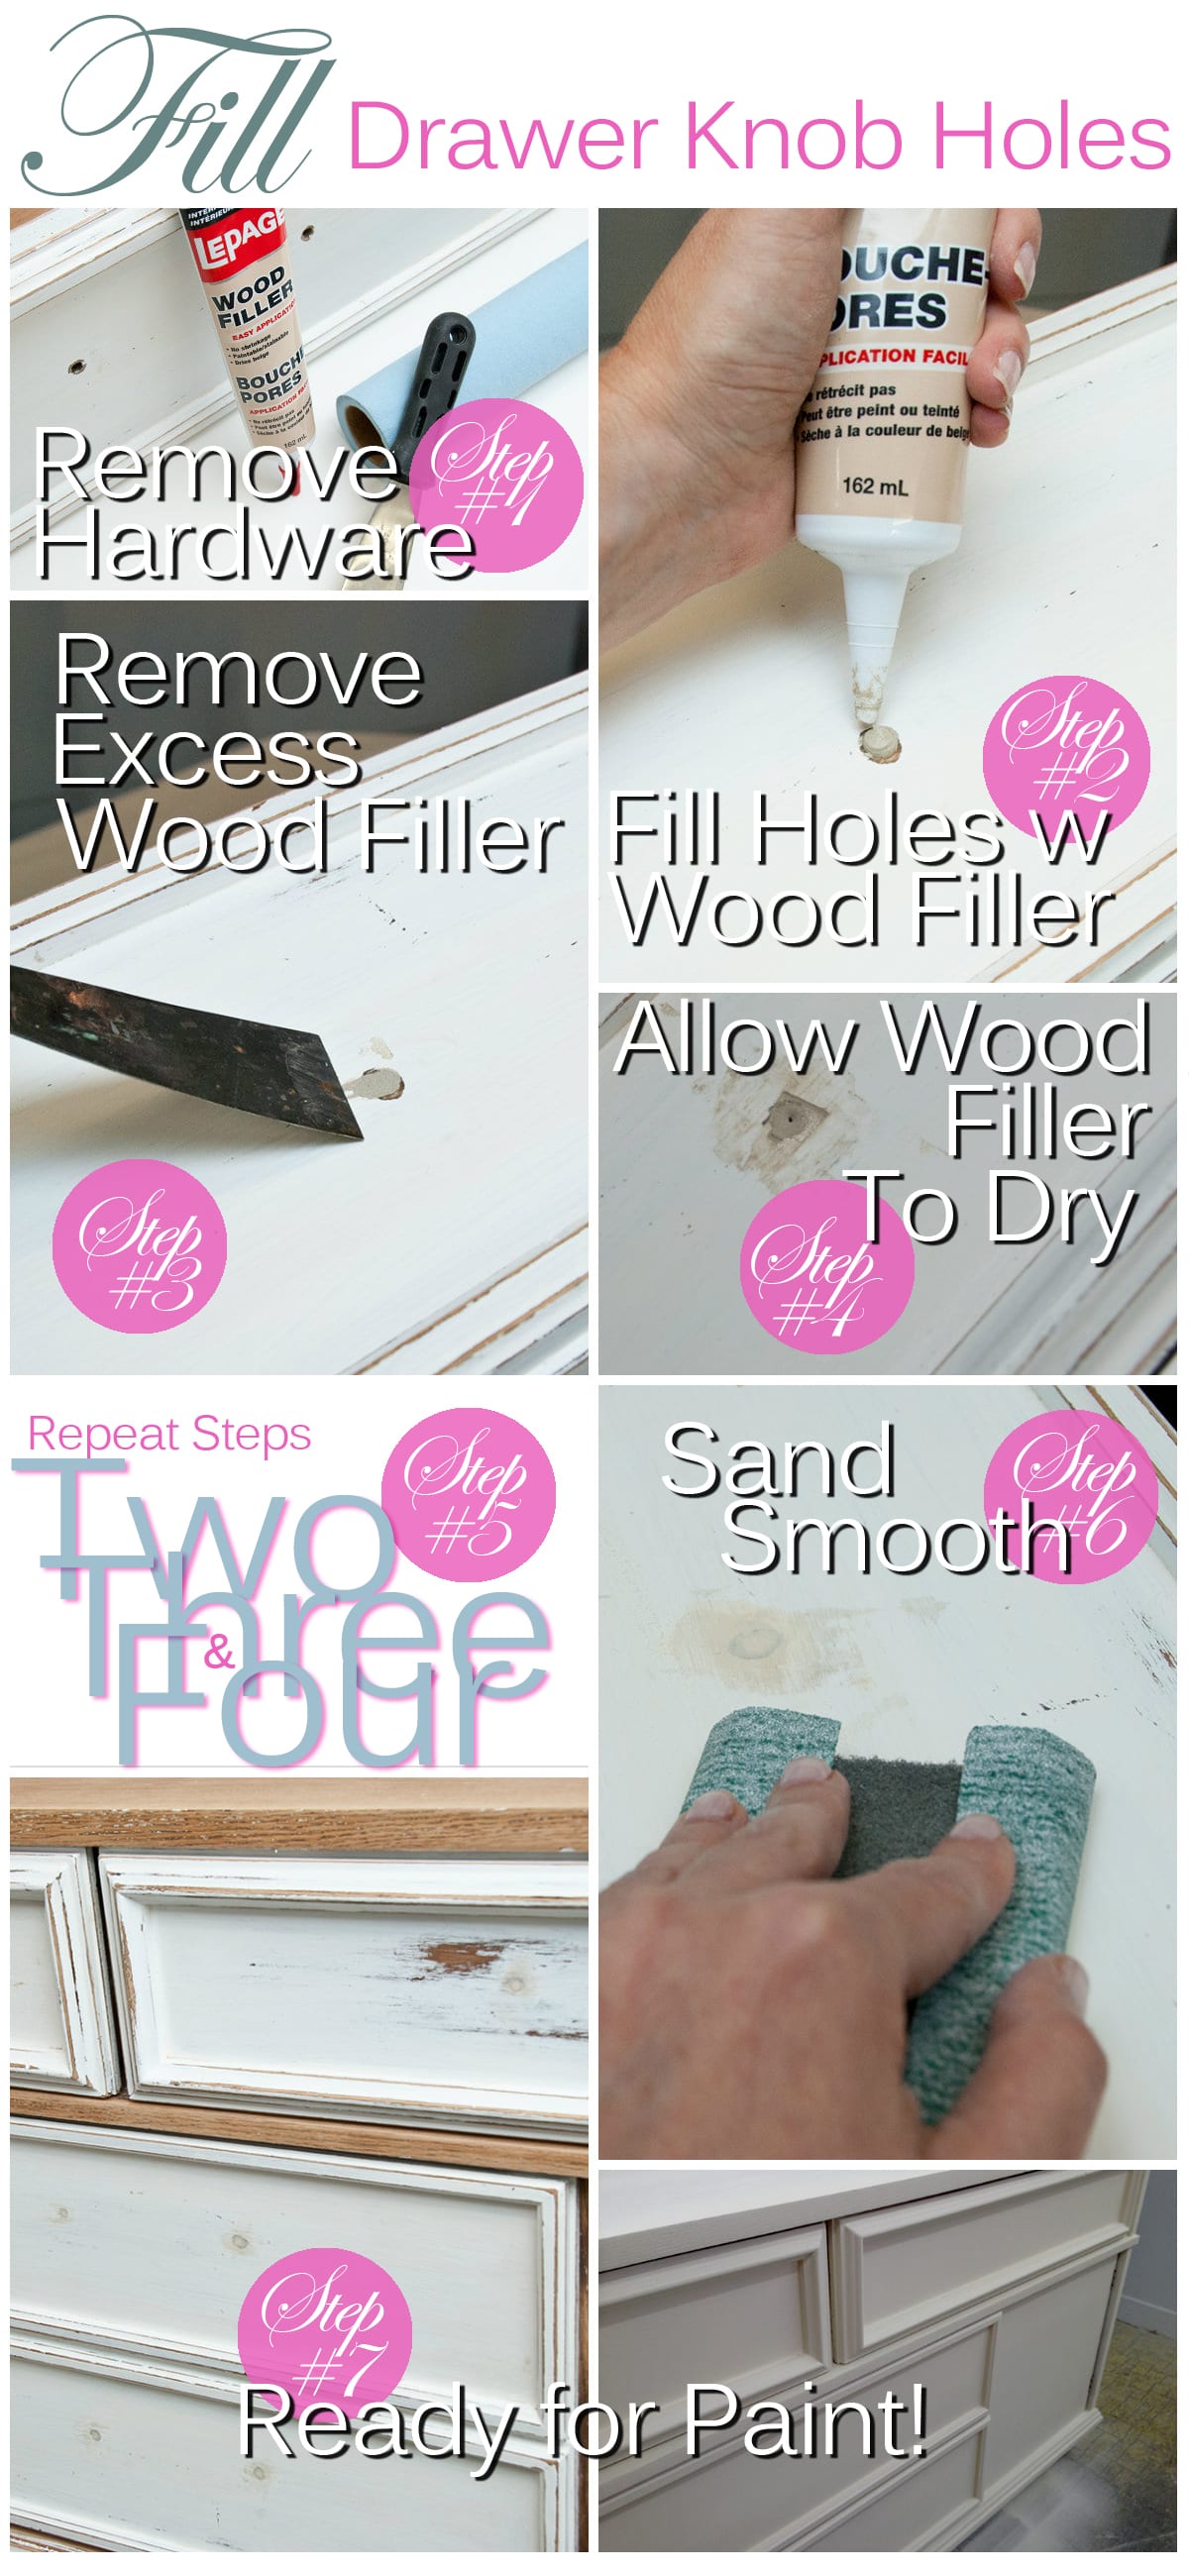
Credit: salvagedinspirations.com
Preventing Future Damage
Preventing future damage to your cabinets starts with careful planning. Filling existing holes is important, but avoiding new problems keeps your cabinets strong longer. Small choices during installation and repair make a big difference.
Using the right hardware size and proper support stops holes from widening or cracking. These steps protect the wood and maintain a clean, smooth look on your cabinets.
Choosing Proper Hardware Size
Select hardware that fits your cabinet doors perfectly. Screws that are too long can split the wood. Short screws may not hold the hardware securely. Measure holes before buying new knobs or handles. Match screw size to the thickness of your cabinet material. Proper fit lowers stress on the wood around the hole.
Using Anchors For Support
Anchors add strength when the wood is thin or soft. They spread the screw’s pressure over a wider area. Plastic or metal anchors are easy to insert into drilled holes. Use anchors for heavy hardware or doors that get frequent use. Anchors prevent screws from loosening or pulling out. This reduces damage and extends the life of your cabinets.
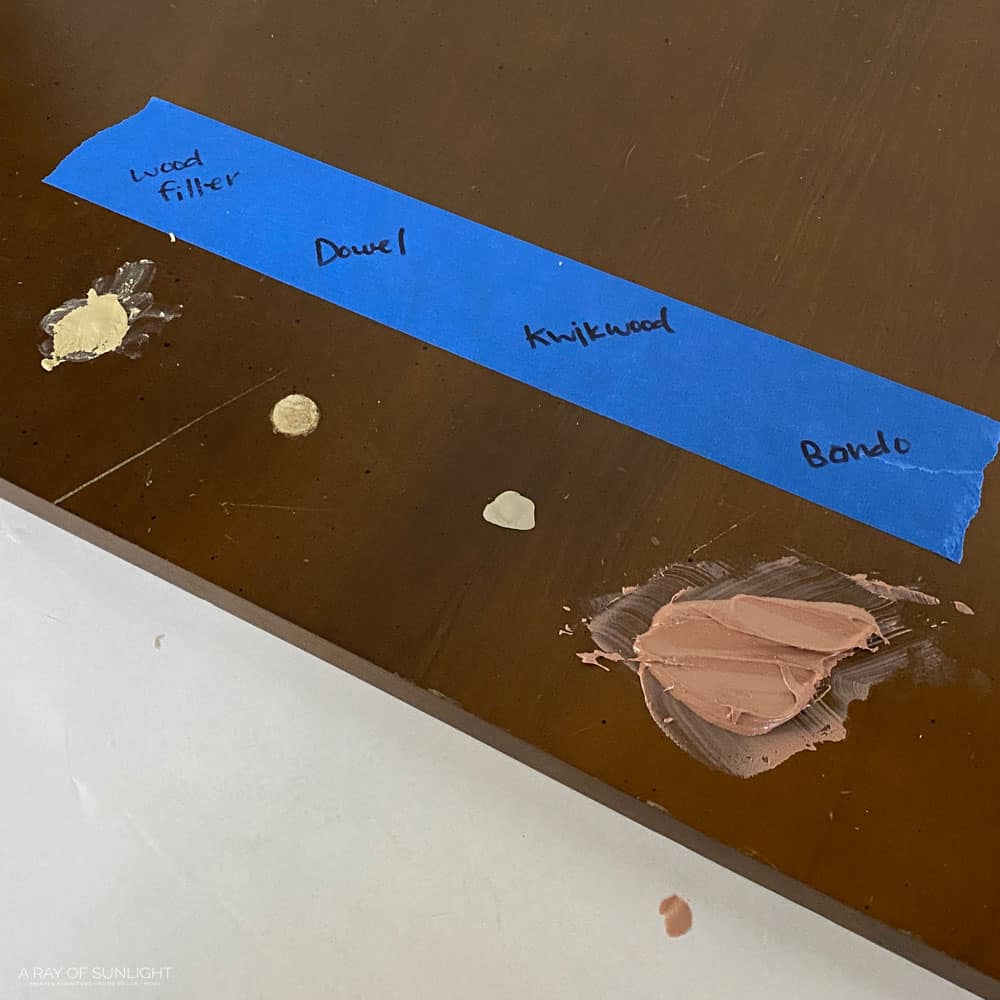
Credit: arayofsunlight.com
Frequently Asked Questions
What Is The Best Filler For Screw Holes?
The best filler for screw holes depends on use. Hardwood dowels with wood glue or epoxy fillers offer strong repairs. For painting, use spackle or lightweight wood fillers. Quick fixes include toothpicks with glue or sawdust mixed with glue. Choose based on strength and finish needed.
What Is The 1/3 Rule For Cabinet Hardware?
The 1/3 rule for cabinet hardware means placing handles one-third from the drawer’s edge or door’s top for balanced, ergonomic design.
How To Fill Kitchen Cabinet Hinge Holes?
Fill kitchen cabinet hinge holes by inserting wood glue-soaked toothpicks or matchsticks. Let dry, then sand smooth. For stronger repairs, use wood filler or epoxy, let cure, and sand before re-drilling. Hardwood dowels with glue also work well for durable fixes.
How To Fill A Screw Hole So It Can Be Used Again?
Fill the screw hole by inserting wooden toothpicks or matchsticks with wood glue. Let dry, then sand smooth. For stronger repair, use a hardwood dowel with wood glue or epoxy wood filler. After drying, drill a new pilot hole and reinsert the screw securely.
Conclusion
Filling cabinet hardware holes is simple with the right tools. Choose a filler based on your project’s needs. Use wood glue and dowels for strong repairs that hold screws. Lightweight fillers work well for small holes before painting. Sand the surface smooth after drying for a neat finish.
Take your time and follow each step carefully. This keeps your cabinets looking fresh and well-maintained. Small repairs can make a big difference in your home’s appearance. Try these tips to fix holes easily and confidently.