Are you struggling to make the most out of your Ikea cabinets? Installing corner hardware can transform those hard-to-reach spaces into efficient storage areas.
But if you’re not sure where to start, it can feel overwhelming. Don’t worry—this guide will walk you through every step, making the process simple and stress-free. By the end, you’ll have a smart, organized corner that saves you time and frustration every day.
Ready to unlock the full potential of your Ikea cabinets? Let’s dive in!
Choosing The Right Corner Hardware
Choosing the right corner hardware for Ikea cabinets is important. It ensures smooth door movement and maximizes space. The right hardware also adds style and durability to your cabinets.
Consider the types of corner hardware, materials, finishes, and how well they fit Ikea cabinets. These factors help you pick the best option for your needs.
Types Of Corner Hardware
Corner hardware comes in several types. Lazy Susans rotate to give easy access to corner space. Pull-out shelves slide out for better reach. Blind corner hinges allow doors to open fully. Choose the type that matches your cabinet layout and usage.
Materials And Finishes
Corner hardware is made from metal, plastic, or a mix. Metal is strong and lasts long. Plastic is lightweight and affordable but less durable. Finishes include chrome, nickel, brass, and matte black. Pick a finish that matches your cabinet style and room decor.
Compatibility With Ikea Cabinets
Not all corner hardware fits Ikea cabinets perfectly. Ikea uses specific sizes and mounting styles. Check if the hardware is designed for or adjustable to Ikea models. Using compatible hardware prevents installation problems and ensures smooth operation.
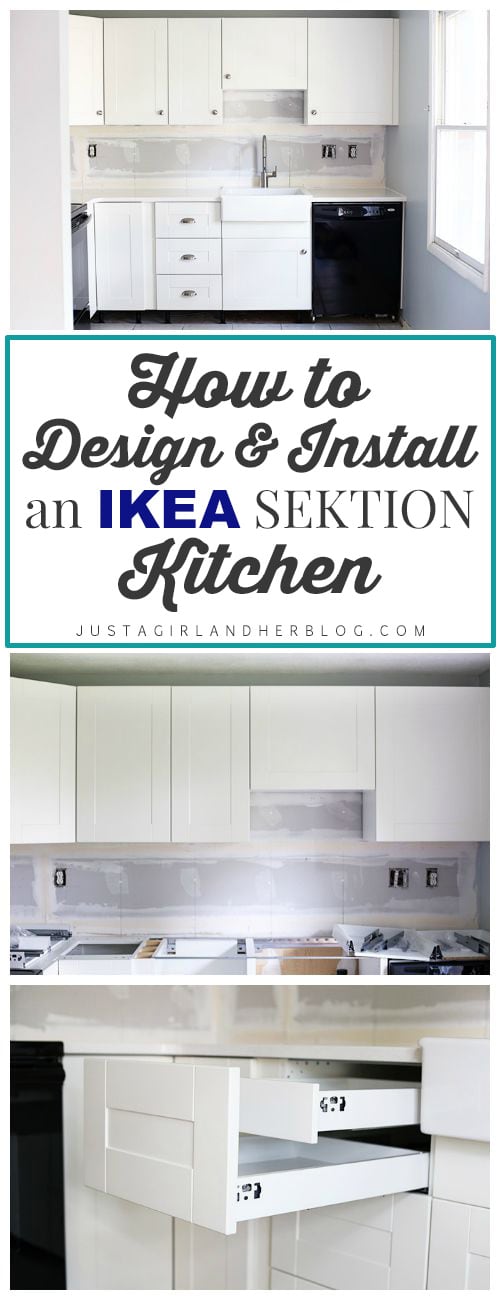
Credit: justagirlandherblog.com
Tools And Materials Needed
Installing corner hardware in Ikea cabinets needs the right tools and materials. Using proper items makes the job easier and safer. Prepare everything before starting to save time and avoid mistakes.
Essential Tools
Gather a drill with bits for wood and screws. A screwdriver is crucial for tightening hardware parts. A tape measure helps with accurate placement. Use a pencil to mark drilling spots. A level ensures hardware aligns straight. Clamps can hold parts in place during work.
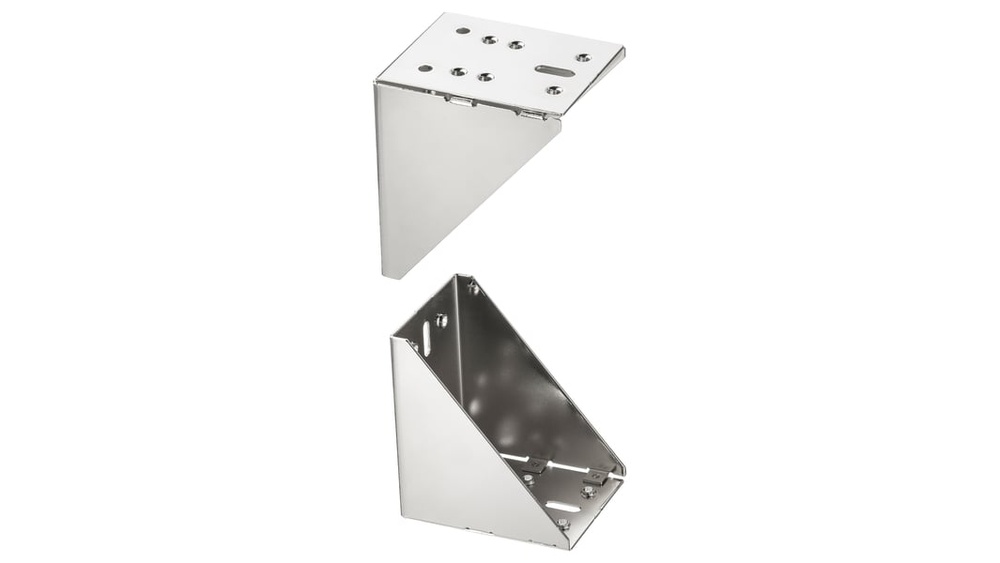
Hardware Components
Check the corner hardware kit for all pieces. It usually includes brackets, screws, and hinges. Some kits have corner shelves or pull-out trays. Make sure all parts fit your Ikea cabinet model. Extra screws might be needed for secure fixing.
Safety Equipment
Wear safety glasses to protect your eyes from dust. Gloves protect hands from sharp edges and tools. Use ear protection if power tools make loud noise. Keep a clean workspace to avoid accidents. Always follow safety instructions for each tool.
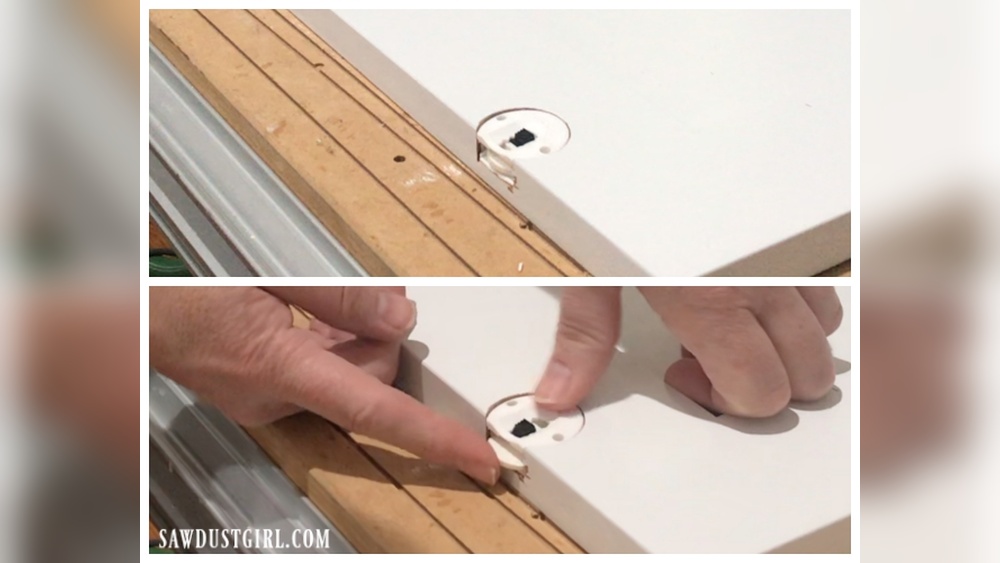
Preparing The Cabinet
Preparing the cabinet is a key step before installing corner hardware in Ikea cabinets. It helps ensure a smooth installation and a perfect fit. Taking time to prepare your cabinet carefully will save effort later. Follow these simple steps to get your cabinet ready.
Clearing The Space
Start by clearing the area around the cabinet. Remove items from inside and on top of the cabinet. This gives you room to work comfortably. A clean workspace helps avoid mistakes and accidents. Also, keep tools and hardware nearby for easy access.
Measuring And Marking
Measure the cabinet’s corners carefully. Use a tape measure for accuracy. Mark the spots where the hardware will go with a pencil. Check your measurements twice. Clear marks guide you during installation and prevent errors. Use a level to keep your marks straight.
Removing Existing Hardware
Remove any old hardware from the cabinet corners. Use a screwdriver to unscrew handles or hinges. Keep screws in a safe place in case you need them later. Removing old hardware makes space for the new corner hardware. It also prevents damage and ensures a clean look.
Credit: erinzubotdesign.com
Installing The Corner Hardware
Installing corner hardware in Ikea cabinets helps improve stability and functionality. This step is essential for a durable cabinet setup. Follow these clear instructions to place and secure the hardware correctly.
Positioning The Hardware
Start by placing the corner hardware inside the cabinet corner. Align it flush with the edges for a tight fit. Check that the hardware sits evenly without gaps. Correct positioning ensures strong support and smooth cabinet operation.
Drilling Pilot Holes
Mark screw hole locations using a pencil through the hardware holes. Use a drill bit smaller than the screws to make pilot holes. Drilling pilot holes prevents wood from splitting and helps screws go in straight. Drill carefully to avoid damaging the cabinet surface.
Securing Screws And Fasteners
Insert screws into the pilot holes and tighten them securely. Use a screwdriver or drill with a screwdriver bit. Avoid over-tightening to prevent stripping the screws or damaging the hardware. Check the hardware is firmly fixed and does not move.
Adjusting And Testing
After installing corner hardware in your Ikea cabinets, the next step is adjusting and testing. This step ensures doors and drawers open smoothly and fit perfectly. Proper adjustments prevent wear and improve cabinet lifespan. Testing confirms everything works as it should.
Aligning Doors And Drawers
Start by checking door and drawer alignment. Look closely at gaps between doors and cabinet frame. Gaps should be even all around. Use the adjustment screws on the hardware. Turn screws slowly to move doors or drawers up, down, left, or right. Small tweaks make a big difference.
Checking Hardware Functionality
Open and close each door and drawer several times. Listen for unusual sounds like grinding or squeaking. Doors should close softly and stay shut firmly. Drawers must slide smoothly without sticking. Check if corner hardware holds doors steady when open. Testing helps spot hardware issues early.
Making Necessary Adjustments
If doors or drawers do not align well, adjust screws again. Tighten or loosen screws to improve fit. If hardware feels loose, secure all screws firmly. Adjustments may take time but are important. Repeat testing after each change. Aim for smooth operation and perfect alignment.
Maintenance Tips
Proper care keeps your Ikea cabinet corner hardware working well. Regular maintenance saves money and effort. Small tasks prevent big problems later. Follow these simple tips to keep hardware in top shape.
Cleaning Hardware
Use a soft cloth to wipe the hardware gently. Avoid harsh chemicals that can damage the finish. Mild soap and water work well for cleaning. Dry the hardware completely to stop rust or stains.
Tightening Loose Screws
Check screws every few months. Loose screws cause hardware to wobble or fail. Use a screwdriver to tighten them carefully. Avoid overtightening to prevent damage to the cabinet.
When To Replace Hardware
Replace hardware if it bends, cracks, or rusts badly. Worn parts reduce cabinet function and safety. Choose replacement hardware that fits your cabinet model. Installing new hardware keeps your cabinet secure and smooth.

Credit: www.ikea.com
Frequently Asked Questions
What Tools Do I Need To Install Corner Hardware In Ikea Cabinets?
You need a drill, screwdriver, measuring tape, pencil, and the specific corner hardware kit. These tools ensure precise installation and secure fittings.
How Do I Measure For Corner Hardware Placement?
Measure the cabinet’s inside corner carefully, marking the exact spot for hardware. Accurate measurement ensures the hardware fits perfectly and functions well.
Can I Install Corner Hardware Without Professional Help?
Yes, installation is straightforward with clear instructions. Basic DIY skills and the right tools make it easy to install corner hardware yourself.
How Long Does It Take To Install Corner Hardware?
Installation typically takes 30 to 60 minutes per cabinet. Time varies based on experience and cabinet complexity but is generally quick and manageable.
Conclusion
Installing corner hardware in Ikea cabinets improves both function and space use. Follow the steps carefully for a smooth fit. Take your time measuring and aligning parts. Use the right tools to avoid damage. Proper installation keeps your cabinets sturdy and easy to use.
Enjoy the extra storage and neat look. Small efforts make a big difference in your kitchen. Keep your workspace clean and organized during the process. This simple upgrade boosts your cabinet’s value and convenience.