Struggling with a stubborn drive fastener can be frustrating and time-consuming. You might feel stuck, unsure how to remove it without causing damage.
What if you could learn a simple, effective way to get it off quickly and safely? You’ll discover step-by-step tips that make the job easier—saving you time and stress. Keep reading, and you’ll master the skill to handle drive fasteners like a pro.
Tools Needed
Removing a drive fastener requires the right tools. The correct tools make the job easier and safer. Knowing what to use saves time and effort. Below are the tools needed for this task.
Common Fastener Types
Drive fasteners come in different styles. Some common types include Phillips, flathead, and Torx. Each type needs a matching tool for removal. Identifying the fastener type helps choose the right tool. Some fasteners may be rusted or stuck. This makes the tool choice even more important.
Essential Equipment
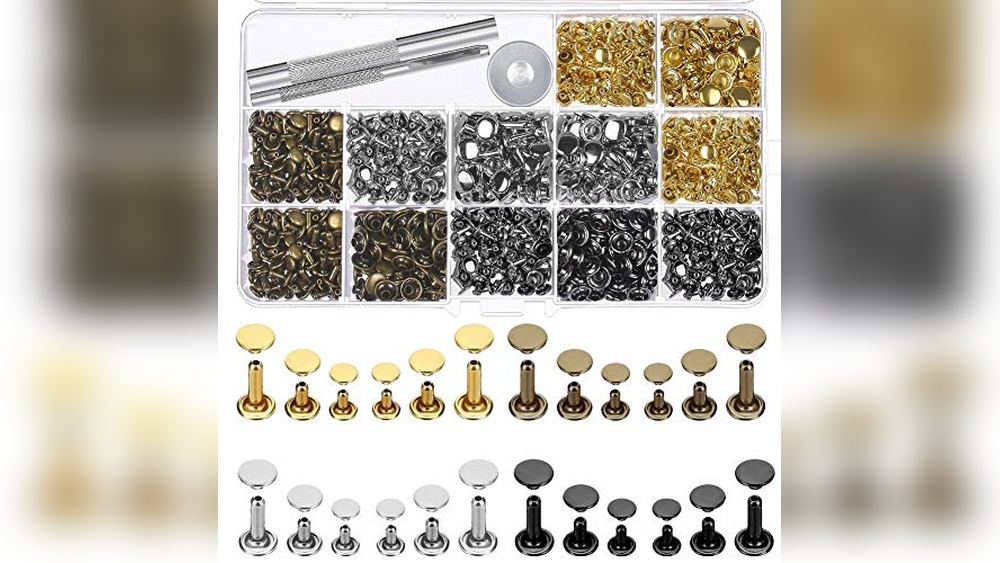
A screwdriver set is a must-have for removing fasteners. It should include different sizes and head types. A flathead screwdriver works for slotted fasteners. Phillips screwdrivers fit cross-shaped fasteners. Torx drivers handle star-shaped fasteners. A pair of pliers can help grip stubborn fasteners. Sometimes, a small hammer can gently tap loose stuck fasteners. Using the right equipment prevents damage to the fastener and surrounding material.

Credit: www.reddit.com
Safety Precautions
Removing a drive fastener can be tricky and sometimes dangerous. Taking safety precautions is very important. It keeps you safe and helps prevent damage to your tools and work area. Always prepare before starting the job. This way, you can work smoothly and avoid accidents.
Protective Gear
Wear safety glasses to protect your eyes from flying debris. Gloves protect your hands from sharp edges and hot parts. Use closed-toe shoes to protect your feet from falling objects. Long sleeves and pants can prevent scratches and cuts. Always use the right gear to stay safe during the task.
Work Area Preparation
Clear the work area of any clutter. This gives you more space to work and reduces tripping hazards. Make sure the area is well-lit so you can see clearly. Keep tools organized and within reach. Check that your work surface is stable and strong. These steps help you work efficiently and safely.
Identifying The Fastener
Identifying the fastener is the first step in removing it safely. Knowing its type and condition helps choose the right tools. It also prevents damage to the drive or fastener during removal. This section guides you through recognizing common fasteners.
Visual Inspection
Start by looking closely at the fastener’s shape and size. Check if it has a head with slots, a hex shape, or a round design. Notice if it uses screws, bolts, or clips. Look for markings or numbers on the fastener. These details help identify the exact type. A clear view reduces the risk of using the wrong tool.
Fastener Material And Condition
Check what material the fastener is made of. It could be steel, aluminum, plastic, or brass. The material affects how tightly it holds and which tools work best. Also, examine the fastener’s condition. Look for rust, dirt, or damage. A rusty fastener needs extra care. Clean or lubricate before trying to remove it. This step makes removal easier and safer.
Loosening Techniques
Removing a drive fastener can be tough without the right techniques. Loosening the fastener carefully prevents damage and saves time. This section covers simple ways to loosen drive fasteners effectively.
Manual Methods
Start by using hand tools like a wrench or screwdriver. Choose the correct size tool to fit the fastener snugly. Turn the tool slowly to avoid stripping the head.
Applying steady pressure works better than quick, forceful twists. Try tapping the fastener gently with a hammer to loosen rust or dirt. Use penetrating oil if the fastener feels stuck. Let the oil sit for a few minutes before trying again.
Using Power Tools
Power tools make loosening faster and easier, especially for tight fasteners. Use an impact driver or cordless drill with the right bit size. Start at low speed to control the tool well.
Hold the tool firmly and keep it straight to avoid slipping. If the fastener resists, try short bursts rather than continuous power. This reduces heat and protects the fastener from damage.
Removing Stubborn Fasteners
Removing stubborn fasteners can be a tough task. These fasteners may be rusted, stuck, or tightly fixed. They need special care and techniques to come off without damage. Using the right method saves time and prevents tool breakage. Here are some effective ways to remove those hard-to-turn fasteners.
Applying Lubricants
Lubricants help loosen stuck fasteners by reducing friction. Spray a penetrating oil directly on the fastener. Let it sit for 10 to 15 minutes. This allows the oil to seep into the threads. Then try turning the fastener again. Repeat if needed. Avoid using too much oil. It can make the area slippery and unsafe.
Heat Application
Heat expands metal, breaking rust bonds on fasteners. Use a heat gun or propane torch carefully. Apply heat evenly around the fastener for a few minutes. Avoid overheating, which can damage nearby parts. After heating, try loosening the fastener with a wrench. Wear gloves and safety glasses. Heat can cause burns or sparks.
Tapping And Impact Tools
Gentle taps can break rust or dirt holding fasteners tight. Use a hammer and a punch or screwdriver to tap the fastener lightly. This vibration helps free stuck threads. Impact tools deliver sudden force to loosen tough fasteners. Impact wrenches or drivers work well on bolts and screws. Use the right size tool to avoid stripping the fastener head.

Credit: helpcenter.ameriwoodhome.com
Post-removal Care
After removing a drive fastener, taking care of the area is important. Proper post-removal care helps keep parts safe and ready for the next use. It also prevents damage and ensures smooth operation.
Cleaning The Area
Remove dirt and debris from the spot where the fastener was. Use a clean cloth or a soft brush to clear the area. Avoid using harsh chemicals that might damage the parts. Cleaning helps you see the surface clearly and prepares it for reassembly.
Inspecting For Damage
Check the area carefully for cracks, dents, or other damage. Look at the fastener hole and surrounding parts. Small damage can cause big problems later. If you find any issues, fix them before putting a new fastener in place. This step keeps everything working well and safe.
Tips For Faster Removal
Removing a drive fastener can be tricky and slow without the right approach. Simple tips help speed up the process. Quick removal saves time and effort. Focus on smart methods to make work easier and faster.
Preparation Tricks
Start by gathering the correct tools. Use the right screwdriver or wrench size. Clean the fastener area to remove dirt or rust. This helps tools grip better. Apply a small amount of lubricant to loosen stuck fasteners. Let it sit for a few minutes. Check the fastener’s direction before turning. Knowing whether to turn left or right avoids mistakes.
Avoiding Common Mistakes
Do not force the fastener if it feels stuck. Forcing can strip the head or break the tool. Avoid using worn or wrong tools. They reduce grip and increase damage risk. Do not rush the process. Slow and steady turning prevents slipping. Avoid skipping lubrication on rusty fasteners. It makes removal much harder.

Credit: www.reddit.com
Frequently Asked Questions
What Tools Are Needed To Remove A Drive Fastener?
To remove a drive fastener, you typically need a flathead screwdriver or a trim removal tool. A pair of pliers can also help for stubborn fasteners. Using the right tools prevents damage to the fastener or surrounding parts during removal.
How Do You Safely Remove A Plastic Drive Fastener?
To safely remove a plastic drive fastener, gently pry it up with a trim removal tool or flathead screwdriver. Apply even pressure to avoid breaking the fastener or damaging the panel. Work slowly to maintain the integrity of both fastener and surface.
Can Drive Fasteners Be Reused After Removal?
Yes, some drive fasteners can be reused if they remain undamaged. Inspect them carefully for cracks or deformation. Reusing intact fasteners saves money and maintains proper fit. Replace any damaged fasteners to ensure secure attachment.
What Are Common Problems When Removing Drive Fasteners?
Common problems include stripping the fastener head, breaking the plastic parts, or damaging the panel. Using improper tools or excessive force causes these issues. Patience and correct tools help prevent damage during removal.
Conclusion
Removing a drive fastener can be simple with the right steps. Use proper tools to avoid damage. Work slowly and carefully for best results. Check the fastener type before starting the job. Practice makes the process easier and faster. Keep safety in mind at all times.
This guide helps you handle drive fasteners confidently. Try these tips next time you work on your vehicle.