Have you ever struggled with plastic snap fasteners that just won’t come off? Whether you’re fixing a favorite jacket, repairing a baby onesie, or upcycling old clothes, removing these little snaps can be tricky.
But don’t worry—you don’t have to damage your fabric or waste time guessing how to get them out. You’ll discover simple, step-by-step methods that make removing plastic snap fasteners quick and easy. Keep reading, and you’ll learn tips that save your clothes and your sanity!

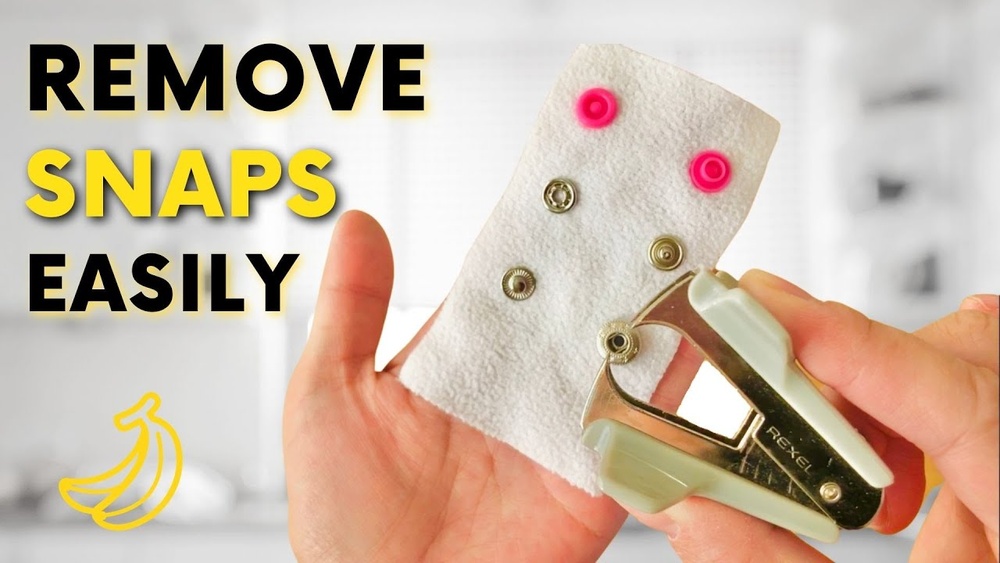
Credit: www.youtube.com
Tools Needed
Removing plastic snap fasteners requires the right tools to avoid damage. Some tools are common and easy to find at home. Others are specialized and designed for this task. Knowing what tools to use makes the process easier and safer.
Common Household Items
You can use simple items found in most homes. A small flathead screwdriver helps pry the snap gently. A pair of tweezers allows you to grip small parts firmly. A butter knife can also work to lift the fastener edges carefully. These tools can do the job without extra cost.
Specialized Tools
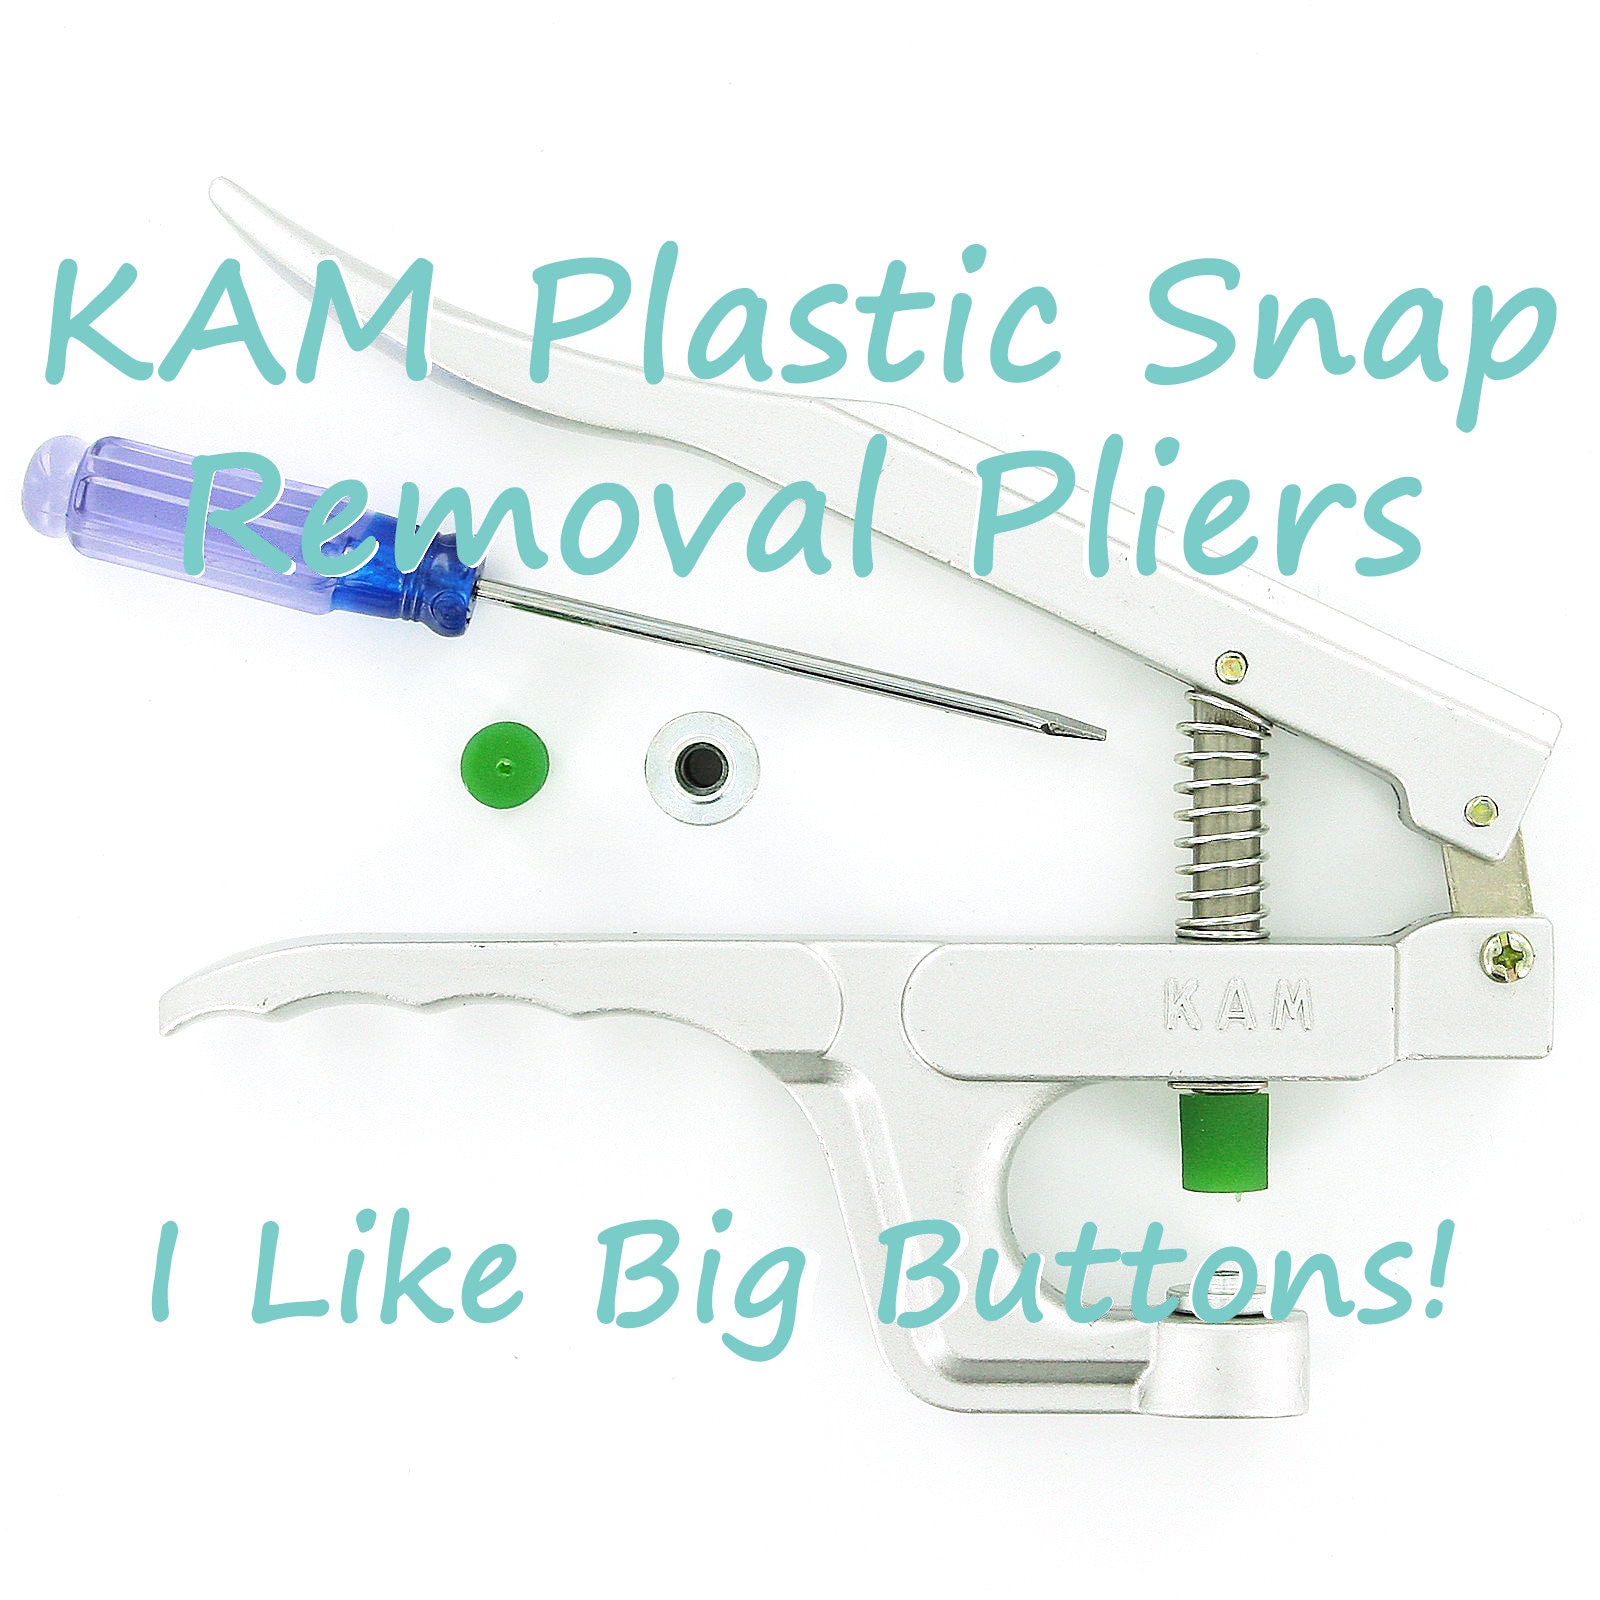
Special tools make removing snaps quicker and neater. A snap fastener removal tool is shaped for easy access under the snap. It reduces risk of fabric damage. Needle-nose pliers offer precise control when pulling out snaps. These tools may require purchase but improve results.
Preparing The Work Area
Preparing your work area is the first step to safely remove plastic snap fasteners. A clean, organized space helps you work better. It also protects your fabric and tools from damage. Taking time to set up saves frustration and mistakes later.
Choosing A Flat Surface
Pick a flat, sturdy surface for your project. A table or countertop works well. Avoid soft or uneven surfaces. They can make fastener removal harder. A flat surface keeps fabric steady. It also helps you apply steady pressure. This control prevents slips and accidents.
Protecting Fabrics And Surfaces
Use a protective layer under your fabric. A piece of cardboard or a thick cloth works fine. This shield stops marks or holes on tables. It also keeps your fabric safe from damage. Place something soft on top if needed. This extra cushion prevents fabric stretching or tearing.
Removing Snap Fasteners By Hand
Removing plastic snap fasteners by hand is simple and requires no special tools. It works well for small projects or quick fixes. With a little care, you can avoid damage to fabric or the snap itself. Follow these easy steps to remove snap fasteners safely.
Loosening The Snap
Start by holding the fabric firmly. Gently pull the two parts of the snap apart. If it feels stuck, wiggle the snap slightly. This helps loosen the grip without breaking the plastic. Take your time to avoid tearing the fabric.
Prying Gently With Fingers
Use your fingernails to pry the snap edges apart. Insert your nail under the rim of the snap. Lift slowly and carefully to separate the pieces. Avoid using sharp objects that may damage the fabric or snap. Work around the snap edge to ease it off completely.
Using Pliers For Removal
Using pliers to remove plastic snap fasteners is a common and effective method. It allows you to grip the fastener firmly. You can then pull it out without damaging the fabric. This technique works well for most plastic snaps on clothing or accessories.
Understanding how to use pliers correctly makes the process easier. It also prevents breaking the fastener or tearing the material. Two key steps include choosing the right pliers and applying the right amount of pressure.
Selecting The Right Pliers
Choose small needle-nose pliers for better control. They fit into tight spaces around the snap. Avoid large or heavy pliers that might damage the fabric. Smooth jaws are ideal to prevent marks on the material.
Check that the pliers open and close smoothly. This helps you handle the fastener gently. A good grip on the tool improves precision during removal.
Applying Controlled Pressure
Hold the snap firmly with the pliers. Apply slow, steady pressure to loosen it. Avoid sudden or strong force to stop plastic from cracking. Work around the edges of the fastener carefully.
Pull the snap out gently once it feels loose. Releasing pressure too early might make the task harder. Controlled pressure reduces damage and makes removal smoother.
Employing A Flathead Screwdriver
Removing plastic snap fasteners can be easy with the right tool. A flathead screwdriver works well for this task. It helps pry the snap apart without much damage. Use it carefully to avoid breaking the fabric or the fastener.
Inserting The Screwdriver Safely
Choose a small flathead screwdriver for better control. Slide the tip gently under the edge of the snap. Do not force it too hard to avoid tearing the fabric. Work slowly and feel for the right spot. The goal is to lift the snap without bending it.
Prying The Snap Apart
Once the screwdriver is in place, twist it slightly. This action loosens the snap’s grip on the fabric. Move the tool around the snap edge if needed. Keep prying gently until the snap pops free. Avoid sudden moves to prevent damage.
Heat Method For Stubborn Snaps
The heat method works well for removing stubborn plastic snap fasteners. Heat makes the plastic softer and easier to separate. This method reduces damage to fabric and fastener parts.
Using controlled heat helps loosen the snap without breaking it. It is safe and effective if done carefully.
Using A Hairdryer Or Heat Gun
Use a hairdryer or heat gun on low to medium heat settings. Hold the device a few inches away from the snap. Move it around to warm the snap evenly.
Heat the snap for about 30 seconds or until it feels warm. Avoid overheating to prevent melting the plastic or fabric. The goal is gentle softening.
Softening The Plastic
After heating, test the snap gently with a flat tool. The plastic should feel softer and more flexible. This makes it easier to pry open or pull apart.
Work slowly to avoid tearing fabric or breaking the snap. Reheat if the snap is still too hard to remove. Patience is key for clean removal.
Avoiding Damage To Fabric
Removing plastic snap fasteners without harming the fabric is key. Fabrics can tear or stretch if you act too fast or use sharp tools. Taking care protects your clothes and keeps them looking good.
Gentle handling and patience make a big difference. This section explains how to avoid damage during removal.
Working Slowly And Carefully
Move at a slow pace to prevent fabric damage. Pull the fastener gently with your fingers or a small tool. Avoid forceful yanks that stretch or tear the cloth. Take breaks if you feel resistance. Small, careful movements reduce risk.
Testing On Scrap Material
Try removal methods on a fabric scrap first. This practice shows how your material reacts. It helps find the safest way to remove snaps. Testing prevents surprises and fabric damage on your main item. Always keep a small fabric piece for experiments.
Cleaning Up After Removal
After removing plastic snap fasteners, cleaning up is important. It helps keep your fabric neat and ready for reuse. Removing leftover bits and fixing small holes improves the fabric’s look and durability.
Removing Residue
Plastic snap fasteners often leave small glue or metal bits behind. Use a soft cloth with mild soap and water to clean the area. Gently rub the spot until the residue loosens. Avoid harsh scrubbing to protect the fabric. For stubborn glue, try a small amount of rubbing alcohol. Test it on a hidden spot first to avoid damage. Pat dry with a clean towel after cleaning.
Repairing Small Holes
Removing snaps can leave tiny holes in your fabric. Use a needle and thread that matches your fabric color. Sew small stitches around the hole to close it neatly. For larger holes, patching with a similar fabric piece works well. Iron-on patches are quick and easy to apply. Make sure the area is clean and dry before patching. This repair keeps your fabric strong and ready for new snaps.
Replacing Or Reattaching Snap Fasteners
Replacing or reattaching snap fasteners can restore the look and function of clothing or accessories. It is a simple way to fix snaps that are broken or loose. Doing this job carefully ensures that the snaps stay secure and work well for a long time.
Choosing New Snaps
Choose snaps that fit the fabric and purpose. Metal snaps are strong and good for heavy fabrics. Plastic snaps work well on light materials. Pick the right size to match the original snaps. Make sure the snaps come with all parts needed for installation. Color matching helps keep the look neat and clean.
Proper Installation Techniques
Start by removing old snaps gently. Use pliers or a small tool to avoid fabric damage. Place the new snap parts correctly, aligning them carefully. Use a snap fastener tool or pliers to press the pieces together firmly. Check that the snap opens and closes smoothly. Avoid pressing too hard to prevent fabric tears.

Credit: kamsnaps.com
Credit: www.etsy.com
Frequently Asked Questions
How Can I Safely Remove Plastic Snap Fasteners?
Use small pliers or a flat screwdriver to gently pry the fastener apart. Work slowly to avoid fabric damage. Applying slight heat can soften the plastic, making removal easier and safer.
What Tools Are Best For Removing Snap Fasteners?
Small needle-nose pliers, flathead screwdrivers, and seam rippers work best. These tools allow careful prying and cutting without harming the fabric or surrounding material.
Can Heat Help In Removing Snap Fasteners?
Yes, applying gentle heat softens the plastic, easing removal. Use a hairdryer or warm iron with a cloth barrier to prevent fabric damage. Avoid excessive heat to prevent melting.
How To Prevent Damage When Removing Snap Fasteners?
Work slowly and carefully with proper tools. Avoid forceful pulling or twisting. Protect fabric by placing a cloth between the fastener and the tool during removal.
Conclusion
Removing plastic snap fasteners takes patience and the right tools. Work slowly to avoid damage to your fabric. Use pliers or small screwdrivers to pry them apart carefully. Clean the area after removal for a neat finish. Practice on old clothes if you can.
This helps build your confidence and skill. With these tips, you can handle snap fasteners easily and safely. Keep these steps in mind for your next sewing or repair project. Simple and clear methods make the process smooth.