Are you ready to give your kitchen a quick and stylish upgrade? Installing kitchen cabinet hardware is one of the easiest ways to transform your space without a full renovation.
Whether you want to add sleek handles or classic knobs, this simple change can make a huge difference in how your kitchen looks and feels. In this guide, you’ll learn exactly how to install cabinet hardware step-by-step, saving you time, money, and frustration.
Keep reading, and you’ll be amazed at how easy it is to boost your kitchen’s charm with just a few tools and a little know-how.

Credit: www.youtube.com
Tools And Materials Needed
Installing kitchen cabinet hardware is a simple task that needs the right tools and materials. Having everything ready makes the job easier and faster. Knowing what you need saves time and avoids mistakes.
Essential Tools
Start with a drill to make holes for screws. Use a screwdriver to tighten screws securely. A tape measure helps you place hardware evenly. A pencil marks spots for drilling. A level ensures your hardware is straight. Small clamps can hold doors steady. Safety glasses protect your eyes from dust and debris.
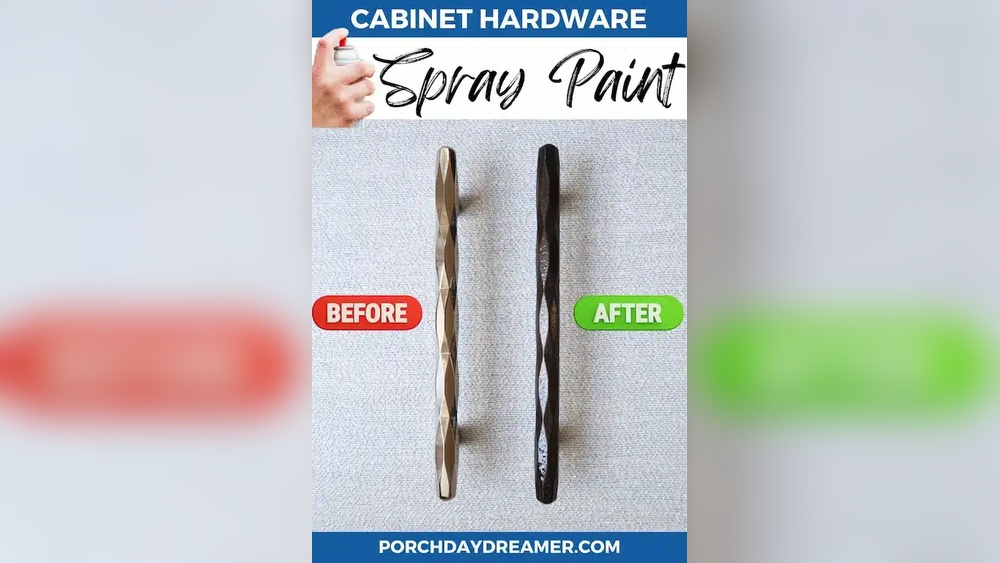
Choosing The Right Hardware
Select handles or knobs that match your kitchen style. Check the size and shape for comfort and function. Make sure screws fit the hardware and cabinet thickness. Pick materials that resist rust and wear. Choose finishes like chrome, bronze, or nickel to match your decor. Buy extra pieces for future repairs or replacements.
Preparing Your Workspace
Clear the area around your cabinets. Lay down a drop cloth to catch dust and scratches. Organize your tools within easy reach. Good lighting helps you see clearly. Open cabinet doors fully before starting. Remove old hardware carefully to avoid damage. Have a trash bin nearby for waste and old screws.
Preparing Cabinets For Installation
Preparing your cabinets before installing hardware is an important step. It ensures that handles and knobs fit well and last long. Taking time to prepare helps avoid mistakes and saves effort later.
Cleaning And Inspecting Surfaces
Start by cleaning the cabinet doors and drawers. Use a soft cloth with mild soap and water. Remove all dust, grease, and dirt. Clean surfaces help hardware stick better and look good.
Check for damage like cracks or dents. Repair any problems before continuing. Smooth surfaces make installation easier and stronger.
Marking Hardware Positions
Measure carefully to find the exact spots for handles or knobs. Use a ruler or tape measure and a pencil. Mark the spots lightly to avoid visible marks later.
Keep marks consistent for a neat and uniform look. Double-check measurements on all doors and drawers.
Drilling Pilot Holes
Use a drill with a small bit to make pilot holes on the marks. Pilot holes prevent wood from splitting during screw installation.
Drill straight and stop at the right depth. Clean out any dust inside the holes before attaching hardware.
Installing Cabinet Handles
Installing cabinet handles is a simple step that can change the look of your kitchen. Proper installation makes your cabinets look neat and ensures the handles work well. Follow these steps to place handles correctly and firmly.
Aligning Handles Correctly
Measure the distance between holes carefully. Use a pencil to mark spots for screws. Check that marks are level on all doors and drawers. Use a ruler or level tool to be sure. Correct alignment prevents handles from looking crooked.
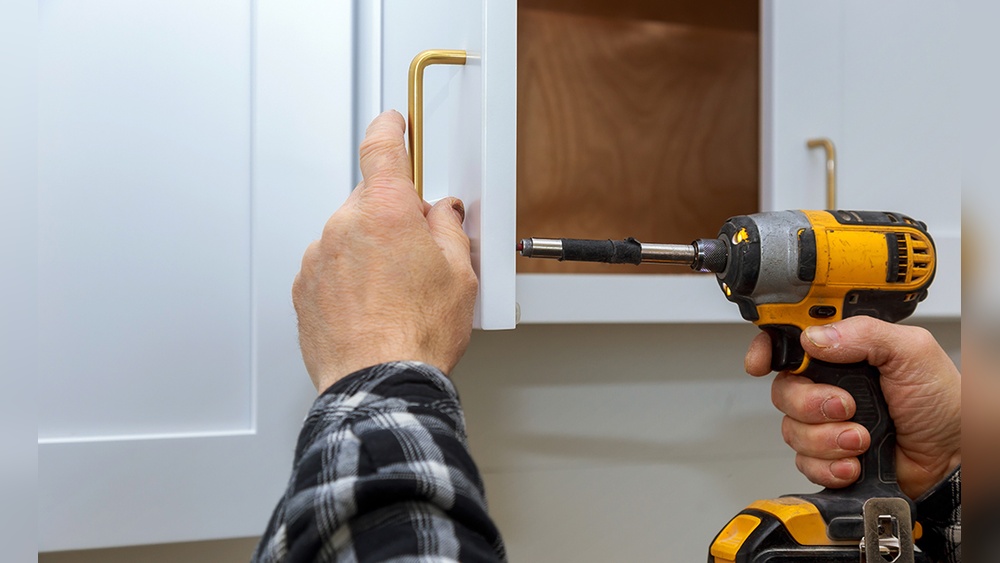
Securing Handles With Screws
Insert screws through the back of the cabinet door. Hold the handle on the front side. Tighten screws slowly with a screwdriver. Avoid over-tightening to prevent damage. Make sure screws fit the handle holes perfectly.
Checking For Stability
Test each handle by pulling gently. The handle should not wiggle or feel loose. Tighten screws more if needed. Stable handles make opening and closing easy. Loose handles can cause damage over time.
Installing Cabinet Knobs
Installing cabinet knobs is a simple way to update your kitchen’s look. Knobs add style and improve cabinet usability. This task requires some care to ensure knobs are placed and secured correctly.
Positioning Knobs Precisely
Measure the exact spot for each knob before drilling. Use a ruler or tape measure for accuracy. Mark the hole location with a pencil. This step ensures knobs look even and aligned. Consistent placement improves the cabinet’s overall appearance.
Attaching Knobs Firmly
Drill a hole where you marked the spot. Insert the knob’s screw from inside the cabinet door. Tighten the screw using a screwdriver until the knob is secure. Avoid overtightening, which can damage the cabinet or knob. Check that knobs do not wiggle or feel loose.
Ensuring Consistent Placement
Use a template or jig for placing knobs on multiple cabinets. This tool helps keep spacing uniform across all doors. Double-check measurements before drilling each hole. Consistency creates a professional and neat finish. It also makes cabinet doors easier to use.
Tips For Perfect Results
Installing kitchen cabinet hardware correctly makes a big difference. It helps the cabinets look neat and last longer. Follow these tips for the best results.
Small mistakes can cause problems. Careful work saves time and effort later.
Measuring Twice, Drilling Once
Measure the spots for handles and knobs carefully. Check each mark two times before drilling. This prevents holes in the wrong places. Use a ruler or tape measure for accuracy. Mark with a pencil lightly so you can erase if needed.
Using Templates For Accuracy
Templates make hardware installation easier and more precise. You can buy ready-made templates or make your own with cardboard. Place the template on the cabinet door or drawer. Mark the holes through the template. This method keeps all hardware pieces aligned evenly.
Maintaining Hardware Over Time
Keep your cabinet hardware looking good with simple care. Clean knobs and handles with a soft cloth and mild soap. Avoid harsh chemicals that can damage finishes. Tighten screws every few months to keep hardware secure and avoid wobbling.
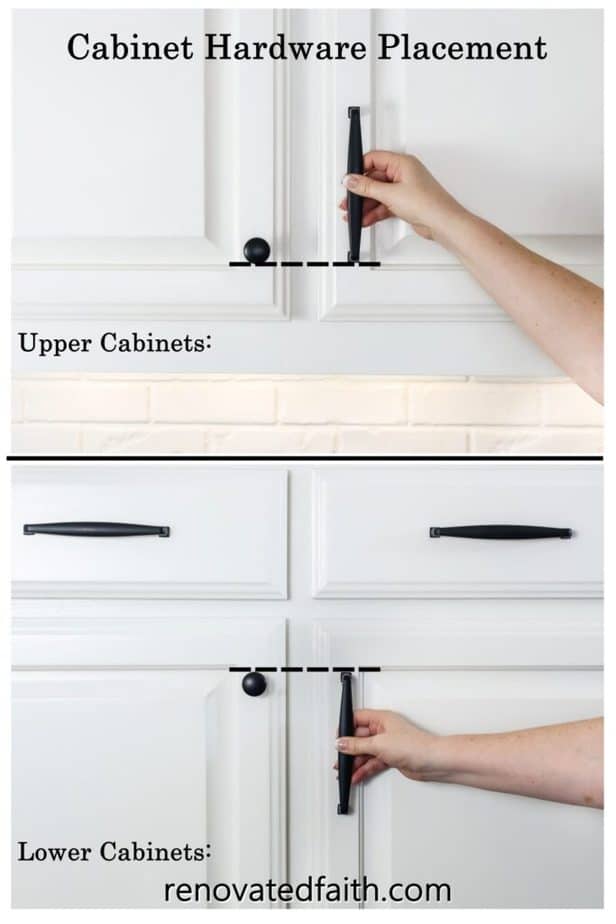
Credit: renovatedfaith.com
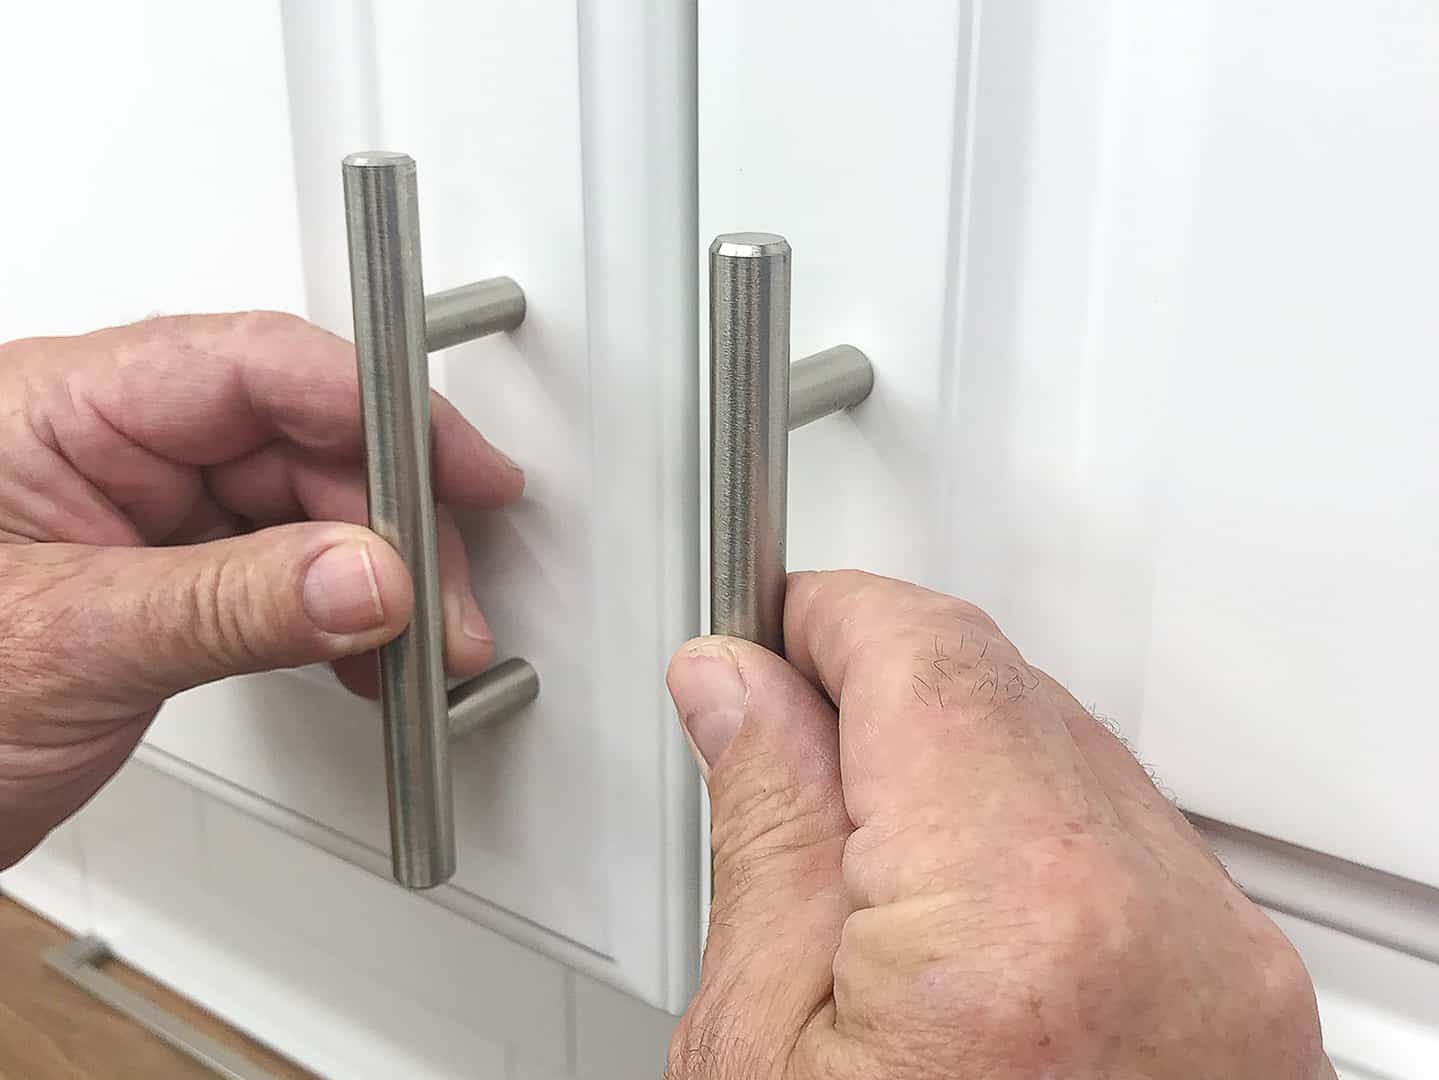
Credit: truepositiontools.com
Frequently Asked Questions
What Tools Are Needed To Install Kitchen Cabinet Hardware?
You need a drill, screwdriver, tape measure, pencil, and level. These tools ensure accurate and secure hardware installation.
How Do I Measure For Kitchen Cabinet Hardware Placement?
Measure the cabinet door’s width and height. Mark the center or preferred spot with a pencil for consistent hardware placement.
What Types Of Hardware Fit Kitchen Cabinets Best?
Popular options include knobs, pulls, and handles. Choose based on cabinet style and ease of use for the best fit.
Can I Install Cabinet Hardware Without Drilling?
Yes, adhesive or magnetic hardware options exist. However, they may not be as durable as drilled installations.
Conclusion
Installing kitchen cabinet hardware can be simple and rewarding. Measure carefully and choose the right tools. Take your time to align handles and knobs properly. Tighten screws firmly but avoid overdoing it. Small steps lead to a fresh, updated kitchen look.
Enjoy the new style and function you added yourself. Keep practicing, and installation will become easier each time. Your kitchen will feel more organized and stylish with new hardware.