If you want to give your kitchen or bathroom a fresh, stylish look, adding hardware to your Shaker cabinets is one of the easiest ways to do it. But if you’ve never installed cabinet handles or knobs before, it can feel tricky and confusing.
Don’t worry—you’re about to learn simple, step-by-step tips that will make the process quick and stress-free. By the time you finish reading, you’ll have the confidence to upgrade your cabinets like a pro and enjoy that satisfying feeling of a job well done.
Ready to transform your space? Let’s get started!
Choosing The Right Hardware
Choosing the right hardware for Shaker cabinets can change the entire look of your kitchen. Hardware not only adds style but also improves cabinet function. Picking the best style, material, and size helps your cabinets stand out. This guide helps you find hardware that fits your needs and taste perfectly.
Types Of Hardware For Shaker Cabinets
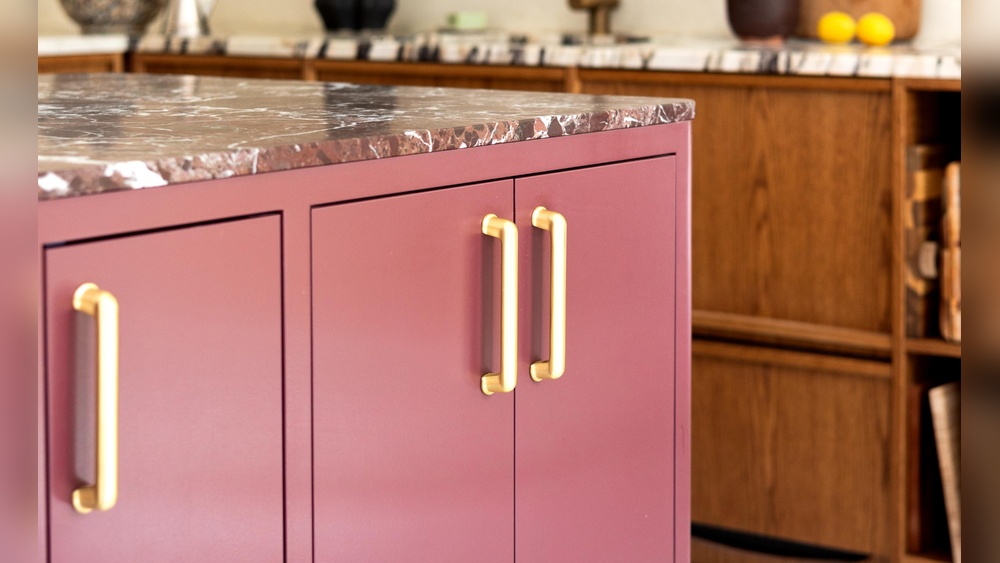
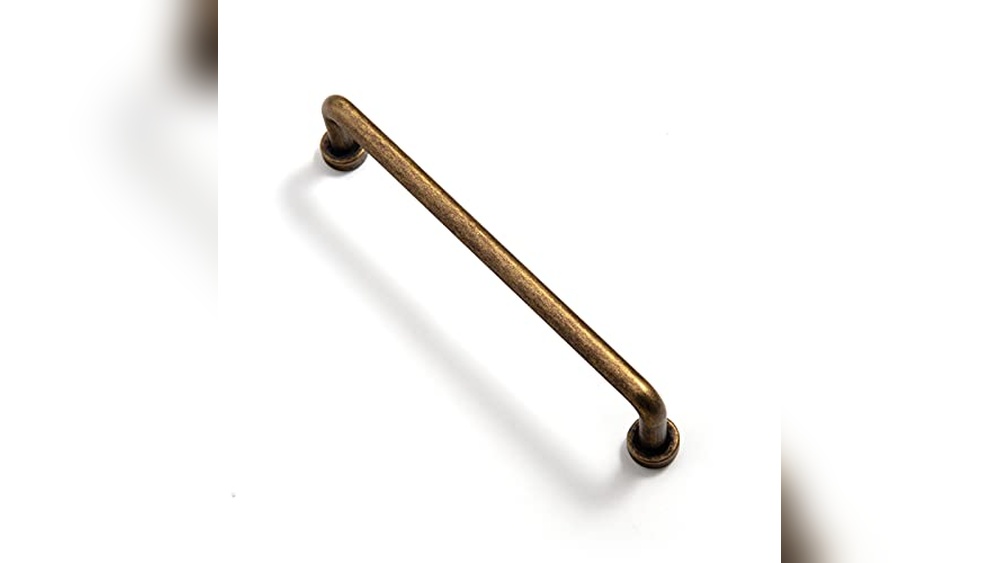
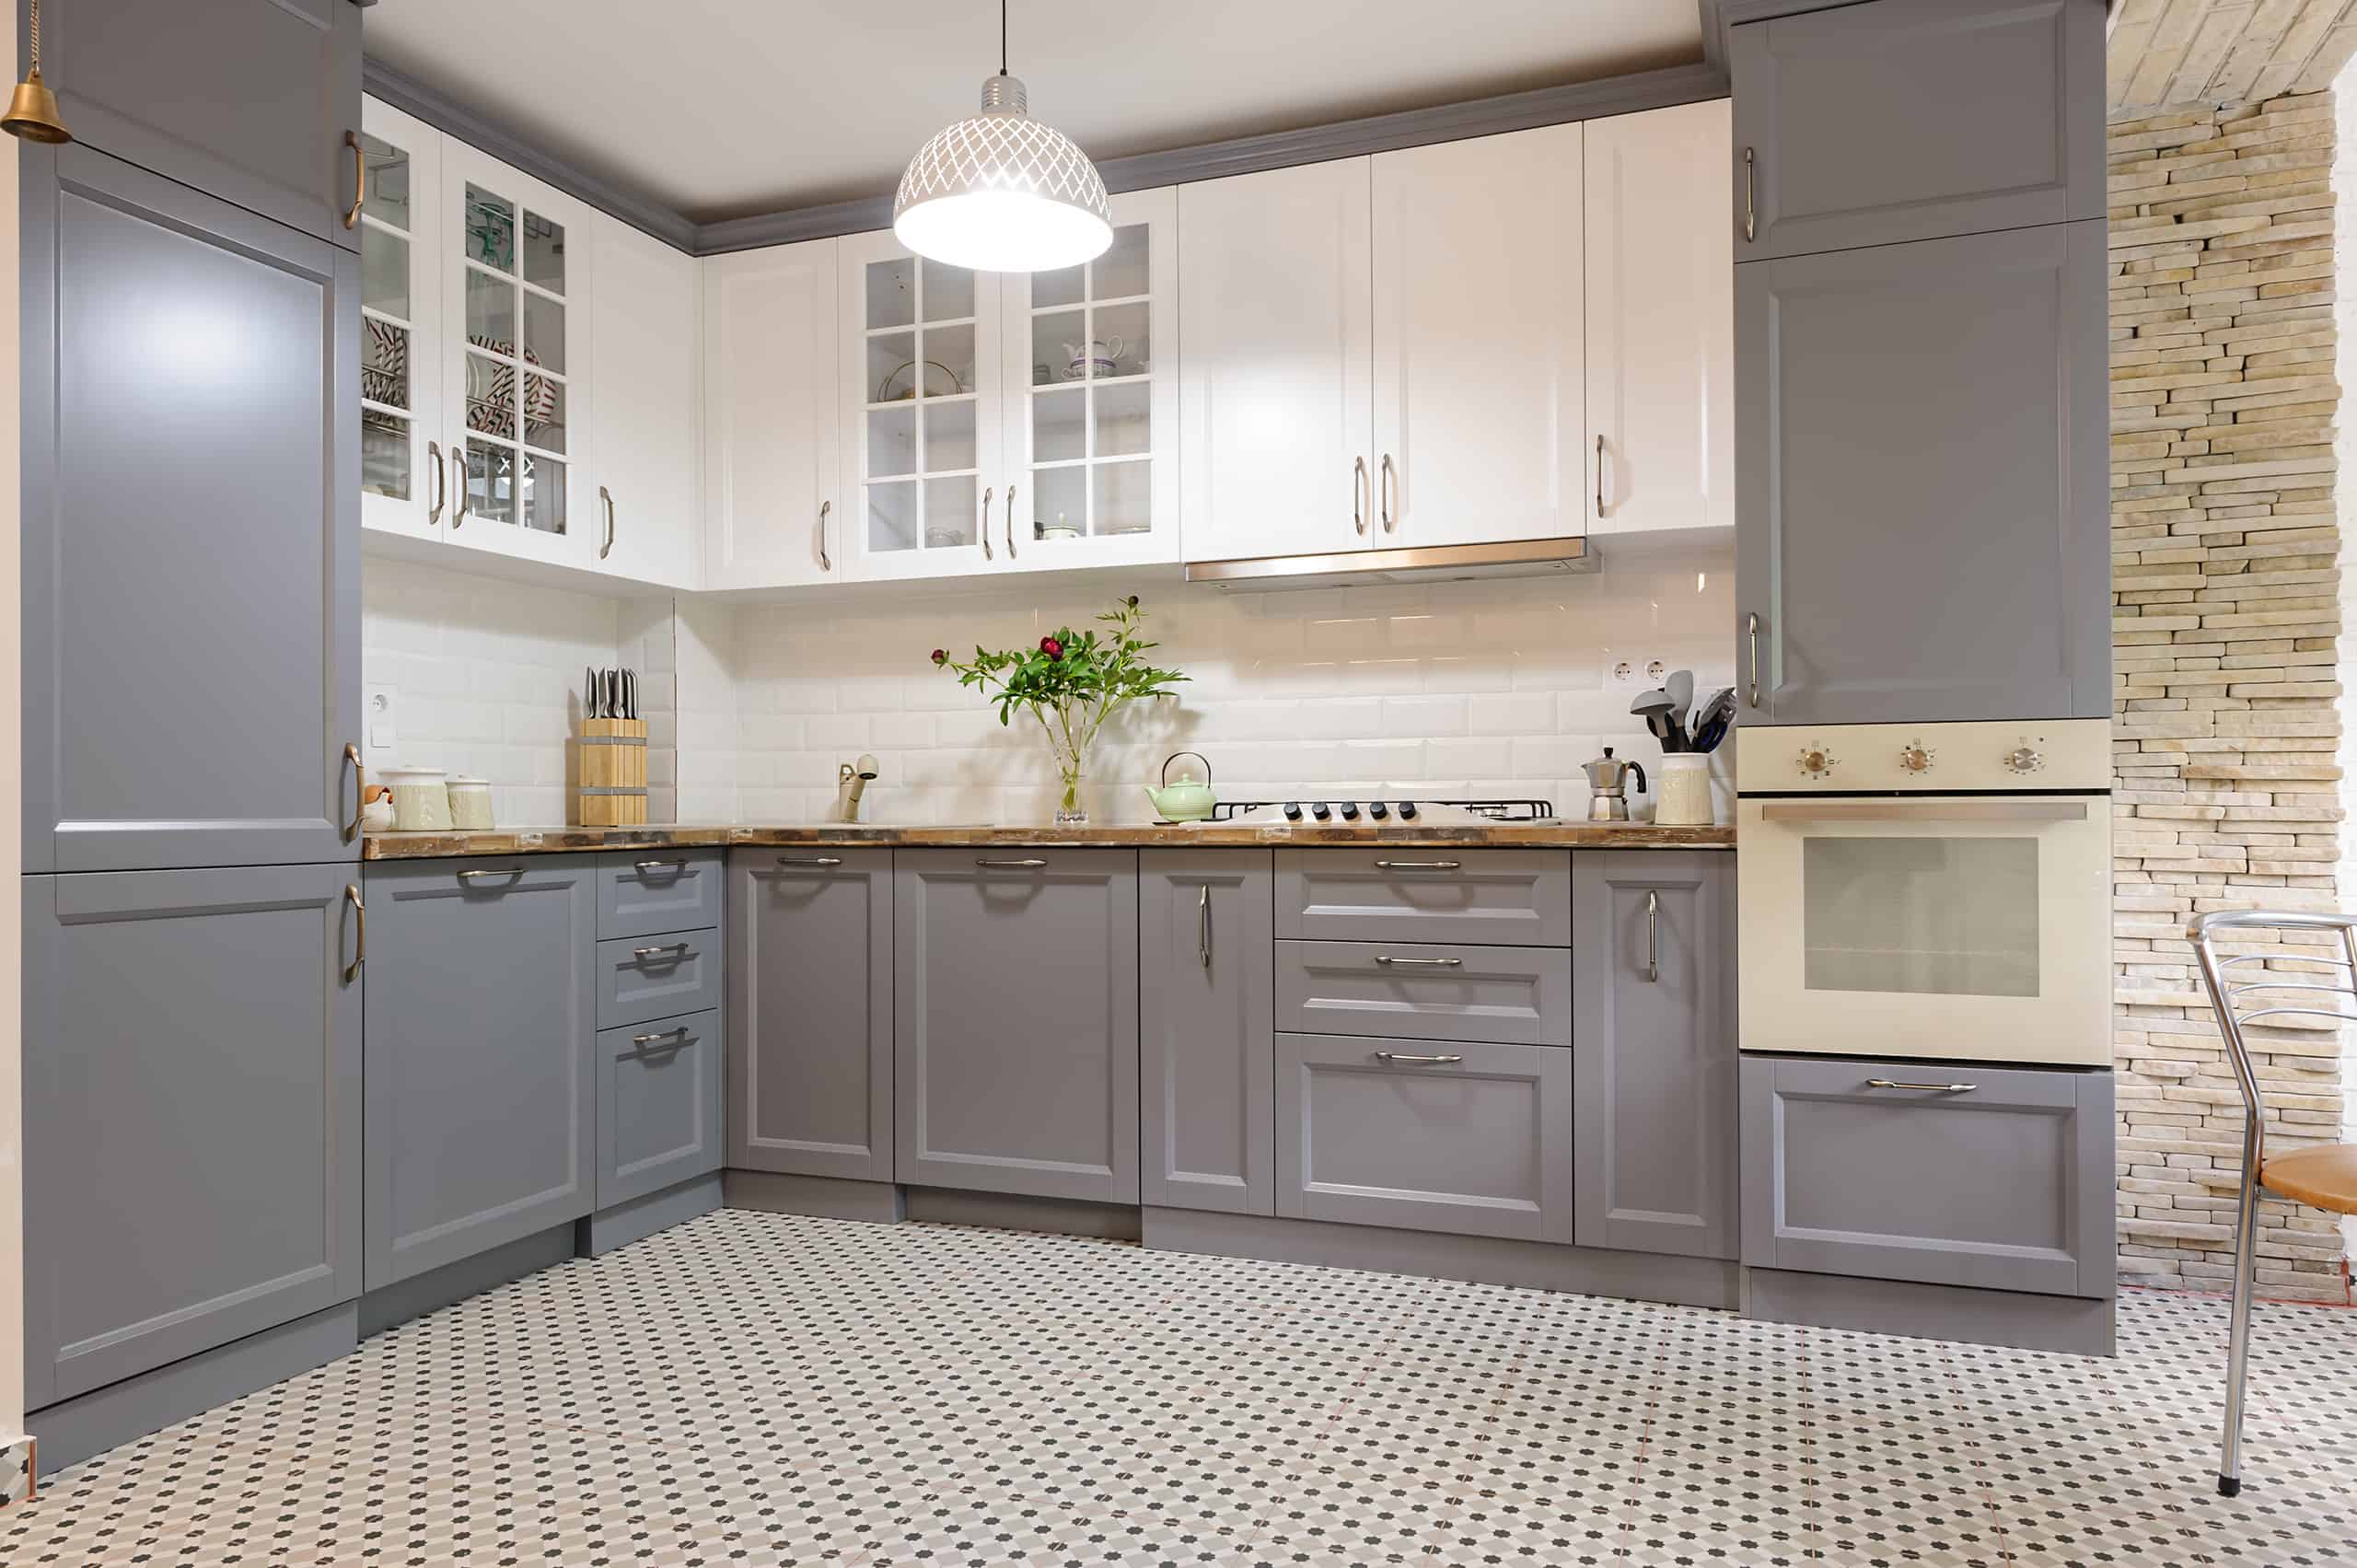
Shaker cabinets work well with many hardware types. Knobs are simple and easy to install. They give a classic, clean look. Pulls are longer and offer a modern touch. They help open large cabinet doors smoothly. Cup pulls add a vintage feel. Choose the style that matches your kitchen’s vibe.
Materials And Finishes
Hardware comes in many materials. Metal is strong and lasts long. Brass adds warmth and shines softly. Chrome looks sleek and modern. Oil-rubbed bronze gives a rustic, aged look. Finishes can be shiny or matte. Pick a finish that matches your kitchen’s color and style. This keeps your cabinets looking balanced and neat.
Measuring For Hardware Placement
Measure carefully before installing hardware. Check the cabinet door size and shape. Place knobs or pulls where your hand fits well. For drawers, center the hardware horizontally. For doors, position knobs near the edge. Use a ruler and pencil to mark spots. Correct placement ensures easy use and a clean look.
Gathering Tools And Materials
Before installing hardware on shaker cabinets, gather all tools and materials. Having everything ready saves time and avoids frustration. It also helps maintain focus on the task. A clean, organized workspace makes the job easier and safer.
Essential Tools Needed
Start with a power drill or screwdriver. Choose one that fits your screws well. A tape measure is key for accurate placement. A pencil helps mark drilling spots clearly. Use a level to keep handles straight. Small clamps can hold hardware in place. Have screws that match your hardware size. A ruler or straight edge supports precise measuring. Finally, keep a small container for screws and parts.
Preparing The Workspace
Clear the area around your cabinets. Remove items that could fall or get damaged. Lay down a cloth or cardboard to protect surfaces. Good lighting is important for accuracy. Open windows or use a fan for fresh air. Organize tools within easy reach. Keep a trash bin nearby for debris. Take time to create a calm, tidy space before starting.
Marking Hardware Positions
Marking hardware positions on shaker cabinets is a key step for a neat look. Accurate marks prevent crooked handles and uneven spacing. Taking time now saves hassle later. This guide helps you place hardware perfectly.
Finding The Center Point
First, find the center of the cabinet door or drawer. Measure the width and height with a tape measure. Divide the width by two to get the horizontal center. Do the same for the height if needed. Mark the center lightly with a pencil. This point guides where to place handles or knobs.
Using A Template For Accuracy
A template helps keep holes aligned and consistent. You can buy a hardware template or make one from cardboard. Place the template on the cabinet at the center mark. Check it is level with a small level tool. Mark the drill holes through the template. This method reduces mistakes and speeds up the process.
Credit: truepositiontools.com
Drilling Pilot Holes
Drilling pilot holes is a key step for installing hardware on shaker cabinets. These small holes guide screws into the wood. They help avoid splitting and ensure a tight fit. Taking time to drill pilot holes carefully makes your hardware last longer and look better.
Choosing The Right Drill Bit
Select a drill bit slightly smaller than your screw’s shaft. This size allows the screw to grip the wood firmly. Use a high-quality bit to make clean holes. A dull bit can cause rough holes and damage the cabinet surface. Wood drill bits or brad-point bits work best for shaker cabinets.
Avoiding Splintering And Damage
Place a piece of painter’s tape over the drilling spot. This helps keep the wood from splintering. Drill slowly and steadily to control the bit. Stop once the hole is deep enough for the screw. Use a backing board behind the drilling area to protect the cabinet’s back side.
Attaching Hardware
Attaching hardware to Shaker cabinets gives them a fresh, stylish look. Proper attachment ensures handles and knobs stay secure and function well. Small mistakes can cause hardware to loosen or misalign over time. Take your time to align and secure each piece carefully.
Aligning Handles And Knobs
Start by measuring and marking the exact spots for each handle or knob. Use a ruler or tape measure for accuracy. Mark lightly with a pencil to avoid visible marks later. Check that all marks are level and evenly spaced. Use a level tool to keep alignment straight. Double-check before drilling holes to prevent errors.
Securing Screws Properly
Choose screws that fit your hardware and cabinet thickness. Insert screws gently to avoid stripping or damaging the wood. Tighten screws firmly but do not overtighten. Over-tightening can crack the cabinet surface or damage the hardware. Use a screwdriver or drill with a clutch setting for control. Test the hardware for stability after securing screws.

Credit: truepositiontools.com
Final Adjustments And Checks
After installing hardware on Shaker cabinets, the final steps ensure everything works well. These checks help prevent future problems and keep your cabinets looking great. Small adjustments make a big difference in the overall result.
Ensuring Hardware Stability
Check each handle and knob to make sure they are tight. Use a screwdriver to secure any loose screws. Test by gently pulling or twisting the hardware. It should stay firmly in place without moving. If any part feels loose, tighten it again.
Look for alignment issues. Handles should be straight and even on all doors and drawers. Adjust the screws slightly to fix any crooked hardware. Consistent placement improves the cabinet’s appearance and function.
Cleaning Up And Finishing Touches
Remove all dust and fingerprints from the hardware and cabinet surfaces. Use a soft cloth and mild cleaner for a polished look. Avoid harsh chemicals that can damage the finish.
Clear away any leftover tools or debris from the installation area. Keeping the space tidy makes your work look professional. Step back and admire your well-installed hardware. The final clean makes your Shaker cabinets shine.

Credit: www.youtube.com
Frequently Asked Questions
What Tools Are Needed To Install Hardware On Shaker Cabinets?
You need a drill, screwdriver, measuring tape, pencil, and hardware screws. These tools ensure accurate and secure hardware installation on Shaker cabinets.
How Do I Measure For Hardware Placement On Shaker Cabinets?
Measure the cabinet door width and height. Mark the center points for handles or knobs. Accurate measurements avoid misaligned hardware.
Can I Install Hardware On Shaker Cabinet Drawers And Doors?
Yes, hardware installation on both drawers and doors is similar. Measure and mark placement carefully to maintain a uniform look across cabinets.
What Type Of Screws Should I Use For Shaker Cabinet Hardware?
Use screws that come with the hardware or 8 wood screws. Ensure screws are the correct length to avoid damaging the cabinet surface.
Conclusion
Installing hardware on Shaker cabinets can be simple and rewarding. Measure carefully and mark where the hardware will go. Use the right tools to avoid damage. Take your time with each step. The right handles and knobs can change the look of your kitchen.
Enjoy the process and the new style you create. Your cabinets will look fresh and updated. Small changes make a big difference. Try it yourself and see how easy it can be.