Are you ready to give your kitchen cabinets a fresh, stylish look without spending a fortune? Placing hardware like knobs and pulls can instantly transform your space, making your kitchen feel brand new.
But where exactly should you put them for the best look and easiest use? If you’ve ever stared at your cabinets wondering how to get it right, you’re not alone. In this guide, you’ll discover simple, clear steps to place hardware perfectly every time.
By the end, you’ll feel confident to tackle the project yourself and enjoy a kitchen that’s both beautiful and functional. Keep reading to unlock the secrets of cabinet hardware placement that pros don’t want you to miss!
Choosing The Right Hardware
Choosing the right hardware for kitchen cabinets shapes the room’s look and feel. Hardware affects both style and function. Picking the best hardware means thinking about design, material, and fit. Each choice changes how your kitchen looks and works. Here is a guide to help pick the best hardware for your kitchen cabinets.
Types Of Cabinet Hardware
Cabinet hardware mainly includes knobs and pulls. Knobs are small and round or square. Pulls are longer and easier to grab. Handles come in many shapes and sizes. Some are simple, while others have detailed designs. Choose hardware that feels comfortable to use.
Materials And Finishes
Hardware materials include metal, wood, and plastic. Metal is strong and lasts long. Popular metals are stainless steel, brass, and bronze. Finishes affect color and shine. Matte finishes look soft, while shiny ones add brightness. Pick materials that match your kitchen’s use and style.
Matching Style With Kitchen Design
Hardware style should match your kitchen design. Modern kitchens suit sleek, simple hardware. Traditional kitchens look good with ornate and classic pieces. Rustic kitchens pair well with raw, natural materials. Match hardware style to cabinets, countertops, and overall room design for a balanced look.
Tools And Materials Needed
Placing hardware on kitchen cabinets requires the right tools and materials. Using proper tools makes the job easier and more accurate. It helps avoid mistakes and saves time. Gather everything before starting the project.
Essential Tools
You need a drill to make holes for screws. Choose a drill bit that matches your hardware screws. A screwdriver helps to tighten screws securely. A level keeps hardware straight and balanced. A tape measure is useful to check distances and placement. A pencil or marker is needed for marking spots.
Measuring And Marking Supplies
Use a tape measure for precise measurements. A ruler can help mark exact points on the cabinet. A pencil is best for marking because it can be erased easily. Masking tape can protect cabinet surfaces when marking. A square tool ensures right angles on hardware placement. These supplies help place hardware evenly and neatly.
Measuring For Hardware Placement
Measuring for hardware placement on kitchen cabinets is key for a neat look. Proper measurement ensures handles and knobs are in the right spot. This step helps avoid mistakes and saves time during installation.
Accurate measuring makes the kitchen look balanced and organized. Even small errors can cause uneven hardware, which looks sloppy. Use clear marks and take your time to measure carefully.
Standard Heights And Distances
Handles usually sit 2 to 3 inches from the cabinet edge. Knobs go in the center of the door or drawer front. For drawers, place hardware 1 to 2 inches down from the top edge.
The exact height depends on cabinet size and style. Consistent spacing across all cabinets keeps a clean look. Measure twice, mark once for best results.
Placement For Different Cabinet Types
For tall cabinets, place handles near the edge for easy reach. On upper cabinets, knobs work well near the bottom corner. Lower cabinets often have handles near the top edge.
Drawers need hardware centered horizontally for balance. Corner cabinets may need special placement based on door style. Adjust hardware placement to fit each cabinet type.
Using Templates For Accuracy
Templates simplify marking spots for screws and holes. They keep hardware aligned on every door and drawer. Use a ruler and pencil with the template for precision.
Templates save time and reduce errors during installation. You can buy ready-made templates or make your own. They help achieve a professional and uniform look.
Marking Drill Holes
Marking drill holes is the first step in adding hardware to kitchen cabinets. Precise marks ensure the handles or knobs fit perfectly. Mistakes here can cause misaligned hardware or damage to the cabinet. Taking time to mark carefully will save effort later.
Best Practices For Marking
Use a ruler or measuring tape for exact placement. Measure twice to confirm the spot. Mark lightly with a pencil so you can erase if needed. Use a template for handles or knobs to keep holes consistent. Check the cabinet’s thickness to avoid drilling too deep. Work on a flat, stable surface to prevent slips.
Avoiding Common Mistakes
Don’t rely on eye judgment alone. Avoid marking too close to cabinet edges to prevent splitting. Do not use heavy pressure with the pencil, which can cause permanent marks. Avoid drilling without double-checking measurements. Don’t rush the process; haste leads to errors. Make sure the hardware fits the holes before drilling.
Drilling And Installing Hardware
Drilling and installing hardware on kitchen cabinets is a key step to update their look. Proper drilling ensures the handles or knobs fit well and stay secure. This process requires the right tools and careful steps to avoid damage. Follow these tips to place your hardware perfectly and improve your kitchen’s style and function.
Choosing The Right Drill Bits
Select drill bits that match the screw size of your hardware. Use a bit slightly smaller than the screw diameter. This helps the screw grip the wood firmly. For softwood cabinets, a standard twist bit works well. For hardwood, use a brad point bit for cleaner holes. Avoid bits that are too large to prevent loose fittings.
Step-by-step Installation
Start by marking the exact spot for the hardware. Use a ruler and pencil to measure carefully. Double-check the marks before drilling. Place painter’s tape over the spot to reduce splintering. Drill straight at low speed to control the hole. Remove the tape and clean any dust inside the hole. Align the hardware with the hole and insert the screws gently.
Securing Hardware Firmly
Tighten screws with a screwdriver, not a power drill, to avoid stripping. Hold the hardware steady while tightening. Check the hardware for wobble or loose parts. If loose, tighten screws a little more. Avoid over-tightening to prevent wood damage. Test handles or knobs by pulling gently to confirm they stay fixed.
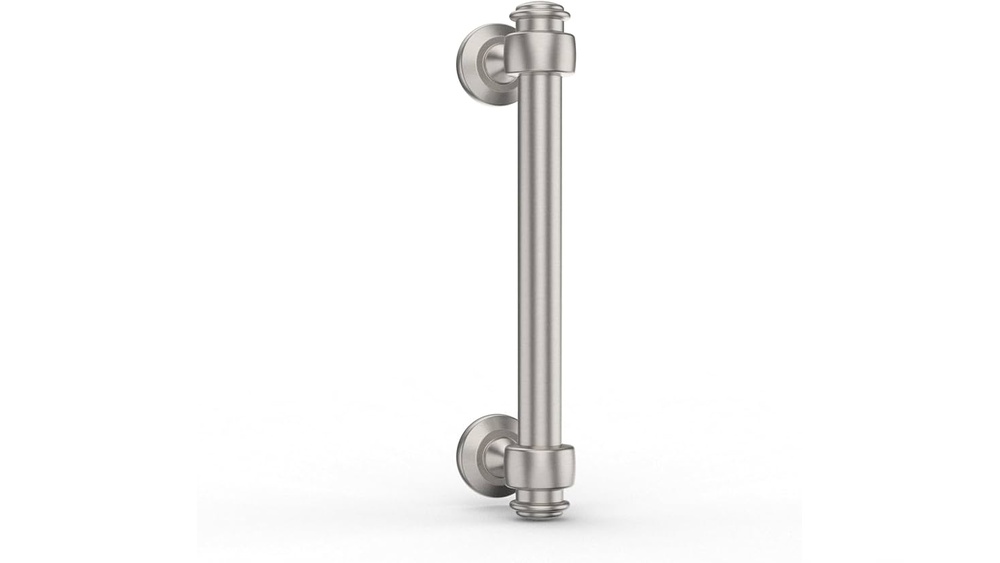
Credit: www.homedepot.com
Troubleshooting Common Issues
Troubleshooting common issues when placing hardware on kitchen cabinets saves time and frustration. Small problems can stop your project from looking perfect. Fixing these issues is often easy with the right approach. Below are solutions to frequent problems you might face.
Misaligned Handles
Misaligned handles make cabinets look uneven and sloppy. To fix this, mark holes carefully before drilling. Use a template or ruler for accuracy. If holes are off, fill them with wood filler. Sand smooth and repaint before drilling new holes.
Loose Screws And Hardware
Loose screws cause handles to wobble or fall off. Check screws often and tighten them with a screwdriver. If holes are too big, use a toothpick and wood glue to fill. Let dry, then reinsert screws for a tight fit. This keeps hardware secure and stable.
Dealing With Damaged Cabinets
Damaged cabinets need extra care before adding hardware. Clean the surface and remove any loose paint or wood. Use wood filler to repair cracks or holes. Sand the area smooth after drying. This creates a solid base to attach handles safely.
Maintaining Cabinet Hardware
Maintaining cabinet hardware keeps your kitchen looking fresh and new. Clean and cared-for handles and knobs last longer. They also stay shiny and work smoothly. Good maintenance saves money on repairs or replacements. It makes your kitchen more pleasant to use every day.
Cleaning Tips
Use a soft cloth to wipe hardware regularly. Avoid harsh chemicals that can damage the finish. Warm water with mild soap works well. Dry the hardware after cleaning to prevent water spots. For stubborn dirt, use a toothbrush gently. Polish metal hardware with a suitable cleaner sometimes. This keeps them bright and attractive.
Preventing Wear And Tear
Tighten screws often to keep handles secure. Loose hardware can cause damage over time. Avoid using too much force when opening cabinets. Use both hands to reduce stress on knobs. Replace worn or broken parts quickly. This stops damage from spreading. Choose durable hardware for heavy-use areas. It helps maintain a neat kitchen look.
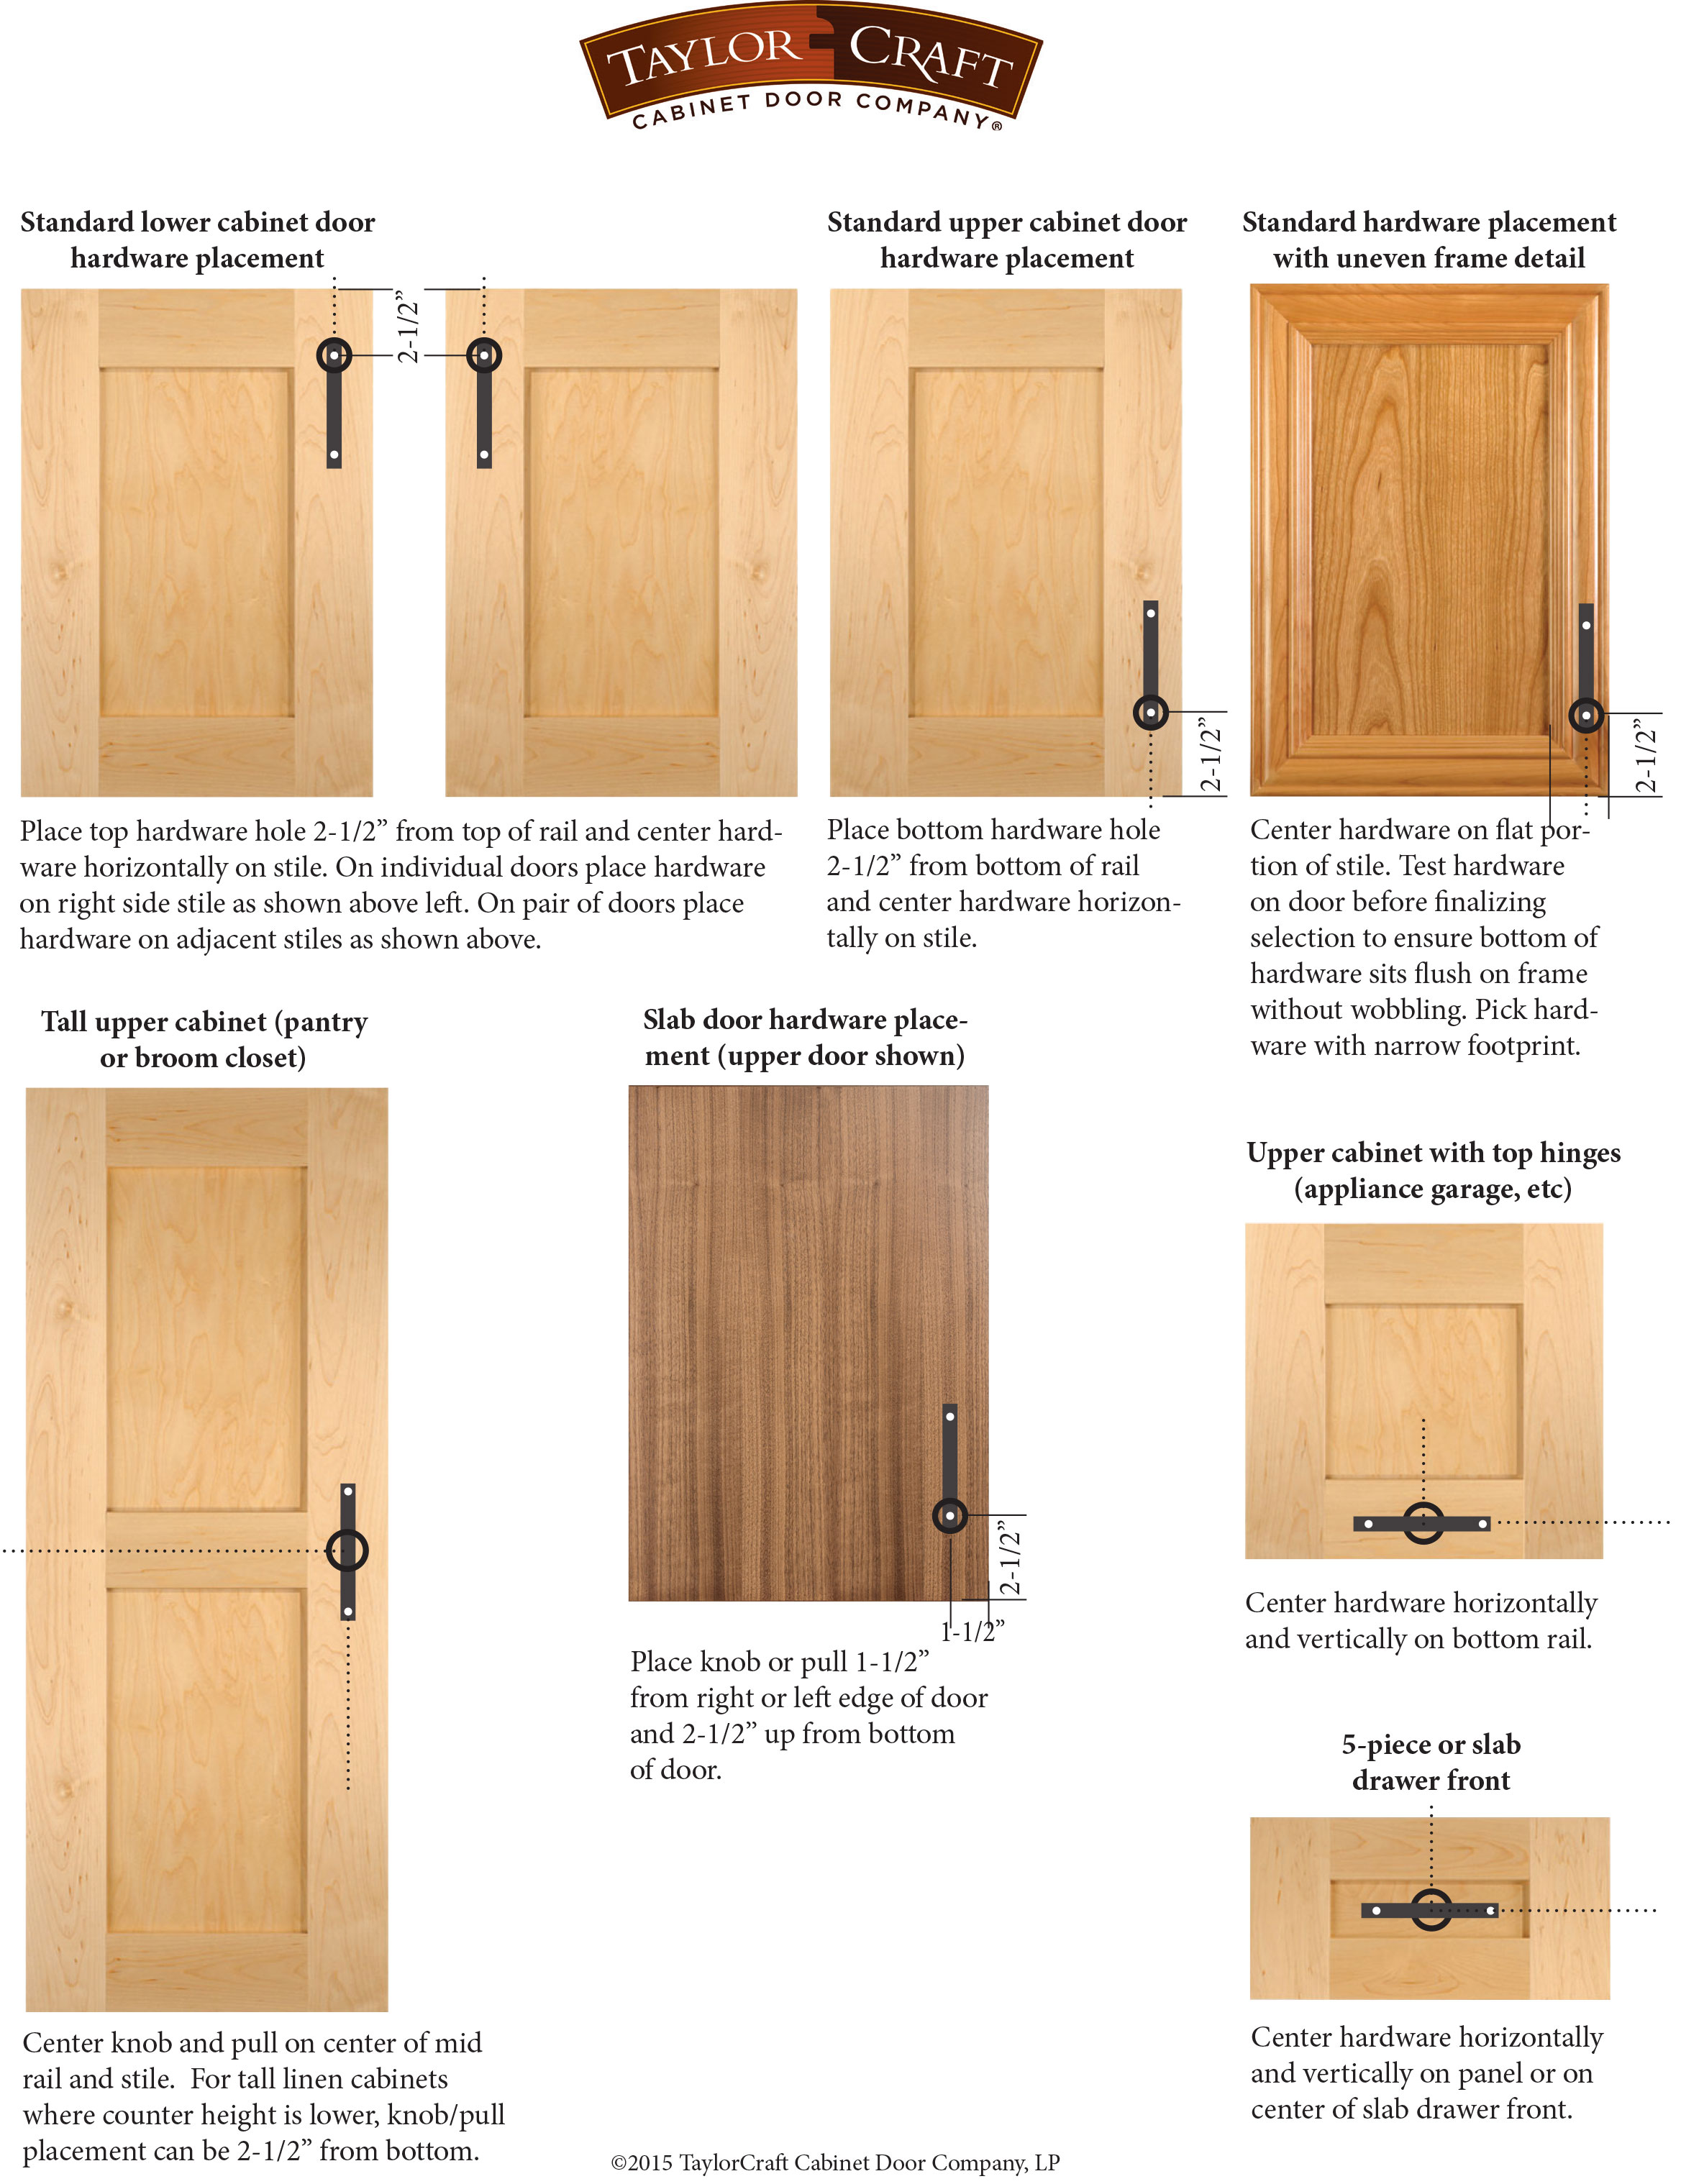
Credit: taylorcraftdoor.com
:max_bytes(150000):strip_icc()/SPR-where-to-put-knobs-and-handles-on-kitchen-cabinets-6373984-hero-f2b94cb045354a5783a3d927f83b5d21.jpg)
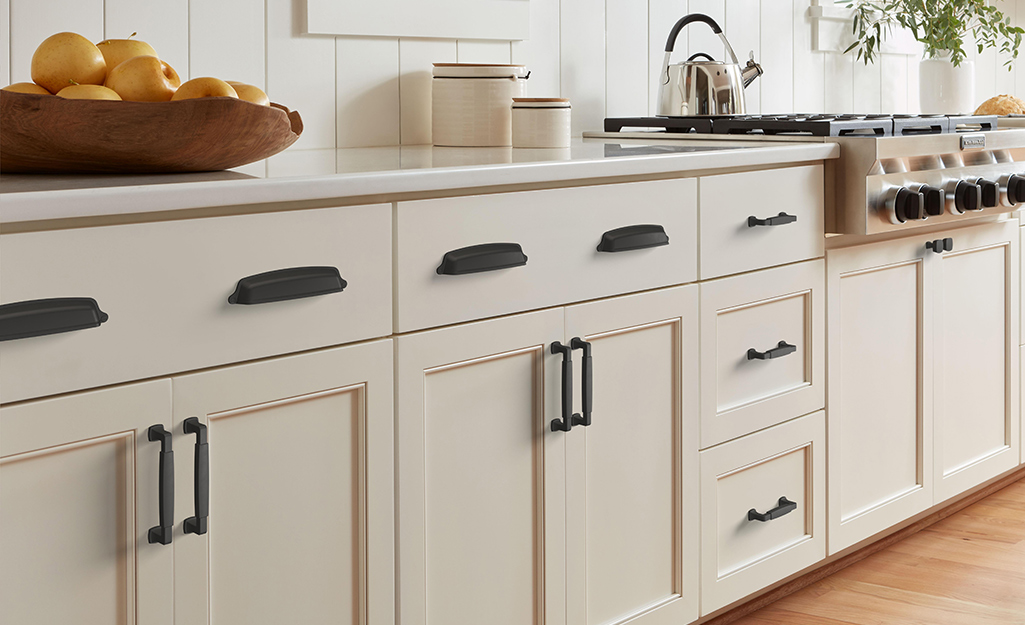
Credit: www.thespruce.com
Frequently Asked Questions
How Do I Measure For Cabinet Hardware Placement?
Measure carefully from cabinet edges to ensure centered hardware. Use a ruler or template for consistent placement on all doors and drawers.
What Is The Standard Height For Cabinet Handles?
Handles are typically placed 2. 5 to 3 inches from the bottom or top edge. This height allows easy and comfortable grip.
Should Hardware Placement Differ For Drawers And Doors?
Yes, handles on drawers are usually centered horizontally. On doors, place hardware vertically near the outer edge for easy access.
How To Align Hardware On Kitchen Cabinets Properly?
Use a level and measuring tape to maintain straight, even alignment. Mark holes before drilling to avoid mistakes and uneven placement.
Conclusion
Placing hardware on kitchen cabinets is simple with the right steps. Measure carefully and mark spots clearly before drilling. Choose hardware that fits your cabinet style and size well. Take your time to align handles or knobs perfectly. Small details make a big difference in your kitchen’s look.
Enjoy the new feel of your refreshed cabinets. Now, your kitchen looks neat and works better too. Keep practicing these tips for future projects. Your cabinets will thank you!